はじめに
deviseを導入の仕方を学び、デフォルトのままだとユーザーフレンドではないと思い、deviseのカスタマイズをしようと思います。
・sign up(アカウント登録)時にユーザーの名前も一緒に登録!
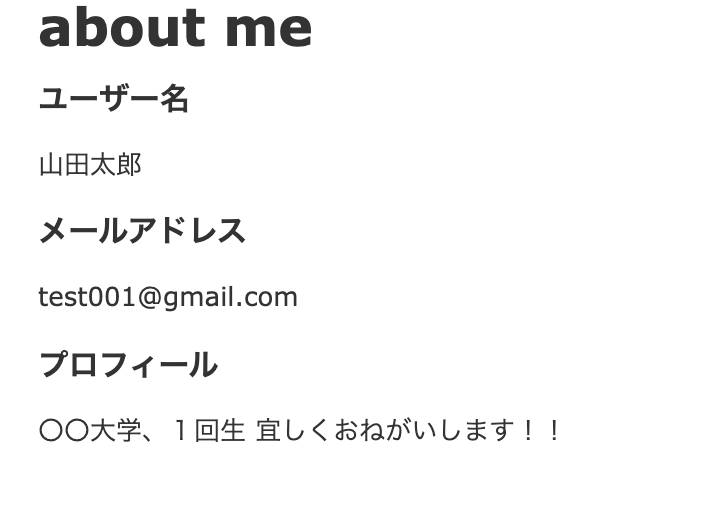
・users/showで「名前」「メールアドレス」「プロフィール」の表示!
・users/editで簡単編集!
上記の3つについて、rails初心者目線で書いていきたいと思います。
完成イメージ


Qiita初めての記事で緊張しますが、分かりやすく書いていきます!
環境
ruby 2.5.6
rails 5.2.3
devise 4.7.1
前提
今回、deviseは導入済みでその後どうやってカスタマイズしていくか進めます。
deviseの導入がまだの方用に参考URL貼っておきます。
devise導入方法URL
(1)公式ドキュメント
(2)[Rails] deviseの使い方(rails4版)
※(2)だと「1.deviseの導入」まで進めてください。
MVC(model/ view/ controller )設定
modelの生成
$ rails g devise user
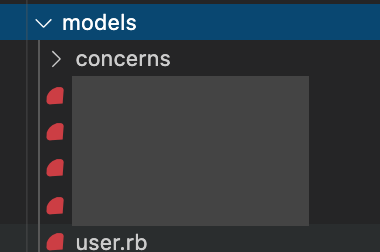
テキストエディターのapp/models見てみると一番下にuser.rbがあります。

これでuser modelで出来ました。
viewの生成
$ rails g devise:views
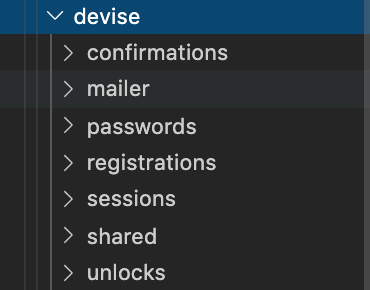
テキストエディターのapp/views/devise見てみるとこんな感じになります。
 確認ができたらdeviseのviewsが生成されました。
controllerの生成
$ rails g devise:controllers users
テキストエディターのapp/controllers/users見てみるとこんな感じになります。
 確認できたら、deviseのcontroller生成されました!
各種ファイルの設定
この章の目的:
(1)sign upでメールアドレスとパスワードの他に名前もを登録
(2)ユーザーのプロフィール画像の作成
そのために各種の設定していきます。
userテーブルにカラムを追加しよう
$ rails g migration add_name_profile_to_users
テキストエディターでdb/migrateの中を確認すると
その時作った「日時add_name_profile_users」と表示されたファイルが出来ます。
例えばこんな感じ「20200120053617_add_name_profile_to_users.rb」です。
class AddNameProfileUsers < ActiveRecord::Migration[5.2]
  def change
    add_column :users, :name, :string #追記
    add_column :users, :profile, :text #追記
  end
end
$ rails db:migrate
解説(なぜ、 userテーブルに「name」「profile」カラムを?)
※なぜ、 userテーブルに「name」「profile」カラムを追加したか解説します。
結論、deviseの初期状態でのカラムに「name」「profile」カラムがないからです。
userテーブルが持っているカラムをどこで確認するのか?
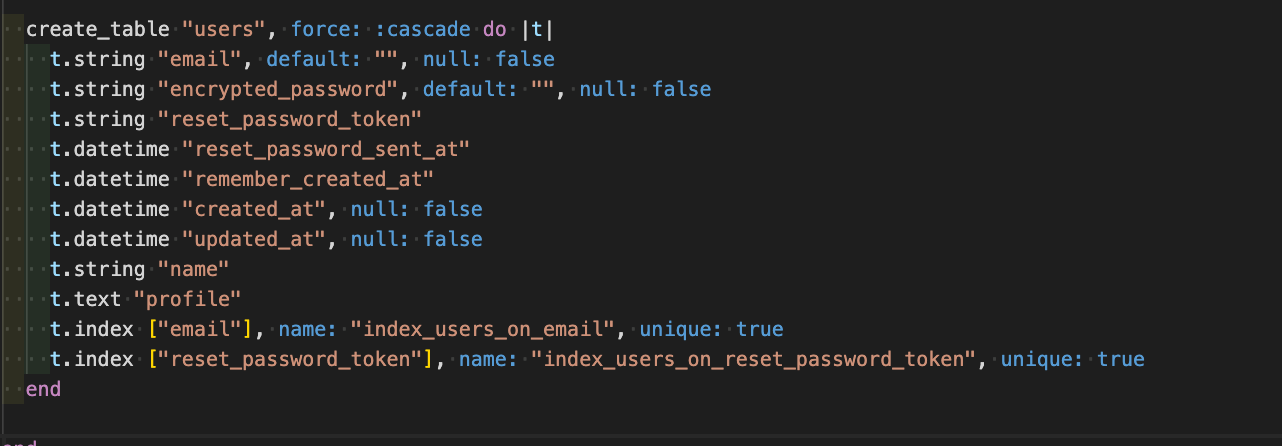
①db/schema.rbで確認

これはカラム追加した後ですが、本来は「name」「profile」カラムがない状態です。
②rails cで確認
ターミナルでrails cをして
User.column_namesをすると確認できます。
モデル
class User < ApplicationRecord
  # Include default devise modules. Others available are:
  # :confirmable, :lockable, :timeoutable, :trackable and :omniauthable
  devise :database_authenticatable, :registerable,
         :recoverable, :rememberable, :validatable

  validates :name, presence: true #追記
  validates :profile, length: { maximum: 200 } #追記
end
nameに空欄は許しませんよ!
profileは200文字に抑えてくさだいね!って制限をかけます。
コントローラー
class ApplicationController < ActionController::Base
  protect_from_forgery with: :exception

  # ログイン済ユーザーのみにアクセスを許可する
  before_action :authenticate_user!

  # deviseコントローラーにストロングパラメータを追加する
  before_action :configure_permitted_parameters, if: :devise_controller?

  protected
  def configure_permitted_parameters
    # サインアップ時にnameのストロングパラメータを追加
    devise_parameter_sanitizer.permit(:sign_up, keys: [:name])
    # アカウント編集の時にnameとprofileのストロングパラメータを追加
    devise_parameter_sanitizer.permit(:account_update, keys: [:name, :profile])
  end

end
後はviewで「sign up時にユーザーの名前も一緒に登録」「users/showで「名前」「メールアドレス」「プロフィール」の表示」を表示していきます。
ユーザー情報を記入
<h2>Sign up</h2>

<%= form_for(resource, as: resource_name, url: registration_path(resource_name)) do |f| %>
  <%= render "devise/shared/error_messages", resource: resource %>

    <!--サインアップ時に名前を入力できるようにフォームを追加-->
  <div class="field">
    <%= f.label :name %><br />
    <%= f.text_field :name, autofocus: true %>
  </div>

  <div class="field">
    <%= f.label :email %><br />
    <%= f.email_field :email, autofocus: true, autocomplete: "email" %>
  </div>

  <div class="field">
    <%= f.label :password %>
    <% if @minimum_password_length %>
    <em>(<%= @minimum_password_length %> characters minimum)</em>
    <% end %><br />
    <%= f.password_field :password, autocomplete: "new-password" %>
  </div>

  <div class="field">
    <%= f.label :password_confirmation %><br />
    <%= f.password_field :password_confirmation, autocomplete: "new-password" %>
  </div>

  <div class="actions">
    <%= f.submit "Sign up" %>
  </div>
<% end %>

<%= render "devise/shared/links" %>
ユーザー情報を編集
<h2>Edit <%= resource_name.to_s.humanize %></h2>

<%= form_for(resource, as: resource_name, url: registration_path(resource_name), html: { method: :put }) do |f| %>
  <%= devise_error_messages! %>

  <!--アカウント編集時に名前を入力できるようにフォームを追加-->
  <div class="field">
    <%= f.label :name %><br />
    <%= f.text_field :name, autofocus: true %>
  </div>

  <div class="field">
    <%= f.label :email %><br />
    <%= f.email_field :email, autofocus: true, autocomplete: "email" %>
  </div>

  <!--アカウント編集時にプロフィールを入力できるようにフォームを追加-->
  <div class="field">
    <%= f.label :profile %><br />
    <%= f.text_area :profile, autofocus: true %>
  </div>

  <div class="actions">
    <%= f.submit "Update" %>
  </div>
<% end %>

<%= link_to "Back", :back %>
プロフィール画面の作成
ここでの目的
・プロフィール画面の作成
手順
①コントローラーとviewファイルの生成と設定
②ルーティング設定
の手順で進めていきます。
コントローラーとviewファイルの生成
$ rails g controller Users show
deviseとまた別にコントローラーとshow.html.erbを作成します。
class UsersController < ApplicationController

  def show
    @user = current_user
  end
end
current_userは現在ログインしているユーザーのことを指します。
<h1>about me</h1>

<h3>ユーザー名</h3>
<%= @user.name %>
<h3>メールアドレス</h3>
<%= @user.email %>
<h3>プロフィール</h3>
<%= @user.profile%>
ルーティング設定
devise_for :users, controllers: { registrations: 'users/registrations' }
get "users/show" => "users#show"
パスワードを入力せずにユーザー情報を編集
編集画面で入力した情報をsubmitすると
Current password can't be blankが出てくると思います。
これはパスワードを入れて情報を更新してください。ってことなので、
パスワードを入れずにユーザー情報を編集できるようにします。
registrations_controller.rbの追記
class RegistrationsController < Devise::RegistrationsController

  protected
  def update_resource(resource, params)
    resource.update_without_password(params)
  end
end
ユーザー情報を編集する際にパスワード無しで編集可能になりました!
参考URL
[Devise] パスワードを入力せずにユーザー情報を編集する
devise導入からユーザ-のプロフィール画面を作成するまで