Microsoft Build 2023 で公開された「Dev Drive」を使ってみました。
公式の情報によれば最大で 30% ほど、高速になるということでしたので、ゲーム開発の大容量のリソースのビルドには効果的なのではないかと思っています。
Dev Drive is based on the Resilient File System, which, combined with a new performance mode capability in Microsoft Defender for Antivirus, offers up to 30% file system improvement in build times for file I/O scenarios. The new performance mode is more secure for your workloads than folder or process exclusions, providing an ultimate solution to balance security with performance.
※事前に「Dev Home (プレビュー) を使ってみた」で Dev Home のインストールを済ませておいてください。
※また、今回の Dev Drive はプレビュー版となりますので、設定などには十分注意の上、バックアップなどを取るようにしてください。
前提条件
Dev Drive を利用するための前提条件です。
- Windows 11 Insider Program Build の Dev Channel に登録が必要
- 16GB のメモリーが推奨
- 50GB の空き容量
ディスクの空き容量
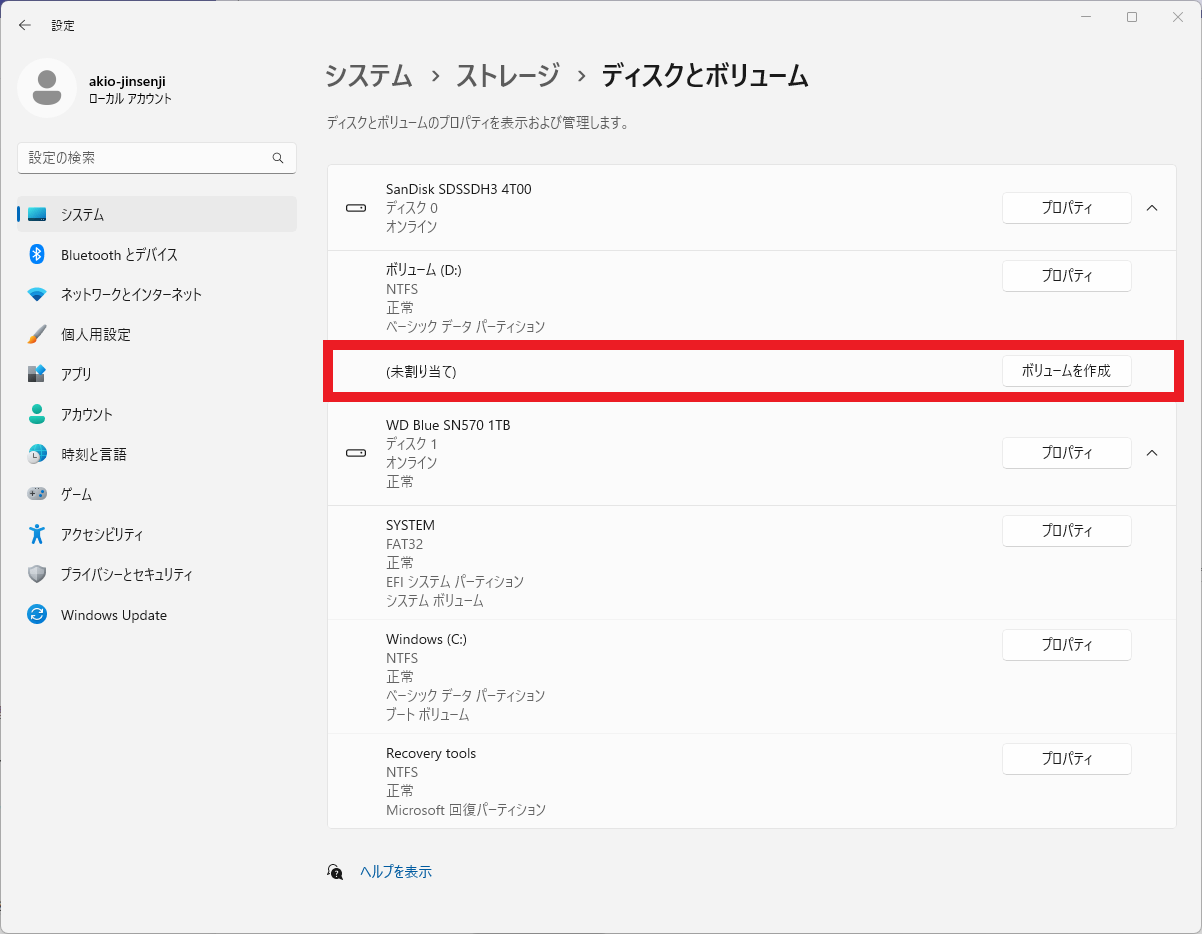
50GB の空き容量ですが、これはディスクスペースとは言っても、ボリュームに未割り当ての領域が必要です。エクスプローラー上で空き容量が 50GB あるからと言って、前提条件を満たしているわけではありません。
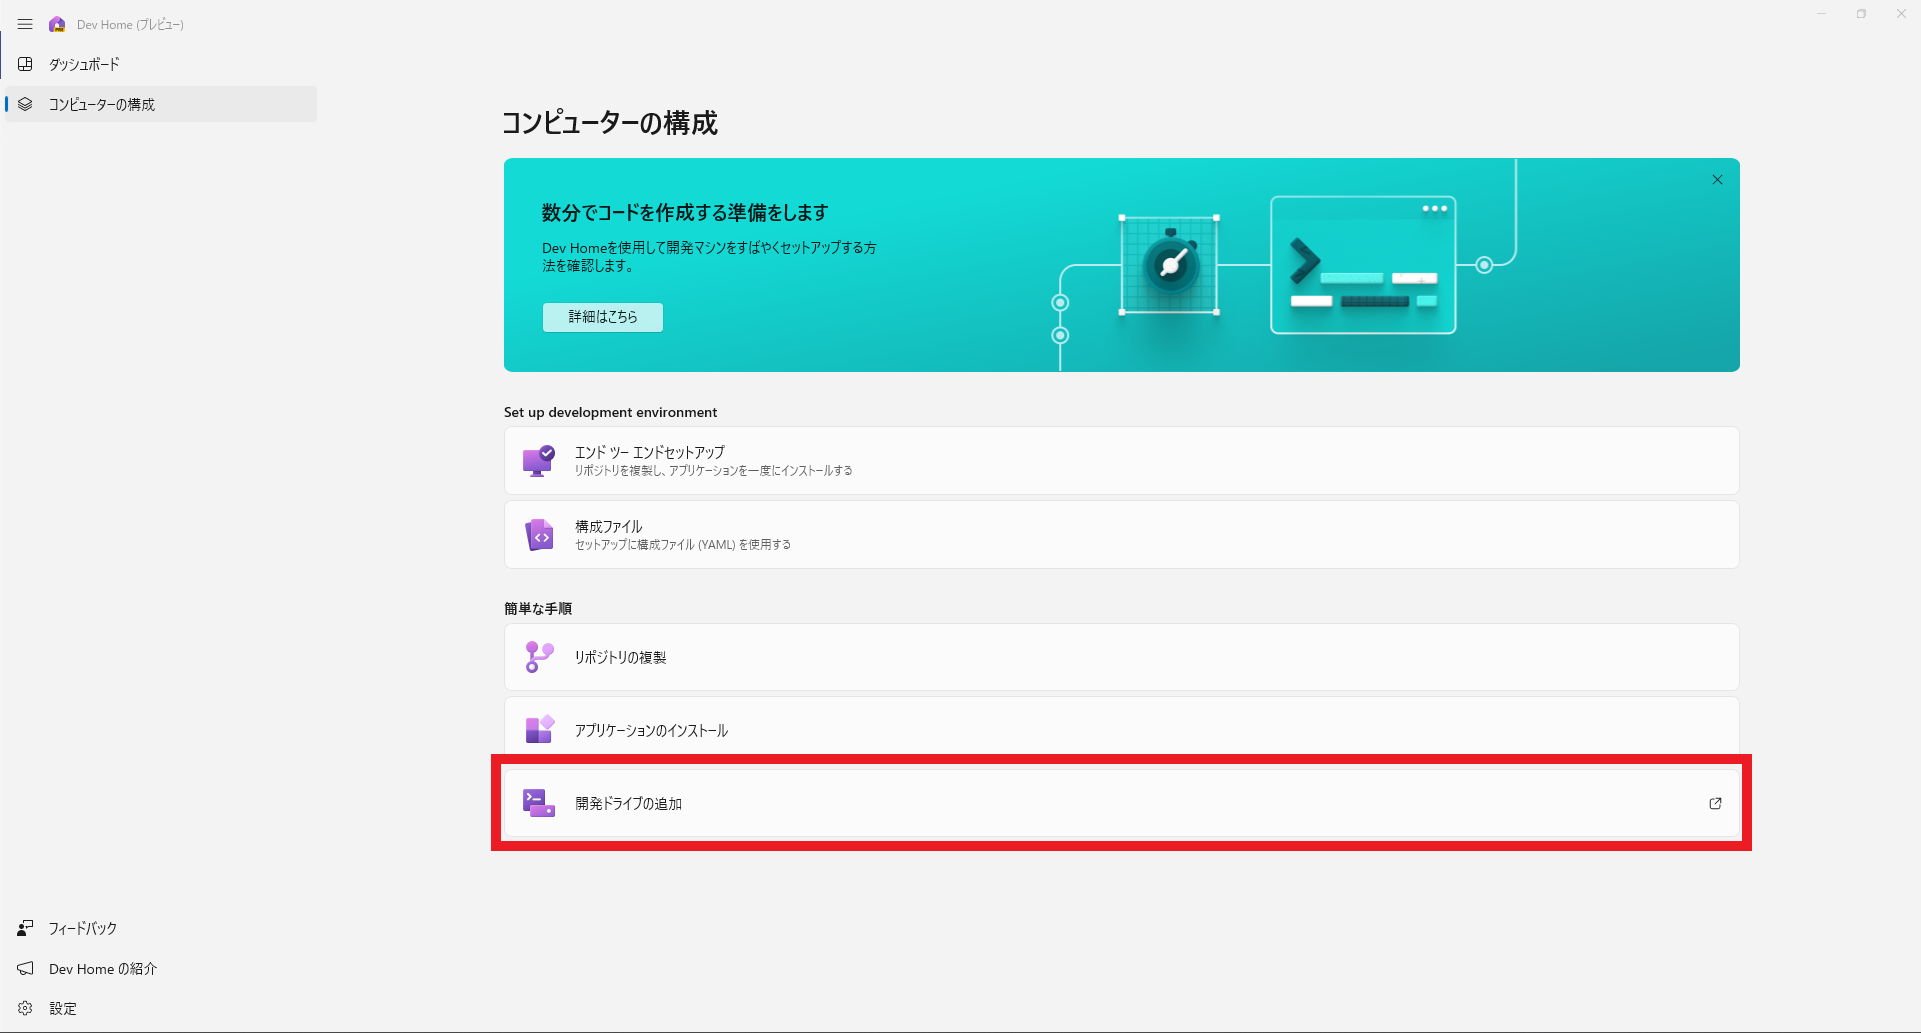
「システム > ストレージ > ストレージの詳細設定 > ディスクとボリューム」で確認が可能です。もしくは Dev Home の「開発ドライブの追加」からも行えます。
以下の図のように「(未割り当て)」の空き容量が 50GB 以上必要です。
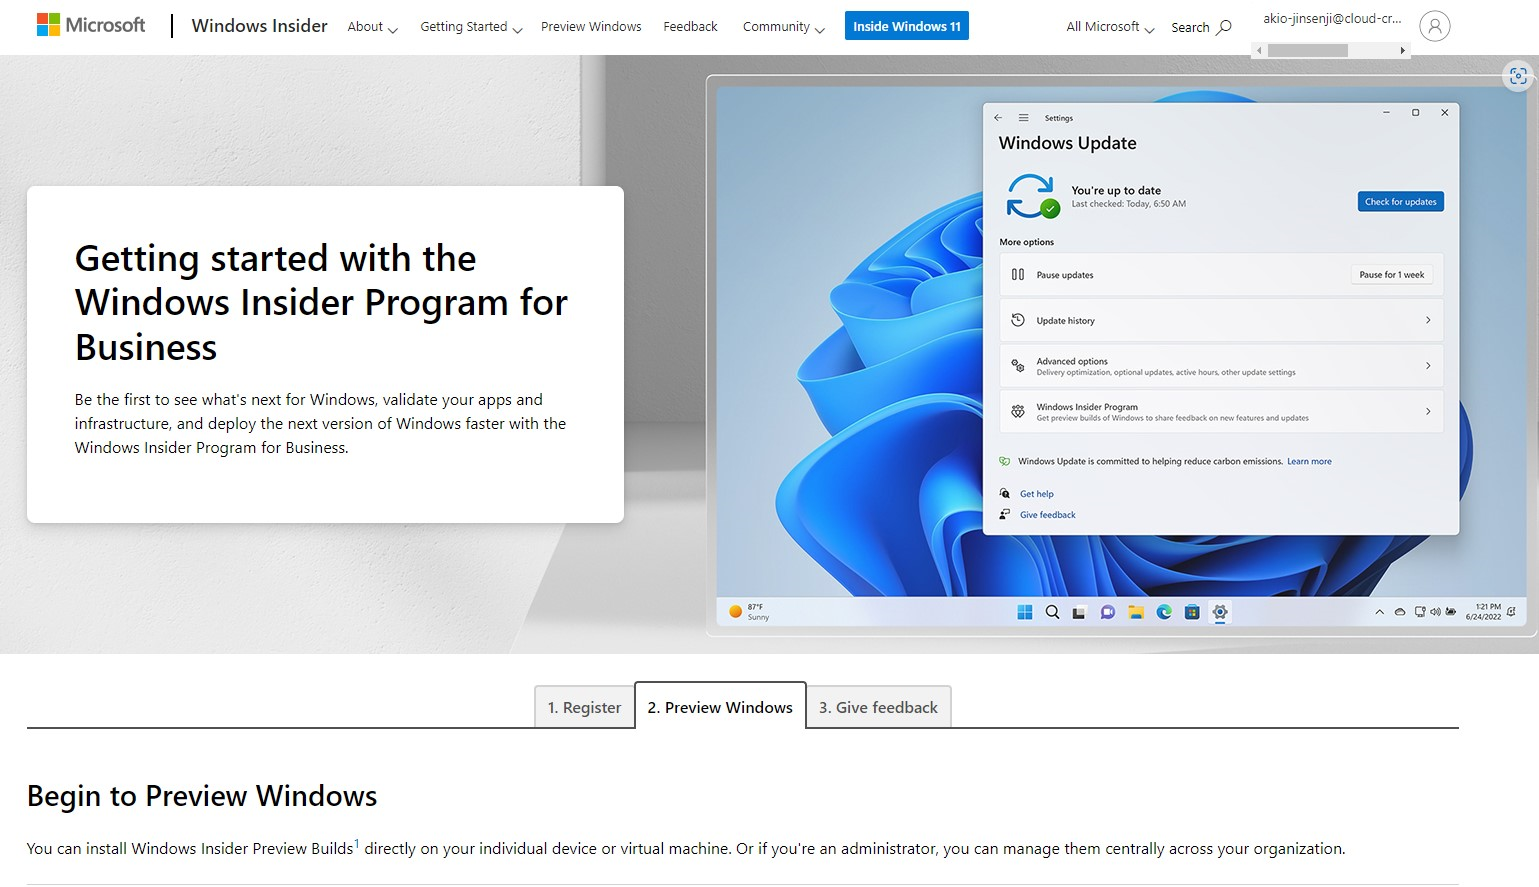
Windows Insider Program の設定
Windows Insider Program は開発版の Windows などを使用する場合の、ベータテスター登録のようなものです。
Windows Insider Program の登録
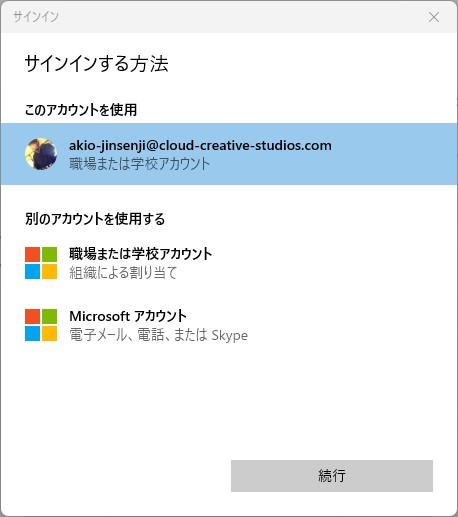
まず、Windows Insider Program への登録を行う必要がありますが、登録には Azure Active Directory のアカウントが必要になります。(※すでに登録済みの方は不要です)
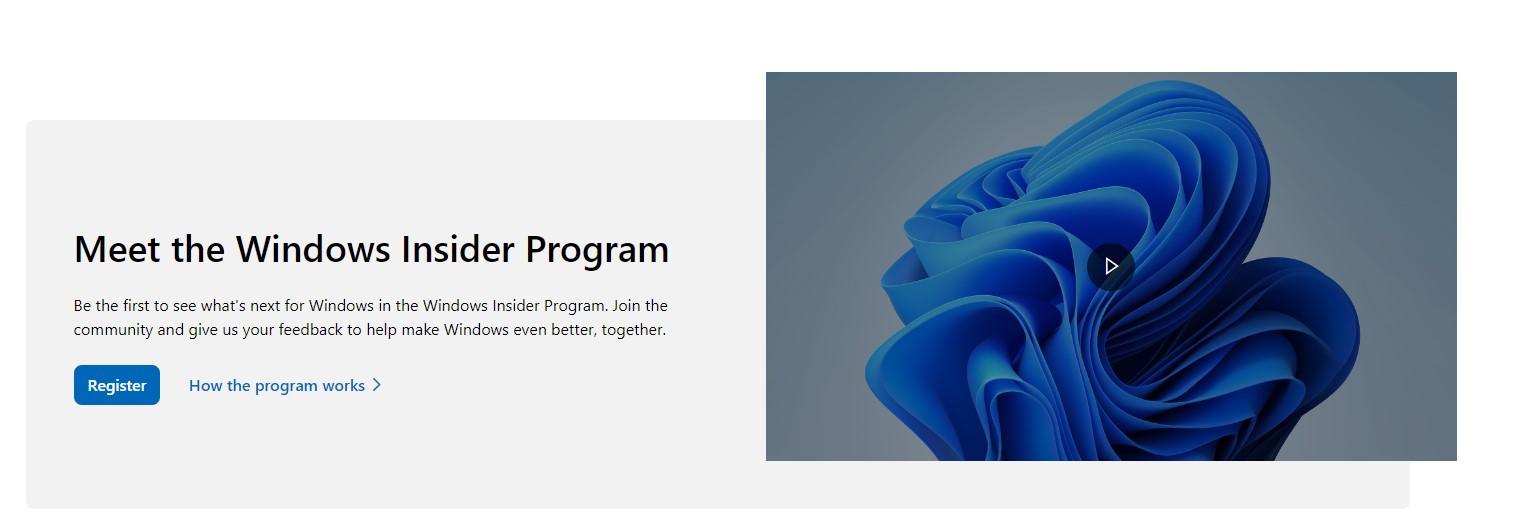
The Windows Insider Program から「Register」をクリックします。

Azure Active Directory (AAD) のアカウントでサインインを行う表示が行われます。

プログラム規約の同意画面では「I accept the terms of this agreement. (Required)」にチェックを入れ、「Register now」をクリックします。
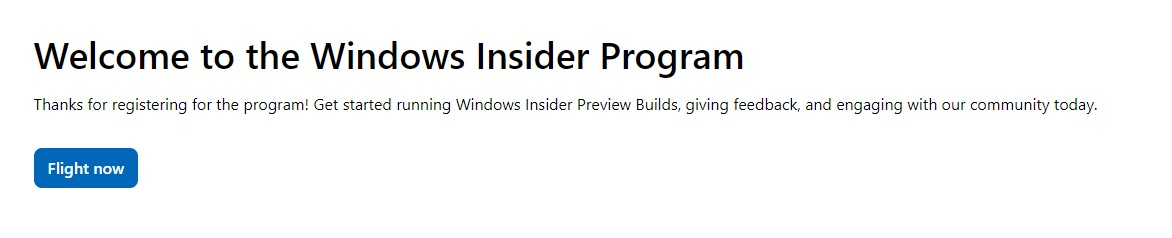
登録のお礼の画面が表示されたあと「Flight now」をクリックすると、Windows Insider Program のホーム画面に飛びます。
端末を Windows Insider Program と紐づけを行う
画面をスクロールするとセットアップの方法が書かれています。「Windows Update > Windows Insider Program」でセットアップが行なえます。
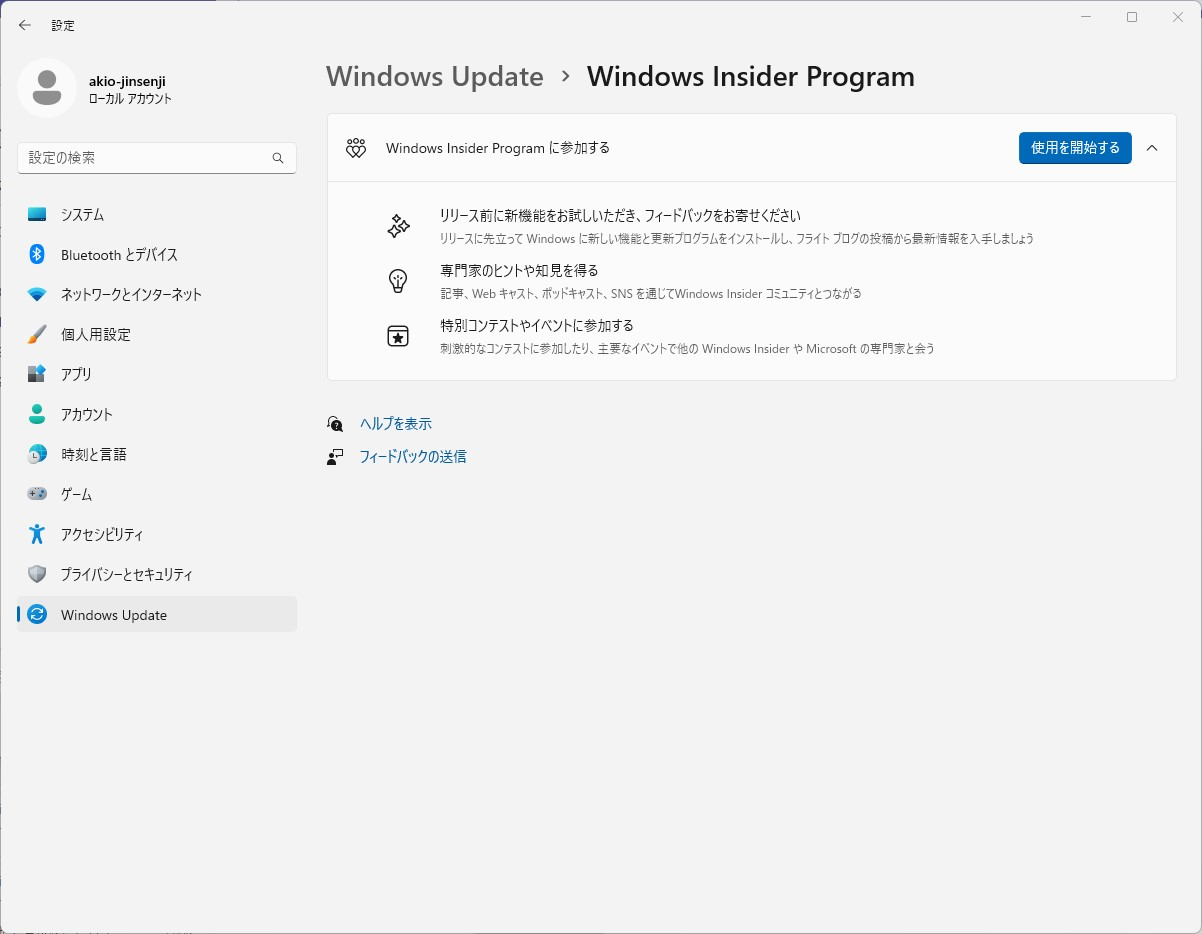
画面としてはこんな感じです。「使用を開始する」をクリックすると以下の画面が開きますので、「アカウンtのを紐付ける」をクリックして、AAD と紐づけを行います。
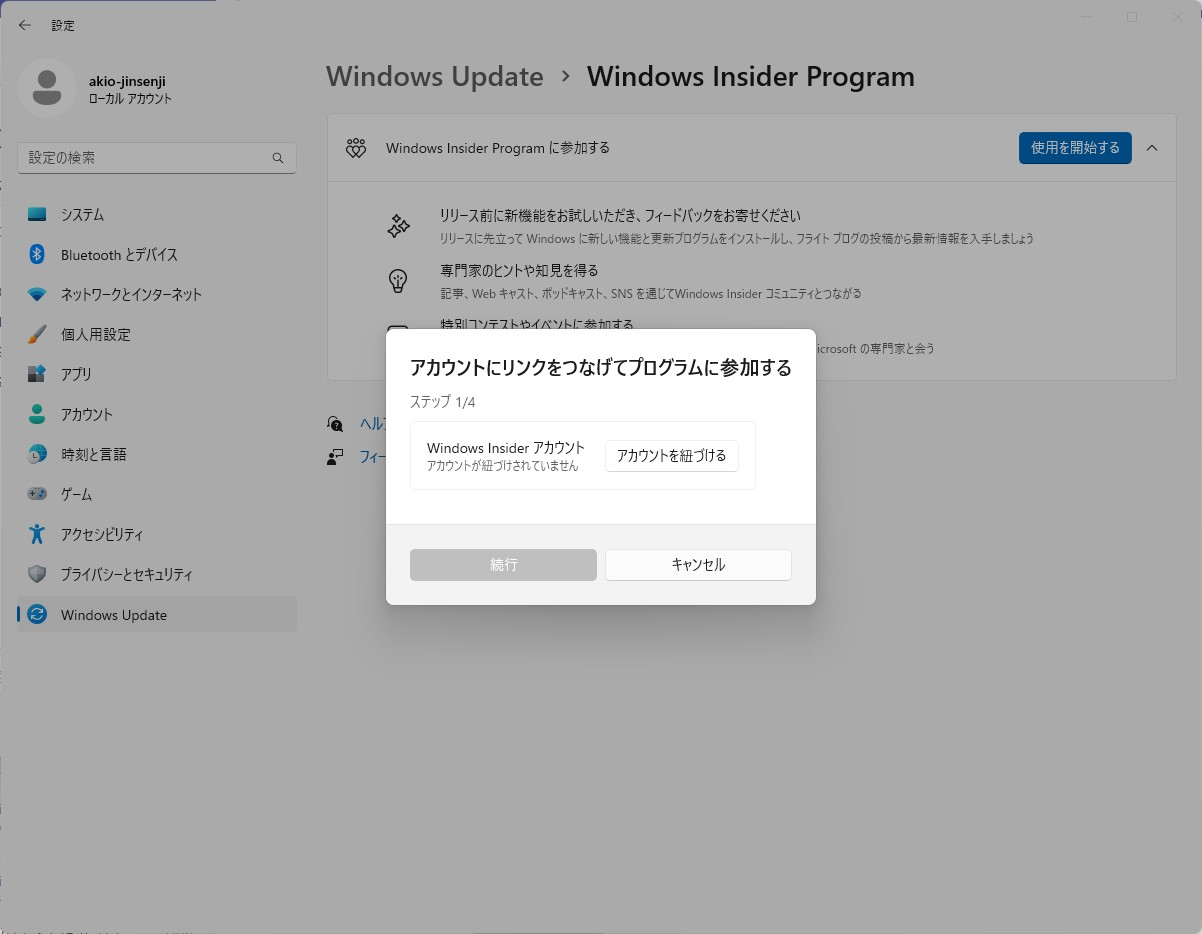
普段通り AAD でサインインを行います。
Windows Insider Program の初期設定を行う
次に、Windows Insider Program で参加するチャンネルを選択します。
今回は Dev Channel に登録することで、Dev Drive が使用できるようになりますので、Dev Channel を選択します。
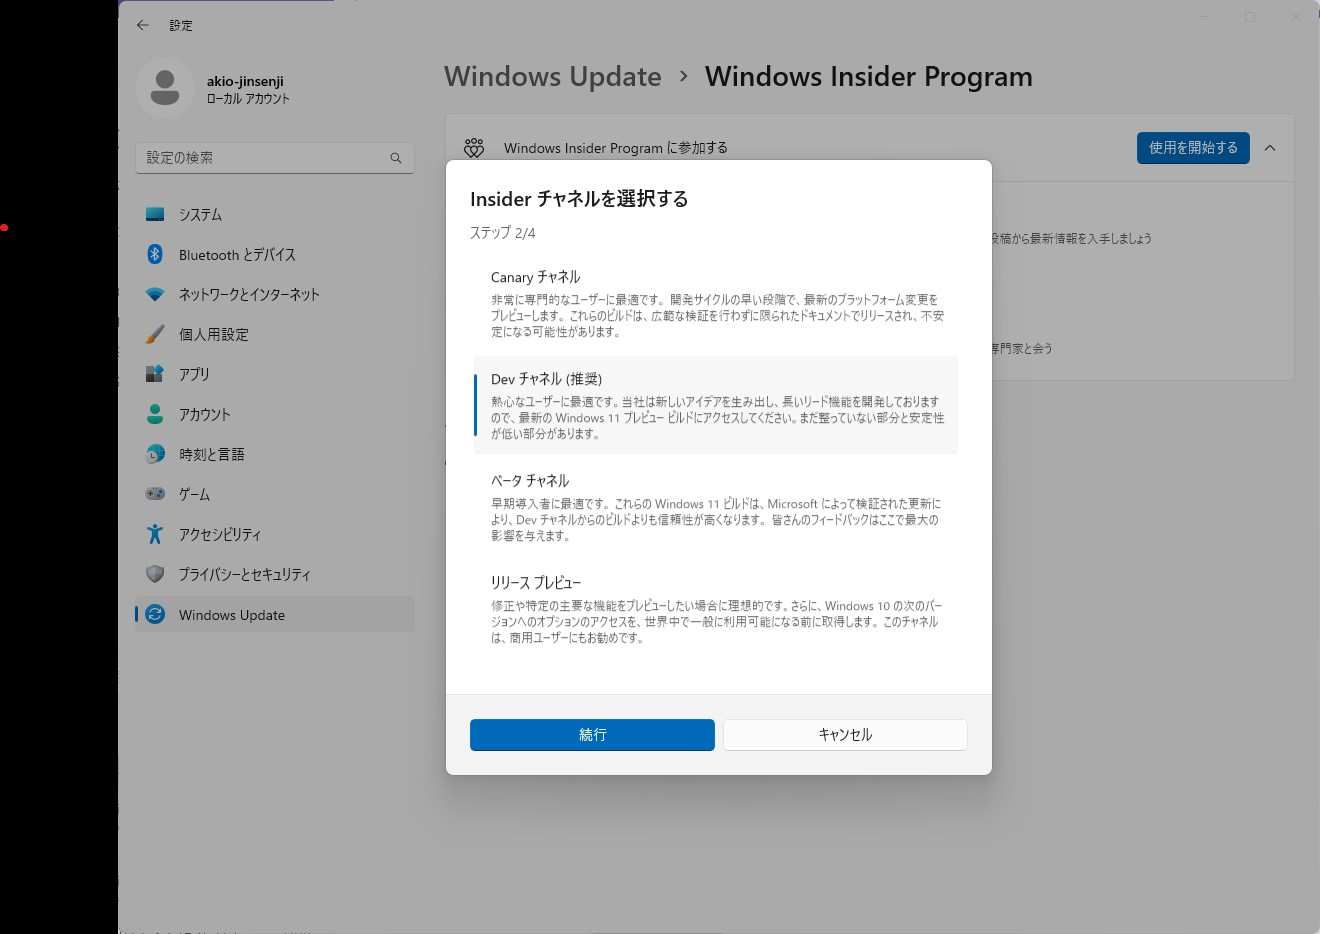
「続行」をクリック。
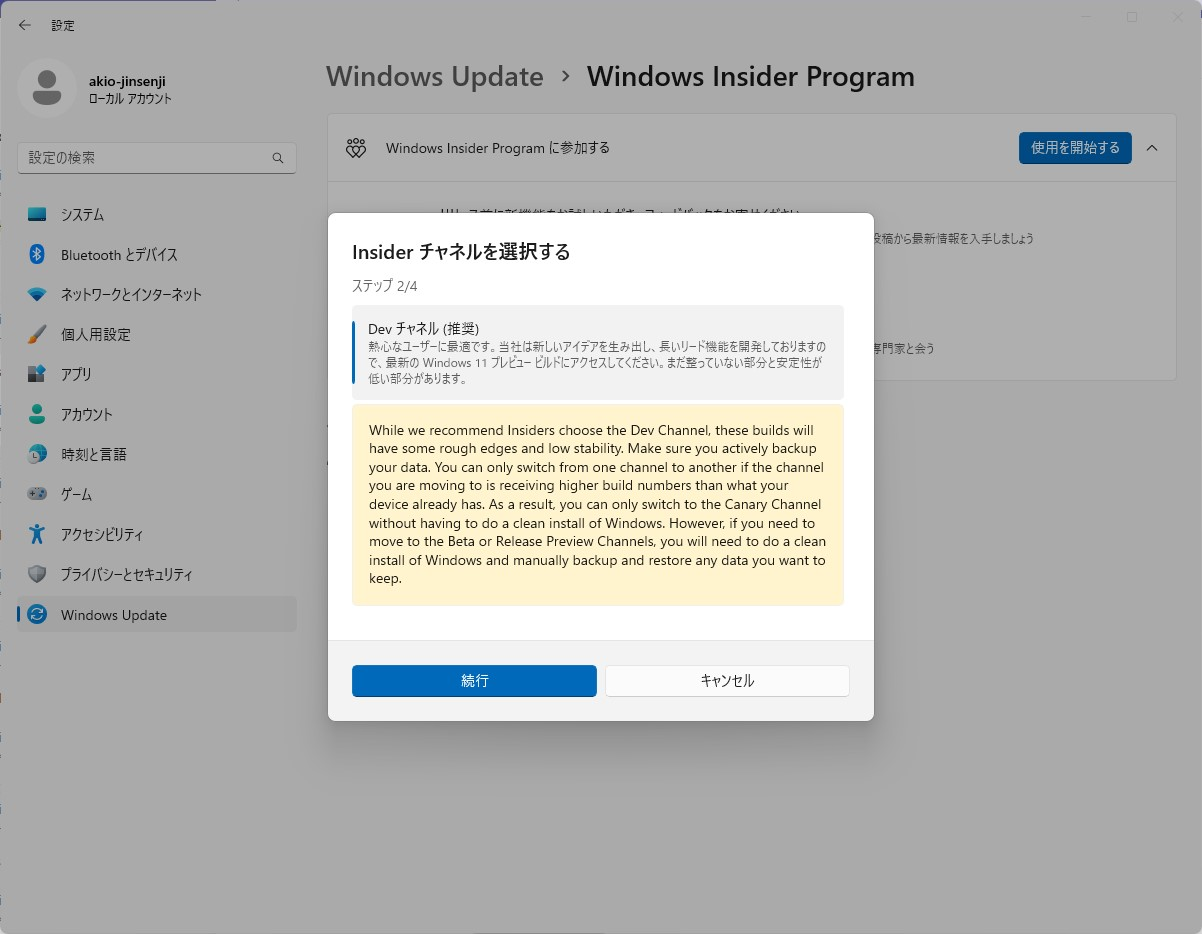
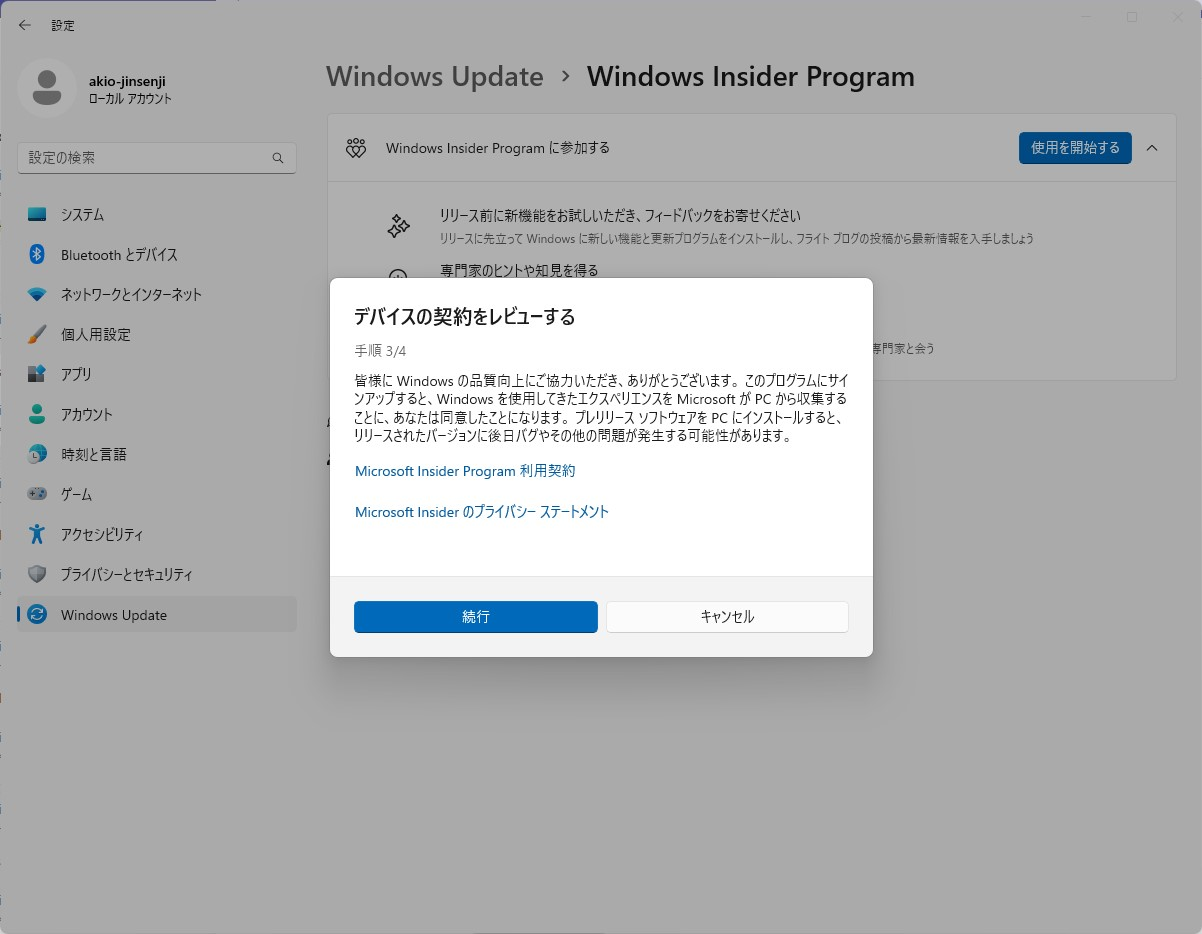
こちらでも Microsoft Insider Program 利用契約に同意する必要があります。「続行」で同意したと見なされます。
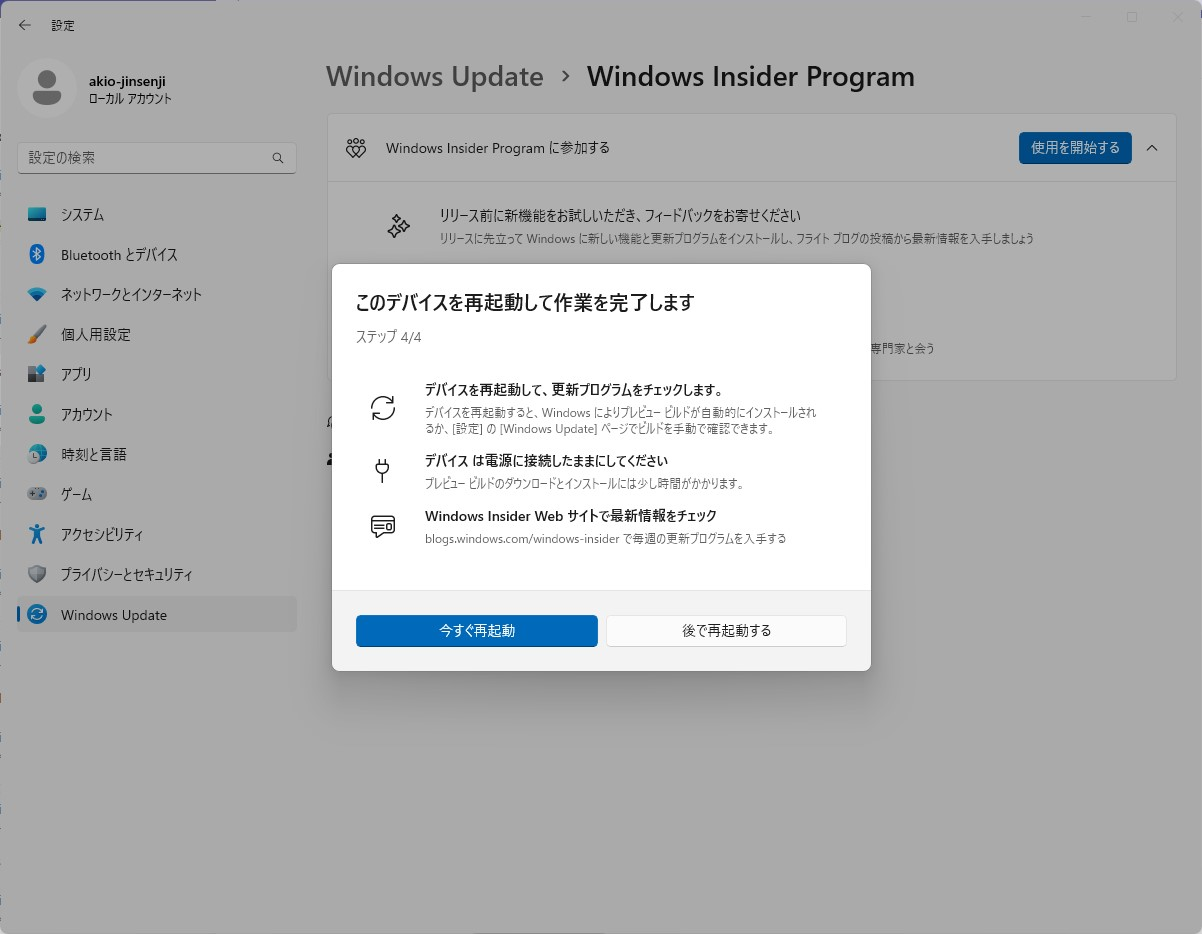
これで初期設定は完了しましたので、デバイスを再起動して、設定の更新を行います。
再起動を行わないと、Dev Drive の設定が反映されず、この後に紹介する Dev Drive のドライブが選択できません。
Dev Drive の設定
再起動が完了すると、先程の「ディスクとボリューム」の画面を開くと、以下のに項目が増えていると思います。
- Create a virtual hard disk (VHD)
- Create a Dev Drive
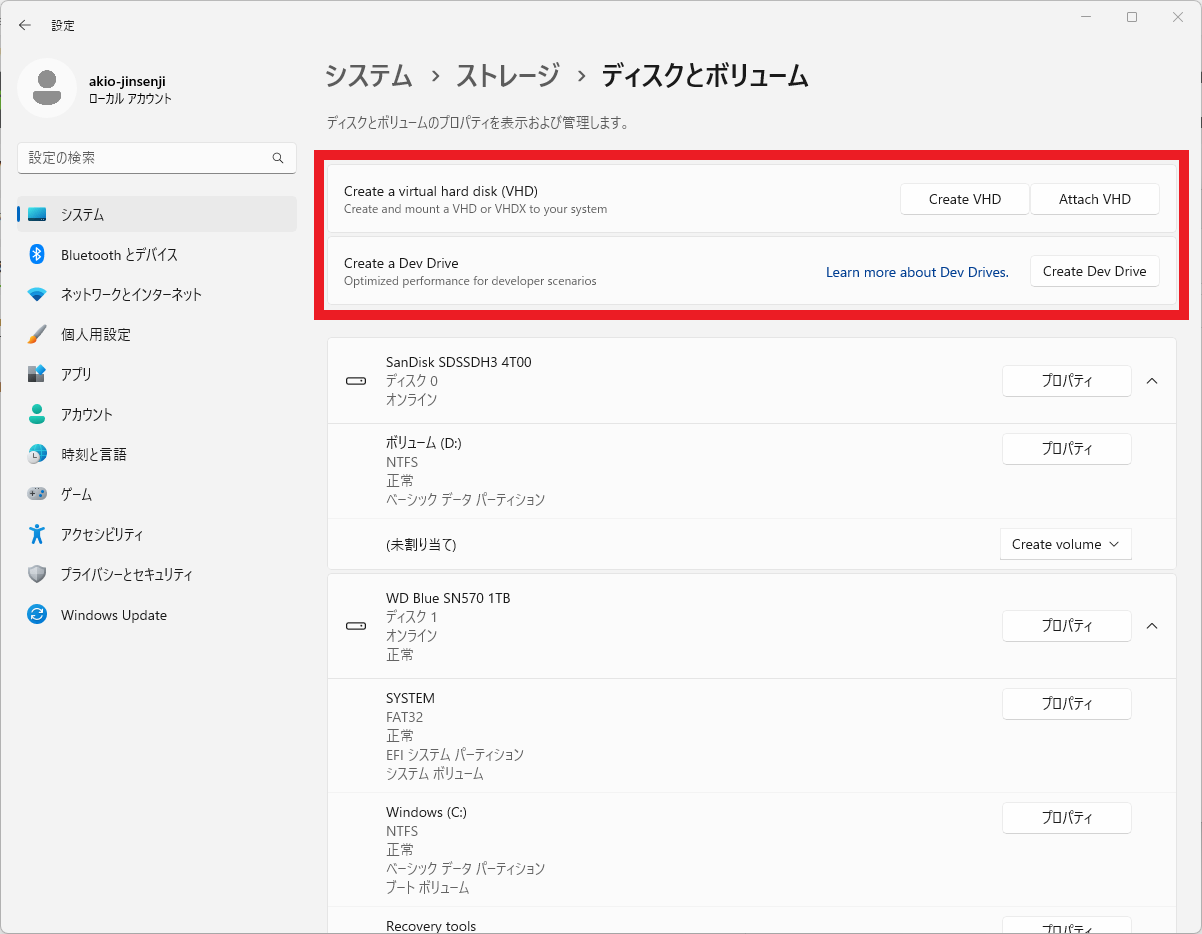
今回は、「(未割り当て)」に新しく Dev Drive のボリュームを割り当てを行いますので、未割り当ての右側の「Create volume」を選択します。
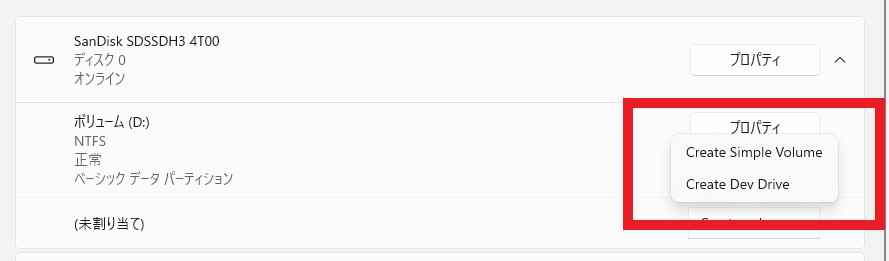
そうすることで上記のように、ボリュームのタイプを選択できるドロップダウンが出ますので、「Create Dev Drive」を選択します。
次に Dev Drive の設定を行います。
- ボリューム名
- ドライブ文字
- 容量
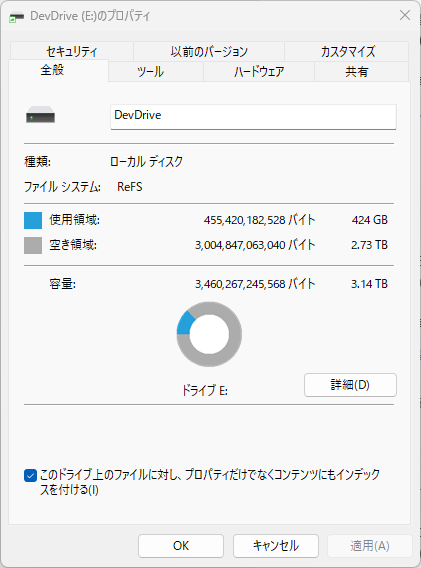
今回は未割り当ての容量は 3TB ほど空けましたので、それを全て割り当てています。
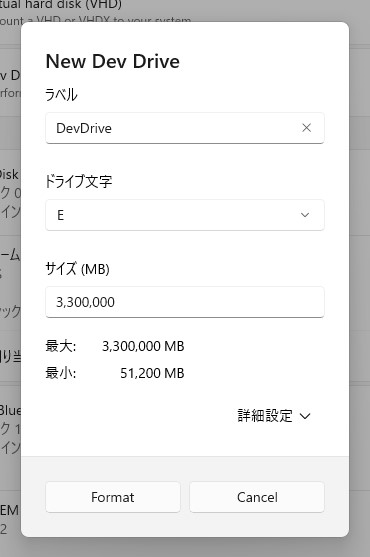
「Format」をクリックすると、すぐにボリュームの割り当てが完了します。
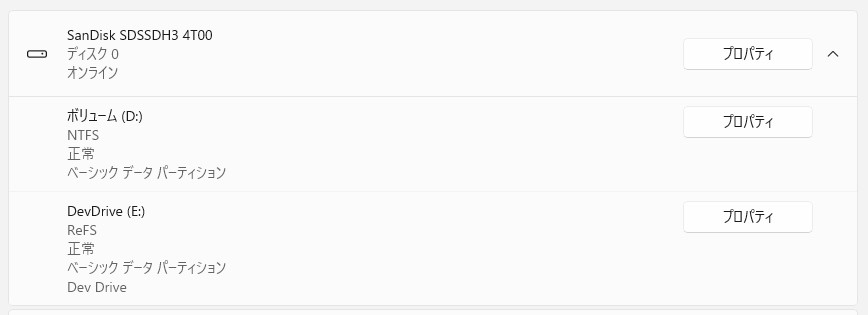
以下のように、エクスプローラー上でもボリュームとして認識しています。

ファイルシステムは NTFS ではなく ReFS です。
Dev Drive is based on the Resilient File System, which, combined with a new performance mode capability in Microsoft Defender for Antivirus, offers up to 30% file system improvement in build times for file I/O scenarios. The new performance mode is more secure for your workloads than folder or process exclusions, providing an ultimate solution to balance security with performance.
以上で Dev Drive の設定が完了です。
Dev Drive の注意点
Dev Drive は複数作成することが出来ず、端末の中では一つしか作れませんので注意してください。
さいごに
今回は Dev Drive の設定の紹介をしましたが、まだ使い始めたばかりですので、パフォーマンスについては計測できていませんが、しばらく使ってみて感想でも書けるタイミングがあれば書きます。
とりあえず、一番面倒なのは、通常はストレージに未割り当ての領域なんてないと思います。その領域を空けるというのが手間ですので、これは新しい端末のキッティングの時にやるべきものかな?と。その手間を上回るようなパフォーマンスが上がるようであれば、嬉しいのですが…。