件の通り。初心者向けだと思います。nodeサーバーをローカルに立てて、そのサーバーへスクレイピングを走らせます。
(時短でとにかく立てたい人は記事の一番下にコードサンプルを置いているExpressJSのやり方がオススメです。学習もかねてであれば最初から読んだ方が良いと思います。)
nodeで色々とやる上でlocal上でできればサクッと動かしてみたい人は多いと思いますがnodeサーバーサイドでそうした気の利いた?記事はなかったのでまとめました。
献立
①. nodeを実行する環境を準備する
②. nodeサーバーでホスティングするページを準備する
③. nodeサーバーを立てるコードを書いて実行する
④. スクレイピング用のコードを書く
①. nodeを実行する環境を準備する
任意のところでnodeServerなど適当な名前でファイルを作成してそのディレクトリへ移動します。
mkdir nodeServer
cd nodeServer
node自体が入っていない場合は「node 実行環境」などでググりましょう。
今回はシンプルに扱えるscraperjsのライブラリを使用します。
作成したディレクトリ上でインストールします。
yarn add scraperjs
or
npm install --save scraperjs
インストールが完了したらファイルをリロードします
②. nodeサーバーでホスティングするページを準備する
pagesファイルを作成してその中にsample1.htmlとsample2.htmlを置きます
mkdir pages
cd pages

touch sample1.html
touch sample2.html

cd ..
中身は以下のようにします。
<!DOCTYPE html>
<html lang="en">
<head>
  <meta charset="UTF-8">
  <meta name="viewport" content="width=device-width, initial-scale=1.0">
  <title>Document</title>
</head>
<body>
  <h1>サンプル1のページです</h1>
  <h2>このページはaboutとします。</h2>
</body>
</html>
<!DOCTYPE html>
<html lang="en">
<head>
<meta charset="UTF-8">
<meta name="viewport" content="width=device-width, initial-scale=1.0">
<title>Document</title>
</head>
<body>
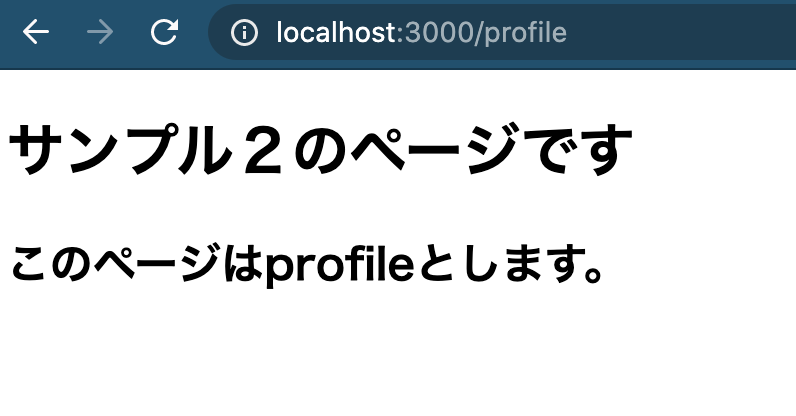
<h1>サンプル2のページです</h1>
<h2>このページはprofileとします。</h2>
</body>
</html>
③. nodeサーバーを立てるコードを書いて実行する
sample1.htmlのみを読み込んでみる
上記のhtmlを読み込むnodeサーバーを立てます。まずは簡易的に説明したいのでsample1.htmlのみを読み込むnodeサーバーを立てます。
まずは親ディレクトリからnodeserver.jsファイルを作成します。
touch nodeserver.js
const http = require('http'); // nodeにデフォルトで入っている http ライブラリ
const fs = require('fs'); // nodeにデフォルトで入っているファイル操作の fs ライブラリ

const server = http.createServer(function(req, res) { //サーバーを作成
  if(req.url === '/about') { // リクエストされたページがaboutの場合にsample1.htmlを呼び出す
    fs.readFile('./pages/sample1.html','utf-8', function(error, data){ //fs.readFile(オプション)でsample1.htmlをutf-8の文字コードとして呼び出す。
      if(error) throw error;
      res.writeHead(200, {'Content-Type': 'text/html'});
      res.write(data); //帰ってきたデータを /about ページへ書き込む
      res.end();
    })
  } else {
    const msg = 'このページは存在しません';
    res.writeHead(200, {'Content-Type': 'text/plain; charset=utf-8'});
    res.write(msg);
    res.end();
  }
});
server.listen(3000); // ポート番号3000でサーバーを起動
次に親ディレクトリから上記コードを実行します
node nodeserver.js
or
node nodeserver
次にブラウザのURLに http://localhost:3000/about と打ってみましょう。

上記の通りHTMLが出力されていればOKです。
switch構文と共にページ毎にHTMLを読み込んでみる
次に各ページを読み込めるようリファクタリングします。
pagesのディレクトリに404.htmlを新たに作成しました。sample1.htmlなどをコピペして文章を好きに改変してください(このページは存在しませんやNOT FOUNDなど)
const http = require('http');
const fs = require('fs');

const renderFunc = (res, data) => { //何度も呼び出す処理を関数へ
  res.writeHead(200, {'Content-Type': 'text/html'});
  res.write(data);
  res.end();
  return;
}

const server = http.createServer(function(req, res) {
  switch(req.url) {
    case '/about':
      fs.readFile('./pages/sample1.html','utf-8',function(error, data){
        if(error) throw error;
        renderFunc(res, data);
      })
      break;
    case '/profile':
      fs.readFile('./pages/sample2.html','utf-8',function(error, data){
        if(error) throw error;
        renderFunc(res, data);
      })
      break;
    default:
      fs.readFile('./pages/404.html','utf-8',function(error, data){ //例外ページ
        if(error) throw error;
        renderFunc(res, data);
      })
      break;
  }
});
server.listen(3000);
再度立ち上げ直しましょう。以下を読み込めていればOKです。

このサーバーは立てたままにします。
当然ながら立てたサーバーに対して任意のアクションを起こせます。
今回はスクレイピングしてみましょう。
④. スクレイピング用のコードを書く
立てたサーバーのHTMLへ向けてスクレイピングの準備をします。そのためのファイルを作成しましょう。
touch scraping.js
親ディレクトリにscraping.jsを作ります。
const scraperjs = require('scraperjs');
const pages = ['about', 'profile']; // 対象にしたいページの配列

pages.map(page => { // map関数で順番にpagesを取り出す
  const url = `http://localhost:3000/${page}`;
  scraperjs.StaticScraper.create(url).scrape(($) => { // scraperjsのStaticScraperメソッドを使いスクレイピング
    let title = $('h1').text(); // jQueryを使うr
    let description = $('h2').text();
    return {title, description};
  }).then(result => {
    return  console.log(result);
  }).catch((error) => {
      console.error('Error:', error);
  })
})
コマンドラインに以下のオブジェクトが出力されました。
node scraping.js
{ title: 'サンプル1のページです', description: 'このページはaboutとします。' }
{ title: 'サンプル2のページです', description: 'このページはprofileとします。' }
壁打ちにする
他に使ってみたいライブラリやモジュールがあれば別にファイルを作って壁打ちできます。
おまけ:ExpressJSでサーバーを立てる場合
同じことをしているわけですがかなりスッキリと書けます。このサーバーでもscraping.jsを走らせることができます。
(yarn add express もしくは npm install --save express でライブラリはインストールしましょう。)
const express = require('express'),
  app = express();

app.set("port", 3000);

app.get("/about", (req, res) => {
  res.sendFile(__dirname + "/pages/sample1.html");
});
app.get("/profile", (req, res) => {
  res.sendFile(__dirname + "/pages/sample2.html");
});
app.get('*', function(req, res){
  res.sendFile(__dirname + "/pages/404.html");
});

app.listen(app.get("port"), ()=>{
  console.log(`Server リスナ:
  ${app.get("port")}監視中`);
})