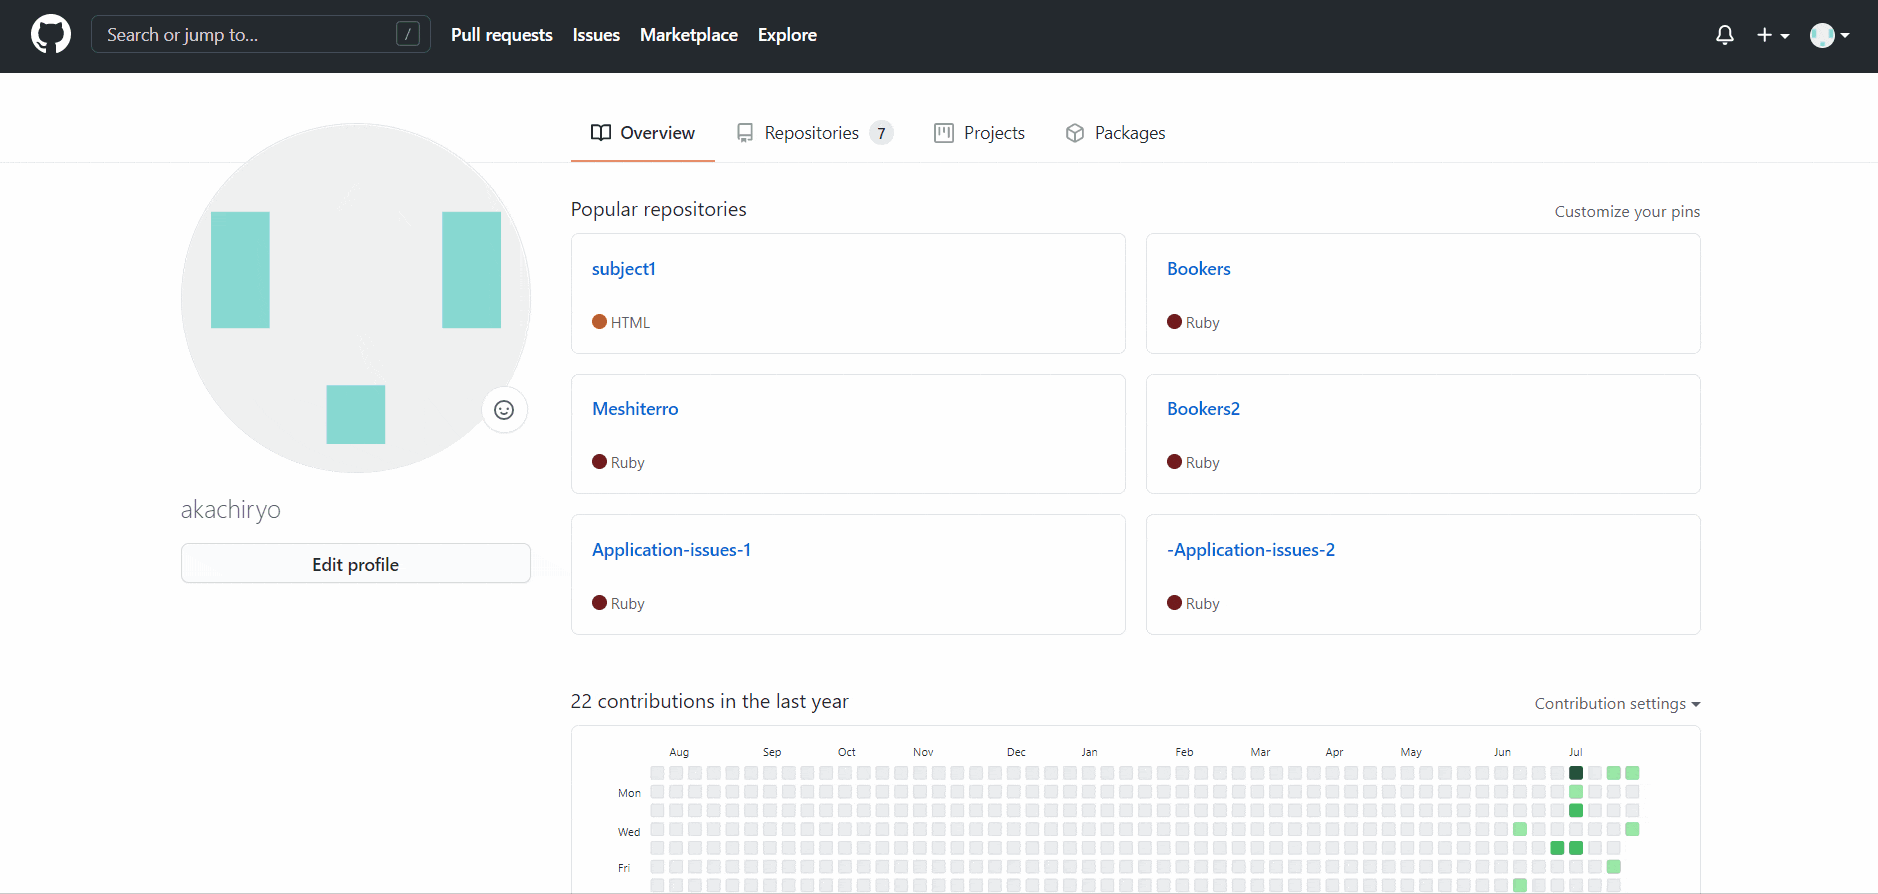
ダウンロード成功画面
手順
①githubでリモートリポジトリを作成する
②ローカルリポジトリを作成
③変更履歴を保存
④ローカルリポジトリとリモートリポジトリを紐づけ
⑤masterブランチをmainブランチに変更
⑥リモートリポジトリへPush
①githubでリモートリポジトリを作成する
titleというリモートリポジトリを作成

- Githubで右上の**+**をクリックし、New repository画面に移動
- Repository nameに任意の名前を付ける。
- 下のCreate repoitoryをクリック
リモートリポジトリができました。
②ローカルリポジトリを作成
terminal
$ cd file名
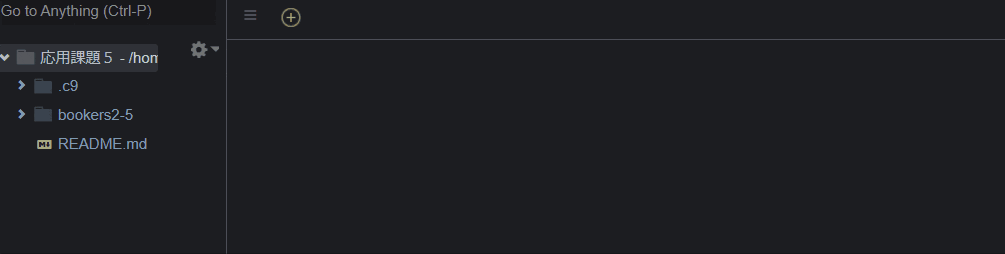
$ cd bookers2-5 #bookers2-5をGithubにアップロードします。
ターミナルを開き、アップロードしたいフォルダに移動します。
terminal
$ git init
ディレクトリ(ファイル)にローカルリポジトリを作成する。
③変更履歴を保存
terminal
$ git add 変更したfile名
$ git add .  #.を入力すると全てのfileの変更履歴を保存します。
変更履歴を残します。
terminal
$ git commit -m "何を変更したかわかりやすいコメント"
$ git commit -m "Initial Commit" #Githubに初めてアップロードするときによく使われるコメントです
変更履歴を保存します。
④ローカルリポジトリとリモートリポジトリを紐づけ

リモートリポジトリURLをコピーする。
※今回はSSHキーで紐づけします。事前にSSH接続を済ませておきましょう。
terminal
$ git remote add origin リモートリポジトリURL
$ git remote add origin git@github.com:akachiryo/title.git
ローカルリポジトリとリモートリポジトリを紐づけができました。
⑤masterブランチをmainブランチに変更
terminal
$ git branch -M main
ブランチの変更ができました。
⑥リモートリポジトリへPush
terminal
$ git push origin ブランチ名
$ git push origin main #今回のブランチ名はmain
これでGitHubにPushができました。
ダウンロード成功画面でアップロードできているか確認しましょう。