はじめに
書籍に沿って引き続き進めていきます。
温度センサー
サーミスタが有名ですが、温度と内部抵抗が比例していないため扱いづらいので、LM60BIZを使用します。
LM60BIZは温度と出力電圧がある程度比例しています。
複合気象センサーも使用します。
LM60BIZの仕様書を見てみると、計算式は
VO=(+6.25 mV/°C× T °C)+424 mV
なるほど、、0度のときに424mVになるわけですね。
1度につき∓6.25mVになるみたいですね。
使用部品
- PSoC 5LP
- LM60BIZ
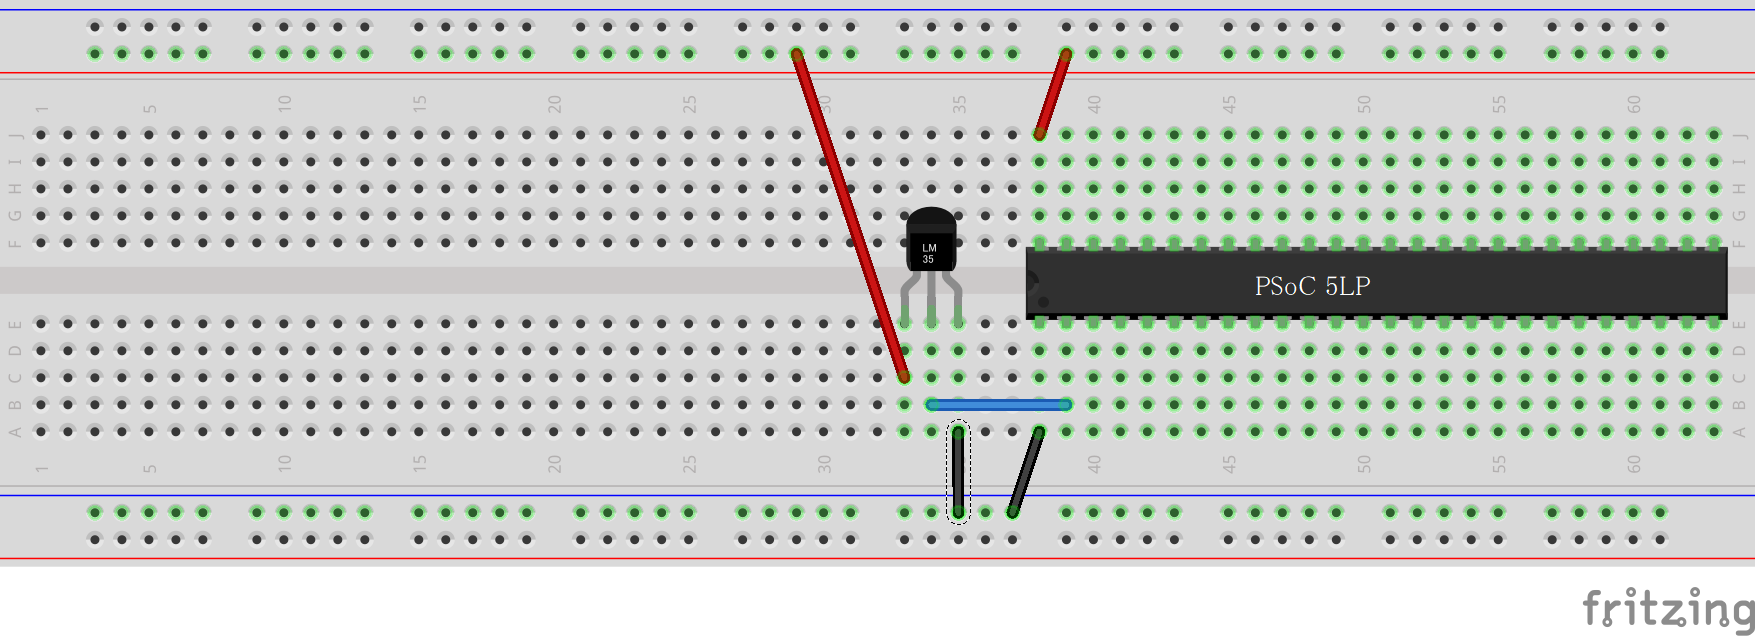
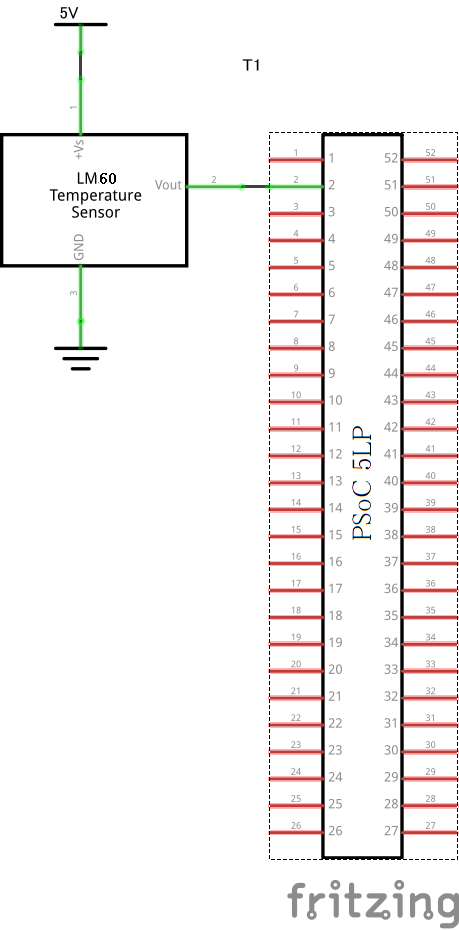
回路図
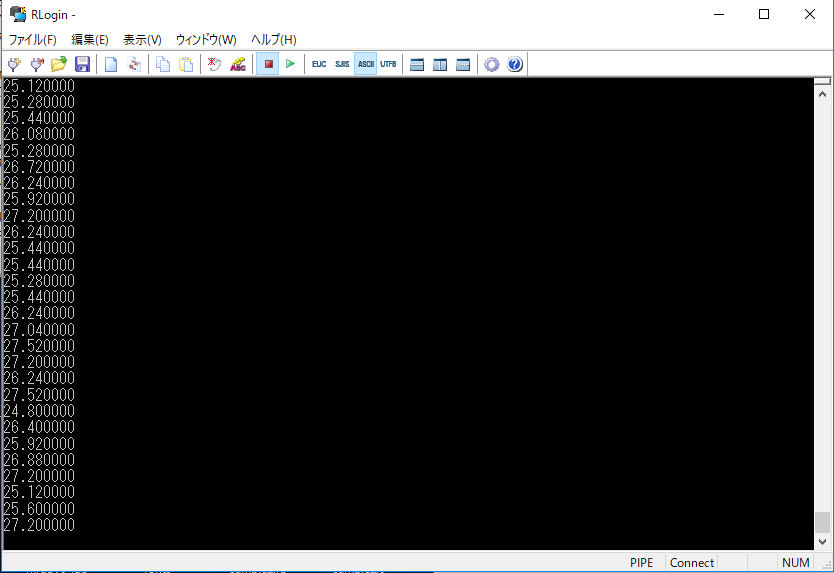
プログラム
温度をコンソール出力するプログラムですが、ここで私は罠にはまりました(´・ω・`)
PSoCさんはなぜか小数点以下を扱ってくれませんでした。
設定を追加
Project => Build Settings => Linker => General => Use newlib-nano Float Formatting を Trueへ変更。
Workspace Explorer => System => HeapSize を0x400へ変更。
# include "project.h"
# include "stdio.h"

int main(void)
{
    CyGlobalIntEnable;
    ADC_Start();
    UART_1_Start();
    for(;;)
    {
      ADC_StartConvert();
      while(ADC_IsEndConversion(ADC_RETURN_STATUS) == 0);
      int val = ADC_GetResult16();
      //valは16進数なので、電圧値に変換する
      double t = (val * 2048 /4095);
      //計算式
      t = (t - 424) / 6.25;
      char s[255];
      snprintf(s, 255, "%f\n", t);
      UART_1_PutString(s);
      CyDelay(1000);
    }
}


