概要
Ubuntu 18.04にRails4.2をインストールする手順のメモです。
類似記事は大量にあるので、自分なりの作業履歴として残します。
前提
-
rubyはinstall済み
- rbenvなどで必要なバージョンを用意しておくと良い
- 参考: https://qiita.com/kazoo04/items/289c4f6a8501df3a7359
- 今回は
ruby 2.4.4p296 (2018-03-28 revision 63013) [x86_64-linux]を使います
-
MySQLはインストール済み
- apt-getでinstall
- 参考: https://qiita.com/donaldchi/items/afeabaffc8be39577ef0
- 今回は
mysqld Ver 5.7.22-0ubuntu18.04.1 for Linux on x86_64 ((Ubuntu))を使います
Railsのインストール
準備
bundler を使うのでinstallしておきます。
$ gem install bundler
Railsのインストール
Gemfileの作成とrailsの追記
今回は4.2をインストールします。
$ mkdir rails-project
$ cd rails-project
$ bundle init
# 出力省略
$ echo 'gem "rails", "4.2.10"' >> ./Gemfile
bundle install
$ bundle install --path vendor/bundle
# 出力省略
$ bundle exec rails new ./ -d mysql
# 出力省略
必要に応じて以下を実行する(gem mysql2 に必要)
$ sudo apt-get install libmysqlclient-dev
MySQLを使う設定
MySQL側の設定
ユーザの追加
mysql> create user rails identified by 'rails';
Query OK, 0 rows affected (0.00 sec)
config/database.yml の更新
追加したユーザに合わせて username 、 password を更新する。
適宜 database も更新する
# MySQL.  Versions 5.0+ are recommended.
#
# Install the MYSQL driver
#   gem install mysql2
#
# Ensure the MySQL gem is defined in your Gemfile
#   gem 'mysql2'
#
# And be sure to use new-style password hashing:
#   http://dev.mysql.com/doc/refman/5.0/en/old-client.html
#
default: &default
  adapter: mysql2
  encoding: utf8
  pool: 5
  username: rails
  password: rails
  socket: /var/run/mysqld/mysqld.sock

development:
  <<: *default
  database: rails_development

# Warning: The database defined as "test" will be erased and
# re-generated from your development database when you run "rake".
# Do not set this db to the same as development or production.
test:
  <<: *default
  database: rails_test

# As with config/secrets.yml, you never want to store sensitive information,
# like your database password, in your source code. If your source code is
# ever seen by anyone, they now have access to your database.
#
# Instead, provide the password as a unix environment variable when you boot
# the app. Read http://guides.rubyonrails.org/configuring.html#configuring-a-database
# for a full rundown on how to provide these environment variables in a
# production deployment.
#
# On Heroku and other platform providers, you may have a full connection URL
# available as an environment variable. For example:
#
#   DATABASE_URL="mysql2://myuser:mypass@localhost/somedatabase"
#
# You can use this database configuration with:
#
#   production:
#     url: <%= ENV['DATABASE_URL'] %>
#
production:
  <<: *default
  database: rails_production
  username: rails
  password: <%= ENV['SOLIDUS-EXAMPLE_DATABASE_PASSWORD'] %>
rake db:create
$ bundle exec rake db:create
エラーが出るなら対応して再実行。参考: https://qiita.com/Thort/items/f7204832ea7bc704d677
確認
以下コマンドでサーバを起動しブラウザでアクセスできればOKです。
(vagrantなどの仮想環境を使っている場合は -b 0.0.0.0 オプションが必要かもしれない)
$ bundle exec rails server -b 0.0.0.0
補足
Rails5の場合も同様の手順でinstallできます。
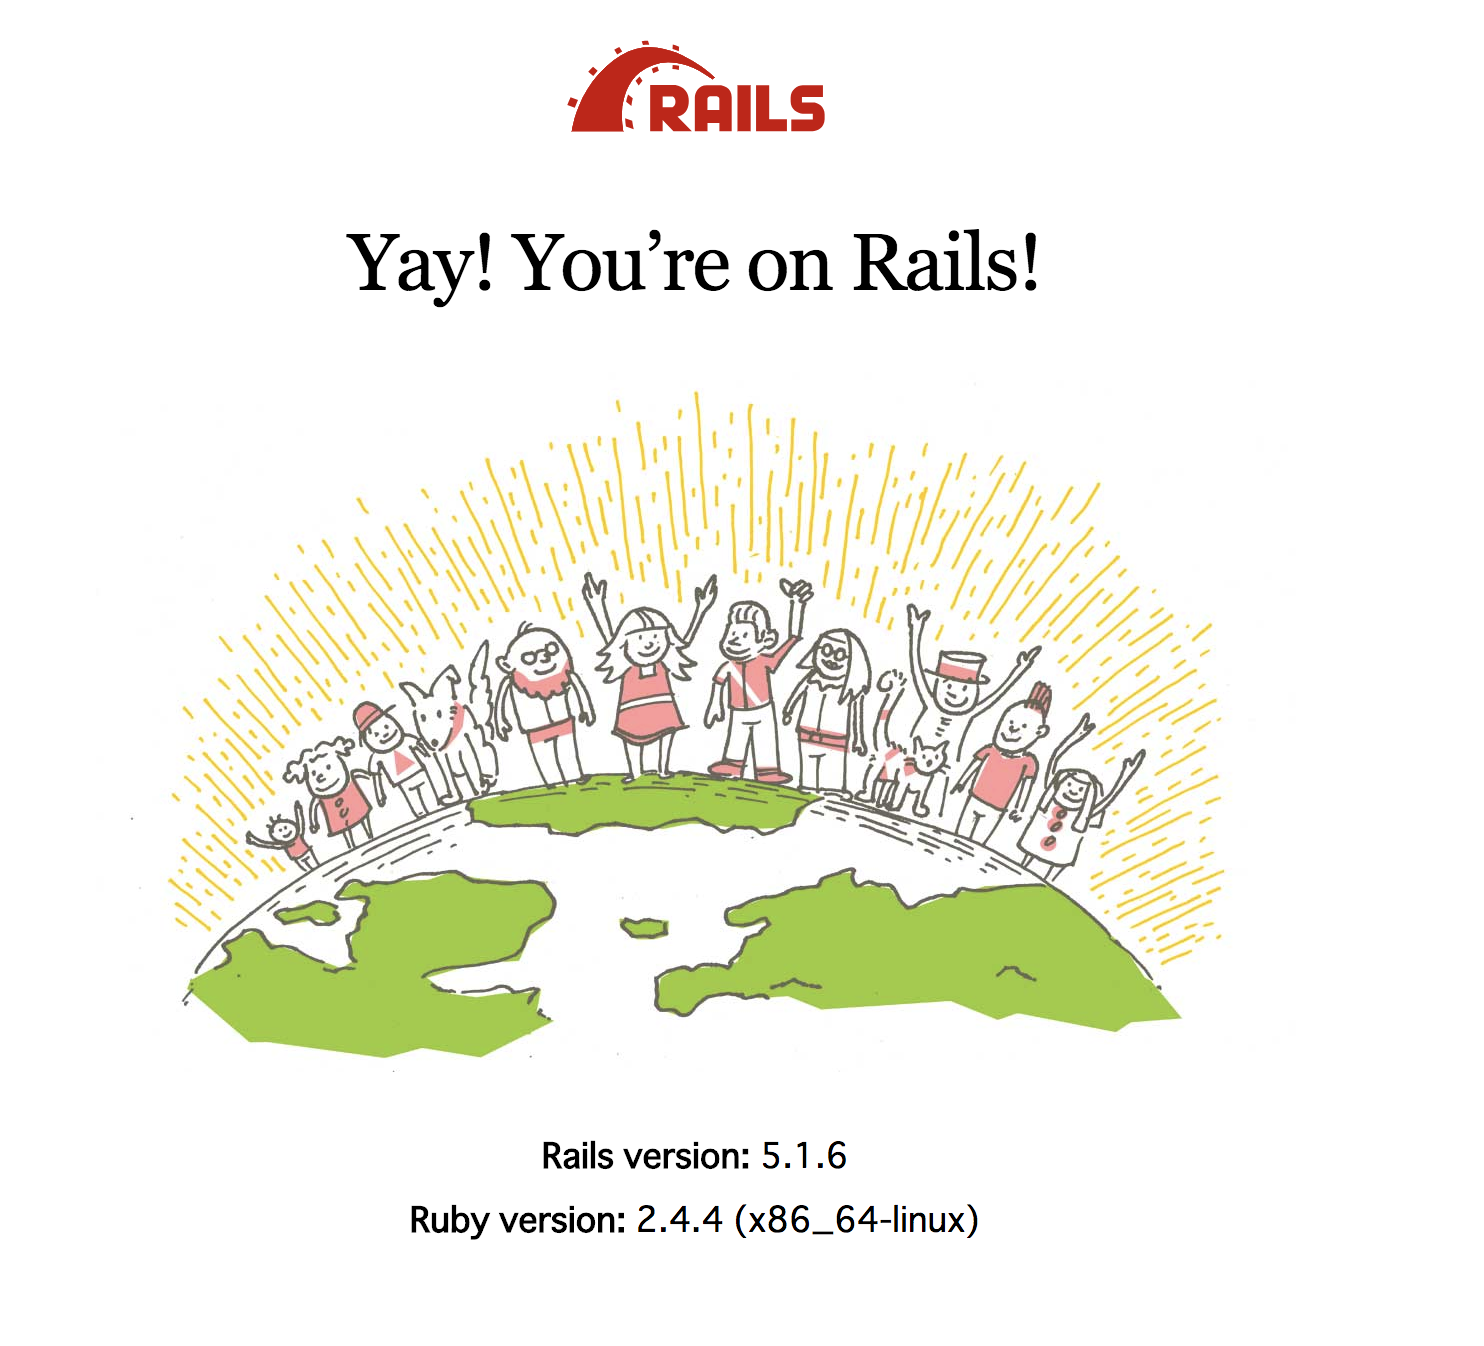
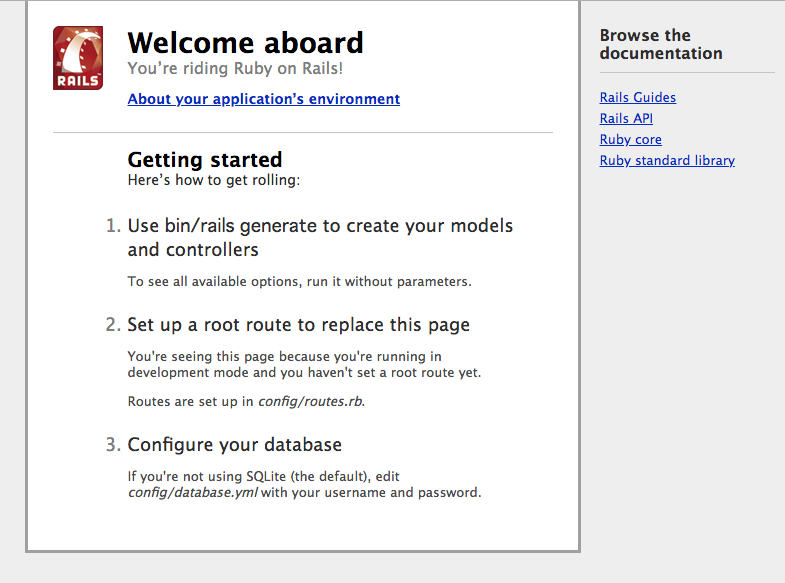
で表示される画面は以下の通りでした