新しくMacを買ったフロントエンジニアが、戸惑うことなく初期設定と開発環境をと整えることができるように自分の設定を公開します。
・Macの設定の巻
・おすすめソフトの巻
Macの設定の巻
・Wifi
・ディスプレイ
・省エネルギー(バッテリーの設定)
・キーボード
・スマート引用符とスマートダッシュの無効化(1/25追記)
・トラックパッド
・共有の設定(コンピューター名の変更)
・日付と時刻
・セキュリティとプライバシーx
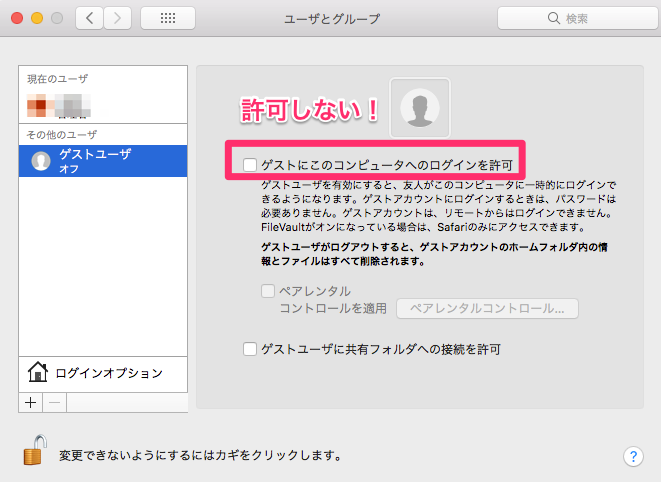
・ユーザとグループ(セキュリティのため)
・dock
・Finder
・デスクトップのアイコンをグリッドに沿うように設定
・ミッションコントロール(1/25追記)
Wifiの設定

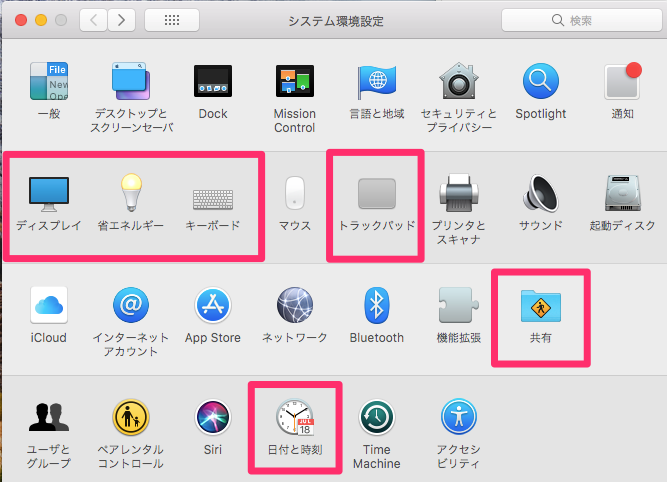
「システム環境設定」の設定

▼以下の項目を設定していきます。
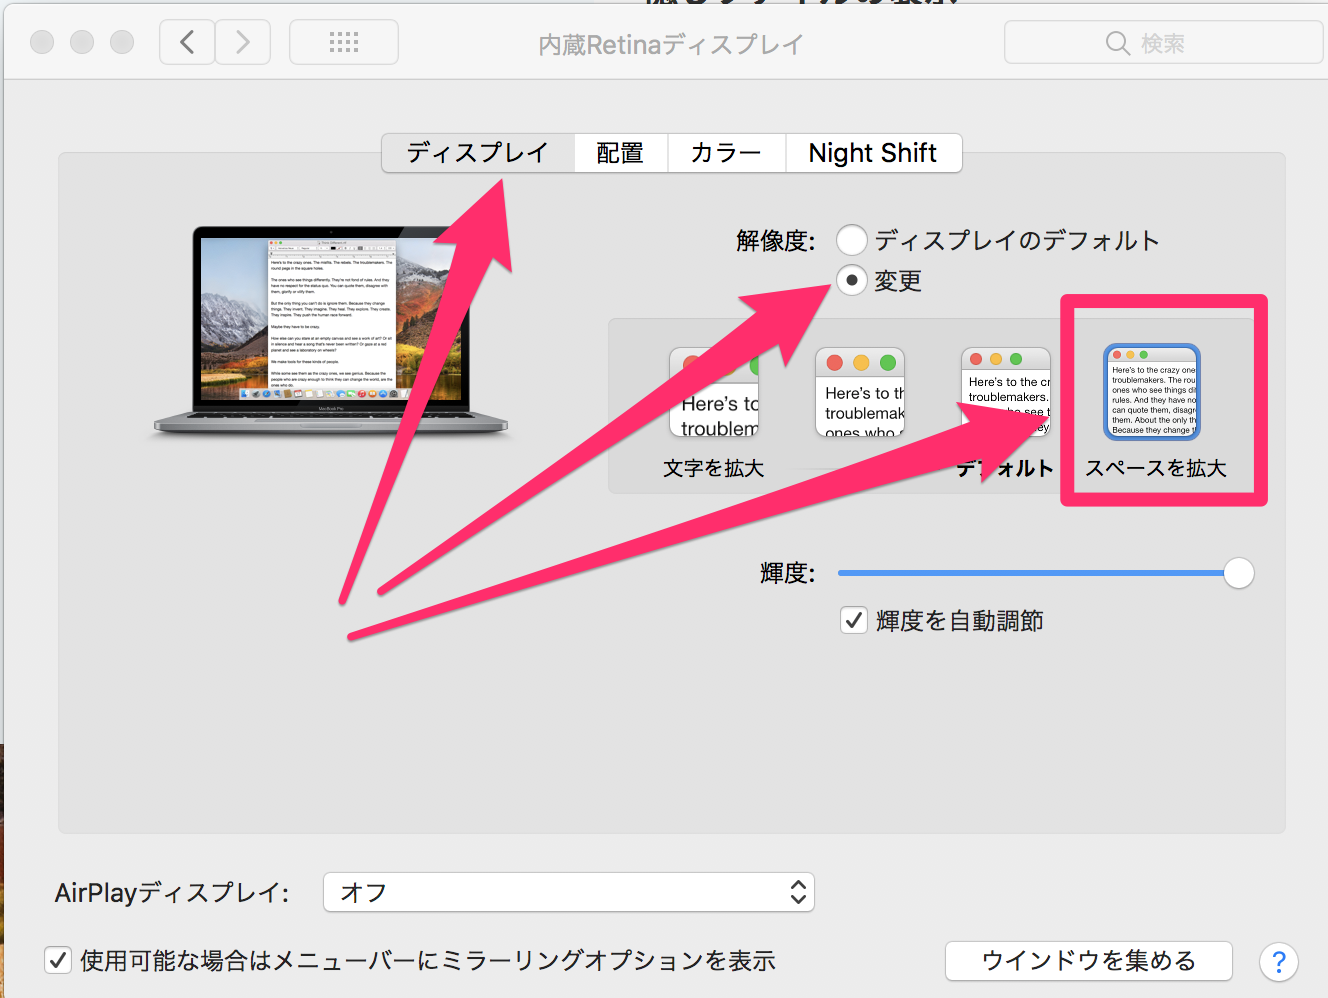
ディスプレイの設定
スペースを拡大させる
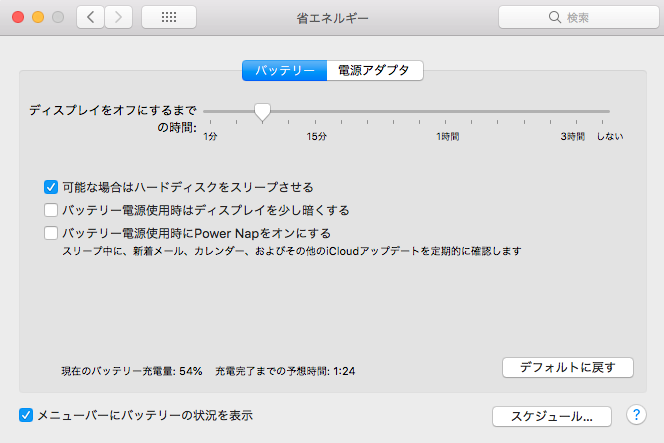
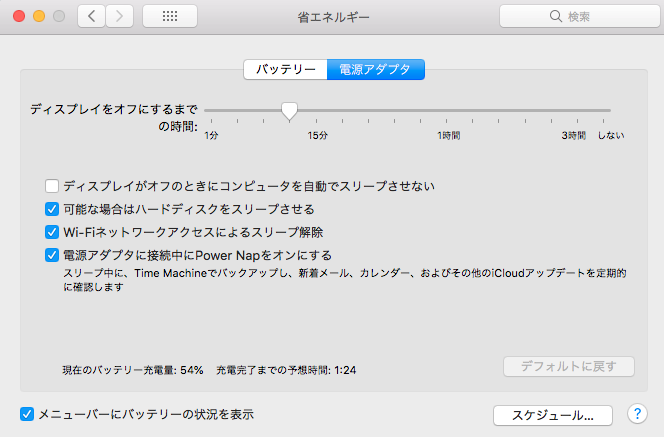
省エネルギーの設定(バッテリーの設定)
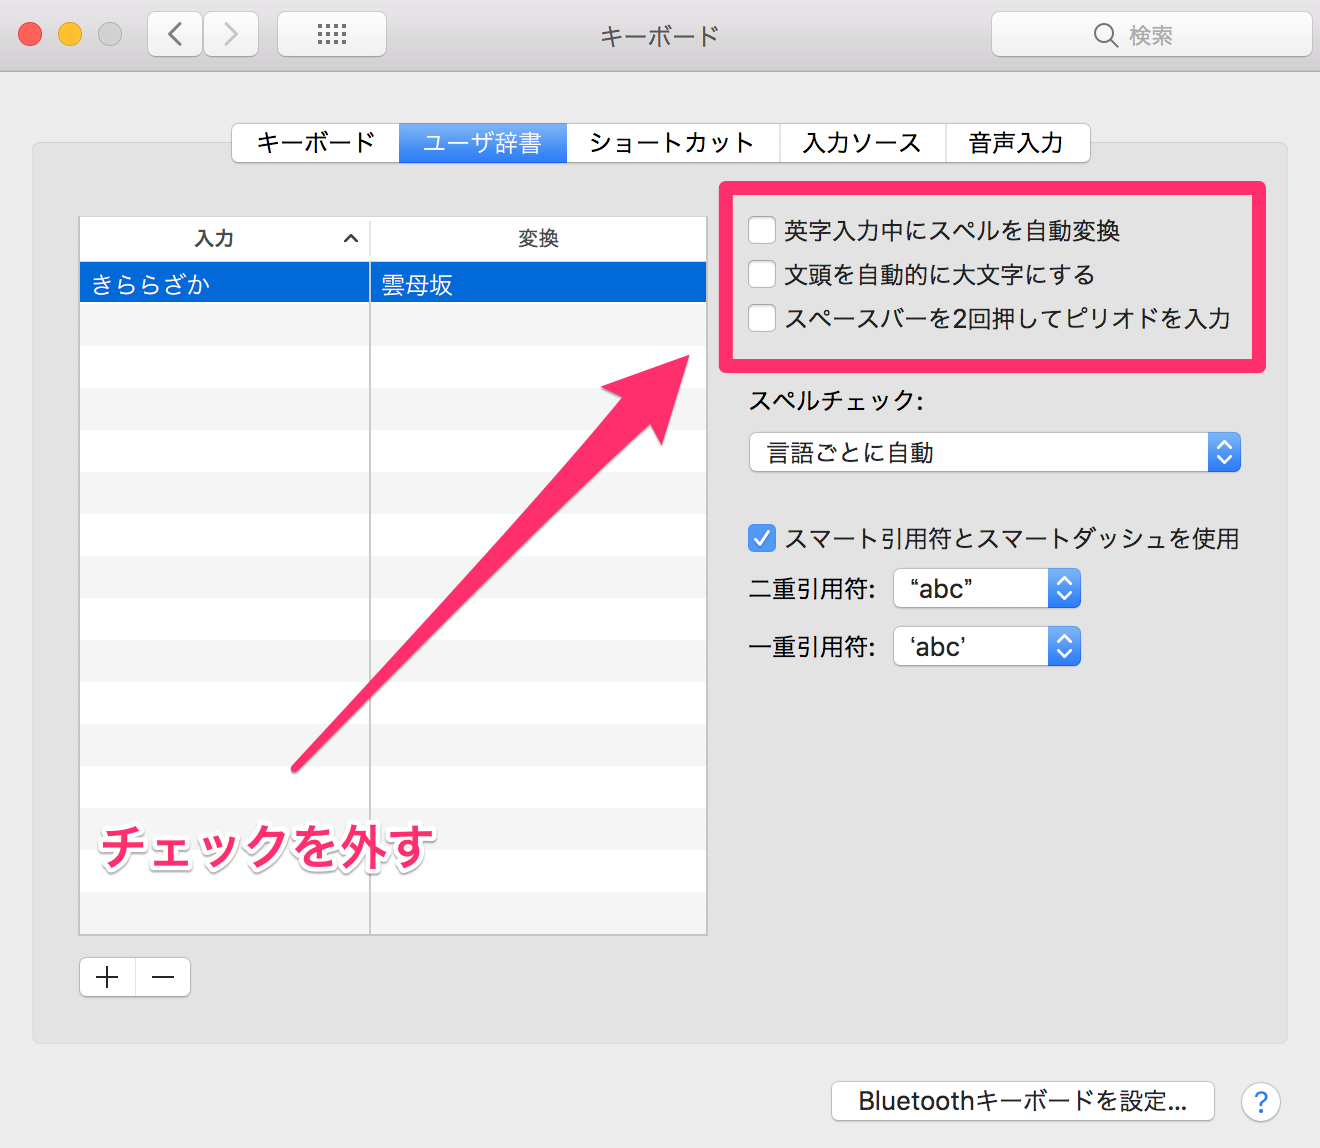
キーボードの設定
▼勝手に大文字に変更されたり、スペルを変更されることを防ぎたいですよね。
これが初期設定なことにイラっと・・・しませんか?
システム環境設定>キーボード>ユーザー辞書
▼「ライブ変換」のチェックを外す
 ※1/25からライブ変換を「ON」にしています。
慣れると、タイピングが超絶早くなるらしいので、おすすめです!
※1/25からライブ変換を「ON」にしています。
慣れると、タイピングが超絶早くなるらしいので、おすすめです!
スマート引用符とスマートダッシュの無効化(1/25追記)


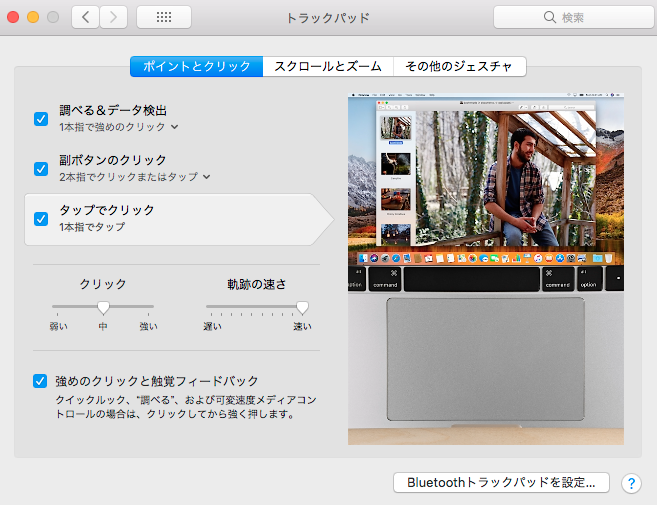
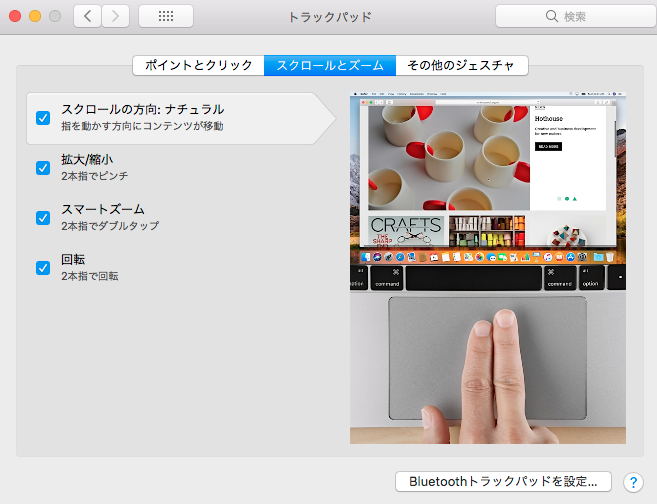
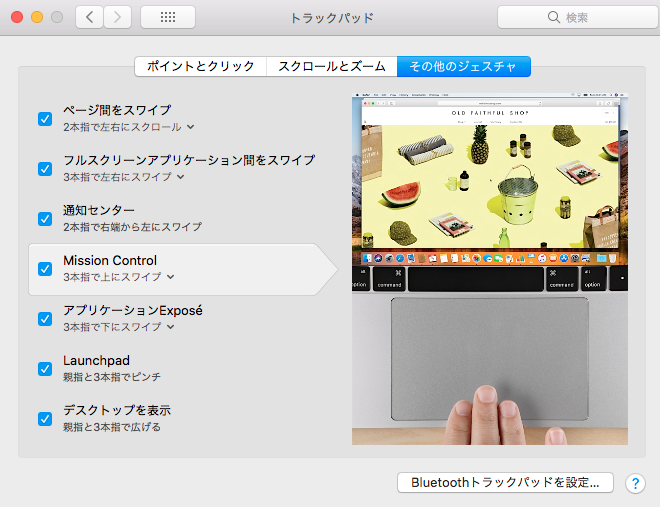
トラックパッドの設定
トラックパッドは一番速くうごくように設定して、あとは全てにチェックを入れます。
・すべて → チェックする
・軌跡の速さ → 速い
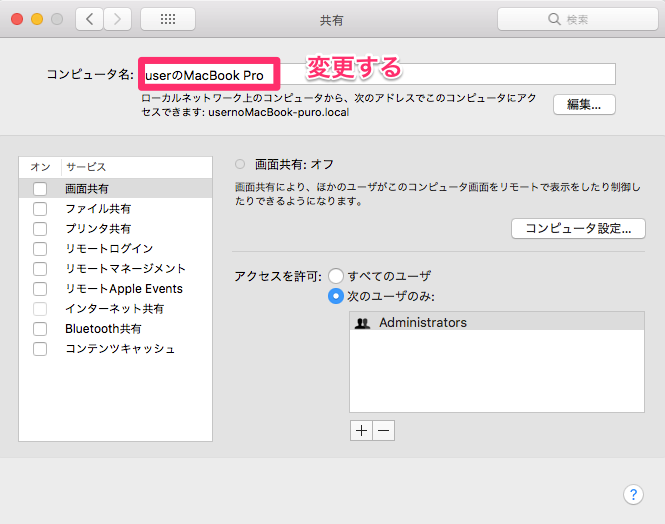
共有の設定(コンピューター名の変更)
システム環境設定>共有
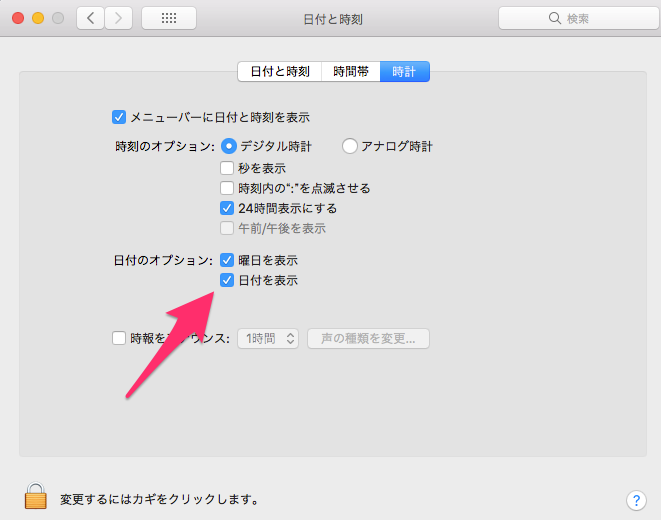
日付と時刻の設定
日付を表示させるようにします。
システム環境設定>日付と時刻>時計
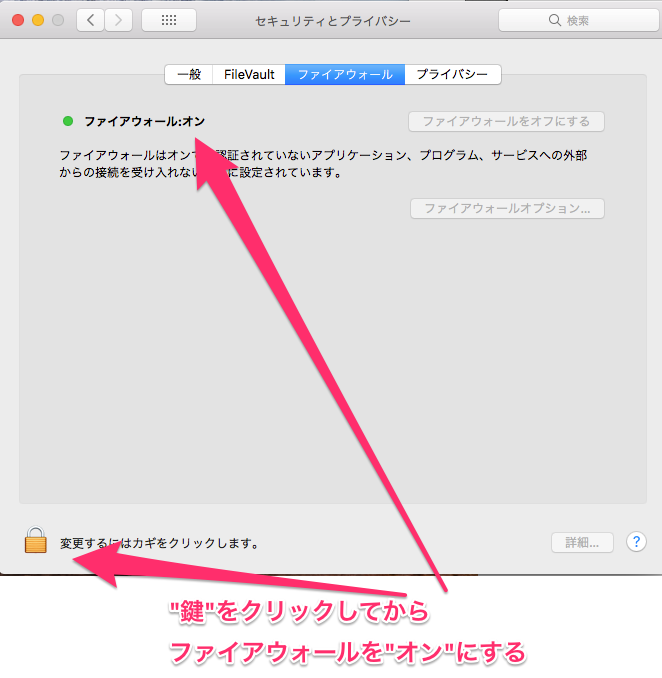
セキュリティとプライバシーの設定
Macのセキュリティーを高めます。
ユーザとグループの設定
dockの設定

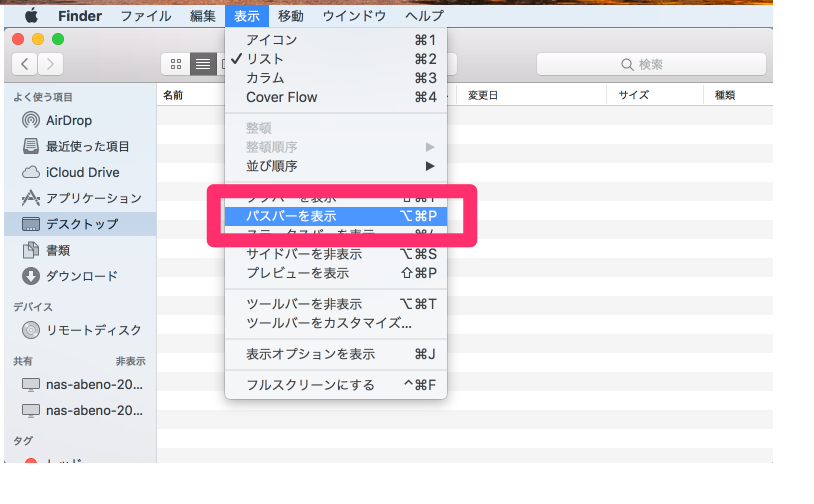
Finderの設定
パスバーを表示させる
Finderをアクティブにした状態でおこなう
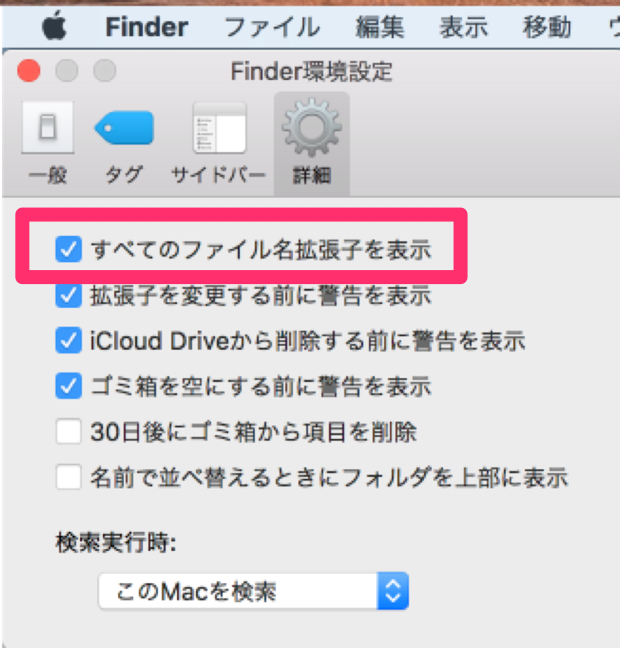
拡張子を表示させる Shift + Cmd + .
Finderをアクティブにした状態で
環境設定>詳細
その他のFinderの設定


デスクトップのアイコンをグリッドに沿うように設定する

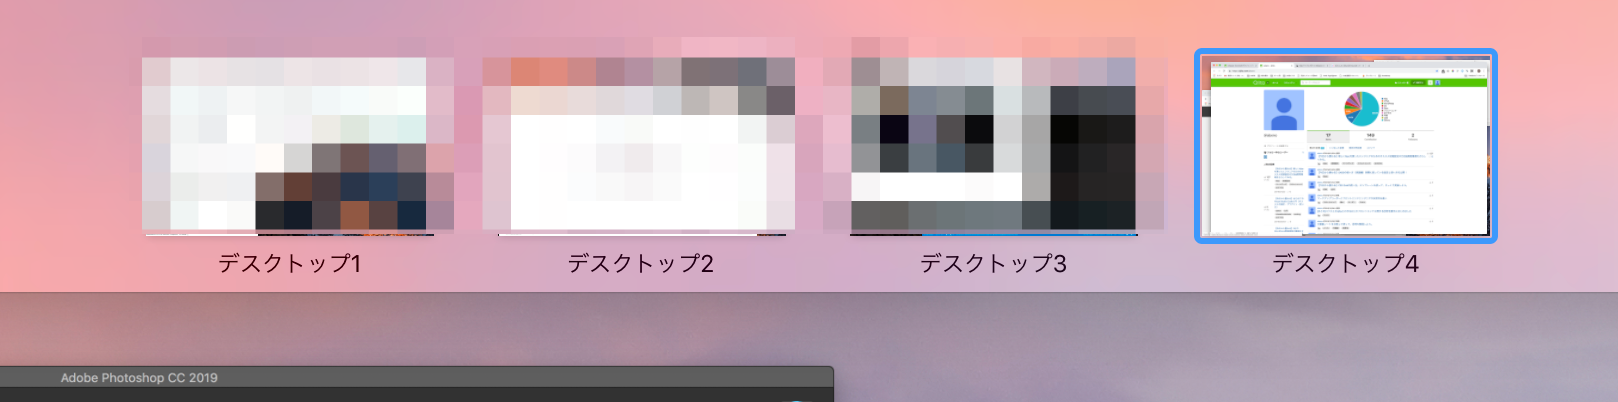
ミッションコントロールの設定(1/25追記)
タッチパネルを三本指で上にスワイプすると出てくるやつです。
勝手に場所を移動する癖のある方。それを解除しちゃいましょう!

これ・・・地味にいいです。不便に思ったらググりましょう!
「ミッションコントロール 設定 便利」
おすすめソフトの巻
・Google Chrome
・Firefox
・Visual Studio Code
・clipy(Mac専用コピペ用ツール)
・skitch(撮る。描き込む。共有する )
・adobe
・PicGIF Lite(「QuickTime Player」と合わせて、GIFを簡単に作る)
・iTerm2(高機能なターミナル)
・SourceTree
・Homebrew
・nodebrew(Homebrewをインストール後)
・Node.js
・Gulp
・docker
Google Chrome
Firefox
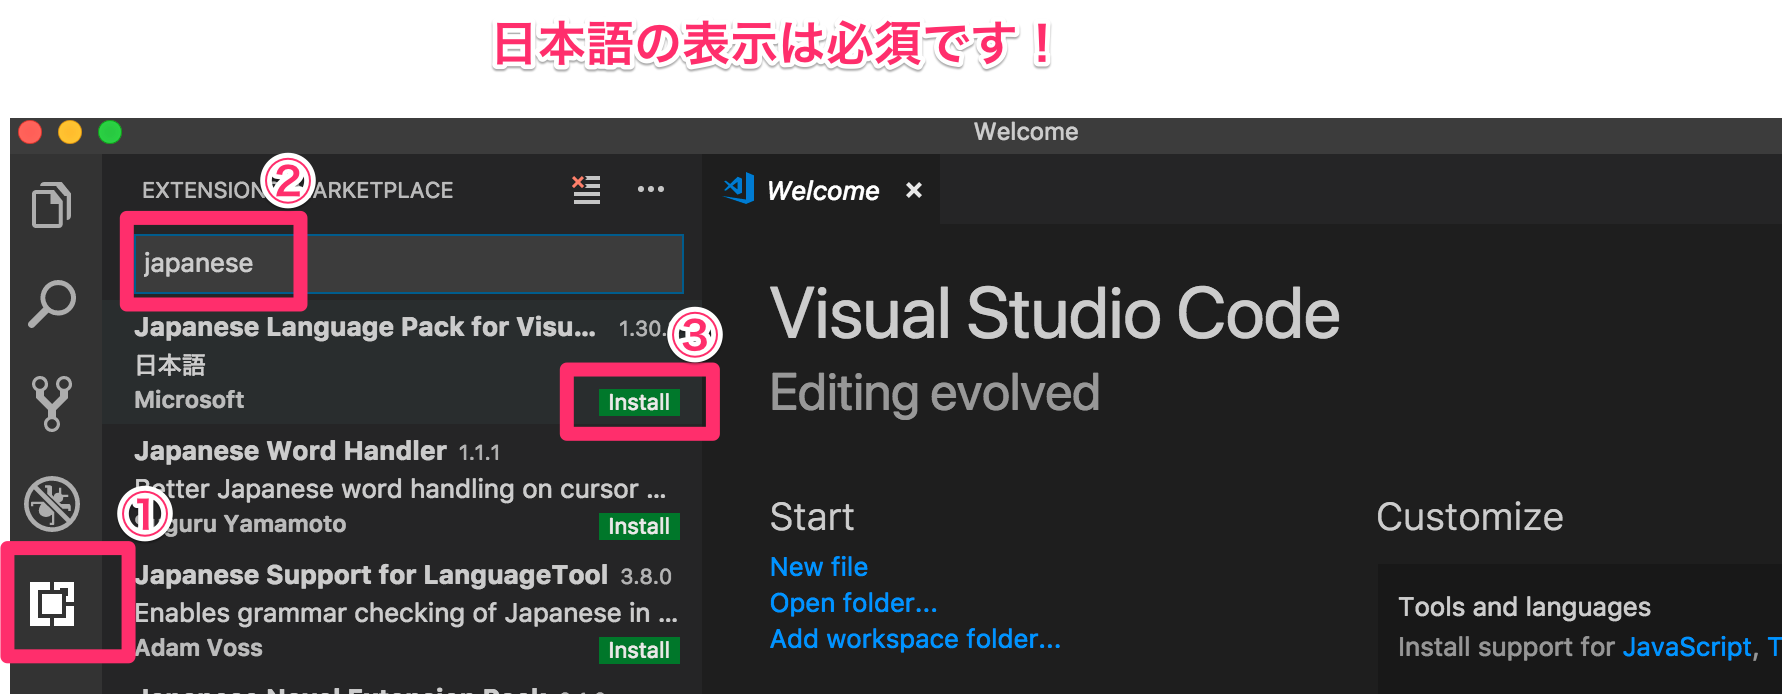
Visual Studio Code
https://code.visualstudio.com/
【今日から携わる】はじめてのVisual Studio Code入門(オススメの設定・プラグイン・使い方)
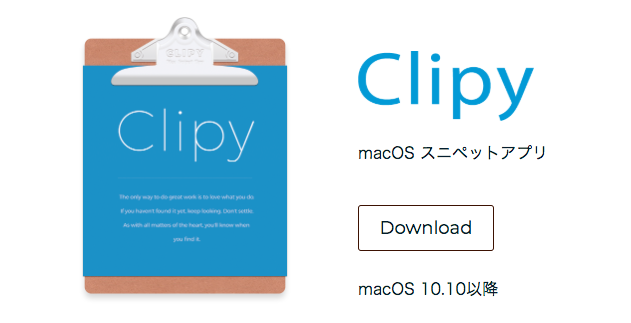
clipy(Mac専用コピペ用ツール)
https://clipy-app.com/
コピーしたテキストや画像などの履歴を、簡単に呼び出すことができるようになるソフトです。


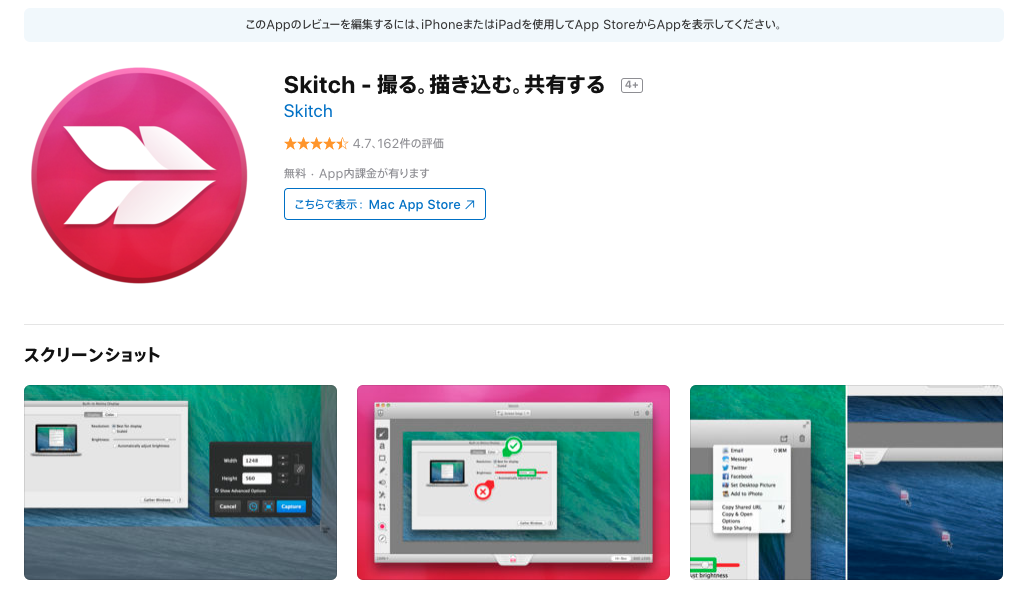
skitch(撮る。描き込む。共有する )
https://itunes.apple.com/jp/app/skitch/id425955336?mt=12
直感的に使えて便利です。

adobe
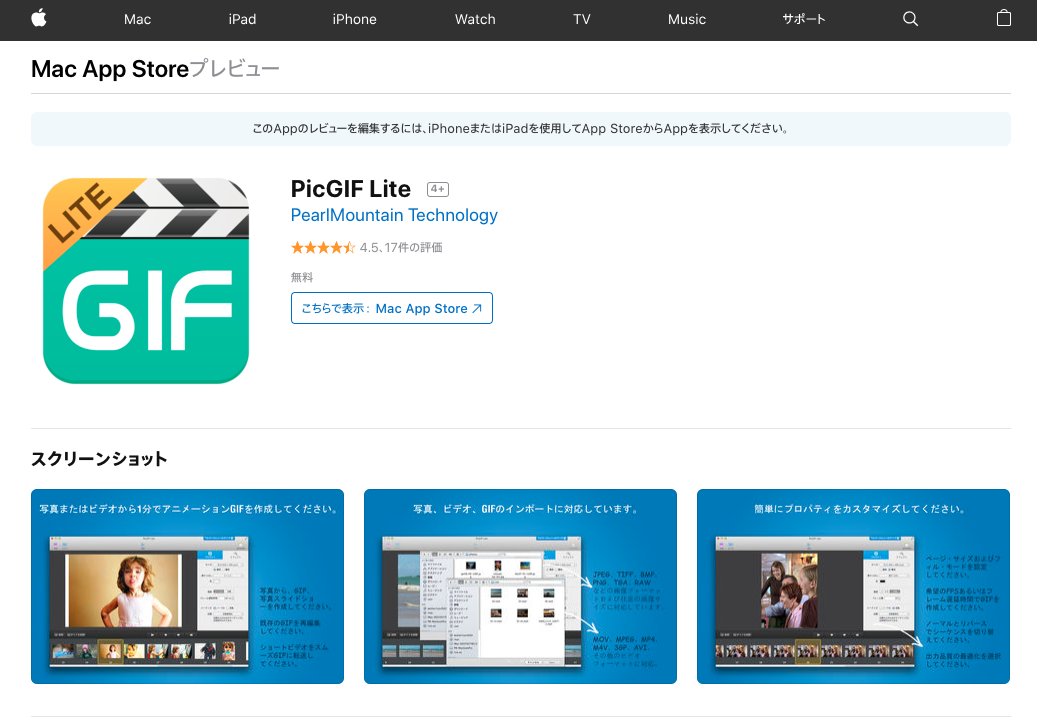
PicGIF Lite(「QuickTime Player」と合わせて、GIFを簡単に作る)
https://itunes.apple.com/jp/app/picgif-lite/id844918735?mt=12
iTerm2(高機能なターミナル)
ショートカットでターミナルをフルスクリーンで出せたり、cmd+dやshift+cmd+dで画面を分けることが簡単にできて便利
設定は以下の通りです。


SourceTree
https://ja.atlassian.com/software/sourcetree
Git リポジトリの操作が簡単なのでおすすめです。
だけど、簡単すぎるために、チェックアウトなどをしっかり行う癖がつかなくて、最初は
「赤いエラー文が出てきてプッシュできないよー!どーしていいか分からないよー!」ってなり、プッシュ恐怖症になります。
自分は、一度、ソースツリーをやめて、ターミナルからgitコマンドで操作を行うようにしました。
そうすると、gitの基礎が分かるようになったのです。
それから、ソースツリーの操作も安心してできるようになりました。
今では、チェックアウト、プッシュ、強制プッシュ、マージなど、自信を持って作業できます。
gitもsourcetreeも友達です。
怖がらずにどんどんリモートにプッシュしていきましょう!

Homebrew
/usr/bin/ruby -e "$(curl -fsSL https://raw.githubusercontent.com/Homebrew/install/master/install)"
↓↓↓
brew help
//エラーがでなければ OK
nodebrewのインストール(Homebrewをインストール後)
https://github.com/hokaccha/nodebrew#install
▼参考
https://qiita.com/33yuki/items/bae442fa6314bd8f9d7a
brew install nodebrew
↓↓↓
echo "export PATH=$HOME/.nodebrew/current/bin:$PATH" >> ~/.bash_profile
↓↓↓
source ~/.bash_profile
↓↓↓
which nodebrew
↓↓↓
nodebrew setup
↓↓↓
nodebrew -help
//エラーがでなければOK
Node.jsのインストール
node -v
//nodeが入っていないことを確認する
//入っていたらアンインストールする
↓↓↓
nodebrew ls-all
//バージョンの確認をする
↓↓↓
nodebrew install-binary stable
// stable:安定板、latest:最新版
↓↓↓
nodebrew use stable
//使用するバージョンを指定する
↓↓↓
which node
↓↓↓
which npm
//場所の確認をする
↓↓↓
node -v
↓↓↓
npm -v
// バージョンの確認をする
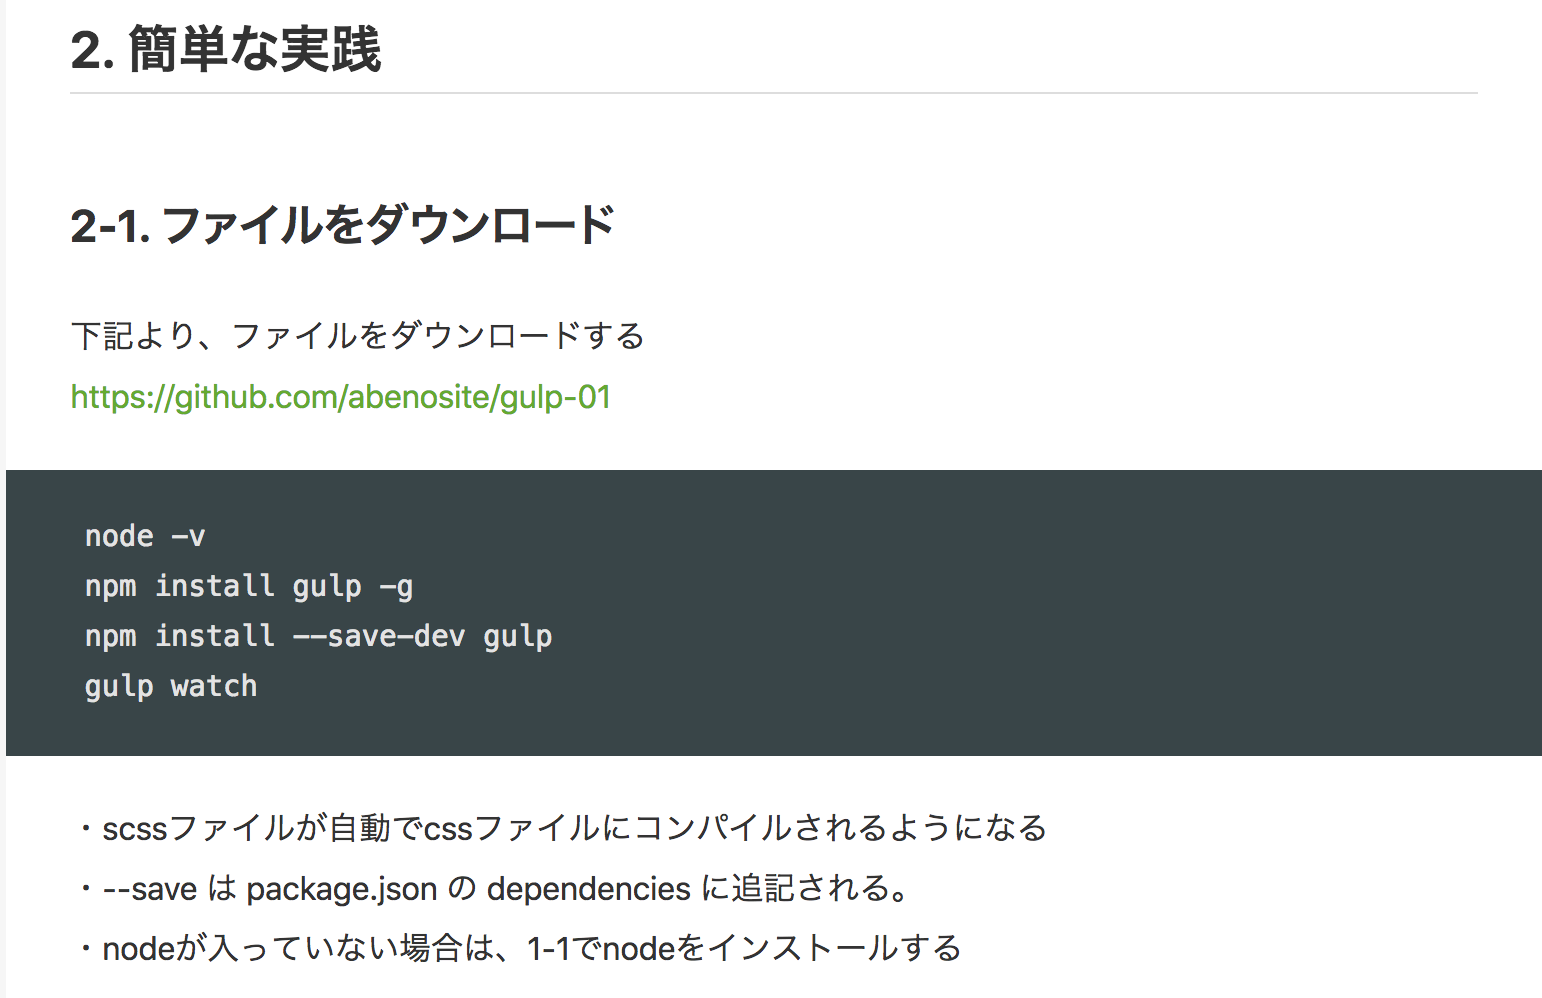
Gulpインストール
【今日から携わる】5分でおわるよ!gulpでsassのコンパイルしませんか?(コピペでオーケー)
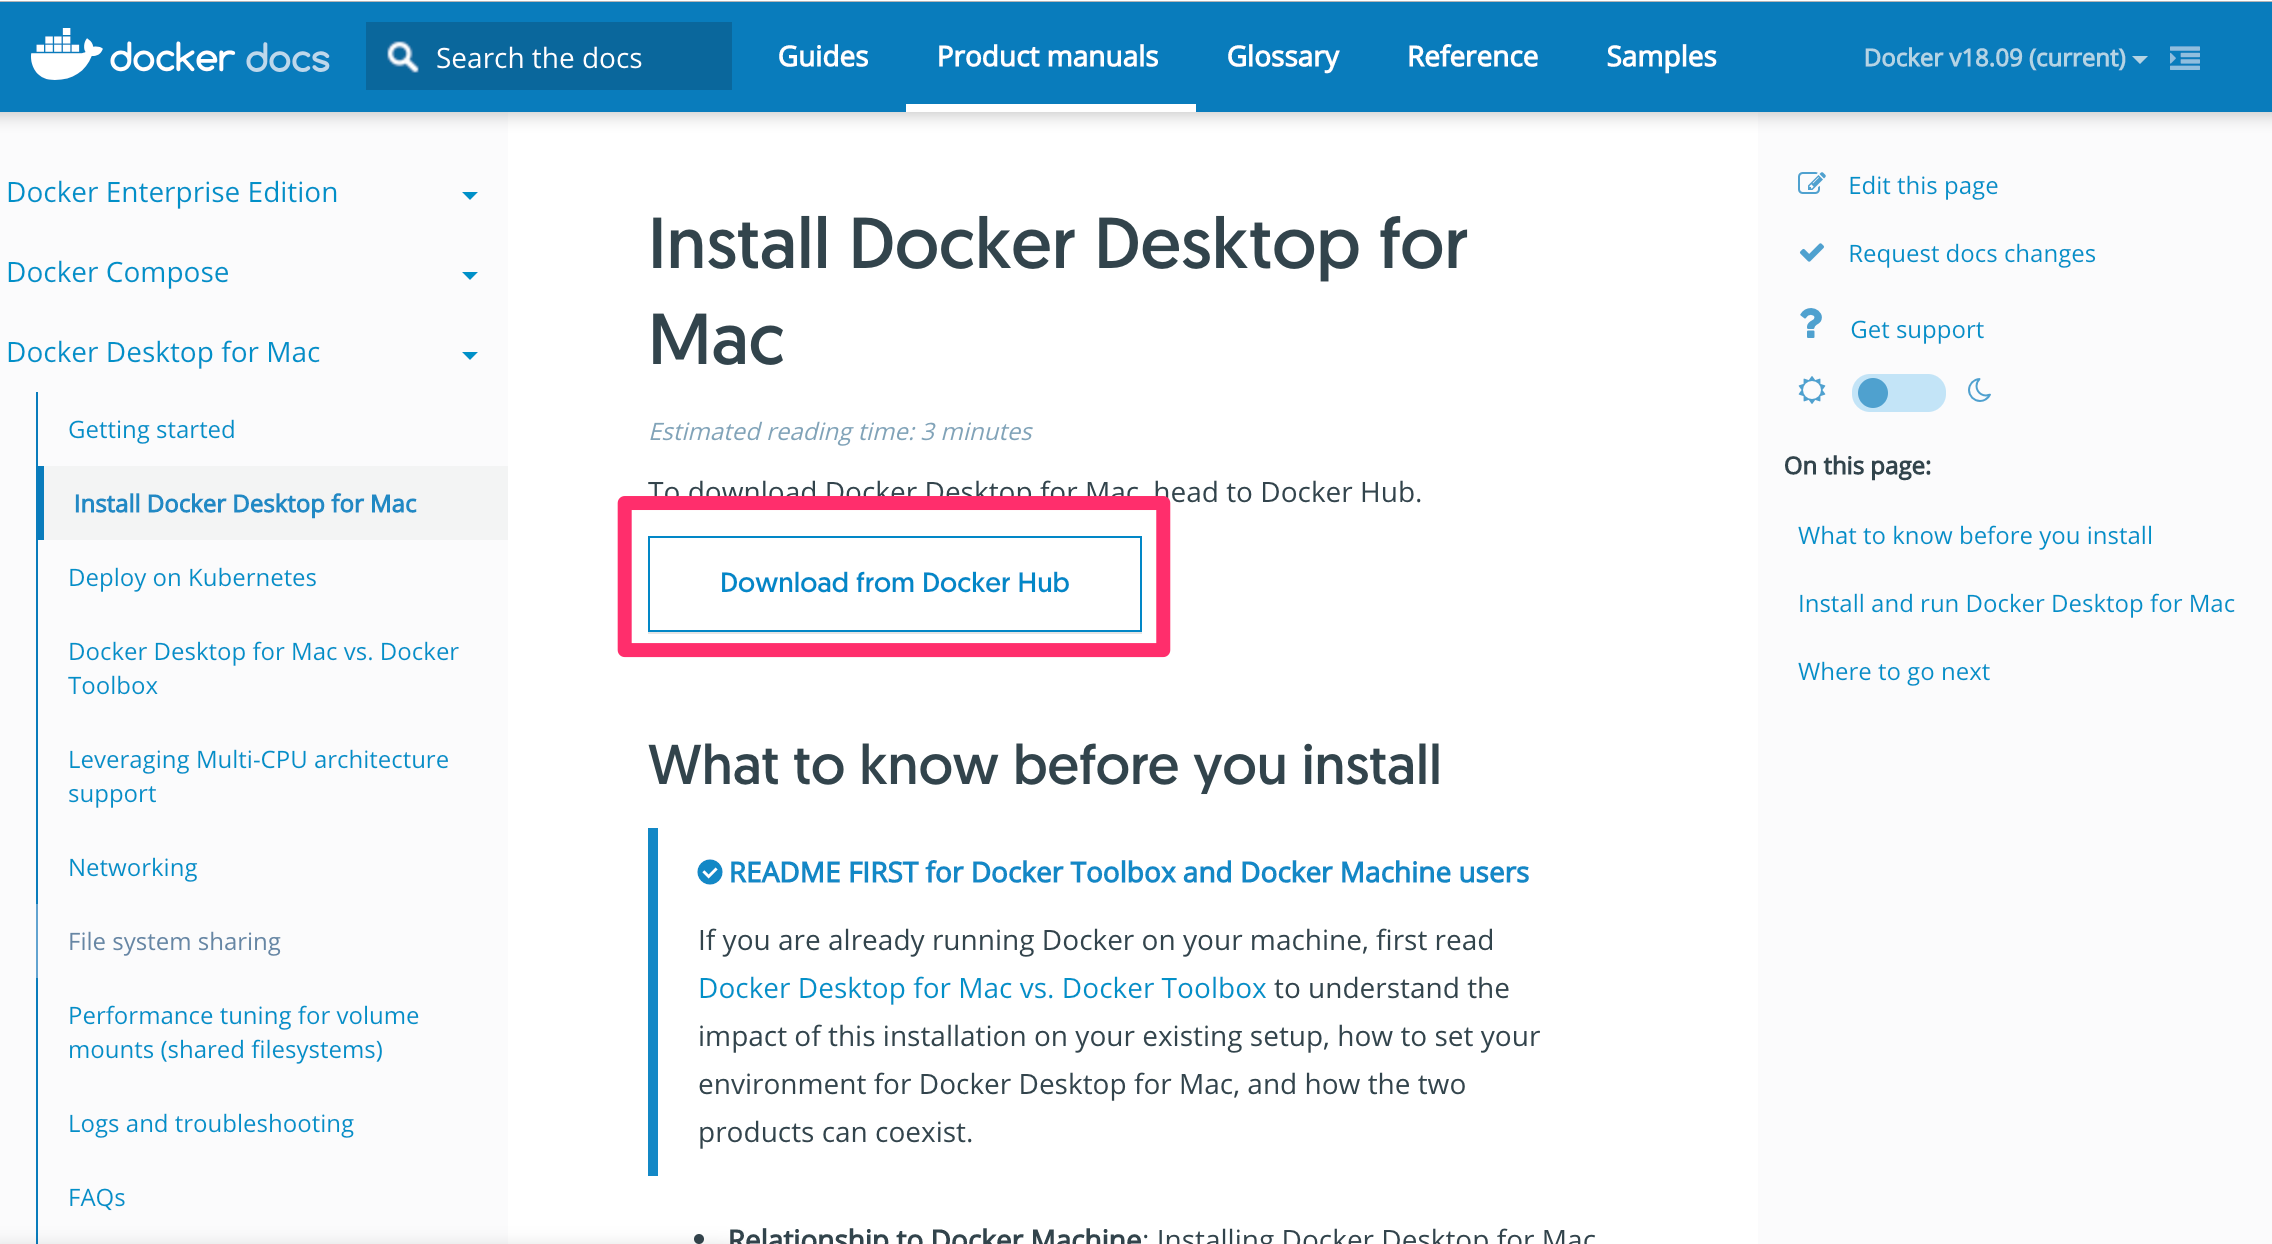
docker
https://docs.docker.com/docker-for-mac/install/


WordPressの環境を構築する
【今日から携わる】3分でWordPress開発環境の構築をする方法(docker-composeを使用)
ファイルをダウンロード
https://github.com/abenosite/wp-docker-compose
↓↓↓
ターミナルで、docker-compose.ymlファイルがある場所に移動する
↓↓↓
docker-compose up -d
↓↓↓
http://localhost:8080
//ブラウザで確認