
やること
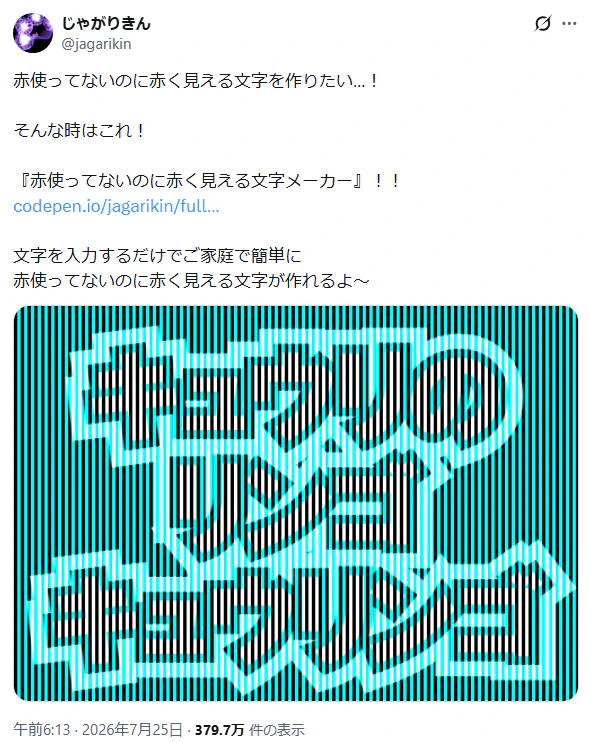
~利用規約~
SNS等でバズった際、
俺の作った渾身のブラウザゲー
時短ブロック崩し
https://jagarikin.cloudfree.jp/jitan/を宣伝してくれれば
作成した画像は好きに使っていいわよ~
その後、こんな話題もあり、上記っぽいのを作ってみる。
XユーザーのAkiyoshi Kitaokaさん: 「左の北海道は赤紫色に見え、右の北海道はオレンジ色に見えるが、同じ赤である。 https://t.co/TopTPO98C4」 / X
事前確認:Qiitaでの記事
ということで、以下の検索をしたところ、84件ヒットした。(2026/08/16時点)
「錯視」の検索結果 - Qiita
とりあえず、該当品はなさそうなので、以下作成。
結果
お試し結果。
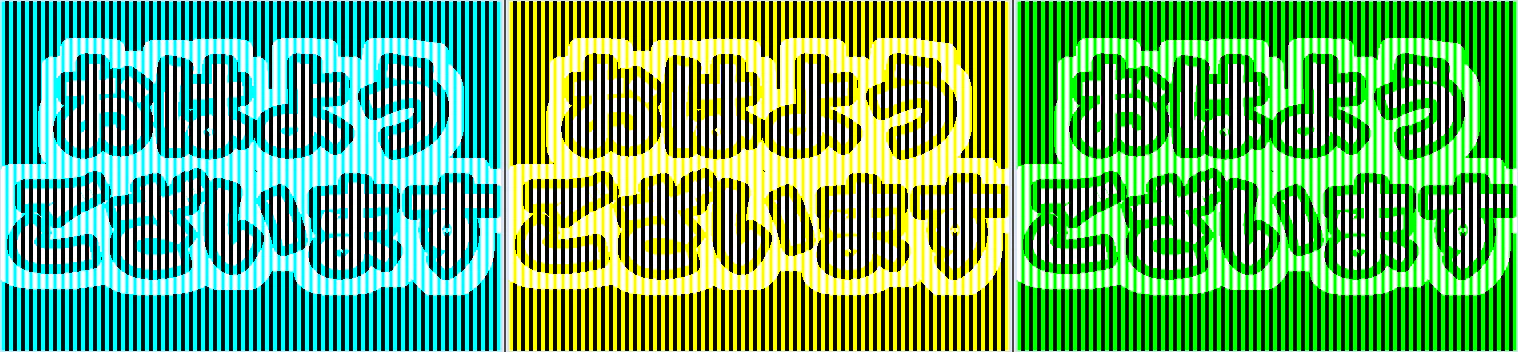
スクリプト:158行
基本はCopilotで作成したもの。striped_stroke_text_image.py
"""
文字画像を生成するスクリプト(Python + Pillow)

本スクリプトでは、以下の手順で「黒縁 → 白縁 → 内側文字 → 縦ストライプ」の
多層構造を持つ文字画像を生成します。

処理フロー:
1. 黒縁つき文字を描画(基準レイヤー)
2. 黒縁を膨張させて外側白縁を抽出(MaxFilter を使用)
3. 内側文字のマスクを作成(stroke なし)
4. 黒縁 → 白縁の順で合成
5. 最後に縦ストライプ処理を適用し、色を置き換える

補足:
- Pillow の stroke_width は「文字の縁取り幅」ですが、
  本スクリプトではさらに独自の縁取り(黒縁・白縁)を重ねるため、
  位置補正として STROKE_BLACK + STROKE_WHITE を加算しています。
"""

from PIL import Image, ImageDraw, ImageFont, ImageFilter

# ================================
# 基本設定
# ================================
WIDTH, HEIGHT = 500, 350
BG_COLOR = (0, 0, 0)

TEXT = "おはよう\nございます"
#TEXT = "超時空要塞\nマクロス"

FONT_PATH = r"C:/Windows/Fonts/HGRSGU.TTC"  # ←環境に合わせて変更
FONT_SIZE = 100

WHITE = (255, 255, 255)
BLACK = (0, 0, 0)
RED = (255, 0, 0)
CYAN = (0, 255, 255)    # 定数なので大文字記載
#CYAN = (255, 255, 0)    # yellowお試し用
#CYAN = (0, 255, 0)      # greenお試し用
RED_THRESHOLD = 64      # 赤文字判定のための閾値

# 縁取り設定(独自の黒縁・白縁)
STROKE_BLACK = 10   # 黒縁の太さ
STROKE_WHITE = 15   # 外側白縁の太さ

# 縦ストライプ設定
STRIPE_WIDTH = 4
STRIPE_GAP = 4

# ================================
# 複数行テキストを中央揃えで描画する関数
# ================================
def render_multiline_with_stroke(draw, font_obj, text, x_center, y_center,
                                 fill, stroke_width, stroke_fill):
    """
    Pillow の stroke を使って複数行テキストを描画する。
    独自の縁取り(黒縁+白縁)を考慮して位置補正を行う。
    """
    lines = text.split("\n")

    line_boxes = []
    for line in lines:
        # Pillow の stroke_width に加え、独自縁取りの膨張量を補正
        w = font.getlength(line) + stroke_width * 2 + (STROKE_BLACK + STROKE_WHITE)
        h = font.size + stroke_width * 2
        line_boxes.append((w, h))

    total_h = sum(h for _, h in line_boxes)
    y = y_center - total_h // 2  # 縦方向中央揃え

    for (line, (w, h)) in zip(lines, line_boxes):
        x = x_center - w // 2 + (STROKE_BLACK + STROKE_WHITE)  # 横方向中央揃え(補正あり)
        draw.text((x, y), line, font=font,
                  fill=fill, stroke_width=stroke_width, stroke_fill=stroke_fill)
        y += h


# ================================
# 0. ベース画像とフォント
# ================================
base = Image.new("RGB", (WIDTH, HEIGHT), BG_COLOR)
draw_base = ImageDraw.Draw(base)
font = ImageFont.truetype(FONT_PATH, FONT_SIZE)

# ================================
# 1. 黒縁つき文字(基準レイヤー)
# ================================
blackstroke = Image.new("RGBA", (WIDTH, HEIGHT), (0, 0, 0, 0))
draw_black = ImageDraw.Draw(blackstroke)

render_multiline_with_stroke(draw_black, font, TEXT,
                             WIDTH // 2, HEIGHT // 2,
                             RED, STROKE_BLACK, BLACK)

# ================================
# 2. 白縁用マスク(黒縁を膨張させて外側だけ抽出)
# ================================
mask = Image.new("L", (WIDTH, HEIGHT), 0)
draw_mask = ImageDraw.Draw(mask)

render_multiline_with_stroke(draw_mask, font, TEXT,
                             WIDTH // 2, HEIGHT // 2,
                             255, STROKE_BLACK, 255)

# MaxFilter は奇数サイズのみ使用可能
FILTER_SIZE = STROKE_WHITE * 2 + 1
expanded = mask.filter(ImageFilter.MaxFilter(FILTER_SIZE))

# 膨張マスク − 元の黒縁マスク = 外側白縁
outer_white = Image.new("RGBA", (WIDTH, HEIGHT), (0, 0, 0, 0))
for px in range(WIDTH):
    for py in range(HEIGHT):
        if expanded.getpixel((px, py)) > 0 and mask.getpixel((px, py)) == 0:
            outer_white.putpixel((px, py), (255, 255, 255, 255))

# ================================
# 3. 内側文字マスク(strokeなし)
# ================================
inner_white_mask = Image.new("L", (WIDTH, HEIGHT), 0)
draw_inner = ImageDraw.Draw(inner_white_mask)

render_multiline_with_stroke(draw_inner, font, TEXT,
                             WIDTH // 2, HEIGHT // 2,
                             255, 0, 0)

# ================================
# 4. 黒縁 → 白縁の順で合成
# ================================
base = Image.new("RGB", (WIDTH, HEIGHT), BG_COLOR)
base.paste(outer_white, (0, 0), outer_white)
base.paste(blackstroke, (0, 0), blackstroke)

# ================================
# 5. 縦ストライプ処理(赤ピクセル検出方式)
# ================================
pixels = base.load()

for px in range(WIDTH):
    stripe_pos = px % (STRIPE_WIDTH + STRIPE_GAP)
    on_stripe = stripe_pos < STRIPE_WIDTH

    for py in range(HEIGHT):
        r, g, b = pixels[px, py]

        # 内側文字(赤) → 白/黒
        if r > 0 and g < RED_THRESHOLD and b < RED_THRESHOLD:
            pixels[px, py] = WHITE if on_stripe else BLACK

        # 黒縁 → 水色/黒
        elif (r, g, b) == BLACK:
            pixels[px, py] = CYAN if on_stripe else BLACK

        # 外側白縁 → 白/水色
        elif (r, g, b) == WHITE:
            pixels[px, py] = WHITE if on_stripe else CYAN

base.save("ohayou_gozaimasu_stripes_final_correct.png")
print("ohayou_gozaimasu_stripes_final_correct.png を出力しました")
ご本家
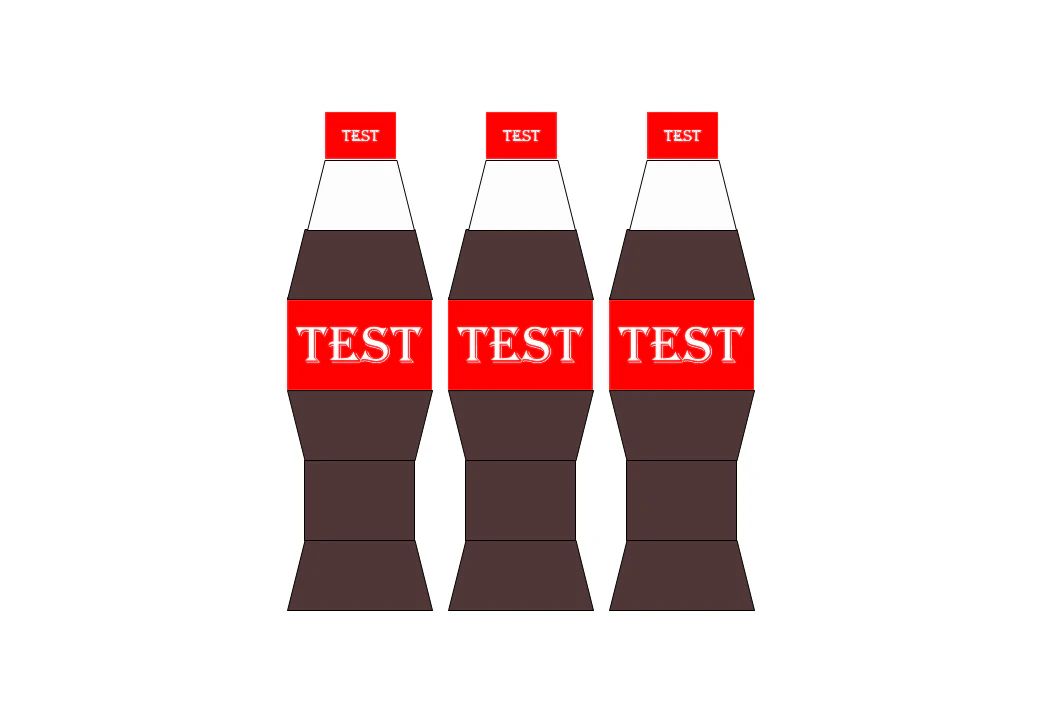
これは一種の色の恒常性現象ですが、赤い色相の画素がないのに赤く見えるという意味では、色の錯視でもあります。今回のデモでは、様々な色の画像を試すことができるように設計しました。このデモ(下図)は、ウェブにアクセスできる人なら誰でも見ることができます。どうぞお楽しみください。
例:元画像
変換後
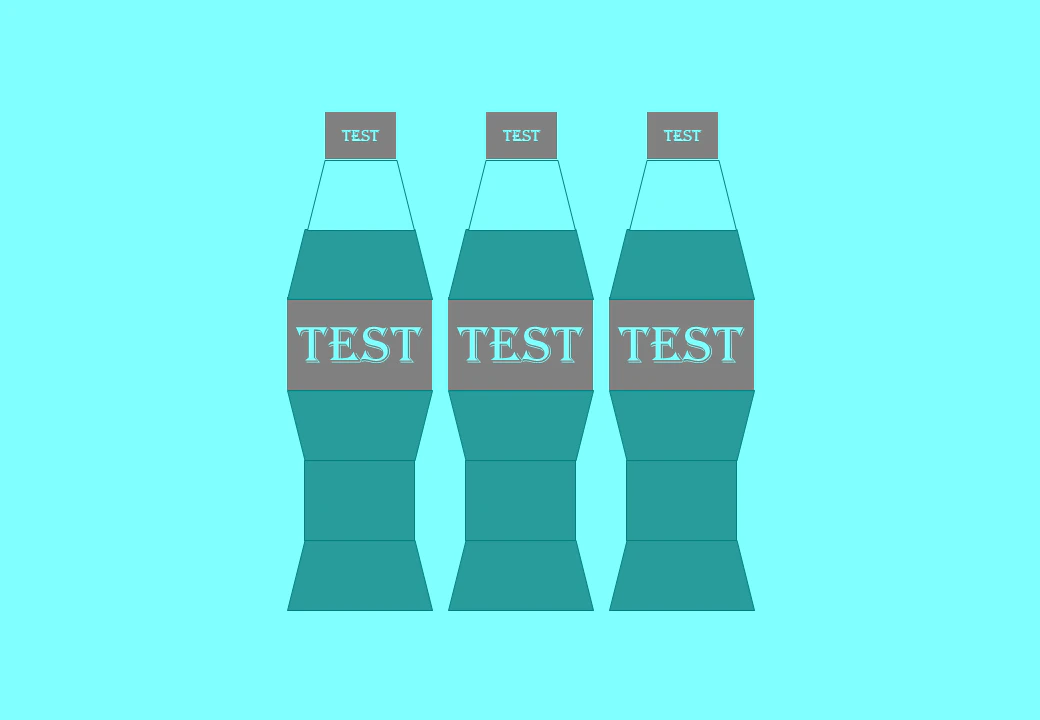
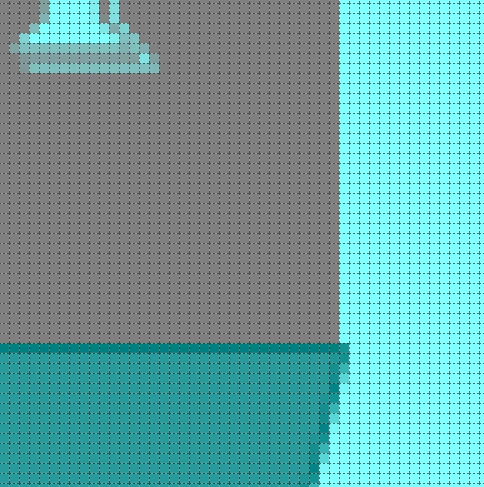
部分拡大(ペイントを使用)
錯視については、こちらの記事をご紹介致します。
錯視の第一人者が解説!「止まっているのに動いて見える」目の錯覚を自作する方法 | shiRUto | Ritsumeikan Univ.
2021年12月2日