ラズパイの初期セットアップ個人用メモ から引き続いて実施。
前回で Raspberry Pi に ssh で接続できるようになったので、今回は Windows 10 の WSL(Ubuntu) から ssh で接続して作業します(一部を除く)
事前準備
- 3.5mm jack に接続するスピーカーを用意し Raspberry Pi に接続
3.5mm jack につないだスピーカーから音が出るように設定
-
sudo raspi-configでコンフィグを開く -
7 Advanced Optionsを選択
-
A4 Audioを選択
-
1 Force 3.5mm ('headphone') jackを選択
- 任意の手段で接続したスピーカーから音が出ることを確認
- 簡単なのは Raspberry Pi 上でブラウザから Youtube を開いて任意の動画を再生(ここは ssh ではなく Raspberry Pi 上で操作)
Open JTalk の導入
-
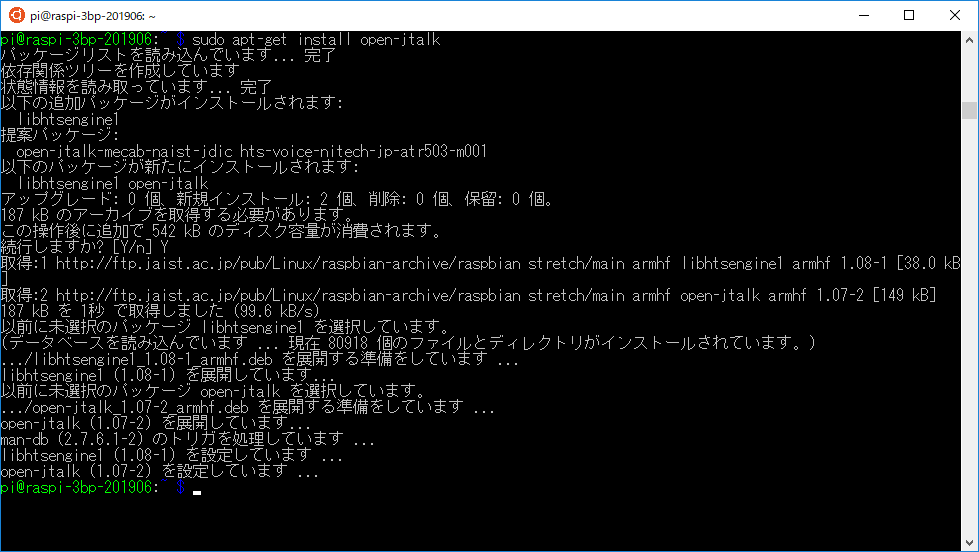
sudo apt-get install open-jtalkで Open JTalk を導入
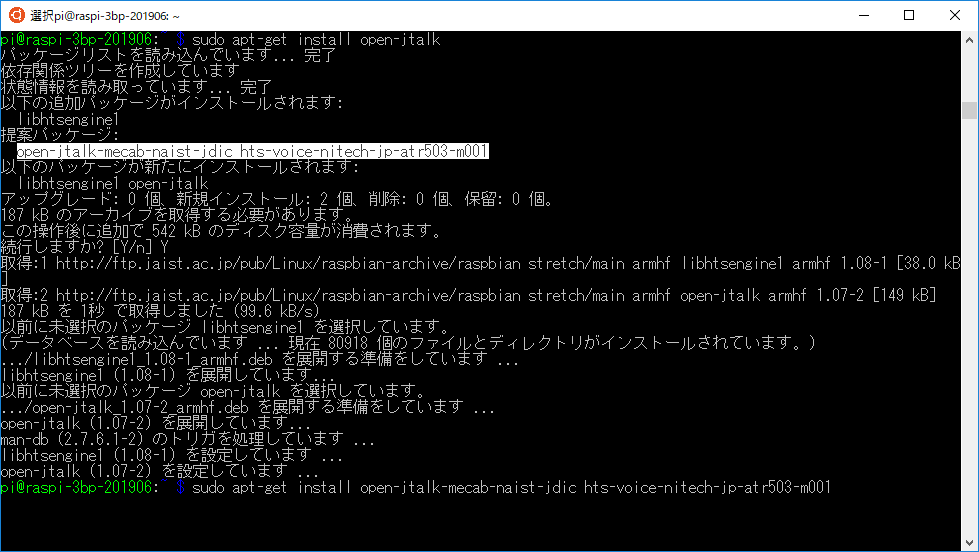
- 提案パッケージとして推奨された
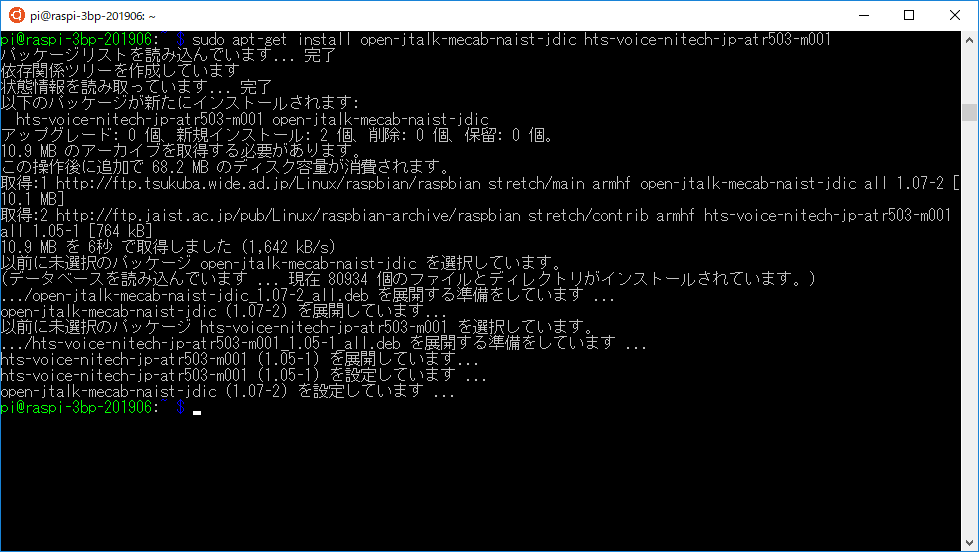
open-jtalk-mecab-naist-jdic,hts-voice-nitech-jp-atr503-m001を導入sudo apt-get install open-jtalk-mecab-naist-jdic hts-voice-nitech-jp-atr503-m001
- 実行し問題なく作成されることを確認する
echo "てすと" | open_jtalk -m /usr/share/hts-voice/nitech-jp-atr503-m001/nitech_jp_atr503_m001.htsvoice -x /var/lib/mecab/dic/open-jtalk/naist-jdic -ow /tmp/test.wav
aplay /tmp/test.wav


