前書き
ASP.NET Core で作成したウェブサイトに Sign in WIth Apple を組み込む必要があったので、調べたついでに導入手順を書き残します。
需要があるかわかりませんが、GitHub にサンプルもあげておきます。
https://github.com/Yuki0928/SignInWIthAppleSample
ASP .NET Core では Facebook、Twitter、Google、Microsoft などの外部プロバイダーの認証を非常に簡単にアプリに組み込めるのですが、Sign in with Apple は勝手が違うところがあり少し手間でした。
作業環境
Windows 10
Visual Studio 2019
Apple 開発者ポータルでの事前準備
アップルのヘルプなどを参考に Sign in with Apple を使用する準備を行います。
https://help.apple.com/developer-account/#/devde676e696
主な作業は3つです。
- App ID の作成
- Service ID の作成
- Private Key の作成
個人的にはヘルプは少々わかりづらかったので、こちらの記事を参考に準備を行いました。
https://developer.okta.com/blog/2019/06/04/what-the-heck-is-sign-in-with-apple
ドメインと認証後のコールバック URL の登録 について
今回はローカルで動作確認を行うため、example.com と https://example.com:5001/signin-apple を登録し、hosts に 127.0.0.1 example.com のレコードを登録しました。

localhost で登録できればいいんですが、ちょっと面倒ですね。
ASP.NET Core Web アプリケーションを作成と動作確認
Visual Studio を起動して ASP.NET Core Web アプリケーション を作成します。
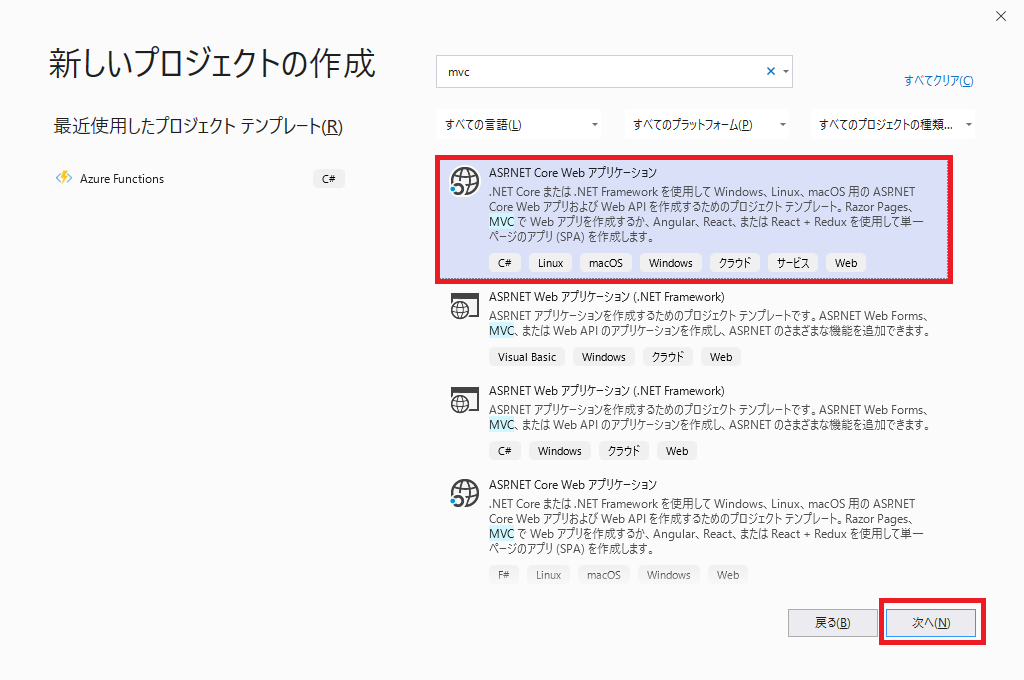
任意のプロジェクト名などを入力します。

Web アプリケーション(モデル ビュー コントローラー)を選択します。

Properties から LaunchSettings.json を開きます。
下のほうの applicationUrl の localhost を example.com に書き換えます。

IIS Express の横の小さな三角ボタンを押して、SignInWithAppleSample を選択します。

SignInWithAppleSample ボタンを押します。

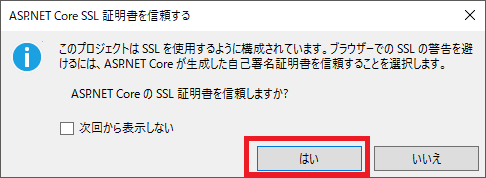
証明書を信頼します。
Windows ファイアウォールの警告が表示された場合はアクセスを許可します。

ブラウザで警告が表示された場合は接続を許可します。

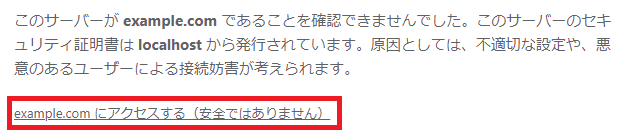
https://example.com:5001 で ASP.NET Core Web アプリケーションが動いていることが確認できました。このブラウザは一旦閉じます。

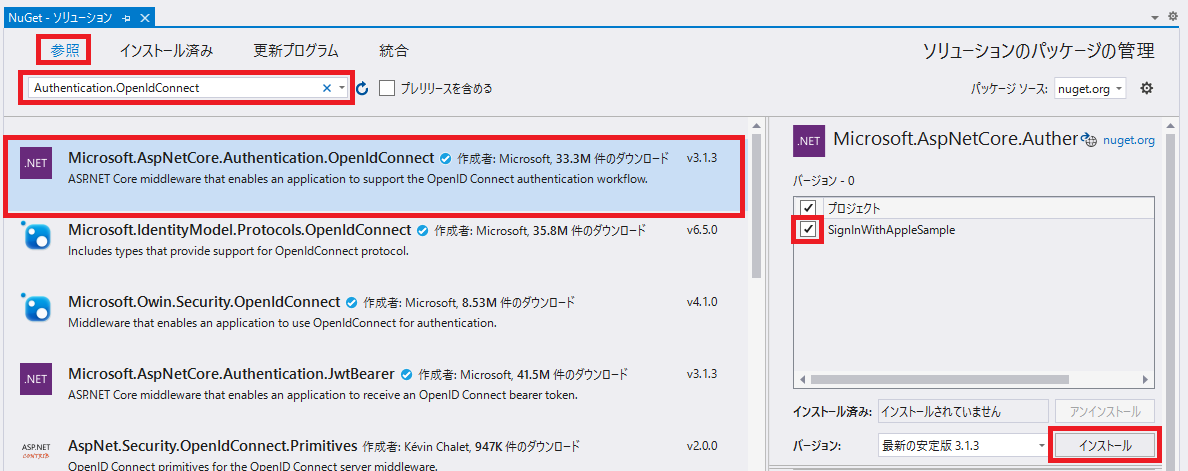
Microsoft.AspNetCore.Authentication.OpenIdConnect をインストール
NuGet で Microsoft.AspNetCore.Authentication.OpenIdConnect をインストールします。

TokenGenerator の作成
Model に TokenGenerator クラスを作成します。

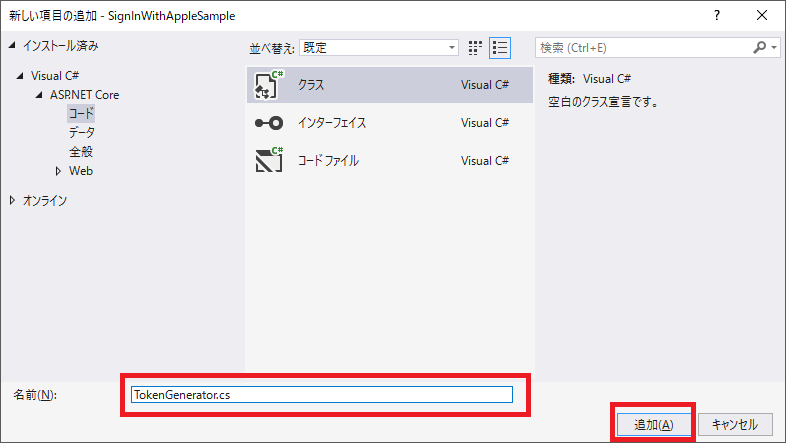
TokenGenerator.cs のコードはこちらをコピペして上書きします。
iss、sub、kid、privateKey は自分の情報に書き換えます。(詳しくは後述)
using System;
using System.Collections.Generic;
using System.IdentityModel.Tokens.Jwt;
using System.Linq;
using System.Security.Claims;
using System.Security.Cryptography;
using System.Threading.Tasks;
using Microsoft.IdentityModel.Tokens;

namespace SignInWithAppleSample.Models
{
    public static class TokenGenerator
    {
        public static string CreateNewToken()
        {
            const string iss = "TeamID をいれます";
            const string sub = "ServiceID をいれます";
            const string kid = "KeyID をいれます";
            const string privateKey = "PrivateKey をいれます";

            var cngKey = CngKey.Import(
              Convert.FromBase64String(privateKey),
              CngKeyBlobFormat.Pkcs8PrivateBlob);

            var handler = new JwtSecurityTokenHandler();
            var token = handler.CreateJwtSecurityToken(
                issuer: iss,
                audience: "https://appleid.apple.com",
                subject: new ClaimsIdentity(new List<Claim> { new Claim("sub", sub) }),
                expires: DateTime.UtcNow.AddMinutes(5),
                issuedAt: DateTime.UtcNow,
                notBefore: DateTime.UtcNow,
                signingCredentials: new SigningCredentials(new ECDsaSecurityKey(new ECDsaCng(cngKey)) { KeyId = kid }, SecurityAlgorithms.EcdsaSha256));

            return handler.WriteToken(token);
        }
    }
}
TeamID と ServiceID は Apple の開発者ポータルから取得します。
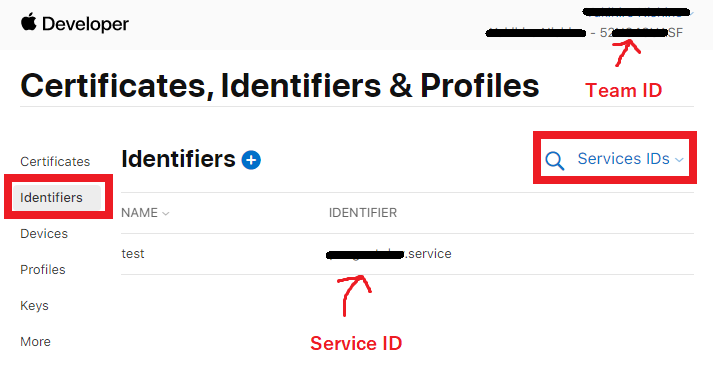
KeyID とPrivateKey は開発者ポータルで Key を発行したときに AuthKey_xxxxxxxxxx.p8 というファイルをダウンロードしているはずですのでそちらから取得します。
KeyID は上記のファイル名の xxxxxxxxxx の部分です。
PrybateKey はファイル内の文字列の改行を削除して1行にしたものを入れます。
先頭の -----BEGIN PRIVATE KEY----- と末尾の -----END PRIVATE KEY----- も削除してください。
Sign in with Apple を組み込む
Startup.cs を開きます。

using を追加します。
using System.Net.Http;
using Microsoft.AspNetCore.Authentication.Cookies;
using Microsoft.AspNetCore.Authentication.OpenIdConnect;
using Microsoft.IdentityModel.Protocols.OpenIdConnect;
using Microsoft.IdentityModel.Tokens;
using SignInWithAppleSample.Models;
ConfigureServices メソッド を以下のように書き換えます。
ServiceID は先ほどと同じものをいれます。
public void ConfigureServices(IServiceCollection services)
{
    services.AddControllersWithViews();

    services.AddAuthentication(options =>
    {
        options.DefaultScheme = CookieAuthenticationDefaults.AuthenticationScheme;
        options.DefaultChallengeScheme = OpenIdConnectDefaults.AuthenticationScheme;
    })
    .AddCookie()
    .AddOpenIdConnect(async options =>
    {
        options.ClientId = "ServiceID をいれます";
        options.CallbackPath = "/signin-apple";
        options.SignInScheme = CookieAuthenticationDefaults.AuthenticationScheme;
        options.ResponseType = OpenIdConnectResponseType.Code;
        options.Scope.Clear();

        options.Configuration = new OpenIdConnectConfiguration
        {
            AuthorizationEndpoint = "https://appleid.apple.com/auth/authorize",
            TokenEndpoint = "https://appleid.apple.com/auth/token",
        };

        options.Events.OnAuthorizationCodeReceived = context =>
        {
            context.TokenEndpointRequest.ClientSecret = TokenGenerator.CreateNewToken();
            return Task.CompletedTask;
        };

        options.TokenValidationParameters.ValidIssuer = "https://appleid.apple.com";

        var jwks = await new HttpClient().GetStringAsync("https://appleid.apple.com/auth/keys");
        options.TokenValidationParameters.IssuerSigningKeys = new JsonWebKeySet(jwks).Keys;

        options.ProtocolValidator.RequireNonce = false;
    });
}
Configure メソッドに app.UseAuthentication(); を追加します。
public void Configure(IApplicationBuilder app, IWebHostEnvironment env)
{
    if (env.IsDevelopment())
    {
        app.UseDeveloperExceptionPage();
    }
    else
    {
        app.UseExceptionHandler("/Home/Error");
        // The default HSTS value is 30 days. You may want to change this for production scenarios, see https://aka.ms/aspnetcore-hsts.
        app.UseHsts();
    }
    app.UseHttpsRedirection();
    app.UseStaticFiles();

    app.UseRouting();

    app.UseAuthorization();

    app.UseAuthentication(); // この1行を追加

    app.UseEndpoints(endpoints =>
    {
        endpoints.MapControllerRoute(
            name: "default",
            pattern: "{controller=Home}/{action=Index}/{id?}");
    });
}
HomeController.cs を開きます。

適当な場所に SignInWithApple メソッドを追加します。
public IActionResult SignInWithApple ()
{
    return Challenge(new AuthenticationProperties { RedirectUri = "/" }, OpenIdConnectDefaults.AuthenticationScheme);
}
Index.cshtml を開きます。
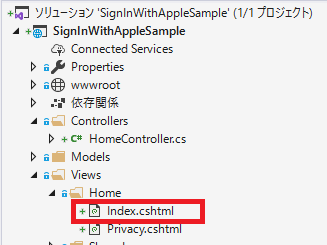
末尾に以下のコードを書き足します。
@if (User.Identity.IsAuthenticated)
{
    @User.Claims.First(x => x.Type.Contains("nameidentifier")).Value
}
else
{
    @Html.ActionLink("Sign in With Apple でサインインする", "SignInWithApple")
}
以上で導入は一旦完了です。
ログアウト処理を書いていませんが、Sign in with Apple だからといって変わったことはないのでここでは割愛します。
Sign in With Apple の動作確認
最初の動作確認と同様に Web アプリケーションをデバッグ実行します。

Sign in With Apple でサインインする のリンクをクリックします。

Apple の認証画面に飛ばされるのでサインインします。

サインインすると元の画面に戻ります。
Apple から取得したユーザーの ID が表示されます。

これでアプリやゲームに Sign in With Apple を組み込めますね!
参考