福岡から世界中の"むずかしい"を簡単にする株式会社diffeasyCTOの西@_takeshi_24です。
この記事はアドベントカレンダー「diffeasyCTO西の24(にし)日連続投稿チャレンジ Advent Calendar 2019」の6日目の記事です。
この記事は「Nuxt.jsとFirebaseとCloudFunctionsでWebアプリ開発」シリーズとして、連載していきます。
Nuxt.jsとFirebaseなどを使ってWebアプリケーション開発にチャレンジしたい方、是非Qiitaアカウントかtwitterをフォローしていただき、ツッコミやいいね!お願いします!
はじめに
こちらの記事は、「Nuxt.jsとFirebaseとCloudFunctionsでWebアプリ開発」シリーズとして連載していますので、過去の記事もご覧ください。
- Nuxt.jsとFirebaseとCloudFunctionsでWebアプリ開発 - 準備編
- Nuxt.jsとFirebaseAuthentication/FirebaseUIで認証
- Nuxt.jsとFirebase RealtimeDatabase CloudFirestore でBaas開発入門
CloudFunctionsとは

CloudFunctionsとはGoogleが提供するイベントドリブンなサーバーレス コンピューティング プラットフォームです。
サーバー構築不要で、HTTPリクエストなどのイベントをトリガーとして、サーバーレスで対応するバックエンドコードが実行されます。
サーバーレスなので、自動的にスケーリングされます。
常にサーバーが稼働しているわけではないので、コードを実行した時間分だけ課金されます。
その他詳細はこちらに解説があります。
開発の準備
今回はNuxt.jsでフロントエンドを作成し、バックエンドをCloudFunctionsで開発します。
開発のための準備は以下の記事を参考にしてください。
Node.jsでAPI開発
今回CloudFunctionsの開発はNode.jsで行います。
まずはローカルのCloudFunctionsのエミュレータでCloudFunctionsを起動して、Nuxt.jsのフロントエンドからAPIをコールしてみましょう!
1.エミュレーターを起動します
$ firebase emulators:start --only functions
✔  functions: Emulator started at http://localhost:5005
i  functions: Watching "/path/to/functions" for Cloud Functions...
✔  All emulators started, it is now safe to connect.
2.まずは、コメントになっている、helloWorldのコメントを外して、リージョンを東京(asia-northeast1)に設定するためのコードを追加します。
const functions = require("firebase-functions");
const https = functions.region("asia-northeast1").https;
const admin = require("firebase-admin");
admin.initializeApp();

// // Create and Deploy Your First Cloud Functions
// // https://firebase.google.com/docs/functions/write-firebase-functions
//
exports.helloWorld = https.onRequest((request, response) => {
  response.send("Hello from Firebase!");
});
3.保存するとエミュレーターでhelloWorldAPIが起動します。
✔ functions[helloWorld]: http function initialized (http://localhost:5005/sample-xxxxx/asia-northeast1/helloWorld).
4.表示されたURLにアクセスすると、"Hello from Firebase!"が表示されます。
サーバーの構築もなく、コーディングもほぼなくて、ここまで本当に簡単です。
FirebaseAuthenticationで認証
HelloWorldは簡単に出ましたが、Webアプリケーションではログインは必須です。
CloudFunctionsでは、FirebaseAuthenticationでログインしたユーザーの認証情報も簡単に取得できます。
先ほどはonRequest関数でリクエストを受けましたが、今回はonCall関数を使います。
onCallを使うことで、フロントエンドのFirebaseSDKからAPI呼び出しが簡単にできるようになり、FirebaseAuthenticationでの認証情報の取得も容易です。
それでは早速サンプルコーディングを始めます。
1.先ほどのfunctions/index.htmlに以下の関数を追加します。
exports.hello = https.onCall(async (data, context) => {
  return { message: `Hello, ${data.name}`, uid: context.auth.uid };
});
dataにはリクエストデータが入り、contextにはFirebaseAuthenticationの認証情報が自動でセットされます。
2.次に、フロントエンドを修正します。env.development.jsにリージョンの設定とエミュレーターのORIGINの設定を追加します。
  FB_REGION: "asia-northeast1",
  EMULATOR_ORIGIN: "http://localhost:5005"
ポート番号などは、functionsを立ち上げたポートに合わせてください。
3./plugins/firebase.jsに以下の行を追加します。
const firebaseFunctions = firebase.app().functions(process.env.FB_REGION);
if (process.env.EMULATOR_ORIGIN) {
  firebaseFunctions.emulatorOrigin = process.env.EMULATOR_ORIGIN;
}

export const functions = firebaseFunctions;
4.フロントのnuxt-sampleに新たに、/pages/hello/index.vueを以下の内容で作成します。
<template>
  <div>
    <p>{{ message }}</p>
    <p>{{ uid }}</p>
  </div>
</template>
<script>
import { functions } from "~/plugins/firebase";

export default {
  data() {
    return {
      message: "",
      uid: null
    };
  },
  mounted() {
    this.hello();
  },
  methods: {
    async hello() {
      const hello = functions.httpsCallable("hello");
      const result = await hello({ name: "takeshi" });
      this.message = result.data.message;
      this.uid = result.data.uid;
    }
  }
};
</script>
functions.httpsCallable([関数名])で、APIを関数として取得し、呼び出すことができます。
関数の引数に値を入れることで、リクエストのパラメータもとして渡せます。
戻り値には、API側でreturnした結果がresponseとして帰ってきます。
5.Nuxt.jsを起動して、http://localhost:3000/hello を開きます。
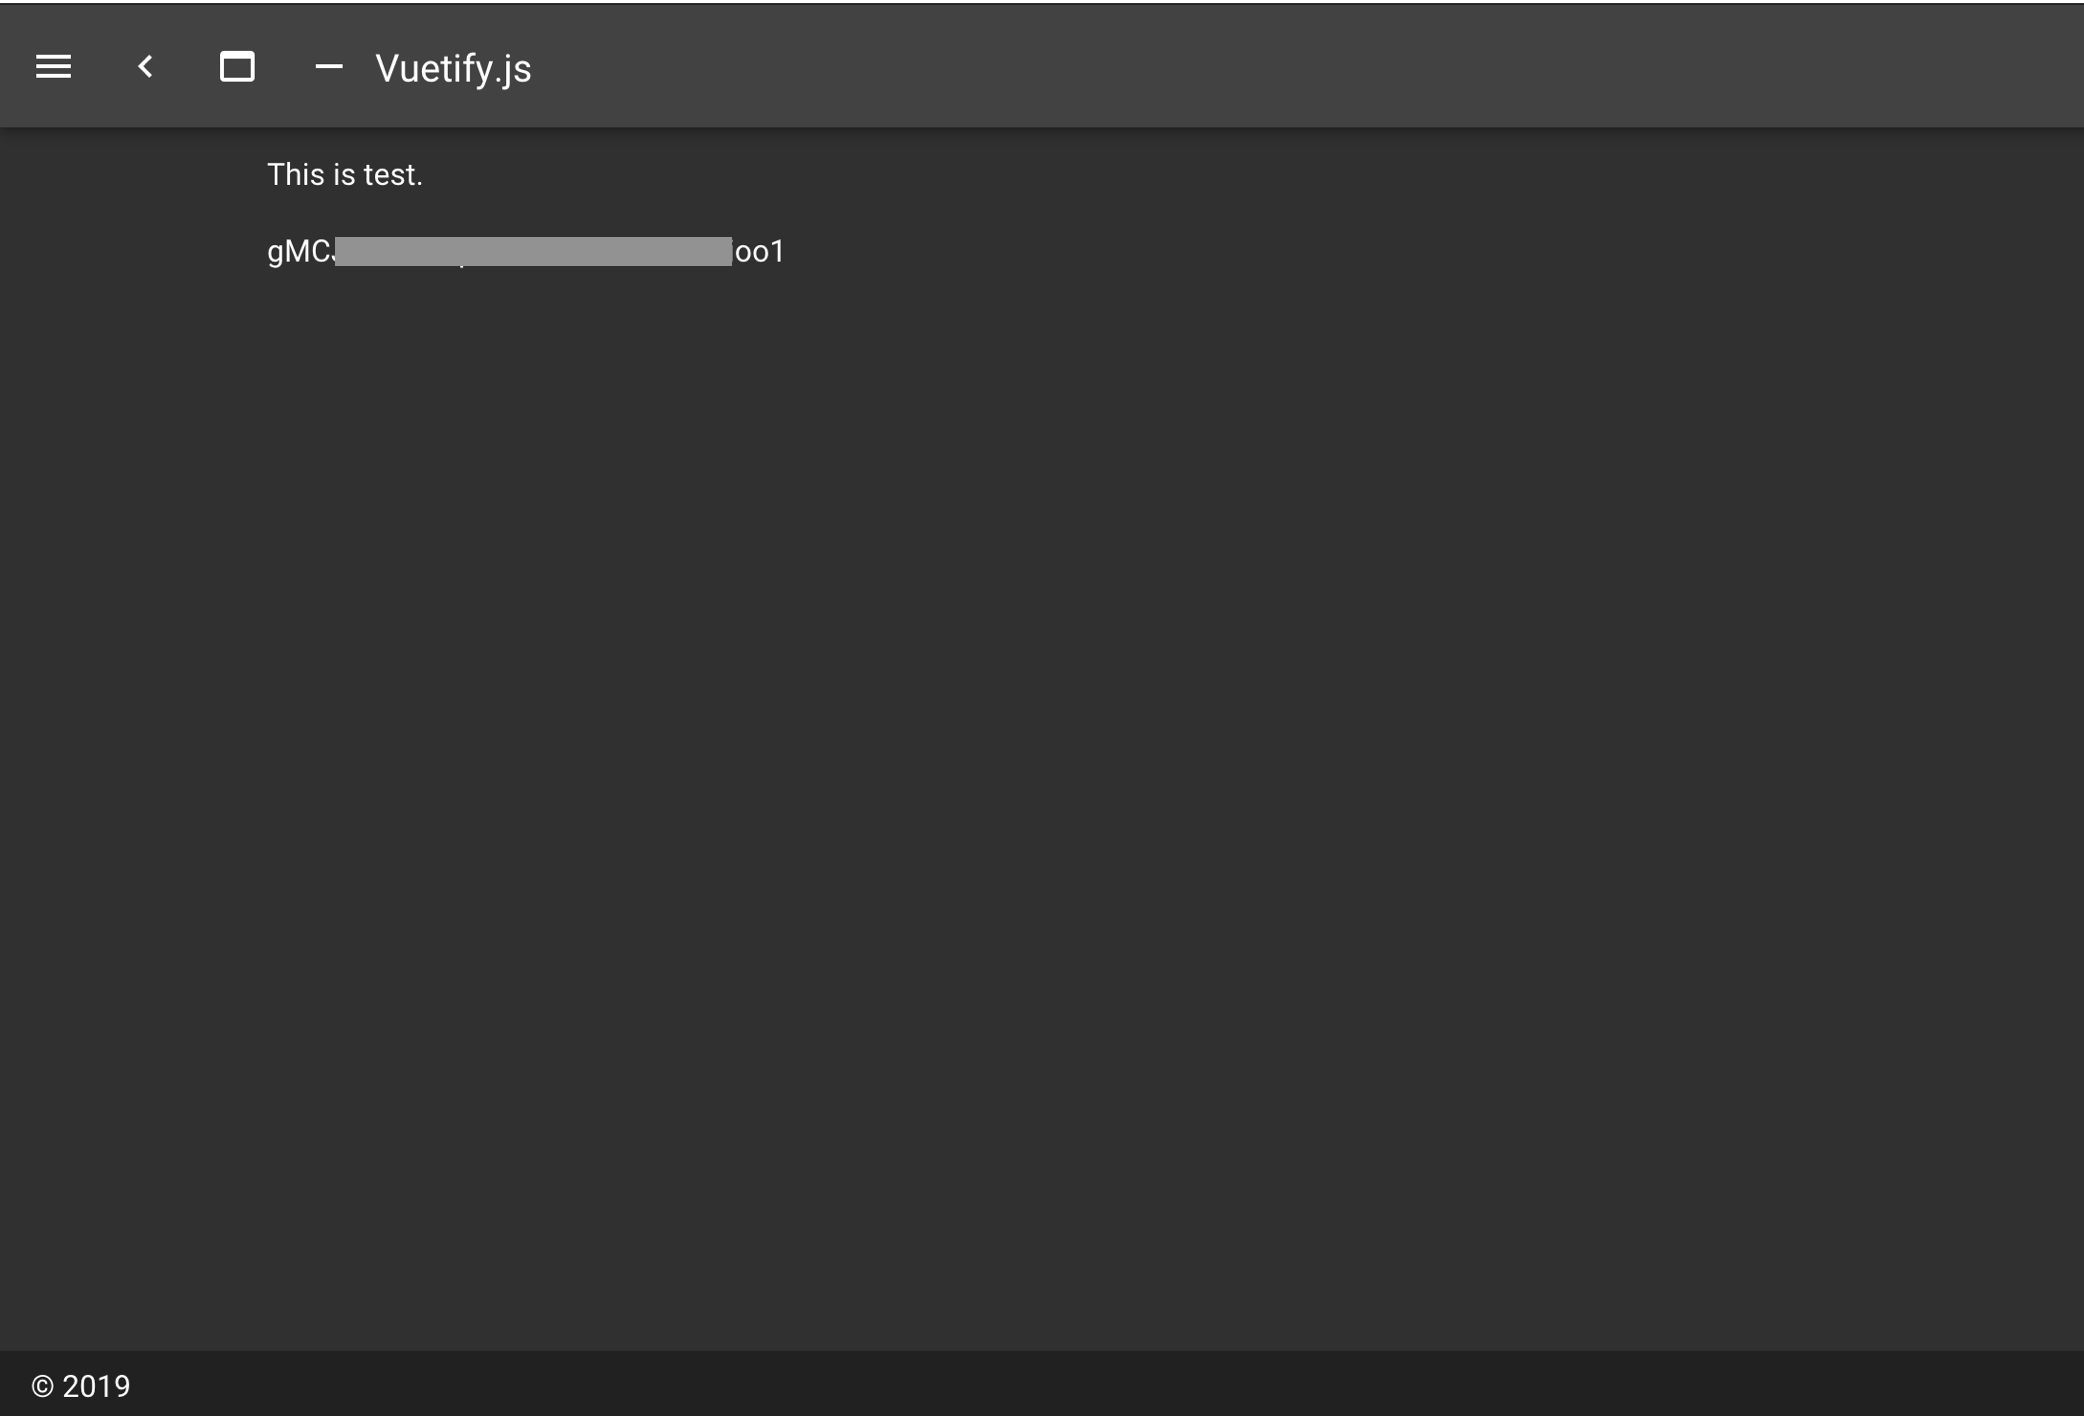
これだけのコードでHTTPリクエスト、レスポンスの処理ができ、認証したアカウントの情報が取れました!
CloudFunctionsにデプロイ
1.フロントエンドをジェネレートします。
$ yarn generate:prod
2.firebase.jsonがあるディレクトリで、デプロイコマンドを実行してデプロイします。
$ firebase deploy
3.デプロイが完了し、FirebaseHositingのURLで、FIrebaseCloudFunctionsに接続ができます。
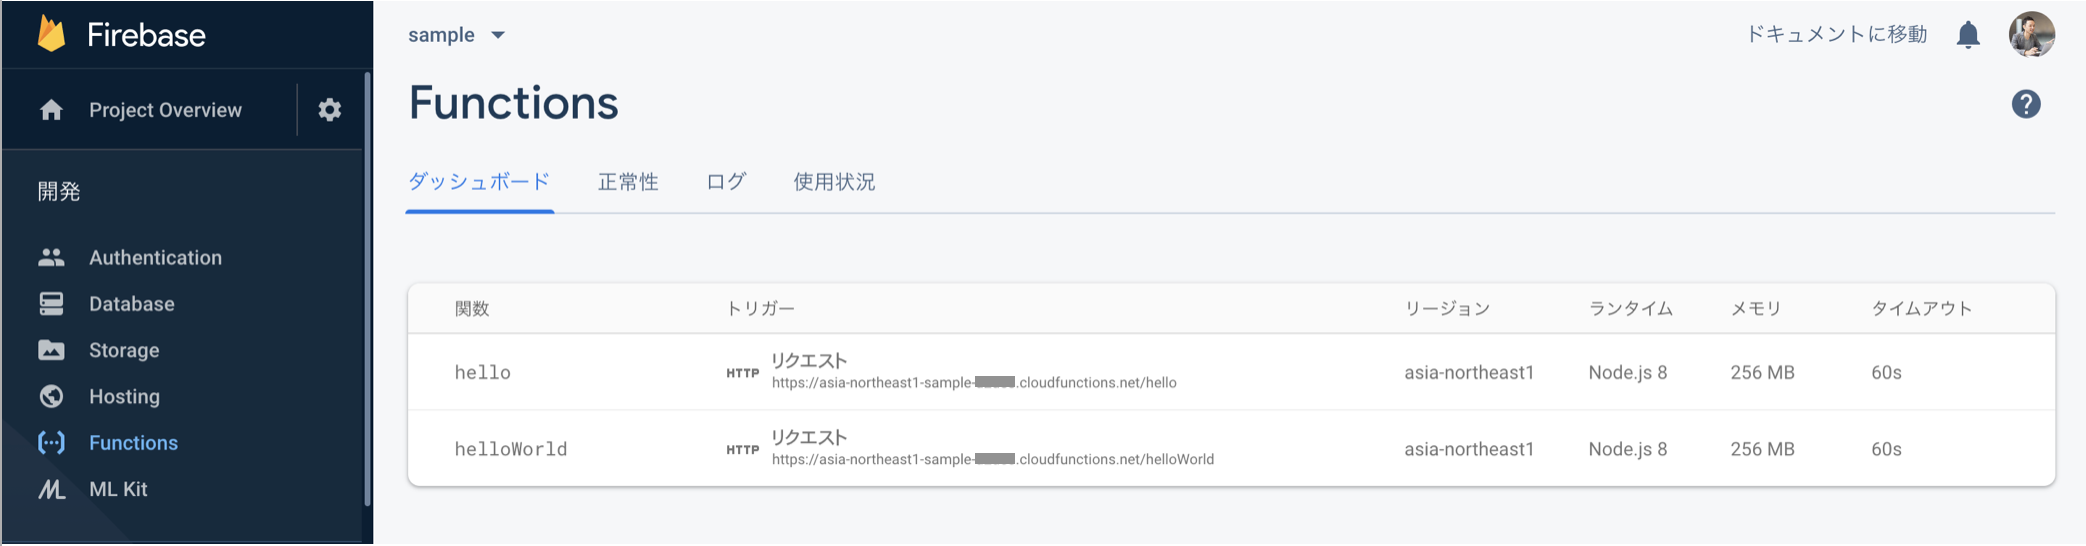
4.firebaseのコンソール画面からfunctionsの管理画面を開くと、functionsのデプロイも確認できます。
CloudFunctionsの入門編は以上です。
次回はCloudFunctionsからCloudSQLのMySQLにアクセスする手順について解説します!
最後に
この記事は「Nuxt.jsとFirebaseとCloudFunctionsでWebアプリ開発」シリーズとして、連載していきます。
続きはアドベントカレンダー「diffeasyCTO西の24(にし)日連続投稿チャレンジ Advent Calendar 2019」に掲載していきます。
Nuxt.jsとFirebaseなどを使ってWebアプリケーション開発にチャレンジしたい方、是非Qiitaアカウントかtwitterをフォローしていただき、ツッコミやいいね!お願いします!
#advent_24のハッシュタグでフィードバックいただけると嬉しいです!