株式会社diffeasyの日本一魅力的なプログラマー集団を作るCTO@_takeshi_24です。
普段はNuxt.jsでフロントエンド開発したり、Ruby on Railsでサーバーサイド開発したり、GCPでサーバー構築したりやっています。
ネイティブアプリ開発はやっていないのですが、今回「Vue Native」を利用してネイティブアプリ開発に挑戦してみました!
Vue Nativeとは?
 JavaScriptでクロスプラットフォームのネイティブアプリ開発ができるフレームワークです。
2018年6月に公開されました。
https://vue-native.io/
JavaScriptでクロスプラットフォームのネイティブアプリ開発ができるフレームワークです。
2018年6月に公開されました。
https://vue-native.io/
Vue Native開発環境構築
公式サイトのドキュメントにしたがってインストールしていきます。
yarn global add expo-cli
yarn global add vue-native-cli
vue-native init chat-app
プロジェクトが作成されるので、プロジェクトのディレクトリに移動して、DevToolsを起動します。
cd chat-app/
yarn start
DevToolsがブラウザで立ち上がります。

DevTools左側の「Run on iOS simulator」をクリックするか、コンソールで「i」キーをクリックすると、iOSシミュレーターが起動します。
※事前にXcodeのインストールが必要です。
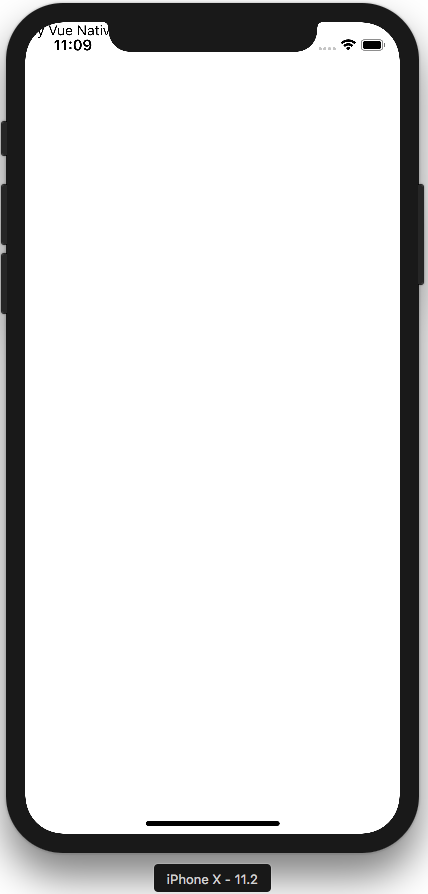
これでVue Nativeのアプリが起動する・・・と思いきや、エラーが発生。
Unable to resolve "../../App" from "node_modules/expo/AppEntry.js"

対応1 ※これはダメでした。
調べたところ、rn-cli.config.jsonを以下のように修正すると良さそう・・・だけどダメでした。。
const { getDefaultConfig } = require("metro-config");

module.exports = (async () => {
  const {
    resolver: { sourceExts }
  } = await getDefaultConfig();
  return {
    transformer: {
      babelTransformerPath: require.resolve("./vueTransformerPlugin.js")
    },
    resolver: {
      sourceExts: [...sourceExts, "vue"]
    }
  };
})();
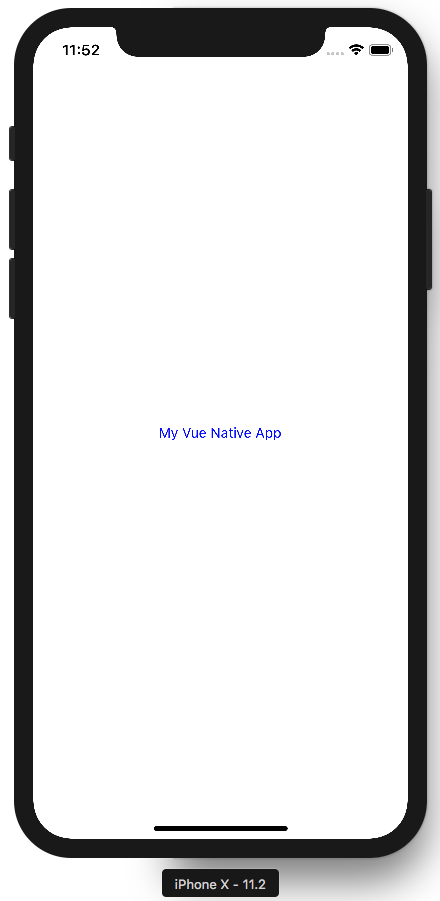
とりあえず改めて、起動します。
一見正常に起動して「My Vue Native App」が表示されますが、styleが効いていません。。
対応2
https://github.com/GeekyAnts/vue-native-core/issues/87
こちらを見ていると、同じ状況。
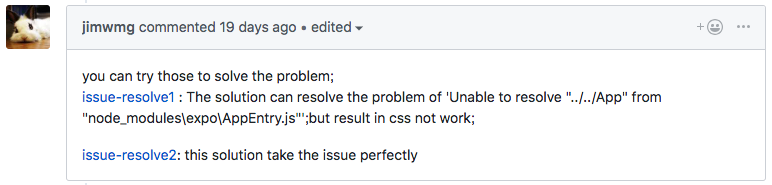
expoの最新バージョンの問題のようですね。

そこで、バージョンを戻します。
yarn.lockとnode_modulesを削除して、package.jsonとapp.jsonを以下のように書き換えます。
{
  "main": "node_modules/expo/AppEntry.js",
  "scripts": {
    "start": "expo start",
    "android": "expo start --android",
    "ios": "expo start --ios",
    "eject": "expo eject",
    "test": "node ./node_modules/jest/bin/jest.js --watchAll"
  },
  "jest": {
    "preset": "jest-expo"
  },
  "dependencies": {
    "expo": "^29.0.0",
    "react": "16.5.0",
    "react-native": "0.55.4",
    "vue-native-core": "0.0.8",
    "vue-native-helper": "0.0.9"
  },
  "devDependencies": {
    "babel-preset-expo": "^4.0.0",
    "vue-native-scripts": "0.0.14"
  },
  "private": true
}
{
  "expo": {
    "name": "chat-app",
    "slug": "chat-app",
    "privacy": "public",
    "sdkVersion": "29.0.0",
    "platforms": [
      "ios",
      "android"
    ],
    "version": "1.0.0",
    "orientation": "portrait",
    "icon": "./assets/images/icon.png",
    "splash": {
      "image": "./assets/images/splash.png",
      "resizeMode": "contain",
      "backgroundColor": "#ffffff"
    },
    "updates": {
      "fallbackToCacheTimeout": 0
    },
    "assetBundlePatterns": [
      "**/*"
    ],
    "ios": {
      "supportsTablet": true
    },
    "packagerOpts": {
      "config": "rn-cli.config.js"
    }
  }
}
rn-cli.config.jsも元に戻しておきます。
module.exports = {
  getTransformModulePath() {
    return require.resolve("./vueTransformerPlugin.js");
  },
  getSourceExts() {
    return ["vue"];
  }
};
モジュールを入れ直します。
yarn install
これで改めて、起動します。
今度こそ起動しました!
Vue Nativeでアプリ開発
App.vueにコードを書いていきます。
今回はシンプルにテキスト入力された文字をリスト表示するコードです。
<template>
  <view class="container">
    <text-input
      :style="{height: 40, width: 200, borderColor: 'gray', borderWidth: 1}"
      v-model="messageText"
    />
    <button
      :on-press="saveMessage"
      title="Save"
    />
    <text v-for="(message, index) in messages" :key="index">{{ message }}</text>
  </view>
</template>
<script>
  export default {
    data: function() {
      return {
        messageText: '',
        messages: []
      }
    },
    methods: {
      saveMessage: function() {
        this.messages.push(this.messageText)
        this.messageText = ''
      }
    }
  }
</script>
<style>
.container {
  background-color: white;
  align-items: center;
  justify-content: center;
  flex: 1;
}
.text-color-primary {
  color: blue;
}
</style>
以下の通り動きます!
Vue NativeでVuexを利用
状態管理にVuexを利用します。
Vuexをインストールします。
yarn add vuex --save
Storeを作成します。
const state = {
  messages: []
}
const getters = {
  messages: state => {
    return state.messages
  }
}
// actions
const actions = {
  addMessage ({ commit }, message) {
    commit('addMessage', message)
  }
}
// mutations
const mutations = {
  addMessage (state, message) {
    state.messages.push(message)
  }
}
export default {
  state,
  getters,
  actions,
  mutations
}
import Vue from 'vue-native-core'
import Vuex from 'vuex'
import messages from './modules/messages'

Vue.use(Vuex)

export default new Vuex.Store({
  modules: {
    messages
  }
})
App.vueのscriptを以下のように修正します。
<script>
  import Store from './store';
  export default {
    data: function() {
      return {
        messageText: ''
      }
    },
    computed: {
      messages: function() {
        return Store.getters.messages
      }
    },
    methods: {
      saveMessage: function() {
        Store.dispatch('addMessage', this.messageText)
        this.messageText = ''
      }
    }
  }
</script>
Vue Native Routerで画面遷移
ここまで、/App.vueに全て処理を書いてきましたが、実際のアプリでは画面の遷移も必要になると思います。
WebのVue.jsでは、Vue Routerを使いますが、Vue NativeにはVue Native Routerというモジュールがあるので、これを利用します。
Vue Native Routerをインストールします。
yarn add vue-native-router --save
App.vueの内容を、/screens/MessagesScreen.vueにコピーします。
ホーム画面用の画面として、/screens/HomeScreen.vueを作成します。
App.vueにはVue Native RouterのStackNavigatorのみ配置します。
<template>
  <view class="container">
    <text>{{ text }}</text>
    <button
      :on-press="goMessages"
      title="Go Messages"
    />
  </view>
</template>
<script>
  export default {
    data: function() {
      return {
        text: 'Home'
      }
    },
    props: {
      navigation: {
        type: Object
      }
    },
    methods: {
      goMessages: function() {
        this.navigation.navigate("Messages")
      }
    }
  }
</script>
<style>
.container {
  background-color: white;
  align-items: center;
  justify-content: center;
  flex: 1;
}
.text-color-primary {
  color: blue;
}
</style>
<template>
  <app-navigation></app-navigation>
</template>
<script>
import { StackNavigator } from "vue-native-router";
import HomeScreen from "./screens/HomeScreen.vue";
import MessagesScreen from "./screens/MessagesScreen.vue";
const AppNavigation = StackNavigator(
  {
    Home: HomeScreen,
    Messages: MessagesScreen,
  },
  {
    initialRouteName: 'Home',
  }
);
export default {
    components: { AppNavigation }
}
</script>
App.vueで、screensのコンポーネントを読み込んで、初期画面として、initialRouteName: 'Home'を指定しています。
HomeScreens.vueのthis.navigation.navigate("Messages")で、MessagesScreenに遷移します。