前回まででMacにJupyter Notebookを入れ、そのExtensionも追加し、効率的に分析ができる環境を作りました。**今回は色やフォントなどの見た目変更、そしてVimで編集をできるようにします。**ちなみにタイトルの元ネタはこれです。
(前回までの記事)
[僕がpyenv+anaconda3+jupyter notebookを選んだ理由と、その導入]
(https://qiita.com/_snow_narcissus/items/97d147dfa117f9a74936)
[Jupyter notebookのスニペット機能を使って機械学習案件の生産性をあげる]
(https://qiita.com/_snow_narcissus/items/647a6d3cec0a9bdb8980)
以下の順に沿って記していきます。
- 見た目の変更
- Vimの導入
- cssの調整
前提となる環境として、自宅で使っているMacBooK Airを用います。
2011 MacBook Air 3,1
1.4 GHz Intel Core 2 Duo
2 GB 1067 MHz DDR3
128 GB SSD
High Sierra 10.13.2
またpyenv 1.1.5 + anaconda3-4.0.0でpython3を入れています。
見た目の変更
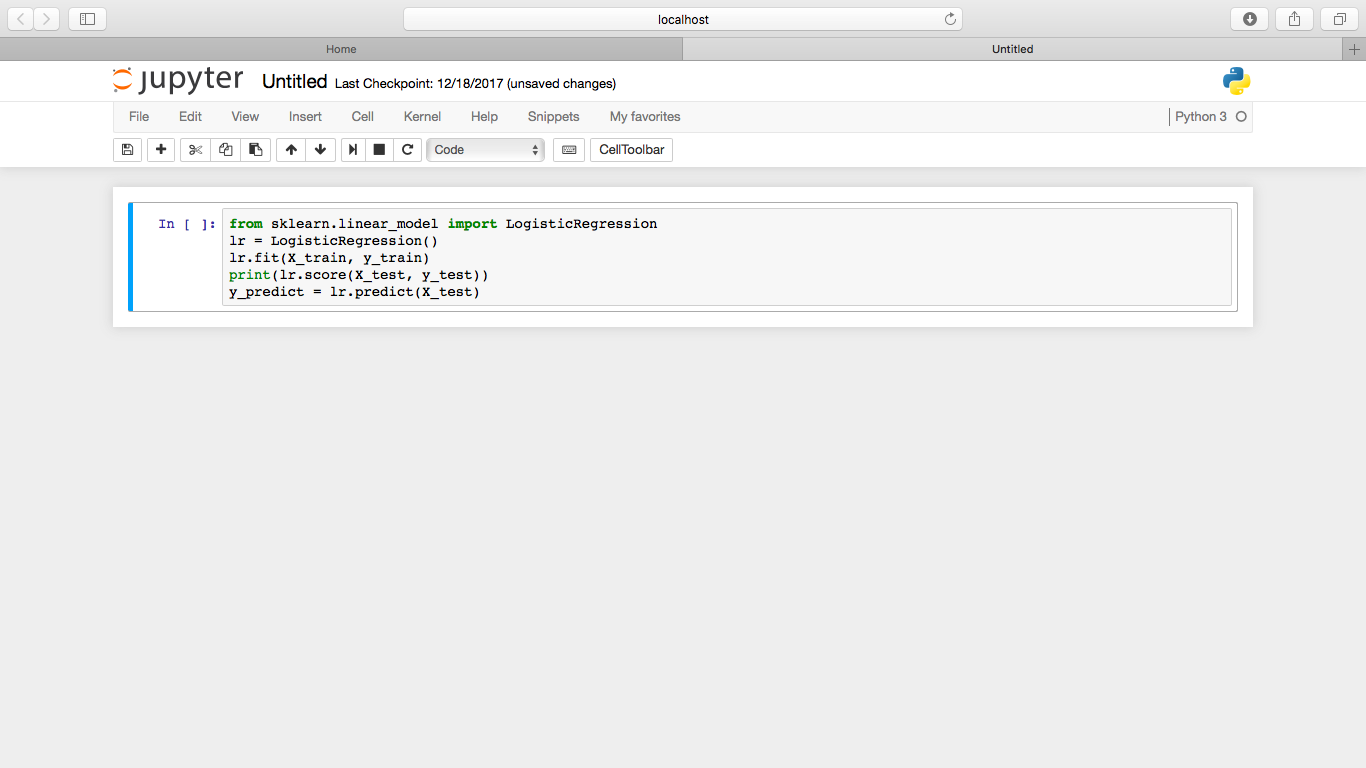
デフォルトのテーマでは下記の感じになり、割合明るめなので、良い感じに闇に染めていきます。
色やフォントの変更にはjupyterthemesを用います。JupyterNotebookのプロセスをいったん落としてから、下記コマンドを実行してください。
~$ pip install jupyterthemes
上記のようにpipパッケージを導入すると、jtコマンドが使えるようになりますので、下記のように色のテーマとフォントを指定します。(上記のサイトを見て自分なりにカスタマイズしてみてください)
~$ jt -t chesterish -T -f roboto -fs 9 -tf merriserif -tfs 11 -nf ptsans -nfs 11 -dfs 8 -ofs 8
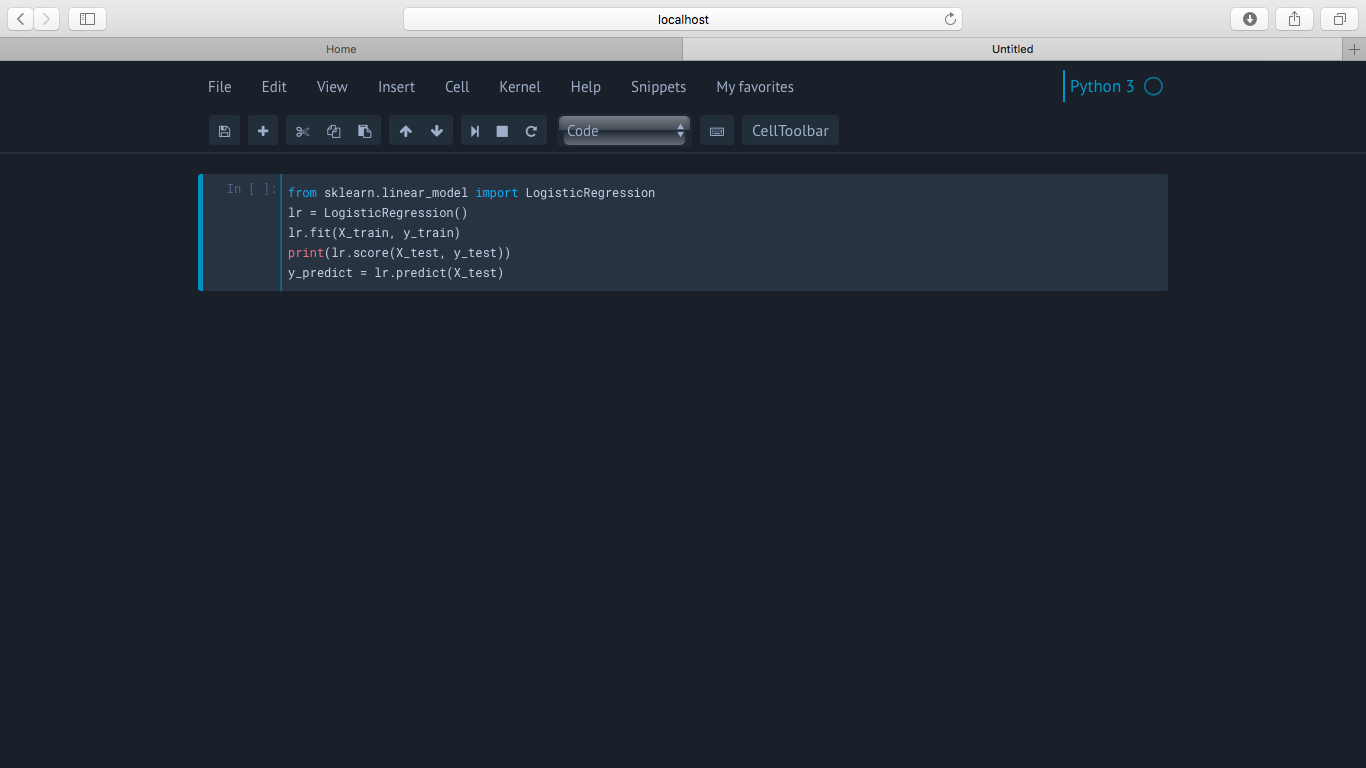
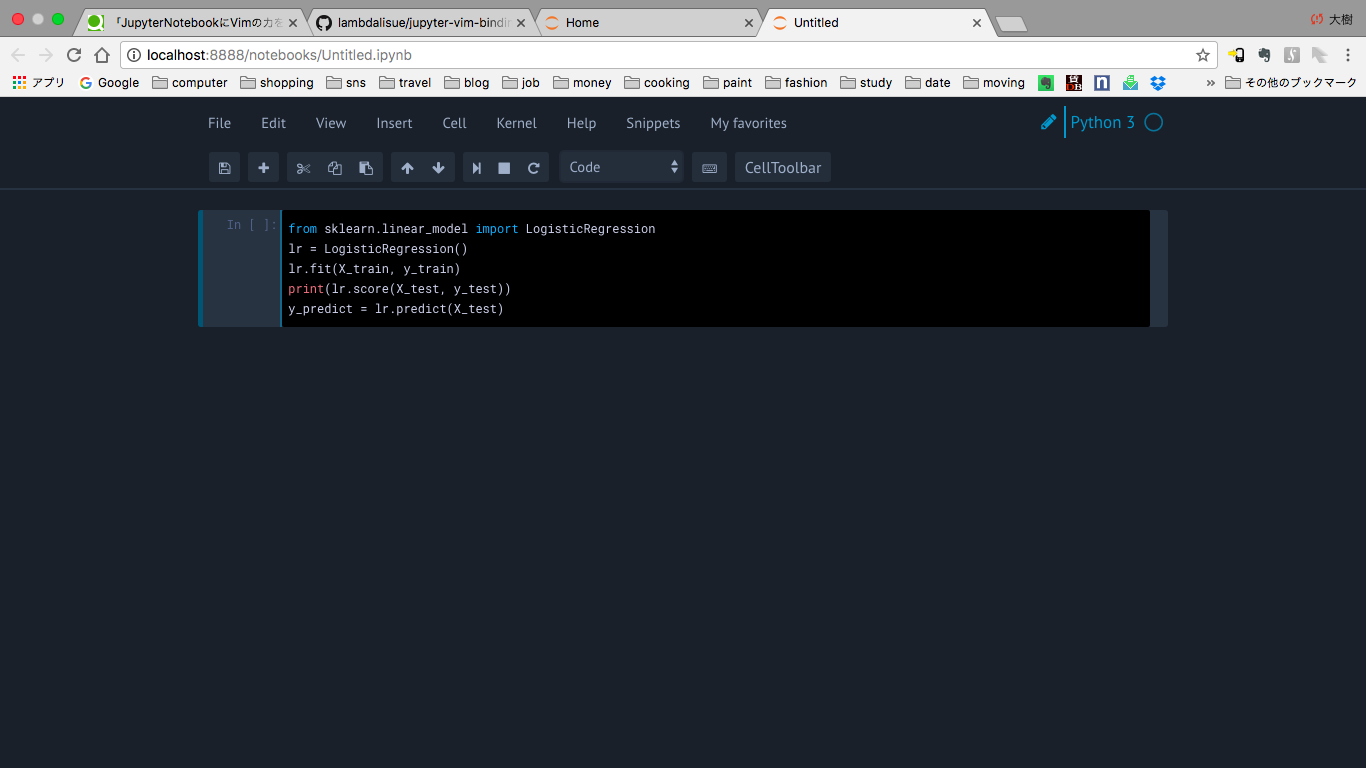
ここでJupyterNotebookを起動してみましょう。良い感じに闇に染まりましたね。
Vimの導入
さらにVimの力を加えることにより、闇の力を深めていきます。前回記事にしましたが、既にnbextensionsは導入している前提です。Vimの導入にはjupyter-vim-bindingを用います。(下記コマンドについてレポジトリのクローン先はコマンド$ jupyter --pathで調べ、各自適切なパスに変更してください。)
$ git clone https://github.com/lambdalisue/jupyter-vim-binding /Users/daiki_akimoto/.pyenv/versions/anaconda3-4.0.0/share/jupyter/nbextensions/vim_binding
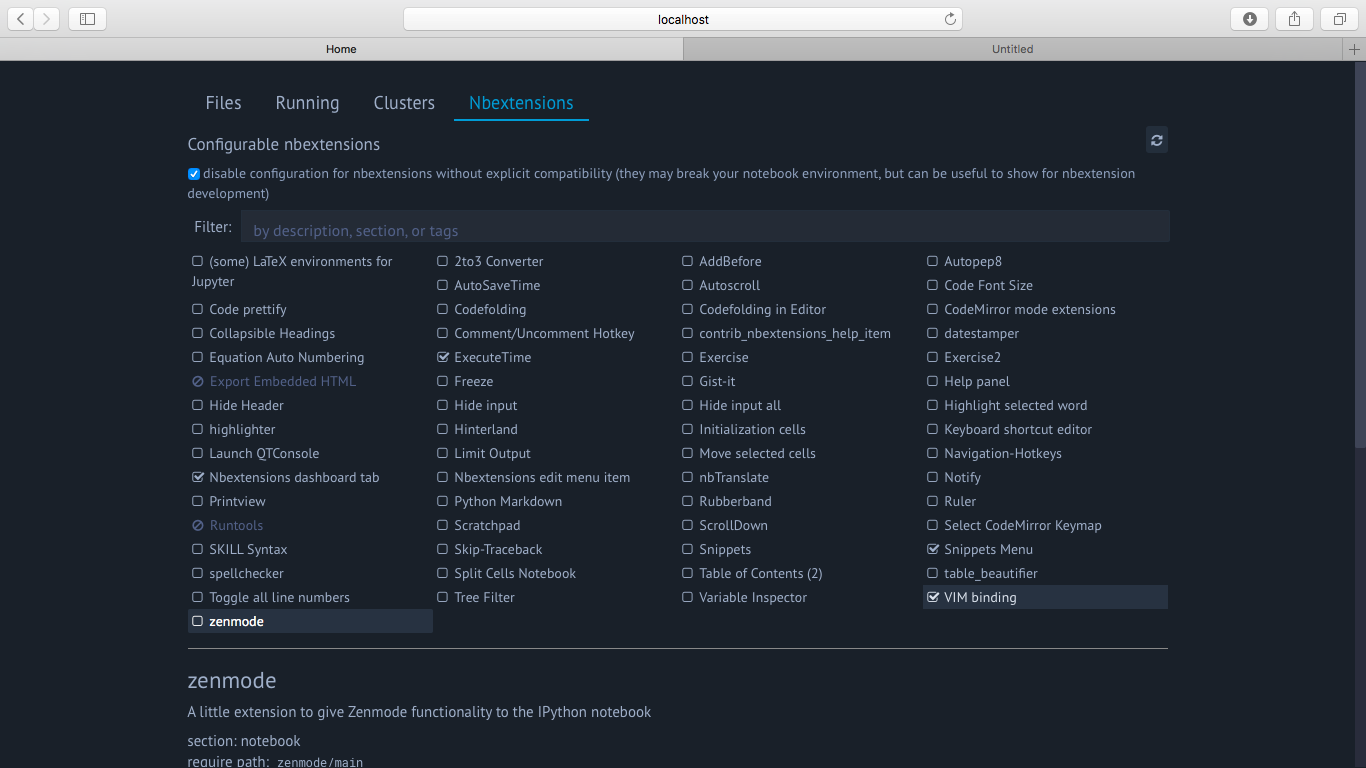
すると、下記のようにVIM bindingのnbextensionが選べますので、これをチェックします。
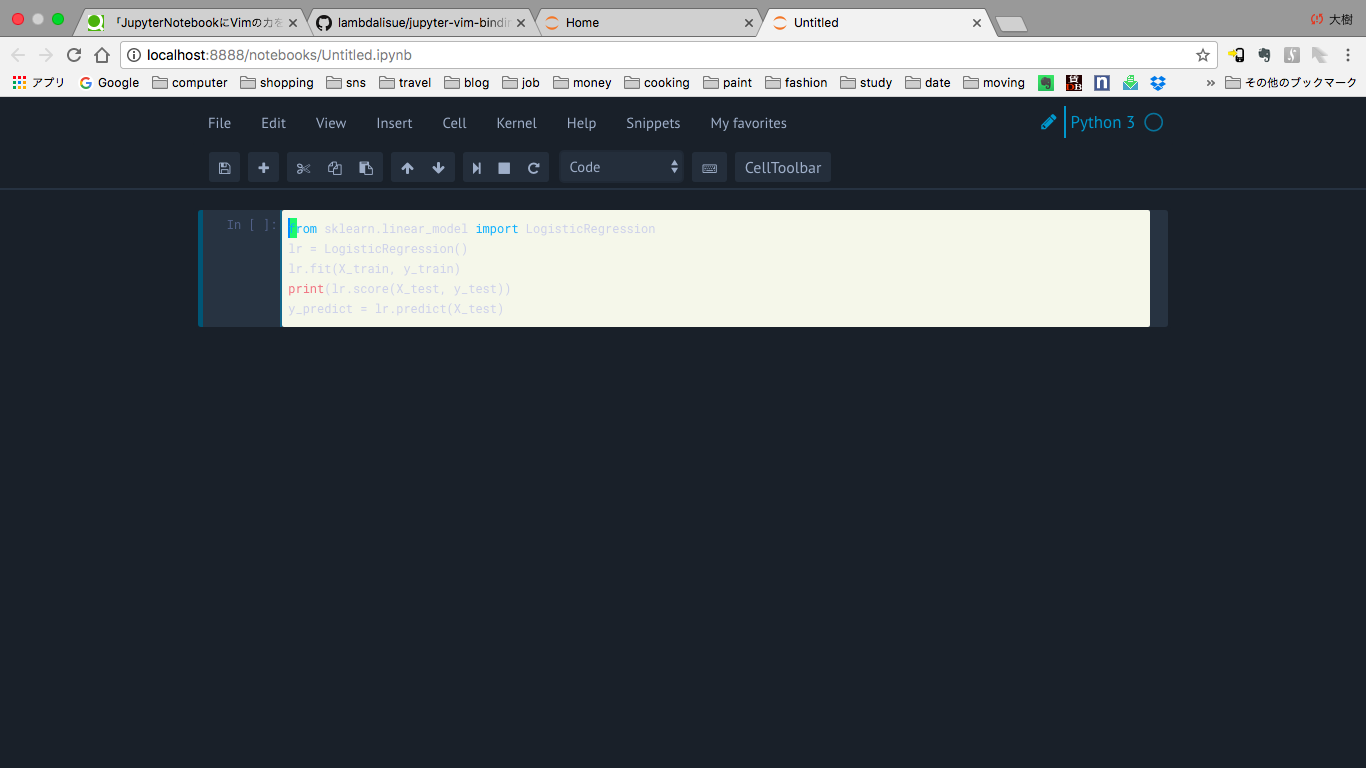
すると、下記のようにVimがJupyterNotebookの中でも使えるようになります。ちょっと見辛いので次の説でCSSをいじって調整してあげます。(注:Safariで開きますと上手く動かないようです。GoogleChromeだと大丈夫でした。)
cssの調整
上記のように闇に染まった背景にVimを導入すると、少し明るくなって見にくくなるので、これも塗りつぶしましょう。
~/.jupyter/custom/custom.cssを編集します。div.cell.edit_mode {という一行がありますので、その直前に下記を挿入します。
/* Jupyter cell is in normal mode when code mirror */
.edit_mode .cell.selected .CodeMirror-focused.cm-fat-cursor {
background-color: #000000 !important;
}
/* Jupyter cell is in insert mode when code mirror */
.edit_mode .cell.selected .CodeMirror-focused:not(.cm-fat-cursor) {
background-color: #000000 !important;
}
すると、下記のようにVimの編集範囲も闇に染めることができます。
最後に
以上、Jupyter Notebookの色と見た目の変更とVimの導入でした。細かいところですが、毎日使っていくものでもあるので、紹介したサイトを参考になるべく使いやすく自分にあった環境を見つけて頂ければと思います。
