きっかけ
・研究室内に先輩の遺産があった
僕「3色LEDあるやん。何かに使ったろ」
※この記事はこれの続きです
Raspberry PiでCO2センサーモジュール(MH-Z14A)を使って室内のCO2濃度測定
用意したもの
今回用意したもの
・3色LED
・カラー抵抗(今回は適当に転がってた1 kΩ)
・ジャンパワイヤー
・ブレッドボード
前回用意したもの
・Raspberry Pi 3 B+
・CO2濃度センサー(HMZ-14A)
3色LEDは以下の通り


よく分からないが一番長い端子がカソードらしい
普通のLEDと違うような
手順
接続
図のようにブレットボードに三色LEDをつなげる
赤、青、緑、GNDの配線(ジャンパワイヤ)をラズパイのGPIOに接続する
GNDに接続するカソードに1 kΩ抵抗をかませておく
GPIOはHIGHの時は3.3 Vだそうなので15 mA以下で使用するには最低でも120 Ω以上の抵抗なら良いのかな?
本当は色毎に抵抗や消費電力が違うと思うのでそれぞれに違う値の抵抗をつなげたほうが丁寧かも
| LED色 | ジャンパワイヤ色 | ラズパイpin |
|---|---|---|
| 赤 | 赤 | 40(GPIO21) |
| 青 | 青 | 37(GPIO26) |
| 緑 | 緑 | 38(GPIO20) |
| GND | 黒 | GND |

セットアップ
PythonでGPIOの出力を制御するためのライブラリをインストールする
python2の場合
root@raspberrypi:/home/pi# pip install rpi.gpio

python3の場合
root@raspberrypi:/home/pi# pip3 install rpi.gpio
プログラム
以下のようなプログラムを書く
後半のifでセンサーから取得したCO2の濃度に応じてLEDの光る色を変えている
# !/usr/bin/env python
# -*- coding: utf-8 -*-

import serial
import time
import datetime
import RPi.GPIO as GPIO


s = None
def setup():
	global s
	s = serial.Serial('/dev/ttyAMA0',baudrate=9600,bytesize=serial.EIGHTBITS, parity=serial.PARITY_NONE,stopbits=serial.STOPBITS_ONE,timeout=1.0)
    print ("start setup")
	time.sleep(1)
    print ("end setup")
	parity=serial.PARITY_NONE,stopbits=serial.STOPBITS_ONE,timeout=10.0)

def readdata():
	b = bytearray([0xFF, 0x01, 0x86, 0x00, 0x00, 0x00, 0x00, 0x00, 0x79])
	s.write(b)
	time.sleep(30)
	result = s.read(9)
	checksum = (0xFF - ((ord(result[1])+ord(result[2])+ord(result[3])+ord(result[4])+ord(result[5])+ord(result[6])+ord(result[7]))% 256))+ 0x01
	checksumok = 'FAIL'
	if checksum == ord(result[8]):
		checksumok = 'PASS'

	now = datetime.datetime.now().strftime("%Y/%m/%d %H %M")
	data = now + " " + str((ord(result[2])*256)+ord(result[3]))+ " " + checksumok+"\n"
	printdata = "CO2" + " "+ str((ord(result[2])*256)+ord(result[3]))+ " " +"ppm" + "\n"

    if (ord(result[2])*256+ord(result[3])) >=700  :
        if (ord(result[2])*256+ord(result[3])) >=1000  :
            GPIO.output(20, GPIO.LOW)  #700 ppm以上で1000 ppm以上の時は赤色を光らせる
            GPIO.output(21, GPIO.HIGH)
            GPIO.output(26, GPIO.LOW)
        else :
            GPIO.output(20, GPIO.HIGH)  #700 ppm以上で1000 ppm未満の時は緑色を光らせる
            GPIO.output(21, GPIO.LOW)
            GPIO.output(26, GPIO.LOW)
    else :
        GPIO.output(20, GPIO.LOW)  #700 ppm未満の時は青色を光らせる
        GPIO.output(21, GPIO.LOW)
        GPIO.output(26, GPIO.HIGH)


if __name__ == '__main__':
	setup()
    GPIO.cleanup()
    GPIO.setmode(GPIO.BCM)
    GPIO.setup(20, GPIO.OUT)
    GPIO.setup(21, GPIO.OUT)
    GPIO.setup(26, GPIO.OUT)
	while True:
		readdata()
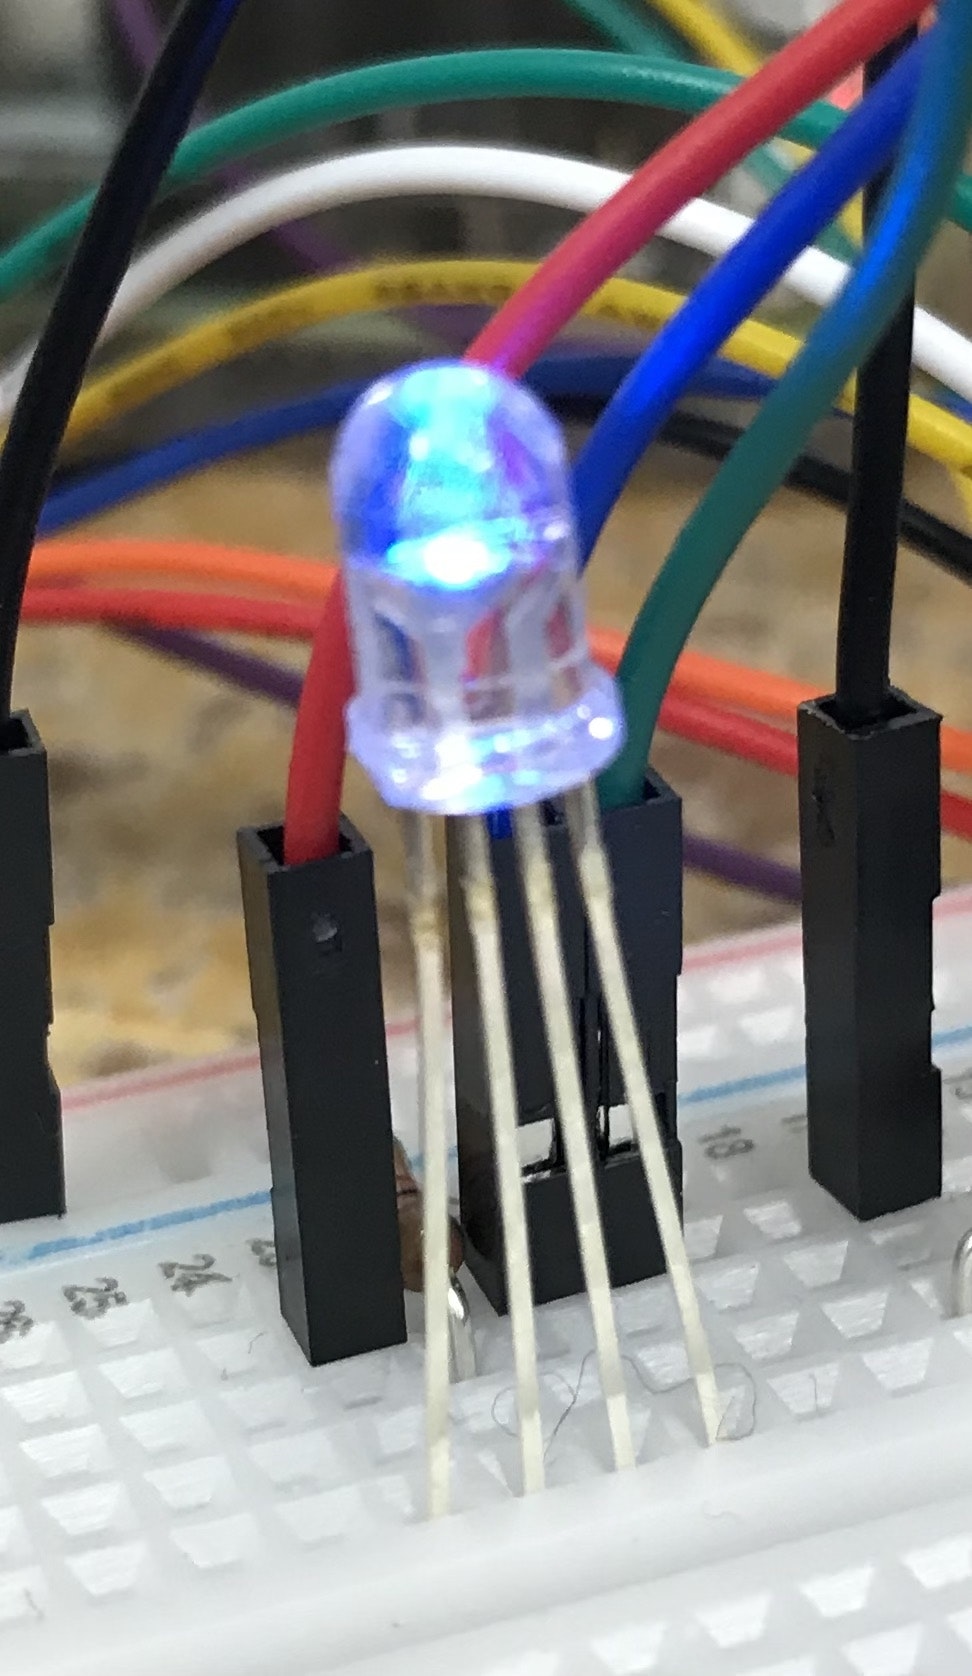
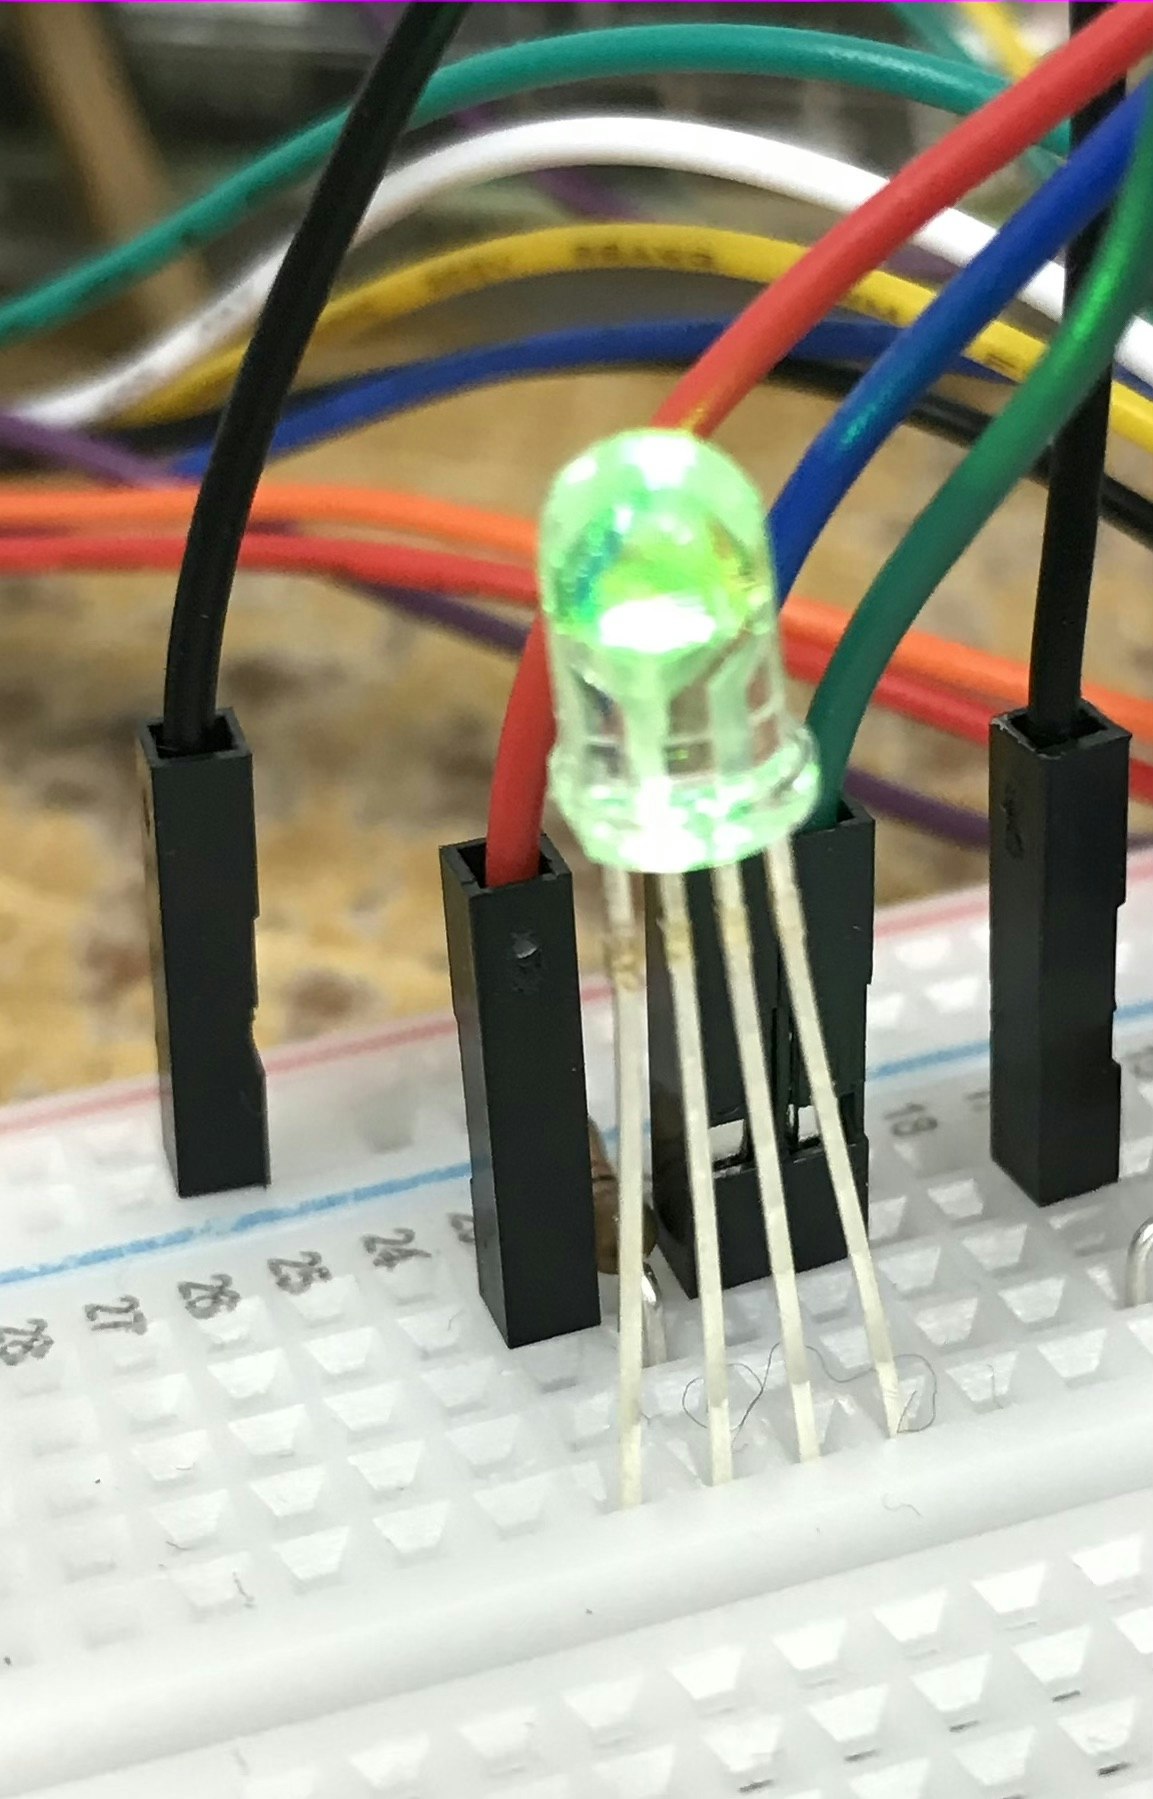
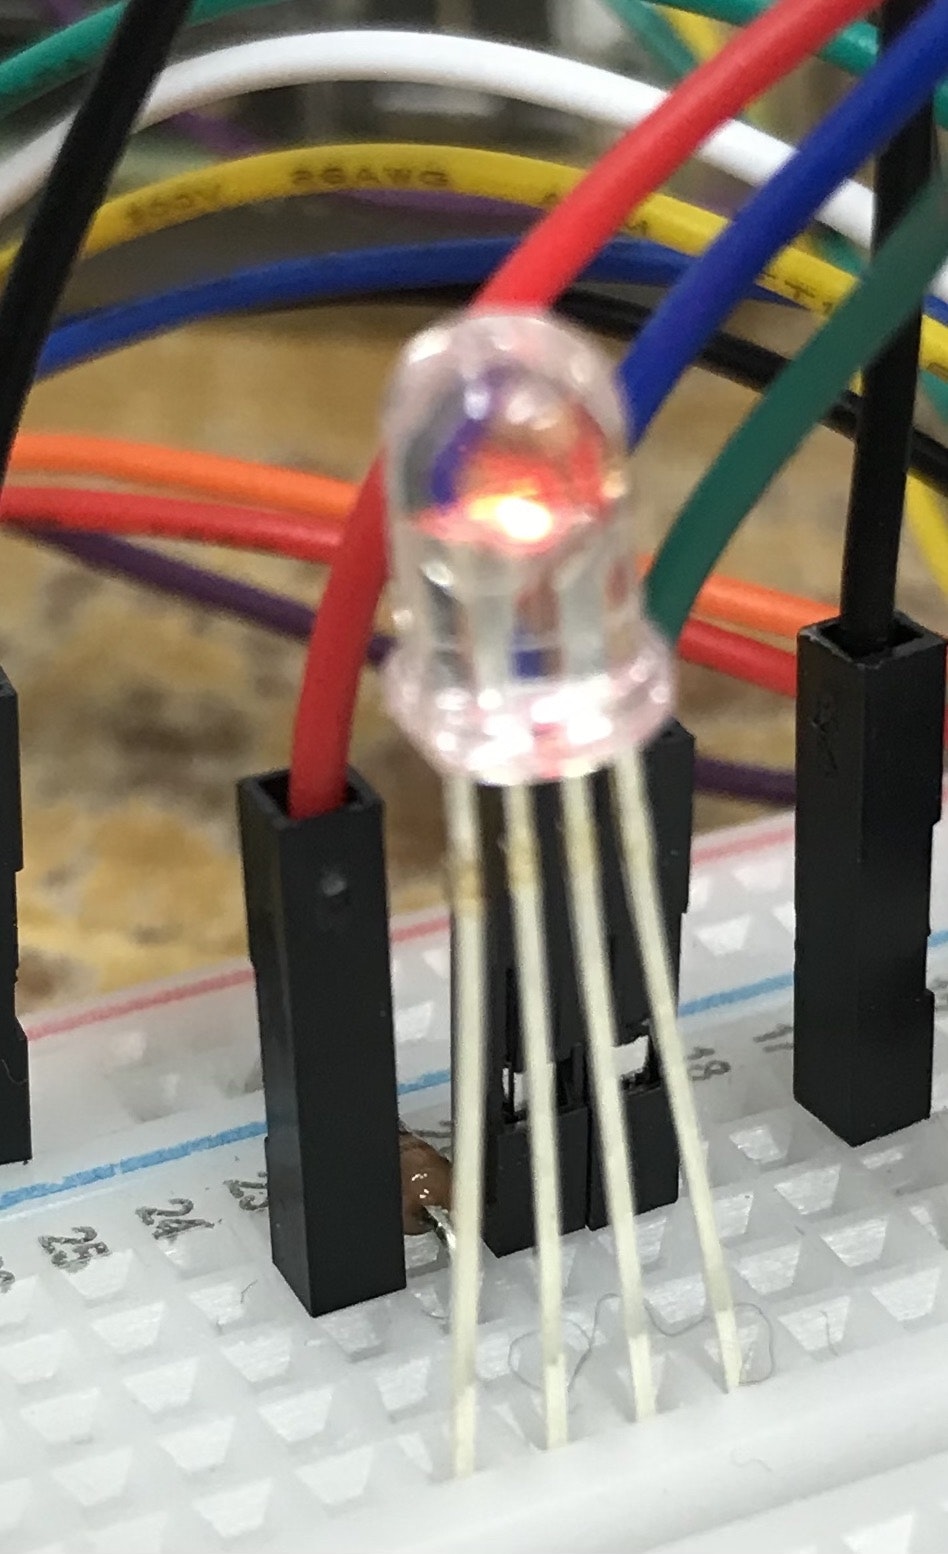
↓700 ppm未満 ↓700 ppm以上1000 ppm未満 ↓1000 ppm以上


一応できた
これで一目で換気すべきかどうかわかりますね
参考にしたサイト
・GPIO出力関係
http://ag.hatenablog.com/entry/2015/07/31/013013
有用な情報ありがとうございました