この記事は、VALU Advent Calendar 2018の5日目のエントリです。
前回の記事で書ききれなかったコレクションのバインディング事情について書きます。
やりたいこと
C#erとしては、ListViewのItemsSourceにObservableCollectionをバインドしてあげて、あとは良い感じにDataTemplateを提供してやればコレクションの増減にも追従してくれる...そんなバインディングをしたくなりますよね。

外部ライブラリを使わずに実装してみる
特に外部ライブラリを使わずに実装すると、以下のようになるでしょうか。
ViewModel
ViewModelはこちら。表示したいコレクションは、変更検知機構を持つObservableListにしています。
class SampleViewModel {
    val text: ObservableField<String> = ObservableField("Hello Binding!!!")
    val collection: ObservableList<SampleItemModel> = ObservableArrayList()

    fun addItem(text: String) {
        collection.add(SampleItemModel(text))
    }
}
Fragment
Fragmentのコードはこちら。RecylerViewにadapterをセットすることで、表示内容を定義します。
class MainActivityFragment : Fragment() {

    override fun onCreateView(
        inflater: LayoutInflater, container: ViewGroup?,
        savedInstanceState: Bundle?
    ): View? {
        // Bindingクラスを通してInflateする
        val binding = FragmentMainBinding.inflate(inflater, container, false)
        // DataBindingのため、ViewModelをセットする
        val viewModel = SampleViewModel()
        binding.viewModel = viewModel

        // ViewModelのCollectionを表示するようにadapterを設定する
        binding.recyclerView.adapter = RecyclerViewAdapter(viewModel.collection)

        // ObservableListの変更イベントが飛んできたらRecyclerViewをリロードする
        viewModel.collection.addOnListChangedCallback(object: ObservableList.OnListChangedCallback<ObservableList<SampleItemModel>>() {
            override fun onChanged(sender: ObservableList<SampleItemModel>?) {
                binding.recyclerView.adapter?.notifyDataSetChanged()
            }

            override fun onItemRangeRemoved(
                sender: ObservableList<SampleItemModel>?,
                positionStart: Int,
                itemCount: Int
            ) {
                binding.recyclerView.adapter?.notifyDataSetChanged()
            }

            override fun onItemRangeMoved(
                sender: ObservableList<SampleItemModel>?,
                fromPosition: Int,
                toPosition: Int,
                itemCount: Int
            ) {
                binding.recyclerView.adapter?.notifyDataSetChanged()
            }

            override fun onItemRangeInserted(
                sender: ObservableList<SampleItemModel>?,
                positionStart: Int,
                itemCount: Int
            ) {
                binding.recyclerView.adapter?.notifyDataSetChanged()
            }

            override fun onItemRangeChanged(
                sender: ObservableList<SampleItemModel>?,
                positionStart: Int,
                itemCount: Int
            ) {
                binding.recyclerView.adapter?.notifyDataSetChanged()
            }

        })

        //binding.recyclerView.adapter
        // inflateしたroot要素を返してやる
        return binding.root
    }
}
Adapter
実装のキモとなる、RecylerViewにセットするAdapterがこちら。通常のinflateではなく、Bindingクラスを利用してinflateしています。
    class RecyclerViewAdapter(val collection: ObservableList<SampleItemModel>) :
        RecyclerView.Adapter<BindableViewHolder<ItemTextBinding>>() {

        // viewHolderの作成時に、表示したいレイアウトをInflateしてやる
        override fun onCreateViewHolder(parent: ViewGroup, position: Int): BindableViewHolder<ItemTextBinding> {
            val layoutInflater = LayoutInflater.from(parent.context)
            val binding = ItemTextBinding.inflate(layoutInflater, parent, false)
            return BindableViewHolder(binding)
        }

        // アイテム数はObservableListから取得
        override fun getItemCount(): Int = collection.size

        // このViewHolderが表示すべきアイテムのindexが渡されるので、ViewModelを更新する
        override fun onBindViewHolder(viewHolder: BindableViewHolder<ItemTextBinding>, position: Int) {
            viewHolder.binding.itemModel = collection[position]
        }
    }

    class BindableViewHolder<T : ViewDataBinding>(val binding: T) : RecyclerView.ViewHolder(binding.root)
Layout
最後にレイアウトです。
<?xml version="1.0" encoding="utf-8"?>
<!--ルート要素をlayoutタグにする-->
<layout
        xmlns:android="http://schemas.android.com/apk/res/android"
        xmlns:tools="http://schemas.android.com/tools"
        xmlns:app="http://schemas.android.com/apk/res-auto"
        >
    <!--ここでバインドするクラスを指定できる-->
    <data>
        <!--バインドするクラスの型と、それにアクセスするための変数名を指定する-->
        <variable
                name="viewModel"
                type="in.kikr.android.bindingsample.viewmodel.SampleViewModel"/>

        <!--additionalTextViewのVisibilityのためにViewをインポートしておく-->
        <import type="android.view.View"/>
    </data>

    <android.support.constraint.ConstraintLayout
            android:layout_width="match_parent"
            android:layout_height="match_parent"
            tools:showIn="@layout/activity_main"
            tools:context=".MainActivityFragment">
~~ 略 ~~
        <android.support.v7.widget.RecyclerView
                android:id="@+id/recyclerView"
                android:layout_width="match_parent"
                android:layout_height="0dp"
                app:layout_constraintTop_toBottomOf="@id/additionalTextView"
                app:layout_constraintBottom_toTopOf="@id/addItemButton"
                android:layout_marginTop="8dp"
                app:layoutManager="android.support.v7.widget.LinearLayoutManager"
                />

        <Button android:id="@+id/addItemButton"
                android:layout_width="wrap_content"
                android:layout_height="wrap_content"
                android:text="Add Item"
                app:layout_constraintTop_toBottomOf="@id/recyclerView"
                app:layout_constraintBottom_toBottomOf="parent"
                app:layout_constraintStart_toStartOf="parent"
                app:layout_constraintEnd_toEndOf="parent"
                android:onClick="@{()->viewModel.addItem(viewModel.text)}"
                />

    </android.support.constraint.ConstraintLayout>
</layout>
これで簡易的にコレクションのバインドはできますが、以下のようなことを考えるとこのままではちょっとつらいです。
- 表示したいコレクションの型が複数あり、型によって違うレイアウトを表示してあげたい
- アイテムの増減時に毎回refreshするのはちょっとなぁ
BindingCollectionAdapter
そこでこちらのライブラリを利用します。
https://github.com/evant/binding-collection-adapter
こちらのライブラリを利用してコードを書き換えてみましょう。
build.gradle
まずライブラリを依存関係に追加しましょう。また、kotlin-kaptも追加が必要です。
(今回のアプリがAndroidXにまだ対応していないので、微妙に古いバージョンを使っています、、、)
apply plugin: 'kotlin-kapt'

dependencies {
    ...
    // BindingCollectionAdapter
    implementation 'me.tatarka.bindingcollectionadapter2:bindingcollectionadapter:2.3.0-beta3'
    implementation 'me.tatarka.bindingcollectionadapter2:bindingcollectionadapter-recyclerview:2.3.0-beta3'
}
バインド情報を保持するためのクラスを作成
実際にバインドするコレクションと、バインド定義を保持するクラスをViewModelとは別に作成します。
XAMLでいえばItemsSourceとDataTemplateみたいなものだと思ってもらえれば良いと思います。
class BindingParameter<T>(
    // バインド対象のコレクション
    val collection: ObservableList<T>,
    // バインド定義
    val itemBinding: OnItemBindClass<T>)
レイアウト定義にバインド設定を追加
次にXMLの定義です。
RecyclerViewに指定した、app:itemBindingとapp:items属性と、その属性にバインドするためのbindingParameter変数を新たに追加しました。
bindingParameterの型は、先ほど作成した BindingParameter<T>クラスであり、引数としてSampleViewModelのコレクション内アイテムの型を指定しています。(SampleItemModel)
<?xml version="1.0" encoding="utf-8"?>
<layout
xmlns:android="http://schemas.android.com/apk/res/android"
xmlns:tools="http://schemas.android.com/tools"
xmlns:app="http://schemas.android.com/apk/res-auto"
>
<data>
<import type="in.kikr.android.bindingsample.binding.BindingParameter"/>
<import type="in.kikr.android.bindingsample.viewmodel.SampleItemModel"/>
<import type="android.view.View"/>
<variable
name="viewModel"
type="in.kikr.android.bindingsample.viewmodel.SampleViewModel"/>
<!--コレクションバインディング定義-->
<variable
name="bindingParameter"
type="BindingParameter<SampleItemModel>"/>
</data>
<android.support.constraint.ConstraintLayout
android:layout_width="match_parent"
android:layout_height="match_parent"
tools:showIn="@layout/activity_main"
tools:context=".MainActivityFragment">
~略~
<android.support.v7.widget.RecyclerView
android:id="@+id/recyclerView"
android:layout_width="match_parent"
android:layout_height="0dp"
app:layout_constraintTop_toBottomOf="@id/additionalTextView"
app:layout_constraintBottom_toTopOf="@id/addItemButton"
android:layout_marginTop="8dp"
app:layoutManager="android.support.v7.widget.LinearLayoutManager"
app:itemBinding="@{bindingParameter.itemBinding}"
app:items="@{bindingParameter.collection}"
/>
<Button
android:id="@+id/addItemButton"
android:layout_width="wrap_content"
android:layout_height="wrap_content"
android:text="Add Item"
app:layout_constraintTop_toBottomOf="@id/recyclerView"
app:layout_constraintBottom_toBottomOf="parent"
app:layout_constraintStart_toStartOf="parent"
app:layout_constraintEnd_toEndOf="parent"
android:onClick="@{()->viewModel.addItem(viewModel.text)}"
/>
</android.support.constraint.ConstraintLayout>
</layout>
バインド設定をFragment側で作成
Fragment側で行うことは、BindingParameterを作成してBindingクラスのvariableにセットするだけです。
「以上で、SampleItemModelという型を、item_text.xmlのレイアウトを使って表示する」という定義は完了です。
class MainActivityFragment : Fragment() {

    override fun onCreateView(
        inflater: LayoutInflater, container: ViewGroup?,
        savedInstanceState: Bundle?
    ): View? {
        // Bindingクラスを通してInflateする
        val binding = FragmentMainBinding.inflate(inflater, container, false)
        // DataBindingのため、ViewModelをセットする
        val viewModel = SampleViewModel()
        binding.viewModel = viewModel

        // コレクションバインディングの定義を行う
        binding.bindingParameter = BindingParameter(
            // バインドしたいコレクションを指定
            viewModel.collection,
            // どの型をどのレイアウトにバインドするかを設定する
            OnItemBindClass<SampleItemModel>().map(
                // 型
                SampleItemModel::class.java,
                // variableタグで指定した変数名を指定
                BR.itemModel,
                // SampleItemModelをRecyclerView内で表示するためのレイアウトを指定
                R.layout.item_text)
        )

        // inflateしたroot要素を返してやる
        return binding.root
    }
}
動作デモ
何も変わらないのでは・・・という感じはありますが、ちょっと違います。
前の例ではアイテムの変更時に全リロードをしていましたが、BindingCollectionAdapterではきちんとイベントに応じたRecyclerViewの操作をしているので、アイテム追加アニメーションなんかもきちんと再生されています。

複雑なコレクションバインディング
次は、型によってレイアウトを変更してみたいと思います。
SampleItemModelをsealed classにして、複数の子クラスを持つようにしつつ、ViewModelを以下のように変更してみました。
ViewModel
class SampleViewModel {
    val text: ObservableField<String> = ObservableField("Hello Binding!!!")
    val collection: ObservableList<SampleItemModel> = ObservableArrayList()

    fun addItemLeft(text: String) {
        collection.add(SampleItemModel.LeftText(text))
    }
    fun addItemRight(text: String) {
        collection.add(SampleItemModel.RightText(text))
    }
    fun addImage() {
        collection.add(SampleItemModel.Image)
    }
}

sealed class SampleItemModel {
    class LeftText(val text: String) : SampleItemModel()
    class RightText(val text: String) : SampleItemModel()
    object Image : SampleItemModel()
}
レイアウトXML
fragmentのレイアウトは、ボタンを足しただけです。
RecylerViewに表示するitemのレイアウトは、ViewModelに対応する以下の3つを追加しました。
<layout xmlns:android="http://schemas.android.com/apk/res/android"
        xmlns:app="http://schemas.android.com/apk/res-auto"
        xmlns:tools="http://schemas.android.com/tools">

<data>
    <!--バインドするViewModelの型と変数名を指定-->
    <variable
            name="itemModel"
            type="in.kikr.android.bindingsample.viewmodel.SampleItemModel.LeftText"/>
</data>

<android.support.constraint.ConstraintLayout
        android:layout_width="match_parent"
        android:layout_height="wrap_content">

    <!--ViewModelのtextプロパティを表示する-->
    <TextView
            android:layout_width="wrap_content"
            android:layout_height="match_parent"
            app:layout_constraintTop_toTopOf="parent"
            app:layout_constraintBottom_toBottomOf="parent"
            app:layout_constraintStart_toStartOf="parent"
            app:layout_constraintEnd_toEndOf="parent"
            app:layout_constraintHorizontal_bias="0.0"
            tools:text="itemText"
            android:text="@{itemModel.text}"
            android:layout_margin="8dp"
            />
</android.support.constraint.ConstraintLayout>
</layout>
<?xml version="1.0" encoding="utf-8"?>
<layout xmlns:android="http://schemas.android.com/apk/res/android"
        xmlns:app="http://schemas.android.com/apk/res-auto"
        xmlns:tools="http://schemas.android.com/tools">

    <data>
        <!--バインドするViewModelの型と変数名を指定-->
        <variable
                name="itemModel"
                type="in.kikr.android.bindingsample.viewmodel.SampleItemModel.RightText"/>
    </data>

    <android.support.constraint.ConstraintLayout
            android:layout_width="match_parent"
            android:layout_height="wrap_content">

        <!--ViewModelのtextプロパティを表示する-->
        <TextView
                android:layout_width="wrap_content"
                android:layout_height="match_parent"
                app:layout_constraintTop_toTopOf="parent"
                app:layout_constraintBottom_toBottomOf="parent"
                app:layout_constraintStart_toStartOf="parent"
                app:layout_constraintEnd_toEndOf="parent"
                app:layout_constraintHorizontal_bias="1.0"
                tools:text="itemText"
                android:text="@{itemModel.text}"
                android:layout_margin="8dp"
                />
    </android.support.constraint.ConstraintLayout>
</layout>
<?xml version="1.0" encoding="utf-8"?>
<layout xmlns:android="http://schemas.android.com/apk/res/android"
        xmlns:app="http://schemas.android.com/apk/res-auto"
        xmlns:tools="http://schemas.android.com/tools">

    <data>
        <!--バインドするViewModelの型と変数名を指定-->
        <variable
                name="itemModel"
                type="in.kikr.android.bindingsample.viewmodel.SampleItemModel.Image"/>
    </data>

    <android.support.constraint.ConstraintLayout
            android:layout_width="match_parent"
            android:layout_height="wrap_content"
            android:padding="16dp">

        <ImageView
                android:layout_width="wrap_content"
                android:layout_height="wrap_content"
                android:src="@drawable/ic_launcher_background"
                app:layout_constraintStart_toStartOf="parent"
                app:layout_constraintEnd_toEndOf="parent"
                />

        <ImageView
                android:layout_width="wrap_content"
                android:layout_height="wrap_content"
                android:src="@drawable/ic_launcher_foreground"
                app:layout_constraintStart_toStartOf="parent"
                app:layout_constraintEnd_toEndOf="parent"
                />
    </android.support.constraint.ConstraintLayout>
</layout>
Fragment
バインド設定を以下のように変更します。SampleItemModelのそれぞれの型について、表示するレイアウトを指定します。
        binding.bindingParameter = BindingParameter(
            // バインドしたいコレクションを指定
            viewModel.collection,
            // どの型をどのレイアウトにバインドするかを設定する
            OnItemBindClass<SampleItemModel>()
                // 右寄せテキスト
                .map(SampleItemModel.RightText::class.java, BR.itemModel, R.layout.item_text_right)
                // 左寄せテキスト
                .map(SampleItemModel.LeftText::class.java, BR.itemModel, R.layout.item_text_left)
                // 画像
                .map(SampleItemModel.Image::class.java, BR.itemModel, R.layout.item_image)
        )
動作デモ
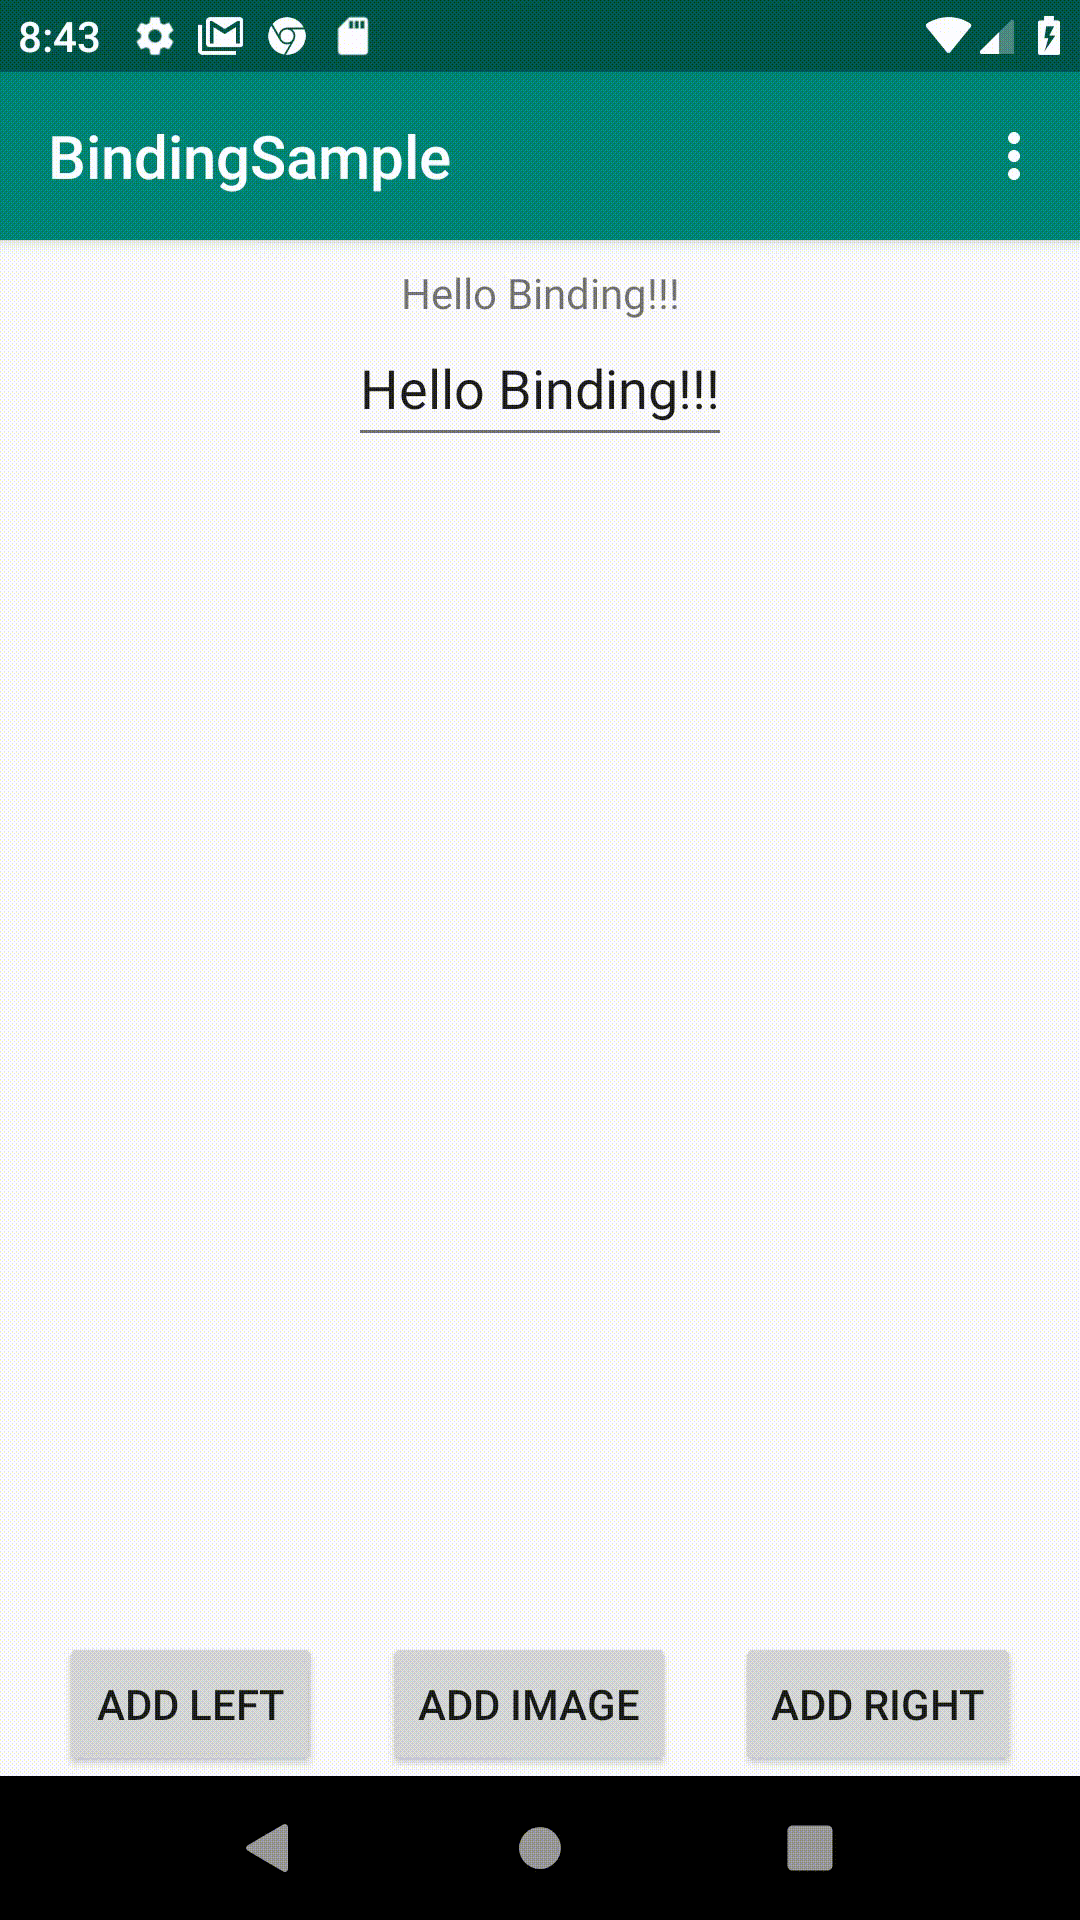
(邪魔だったので、こっそりfabも削除しました)
おわりに
このようなかんじで、C#/XAML出身のわたしでも、Androidネイティブのデータバインディングについては困ることなく快適に開発を進められています。みなさまもぜひAndroidで快適なデータバインディング生活を謳歌していただければと思います!
本記事で利用したサンプルコードはこちら。
明日はブロックチェーン企業のエンジニアっぽいエントリがついに投下される予定ですので、そちらもぜひ。