概要
最近PGする機会がめっきり減ってきたので、コーディング力を維持する(というか成長させる)ために、Javaでも書いてみようと思いました。
せっかくなのでクラウドの統合開発環境の代表格(?)であるAWSを使ってみます。
やること一覧
- Gitでリポジトリ作成
- Cloud9 の環境作成
- READMEをGitにpush
- プログラムを一本push
1. Gitでリポジトリ作成
2. Cloud9 の環境構築
-
AWSマネジメントコンソールの検索バーにCloud9と入力
-
Cloud9が選択肢に出てくるのでクリック
-
「Create environment」をクリック
-
名前と概要を書いて「Next step」をクリック
-
高性能でなくていいですし、デフォルトからセッティングをいじる必要もなさそうと判断してそのまま「Next step」をクリック


-
確認画面が出てきます。Cloud9環境を使用するにあたっての注意事項が書いてあるので、読んでから「Create environment」をクリック
-
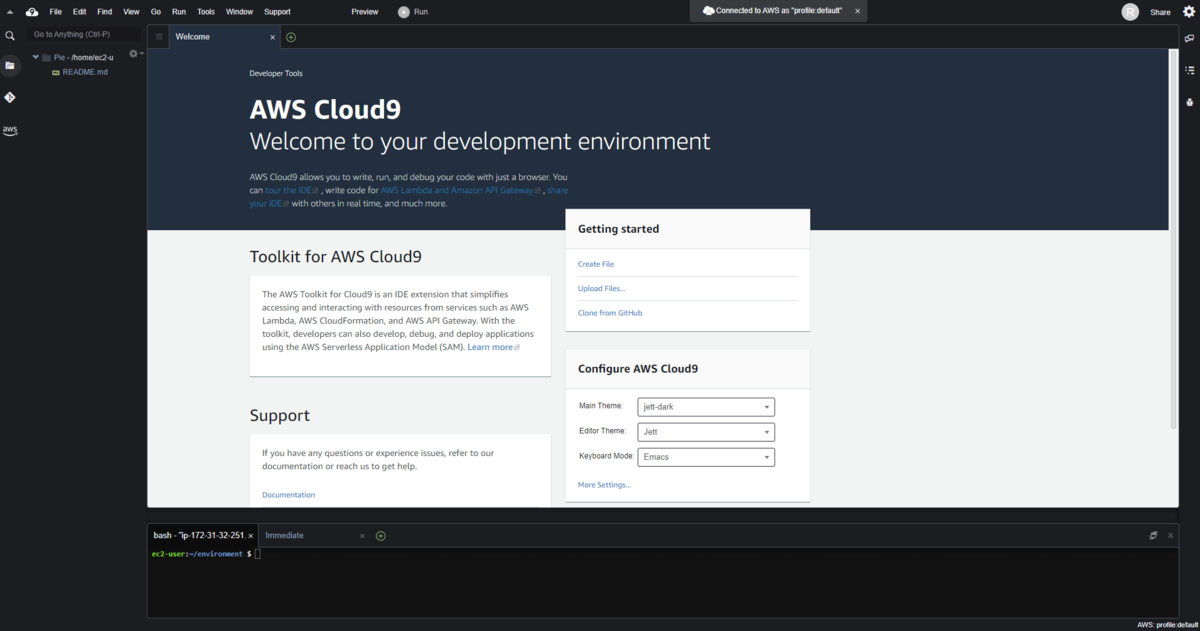
数分待ちます。
3. READMEをGitにpush
Gitリポジトリに書いてある始め方に沿って進めます。
$ git init
$ git add README.md
$ git commit -m "first commit"
$ git config --global user.name "Mick Danjoh"
$ git config --global user.email *****@gmail.com
$ git branch -M main
$ git remote add origin https://github.com/danjo-m/lemon.git
$ git push -u origin main
4. プログラムを一本push
まじで何でもないプログラムを作ってpushします。
あらかじめJDKが入っていることを確認。
$ java -version
openjdk version "11.0.10" 2021-01-19 LTS
OpenJDK Runtime Environment Corretto-11.0.10.9.1 (build 11.0.10+9-LTS)
OpenJDK 64-Bit Server VM Corretto-11.0.10.9.1 (build 11.0.10+9-LTS, mixed mode)
いつものHello World
public class Sample1 {
    public static void main(String[] args) {
        System.out.println("Hello World!");
    }
}
$ ls
README.md  Sample1.java
$ javac Sample1.java
$ java Sample1
Hello World!
Hello Worldできました。
こいつをpushしておきます。
$ git add Sample1.java
$ git commit -m "Create first pg"
$ git push origin main
gitignoreやクラスファイルの整理はおいおい。
おまけ:Gitコマンド
Githubで情報提供されていたコマンドのオプションをすっかり忘れていたので、
使ったものだけでも整理。
- git commit -m "comment"
- -mで単一コメントを記述する。
- 対象ファイルを書かない場合はステージされている(addした)全ファイルをコミット。
- git branch -M <branch_name>
- 「branch_name」のカレントブランチの名前を変更。
- -mだと上書き禁止。-Mだと強制上書き。
- git push -u <remote_path> <local_branch>:<remote_branch>
*「remote_path」へ「local_branch」を「remote_branch」へpush。
*ブランチ名はローカルとリモートが同じ場合は1つに省略可。 - -uオプションで、次回から
git pushだけで今回と同じ操作ができる。 - 「remote_path」は省略名で指定可能。省略名は
git remote -vで確認。
$ git remote -v
origin  https://github.com/danjo-m/lemon.git (fetch)
origin  https://github.com/danjo-m/lemon.git (push)
参考リンク
Gitチートシート
[Git]git branch コマンドの -m と -M オプションの違い
git pushのオプション -u とは
以上!お疲れさまでした。


