Qiita初投稿
昨日、Udemyの講座を参考にReact+Firebaseを使ってSlackクローンを作成しました。
一部分を抜粋して、復習がてら投稿していきたいと思います。ちなみに完成品はこちらです!
本格的に勉強して1ヶ月程度の実務未経験の人間でも、できることを証明したいと思います笑。
Firebaseでのログイン機能の実装
さっそくFirebaseを使ってログイン機能を実装していきます。
「そもそもFirebaseとは?」と疑問を持たれた方はこちらをご参照ください。Firebaseの諸機能を詳細に説明して頂いております。
Googleアカウントをお持ちの方であればこちらより下記のページに飛ぶかと思います。
右上の「コンソールへ移動」をポチッとし、下記の画面に移動します。
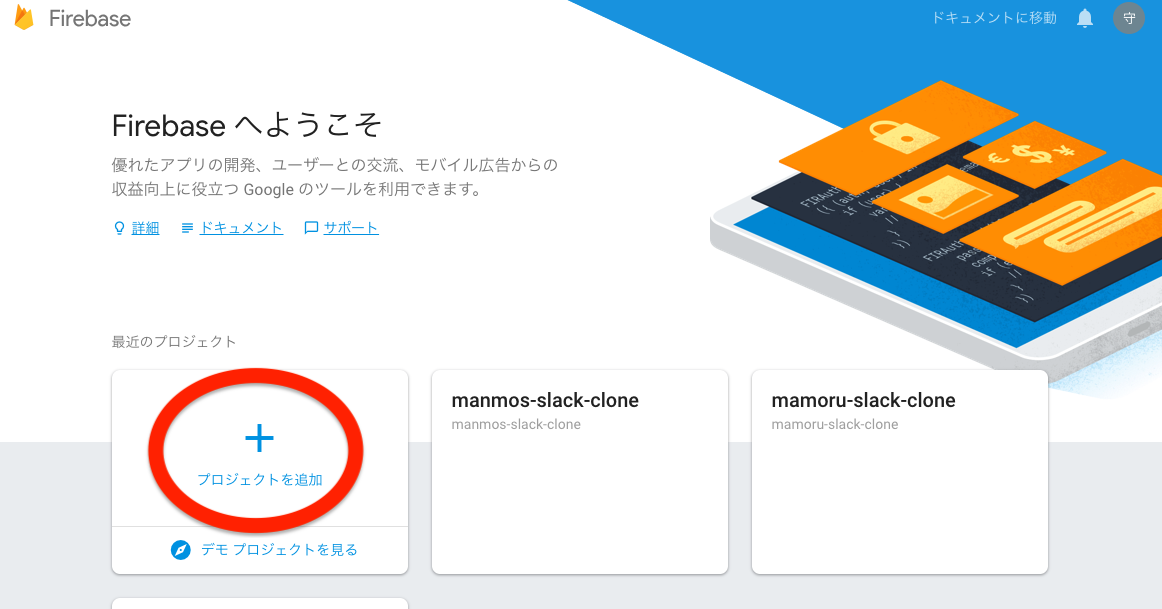
赤丸の「+プロジェクトを追加」ポチッとします。
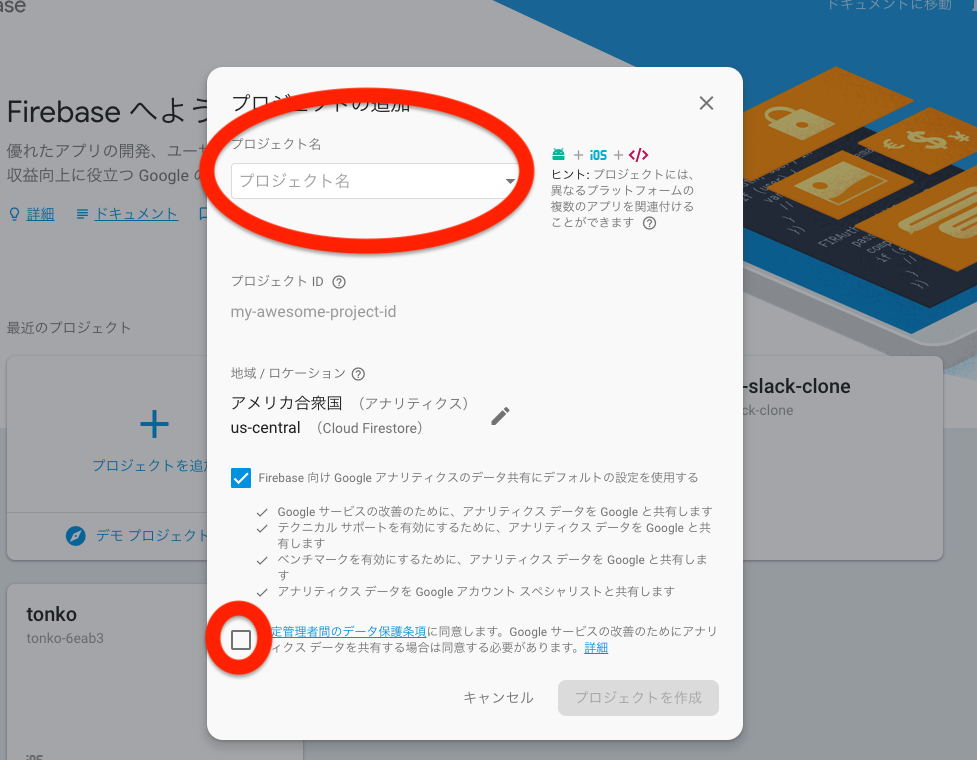
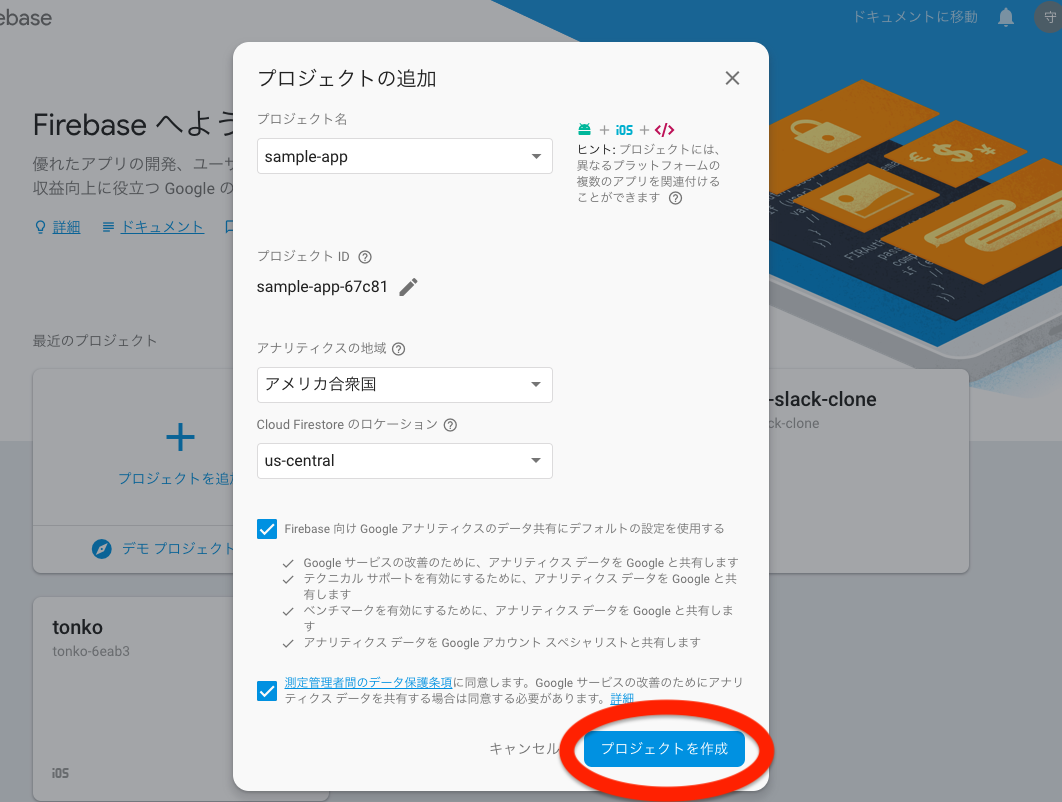
2箇所の赤丸「プロジェクト名(適当に)」及び「チェックマーク(無意識に)」を埋めると、プロジェクト作成のボタンが水色に点灯します。クリックしてみましょう。
処理中の画面になり、少々お時間がかかるかと思います。
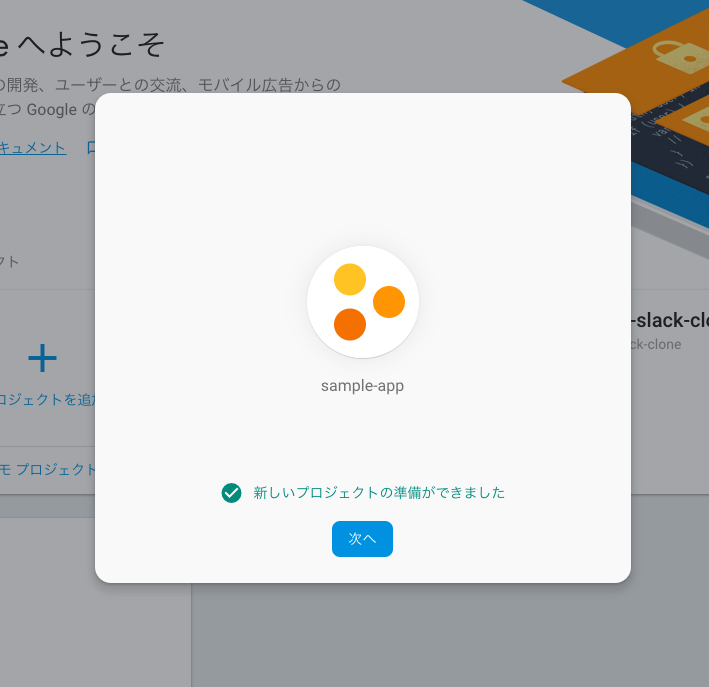
プロジェクトの準備が完了し、下記の様な画面になったら、「次へ」をポチります。
下記の画面に遷移します。
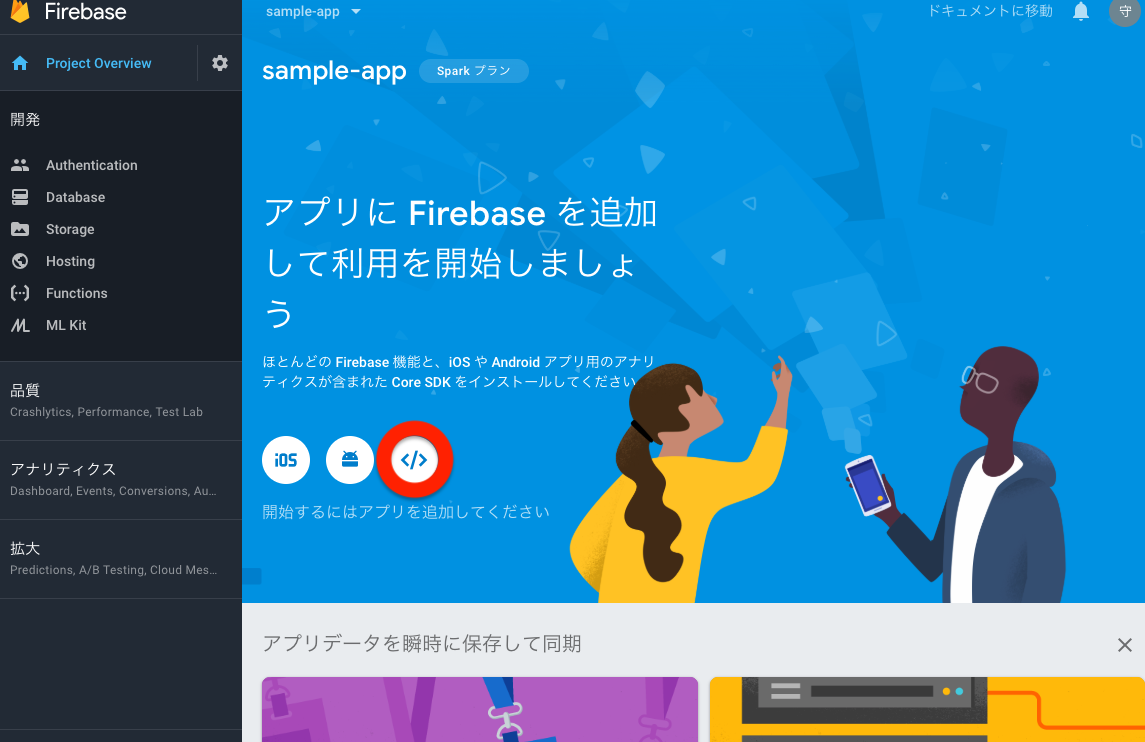
赤丸の「>」をポチると、下記の様な画面が現れます。
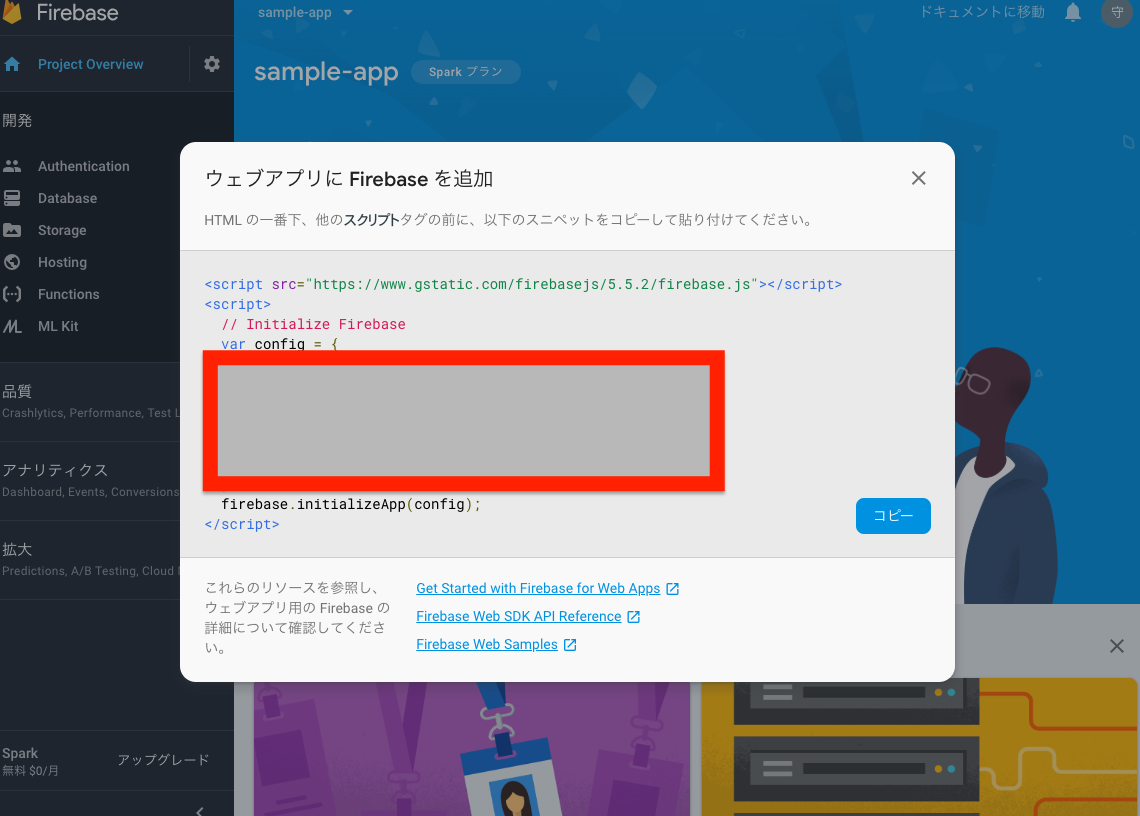
ここで使うのは、抜粋した以下の部分だけです。
  var config = {
    apiKey: "xxxxxxxxxxxxxx",
    authDomain: "xxxxxxxxxxxxxxxxxxxx",
    databaseURL: "xxxxxxxxxxxxxxxxxxxxxxxx",
    projectId: "xxxxxxxxxxxxxxxxx",
    storageBucket: "xxxxxxxxxxxxxxxxxxxxxxxxx",
    messagingSenderId: "xxxxxxxxxxxxxxxxxxxxx"
  };
  firebase.initializeApp(config);
この部分をコピペし、エディターで「firebase.js」っていうファイルを作成しコピペしたコードを貼り付けます。
import firebase from 'firebase/app';
import "firebase/auth";
import "firebase/database";
import "firebase/storage";

  var config = {
    apiKey: "xxxxxxxxxxxxxx",
    authDomain: "xxxxxxxxxxxxxxxxxxxx",
    databaseURL: "xxxxxxxxxxxxxxxxxxxxxxxx",
    projectId: "xxxxxxxxxxxxxxxxx",
    storageBucket: "xxxxxxxxxxxxxxxxxxxxxxxxx",
    messagingSenderId: "xxxxxxxxxxxxxxxxxxxxx"
  };
  firebase.initializeApp(config);

// firebase.jsっていうファイルを「firebase」っていうモジュールをどっかに送る
export default firebase;
また、ログイン画面の実装は以下の通りです。
import React from 'react';
// 上記で作成したfirebase.jsのファイルを「firebase」っていうモジュールとして読み込んでる。
import firebase from '../../firebase';

import {
  Grid,
  Form,
  Segment,
  Button,
  Header,
  Message,
  Icon
} from 'semantic-ui-react';

// 「react-router-dom」っていうライブラリーからLinkコンポーネントを読み込んでいる。
import { Link } from 'react-router-dom';

class Register extends React.Component {
  state = {
    username: '',
    email: '',
    password: '',
    passwordConfirmation: ''
  }

// 空欄のフォームに入力された値が更新されてるのかな〜?
  handleChange = event => {
    this.setState({[event.target.name]: event.target.value});
  };

// フォームをSubmitされる時に実行される処理なのかな〜?
  handleSubmit = event => {
    event.preventDefault();
    firebase
      .auth()
      .createUserWithEmailAndPassword(this.state.email, this.state.password)
      .then(createdUser => {
        console.log(createdUser);
      })
      .catch(err => {
        console.error(err);
      })
  }

  render() {

    const {
      username,
      email,
      password,
      passwordConfirmation
    } = this.state;

    return (
      <Grid textAlign="center" verticalAlign="middle" className="app">
        <Grid.Column style={{ maxWidth: 450 }}>
          <Header as="h2" icon color="orange" textAlign="center">
            <Icon name="puzzle piece" color="orange" />
            Register for DevChat
          </Header>
          <Form onSubmit={this.handleSubmit} size="large">
            <Segment stacked>
              <Form.Input
                fluid
                name="username"
                icon="user"
                iconPosition="left"
                placeholder="Username"
                onChange={this.handleChange}
                value={username}
                type="text"
              />

              <Form.Input
                fluid
                name="email"
                icon="mail"
                iconPosition="left"
                placeholder="Email Address"
                onChange={this.handleChange}
                value={email}
                type="email"
              />

              <Form.Input
                fluid
                name="password"
                icon="lock"
                iconPosition="left"
                placeholder="Password"
                onChange={this.handleChange}
                value={password}
                type="password"
              />

              <Form.Input
                fluid
                name="passwordConfirmation"
                icon="repeat"
                iconPosition="left"
                placeholder="Password Confirmation"
                onChange={this.handleChange}
                value={passwordConfirmation}
                type="password"
              />

              <Button color="orange" fluid size="large">登録</Button>
            </Segment>
          </Form>
          <Message>登録済みの方はこちら<Link to="/login">ログイン</Link></Message>
        </Grid.Column>
      </Grid>
    )
  }
}

export default Register;
もう少しFirebaseの設定を変更します。
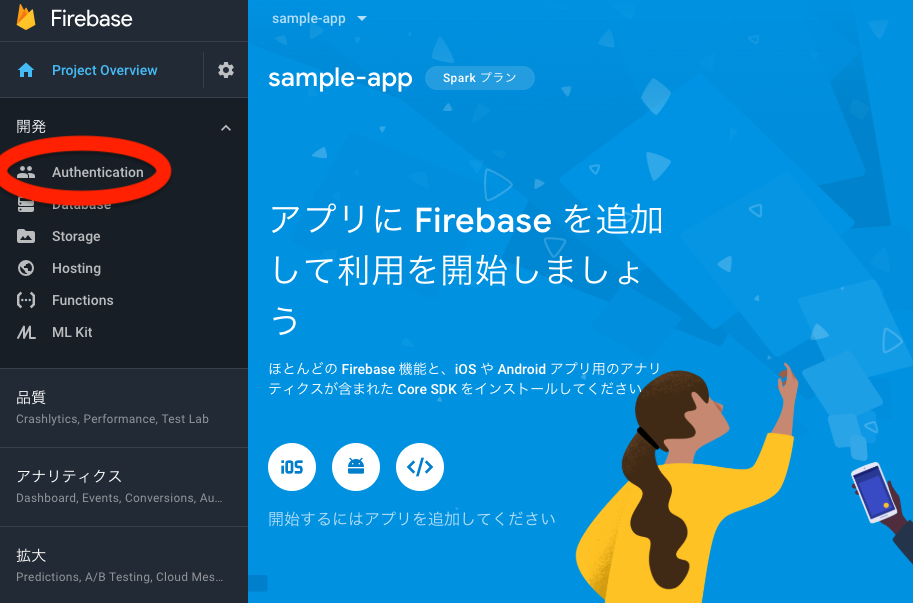
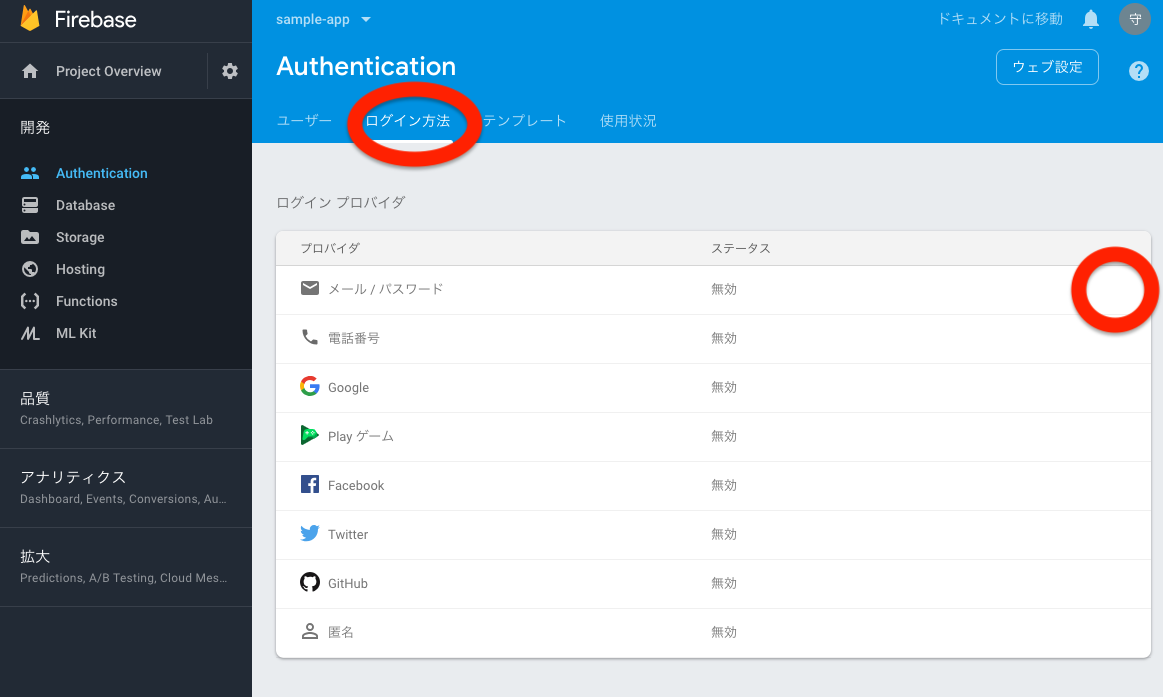
左ナブバーの「Authentication」をポチると次の様な画面が現れ、上の「ログイン方法」っていうバーをポチり、「メール/パスワード」の箇所にカーソルを合わせると右の赤丸の箇所にペンのアイコンが現れるので、ポチります。
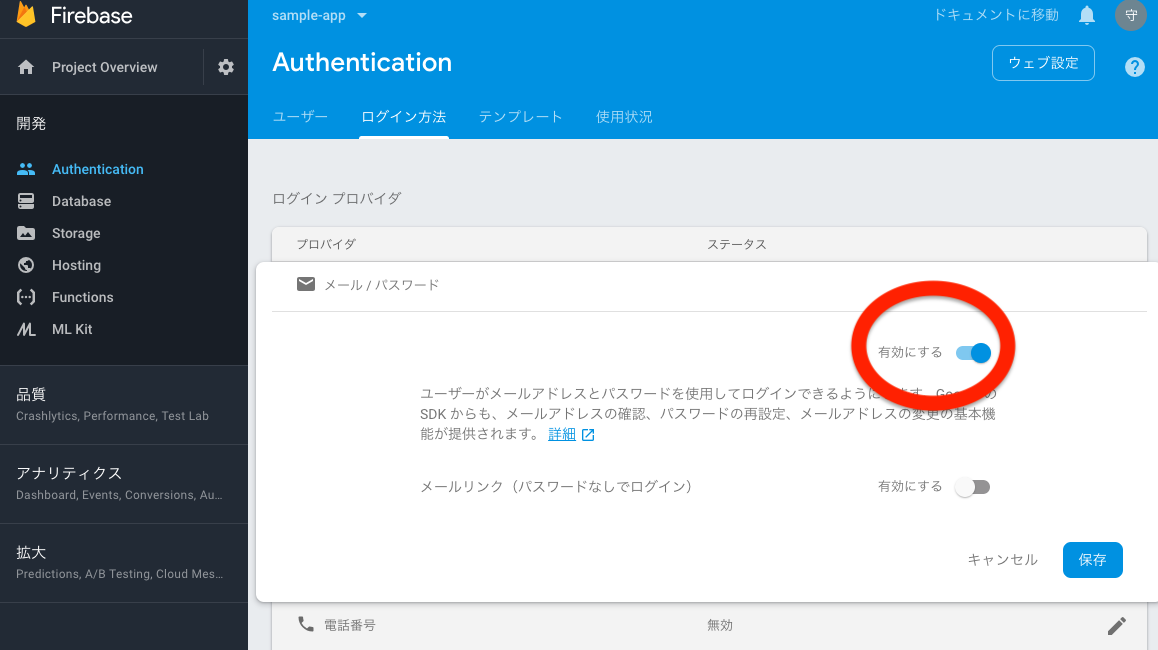
デフォルトでは無効になってるの有効にして、保存をポチります。
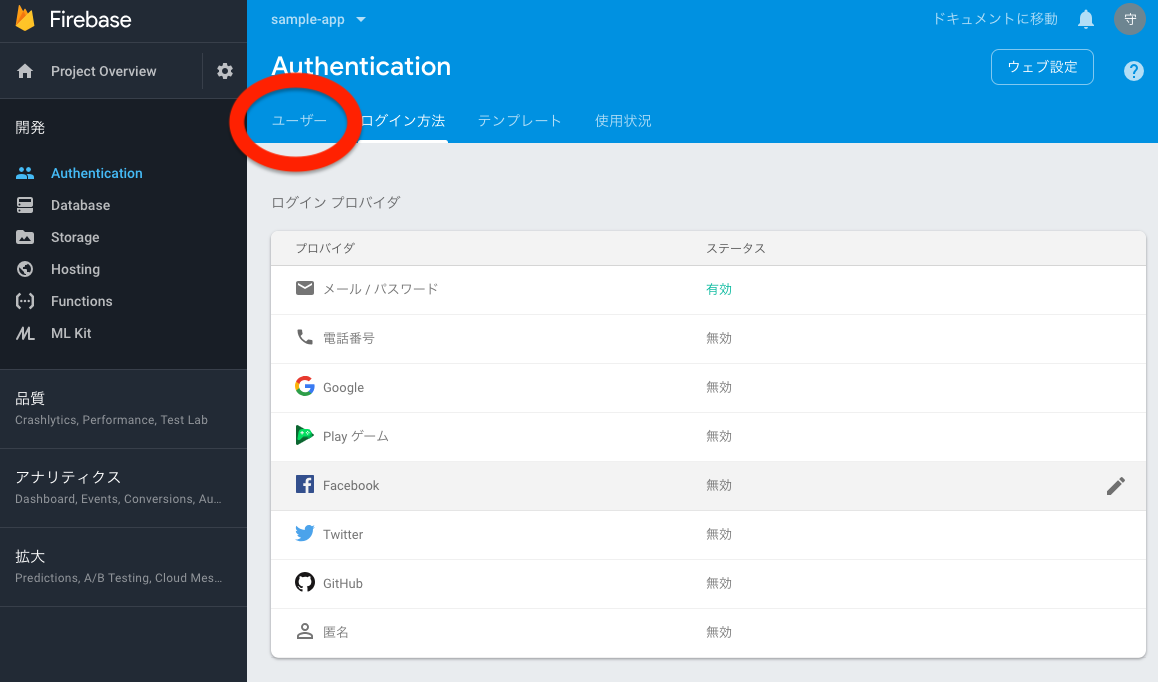
ステータスが有効になったのを確認し、「ユーザー」のページに戻ります。
以上でFirebaseの設定は終了です。
あとは、ターミナルでアプリを立ち上げて、フォームに情報を入力しログイン機能の確認してエラーが表示されなければ完了です。
画像を埋め込みまくってすいません;;