前話
Stripeの旧来のデザインであるStripeの実装記事は多くありますが、今現在のデザインでの導入記事は見当たらなかったので投稿します。
StripeのチェックアウトをstripeのドキュメントやらstackoverflowやQiitaを必死こいて探してもみあたらず、結果的にカスタマーサポートに連絡をして参考URLをいただきました泣。自分が欲しいドキュメントを探すのって意外と大変で、検索力って大事だなと実感。
そんなこんなで共有してもらったURLがこちら
旧来のデザインはこちら
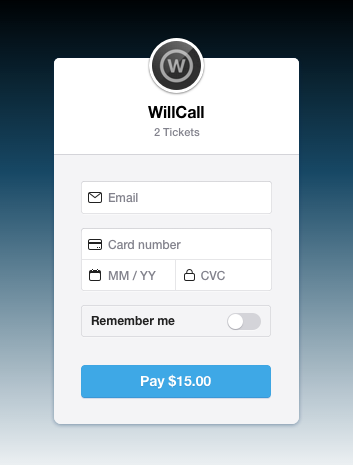
現在のデザインはこちら

導入
まず、stripeのgemをインストール
gem install stripe
initializerでstripe設定をする
Rails.configuration.stripe = {
  publishable_key: ENV['STRIPE_PUBLISHABLE_KEY'],
  secret_key: ENV['STRIPE_SECRET_KEY']
}
Stripe.api_key = ENV['STRIPE_SECRET_KEY']
参考記事
https://qiita.com/ryouzi/items/6ee8f277471aa3b02f7b
stripe側に遷移するときの処理をコントローラー内にメソッド作成
def create_checkout
  content_type 'application/json'
  session = Stripe::Checkout::Session.create({
    payment_method_types: ['card'],
    line_items: [{
      price_data: {
        unit_amount: 2000,
        currency: 'usd',
        product_data: {
          name: 'Stubborn Attachments',
          images: ['https://i.imgur.com/EHyR2nP.png'],
        },
      },
      quantity: 1,
    }],
    mode: 'payment',
    success_url: "支払い完了後のURL",
    cancel_url: "支払い失敗時のURL",
  })
  {
    id: session.id
  }.to_json
end
checkoutを呼び出すためのhtmlページ作成
<!DOCTYPE html>
<html>
  <head>
    <title>Buy cool new product</title>
    <link rel="stylesheet" href="style.css">
    <script src="https://polyfill.io/v3/polyfill.min.js?version=3.52.1&features=fetch"></script>
    <script src="https://js.stripe.com/v3/"></script>
  </head>
  <body>
    <section>
      <div class="product">
        <img
          src="https://i.imgur.com/EHyR2nP.png"
          alt="The cover of Stubborn Attachments"
        />
        <div class="description">
          <h3>Stubborn Attachments</h3>
          <h5>$20.00</h5>
        </div>
      </div>
      <button type="button" id="checkout-button">Checkout</button>
    </section>
  </body>
  <script type="text/javascript">
    // Create an instance of the Stripe object with your publishable API key
    var stripe = Stripe("pk_test_51IbbUMJRUSCBZvFMNE3kqdUc75hqKIePTnalyL4PHw1ZA60rwv6wGYmFpsyWfLnG1zQY77LdcZYtOhIOOpNuAEhe00mi7WLG6B");
    var checkoutButton = document.getElementById("checkout-button");
    checkoutButton.addEventListener("click", function () {
      fetch("[作成したメソッドのpath]", {
        method: "POST",
      })
        .then(function (response) {
          return response.json();
        })
        .then(function (session) {
          return stripe.redirectToCheckout({ sessionId: session.id });
        })
        .then(function (result) {
          // If redirectToCheckout fails due to a browser or network
          // error, you should display the localized error message to your
          // customer using error.message.
          if (result.error) {
            alert(result.error.message);
          }
        })
        .catch(function (error) {
          console.error("Error:", error);
        });
    });
  </script>
</html>
支払いの流れ
作成したHTMLページ => コントローラー => stripe側のチェックアウトページ => 成功ページ or 失敗ページ
の流れで支払いが完了します。
まとめ
Stripeのチェックアウトページがださいなーって思っている方は是非実装してみてください。