はじめに
この記事では、LaravelとReact(TypeScript)の開発環境構築と、DB接続までできるようになります。
React(TypeScript)環境構築の部分については、下記の動画で紹介されている手順とほぼ同じですが、メモも兼ねてまとめさせていただきました。
開発環境
- Windows10
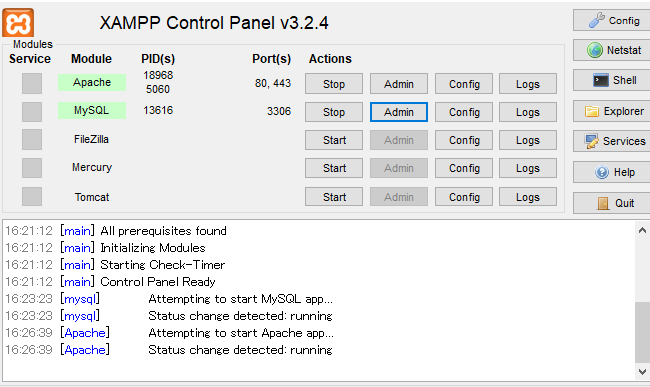
- XAMPP
- php version 7.4.18
- laravel version 8.40.0
事前準備
以下の項目のインストールが済んでいない場合、下記のサイトを参考にインストールを完了してください。
環境構築
Laravelのインストール
- 任意のフォルダを作成&フォルダの階層まで移動し、VScodeのターミナルで以下のコマンドを実行
$ composer create-project laravel/laravel example-app "8.*"
- 作成されたプロジェクトの階層に移動、インストールされたlaravelのバージョンを確認
$ cd example-app
$ php artisan -V
Laravel Framework 8.40.0 と表示されていればOKです。
ReactとTypeScript のセットアップ
LaravelのプロジェクトでReact(TypeScript)を扱えるようにします。
- TypeScriptとSCSSでビルドするように、webpack.mix.jsを以下の様に書き換え ※webpack.mix.jsはexample-appディレクトリ直下に配置されています
webpack.mix.js
const mix = require('laravel-mix');

/*
 |--------------------------------------------------------------------------
 | Mix Asset Management
 |--------------------------------------------------------------------------
 |
 | Mix provides a clean, fluent API for defining some Webpack build steps
 | for your Laravel applications. By default, we are compiling the CSS
 | file for the application as well as bundling up all the JS files.
 |
 */

 mix.ts('resources/ts/index.tsx', 'public/js')
 .sass('resources/sass/app.scss', 'public/css');
- ターミナルでnpm install実行
$ npm install
- ビルドを実行
$ npm run prod
- Reactのインストール
$ npm i -D react react-dom @types/react @types/react-dom
- 再度npm install
$ npm install
- tsconfig.jsonファイル を作成 ※example-appディレクトリ直下に作成される
$ ./node_modules/.bin/tsc --init
- tsconfig.jsonファイルの内容を下記に書き換え
tsconfig.json
{
  "compilerOptions": {
      "target": "es5",
      "module": "commonjs",
      "jsx": "react",
      "strict": true,
      "esModuleInterop": true
  }
}
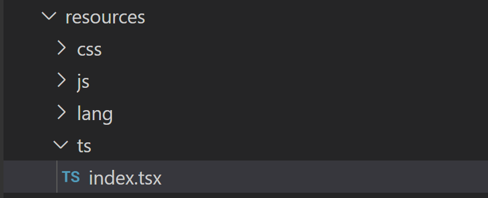
- reourcesディレクトリ直下にtsディレクトリを新しく作成、作成したtsディレクトリ直下にindex.tsxファイルを作成
- index.tsxに下記の内容を記載
index.tsx
import React from 'react'
import ReactDOM from 'react-dom'

const App = () => {
    return (
        <h1>Laravel SPA</h1>
    )
}

ReactDOM.render(
    <App />,
    document.getElementById('app')
)
- resourcesディレクトリ直下のcssディレクトリとapp.cssフォルダの名前と拡張子を変更
- 再度ビルドを実行
$ npm run prod
- viewディレクトリ直下のwelcome.blade.phpの内容を下記の様に変更
welcome.blade.php
<!DOCTYPE html>
<html lang="{{ str_replace('_', '-', app()->getLocale()) }}">

<head>
    <meta charset="utf-8">
    <meta name="viewport" content="width=device-width, initial-scale=1">
    <title>Laravel</title>
    <link rel="stylesheet" href="/css/app.css">
</head>

<body>
    <div id="app"></div>
</body>
<script src="/js/index.js"></script>

</html>
- VScodeの「Split Terminal」で2つのターミナルを起動し、それぞれ下記のコマンドを実行する
$ php artisan serve
$ npm run watch
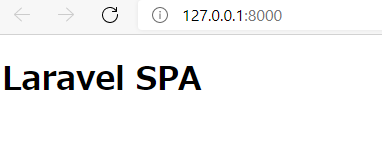
- ブラウザが起動し、下記の画面が表示されたらOK
DB接続
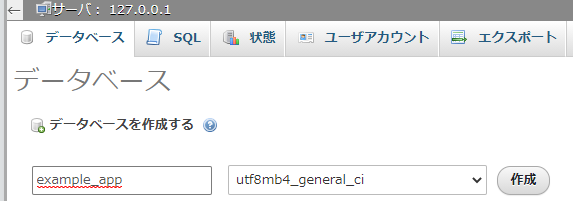
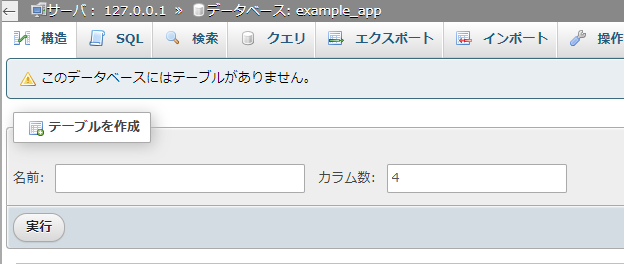
データベース作成
-
任意のデータベース名を入力し、「作成」ボタンを押下 ※ここではexample_appと入力
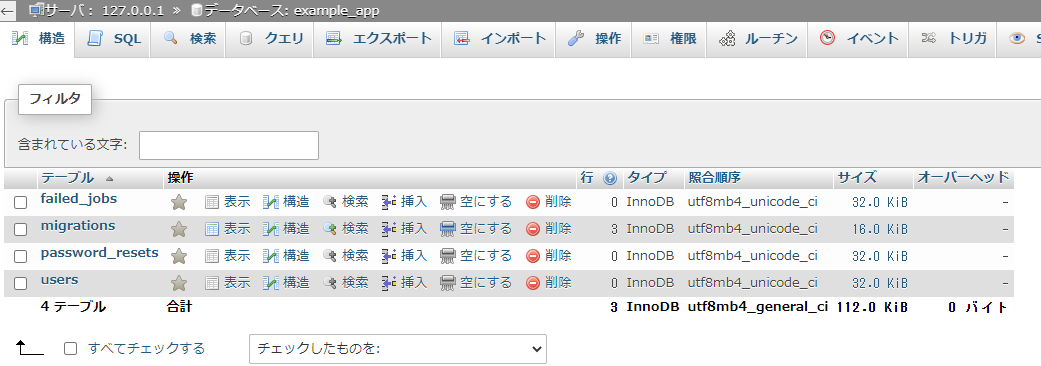
envファイル変更&マイグレーション
-
example-appディレクトリ直下にある、.envファイルの「DB_DATABSE=laravel」を接続したいデータベース名に変更 ※ここではexample_appと入力
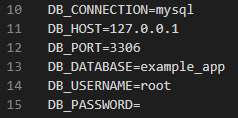
-
ターミナルで下記のコマンドを実行
$ php artisan migrate
以上が環境構築からDB接続までの流れになります。次はこの環境でaxiosを利用したCRUD処理の記事を書ければなと思います。
