ただのエンジニアのメモ書きです。参考程度にしてくださいませ。
環境
- GCE(Google Cloud Pratform の Compute Engine)
- Ubuntu 16.04.7 LTS
手順
① 公式サイトの方法でインストールする
※ちなみにaptでのインストールもできるみたいです。
. /etc/os-release
sudo apt install -t ${VERSION_CODENAME}-backports cockpit
② Cockpitの自動起動設定をする
sudo systemctl start cockpit
sudo systemctl enable --now cockpit
sudo systemctl enable --now cockpit.socket

# 確認
sudo systemctl status cockpit
sudo systemctl status cockpit.socket
③ Network Managerがenableだと、Cockpitでネットワーク操作ができないのでオフにする
参考:https://github.com/cockpit-project/cockpit/issues/8477#issuecomment-622253139
systemctl stop NetworkManager
systemctl disable NetworkManager
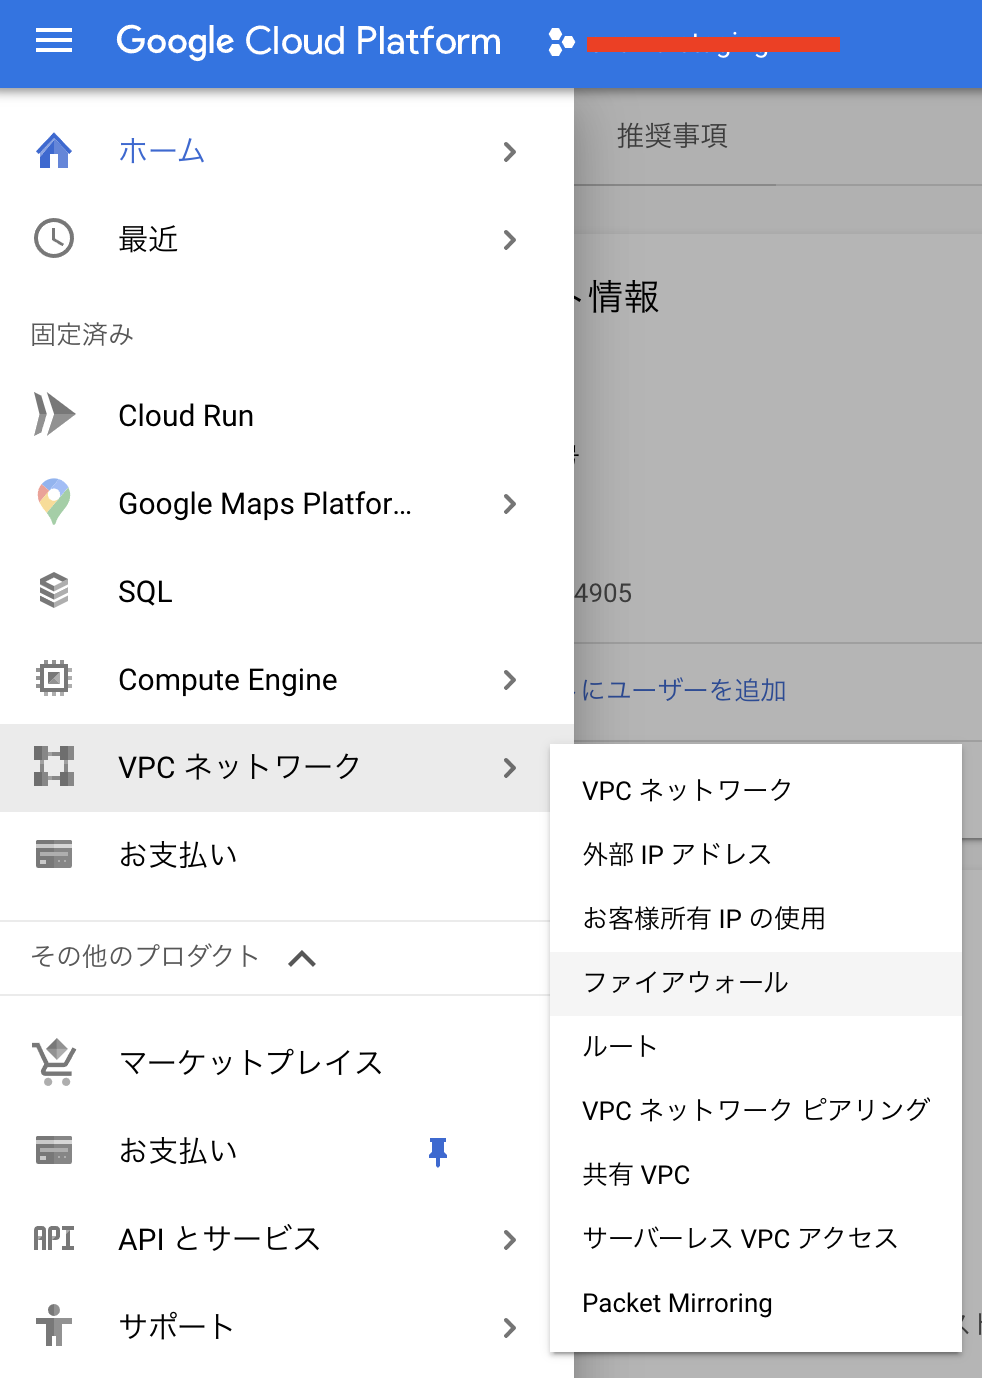
④ GCPのファイアウォール設定で、TCP:9090 を許可する設定をする
VPCネットワーク > ファイアーウォール を開き、以下のように入力する
なお、ここではネットワークタグはcockpitとしています。


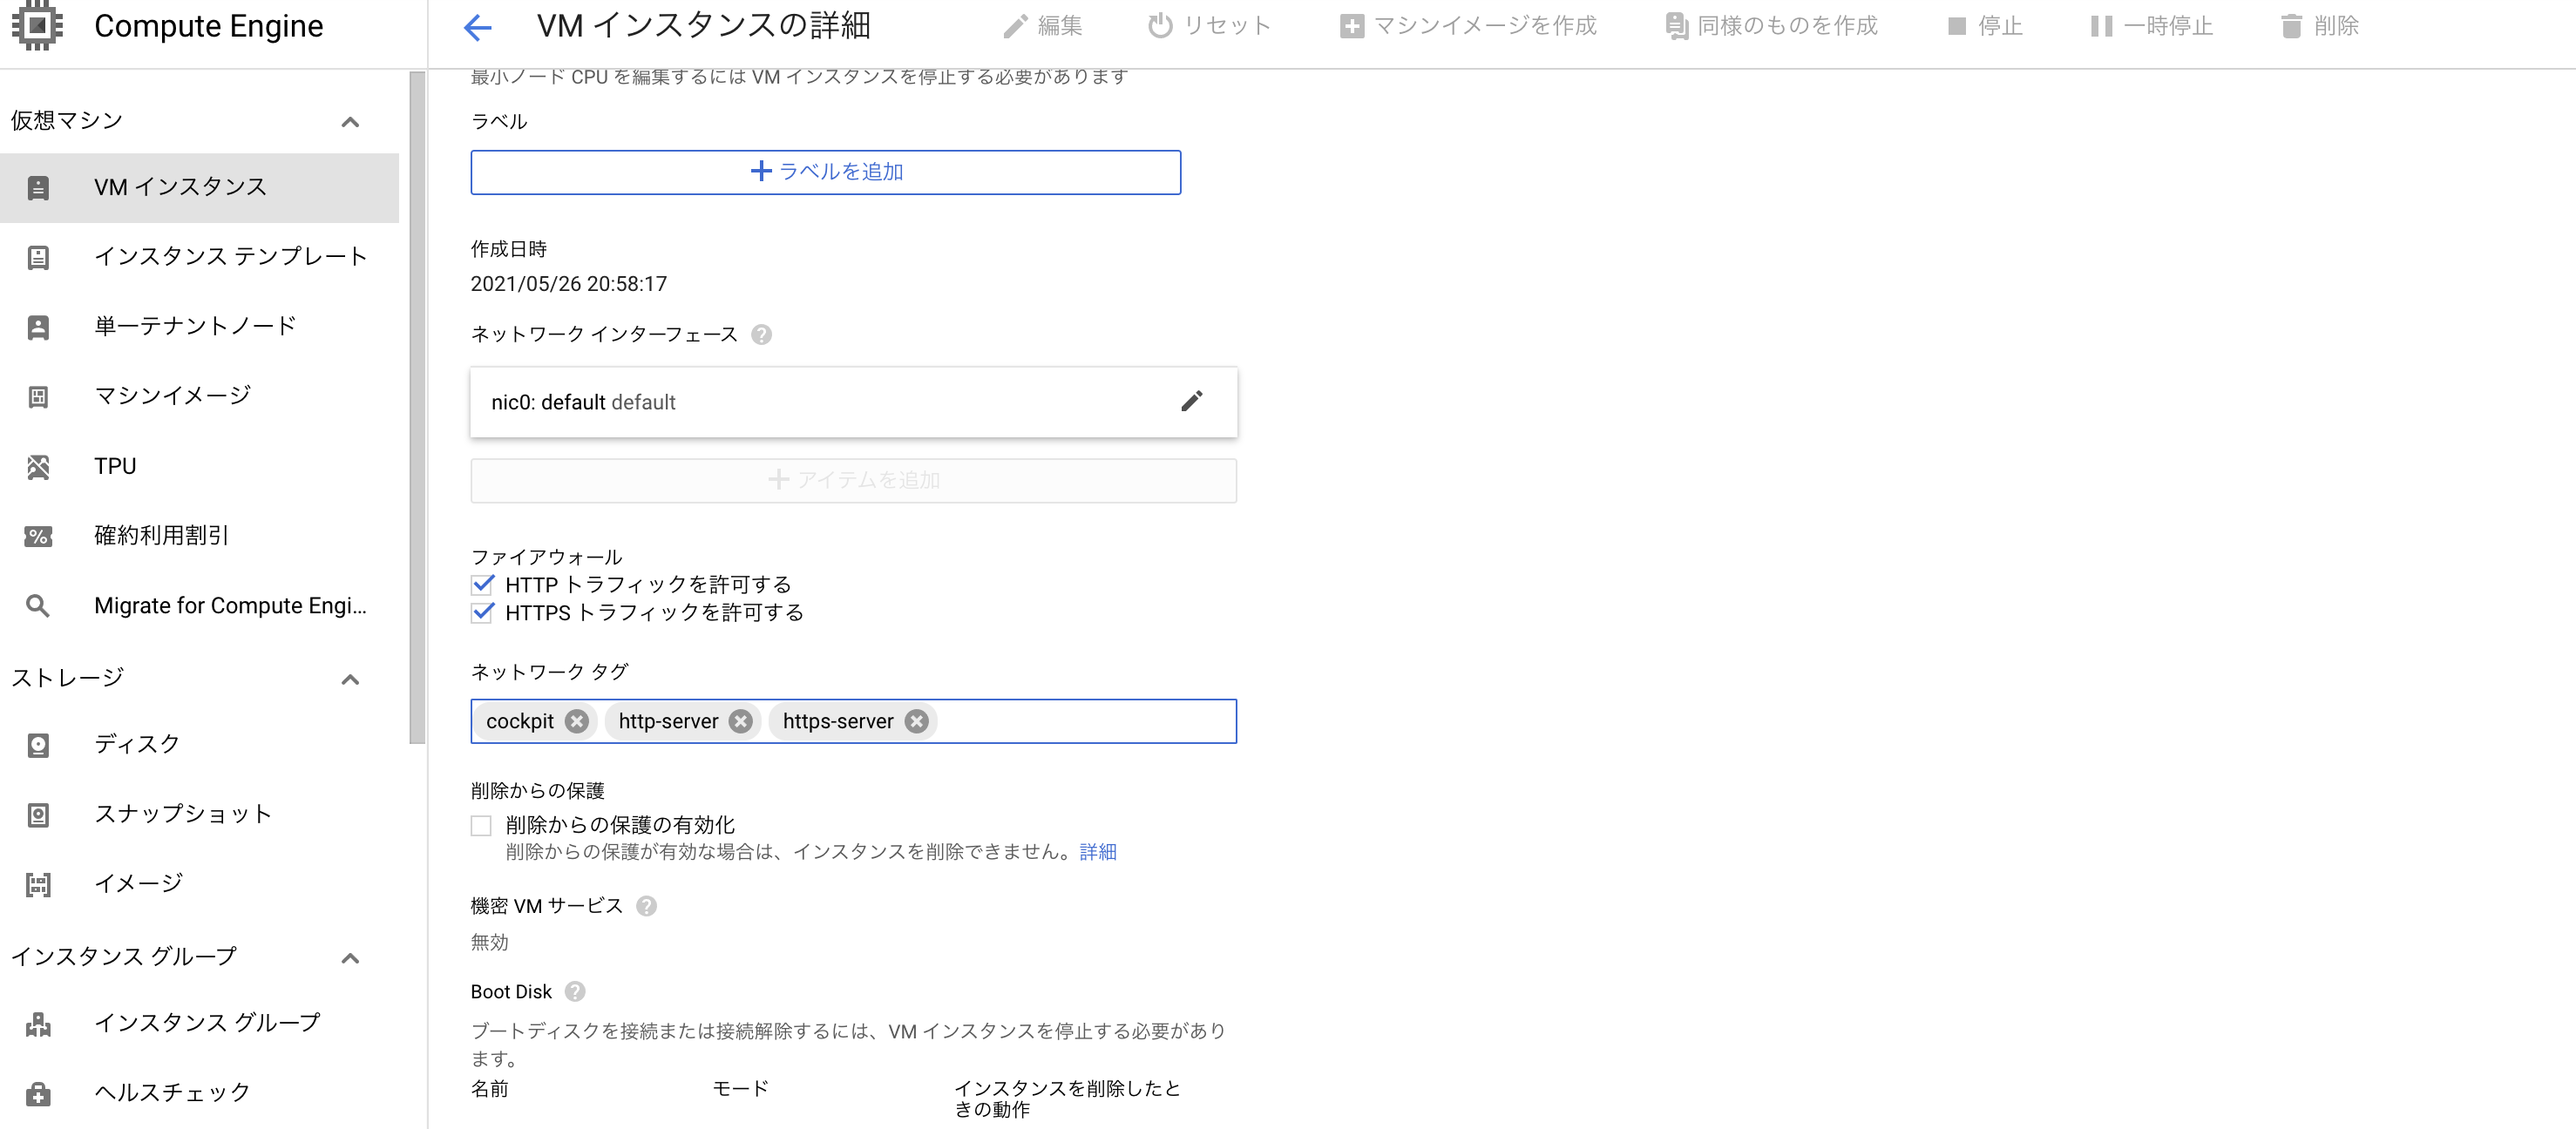
⑤ GCEでファイアーウォール設定を適応する
Compute Engine > サーバ名 > 編集 の下部に、一個上で入力したネットワークタグを入力する
⑥ 完成
https://#{グローバルIP}:9090にアクセスしてください。
証明書エラーとかでますがそのまま突き進んでください。
以下の画面が出たら成功です。LinuxにログインするIDとPWで入れます。

あとがき
Ubuntu 18.04.6 LTSはNetworkManagerをオフにしなくても大丈夫でした。
もしかしたらUbuntu16系固有のバグなのかも?