1. はじめに
- MacでFinderをより高機能にしたい
- Finderを左右に並べて表示できるようにしたい
2. 開発環境
- MacBook Pro 2022
- macOS Ventura 13.2.1
- xtraFinder version.1.8 (有償)
3. 事前準備
MacのSIPモードを解除しているので実施には注意が必要
3.1. Macを完全にシャットダウンする
3.2. 起動時に電源ボタンを数秒間押し続けて、「起動オプションを読み込んでいます」と表示されるまで待つ
3.3. オプションをクリックする
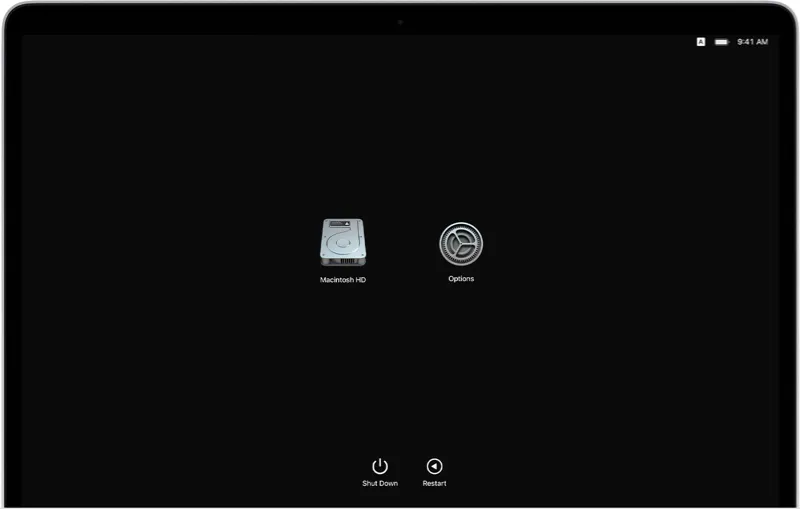
3.4. メニューよりターミナルを選択する

3.5. csrutil disableを入力して、Macを再起動する
4. インストール手順
4.1. インストーラーをダウンロードする
4.2. インストーラーを起動する
-
Agreeボタンをクリックする


4.3. Terminalを起動して、下記コマンドを入力する
sudo defaults write /Library/Preferences/com.apple.security.libraryvalidation.plist DisableLibraryValidation -bool true
sudo nvram boot-args=-arm64e_preview_abi
4.4. Macを再起動する
4.5. XtraFinderInjector.osax を ScriptingAdditions へドラッグ&ドロップする

4.6. XtraFinder.app を Applications へドラッグ&ドロップする

5. 動作確認
- タブ表示で左右にFinderを表示することができた

6. 参考文献