Elixir × GraphQLシリーズ
~ サクッと Abshinthe-crient Setup ~
この記事は「Elixir Advent Calendar 2022」15日目の記事です
東京にいるけどfukuoka.exのYOSUKEです。
GraphQLセットアップシリーズものの2つ目の記事です。今回は GraphQL clientのセットアップを簡単に手順のみをシンプルにサクッと書いていこう。というコンセプトで作っていきます。
このシリーズは3部作で考えています。
プロジェクトの作成
mix phx.new ql_crient --no-ecto
依存関係の追加
mix.exs
defp deps do
    [
    # 省略 #
      {:absinthe_client, "~> 0.1.0"}
    ]
  end
実行
mix deps.get
Elixir × GraphQLシリーズ①で作成したサーバーがポスト番号 4000なので被らないように
ポート番号を4001に変更
dev.exs
# 省略 #
config :ql_crient, QlCrientWeb.Endpoint,
  http: [ip: {127, 0, 0, 1}, port: 4001],
# 省略 #
これで完了 早速サーバーを立ち上げましょう。
iex -S mix phx.server
iex側でまずはデータ取得できるか実験
前回作成したGraphQLサーバー側も立ち上げておきましょう。
iex> alias AbsintheClient.{Utils, WebSocket}
iex> alias Req.Request
iex> req = Req.new(base_url: "http://localhost:4000/api") |> AbsintheClient.attach()
%Req.Request{
  method: :get,
  url: URI.parse(""),
  headers: [],
  body: nil,
  options: %{base_url: "http://localhost:4000/api"},
  registered_options: #MapSet<[:async, :auth, :base_url, :cache, :cache_dir,
# 省略 #
Req.post!関数に取得したいデータのみ記述したGraphQLを記載する以下データが取得できたら成功
iex()> Req.post!(req,
...()> graphql: """
...()> query {
...()>  places {
...()>  id
...()>  name
...()>  }
...()> }
...()> """
...()> ).body["data"]
%{
  "places" => [
    %{"id" => "1", "name" => "test1"},
    %{"id" => "2", "name" => "test2"},
    %{"id" => "3", "name" => "test3"}
  ]
}
データが取得可能なことが確認できたので、実装
ql_crient_web/graphql/query.ex
defmodule QlCrientWeb.Graphql.Query do
  alias AbsintheClient.{Utils, WebSocket}
  alias Req.Request

  def set(path) do
    Req.new(base_url: "#{path}") |> AbsintheClient.attach()
  end

  def places_all_post!(req) do
    Req.post!(req,
      graphql: """
        query {
          places {
            id
            name
            location
            lat
            lon
            scale
          }
        }
      """
    ).body["data"]
  end
end
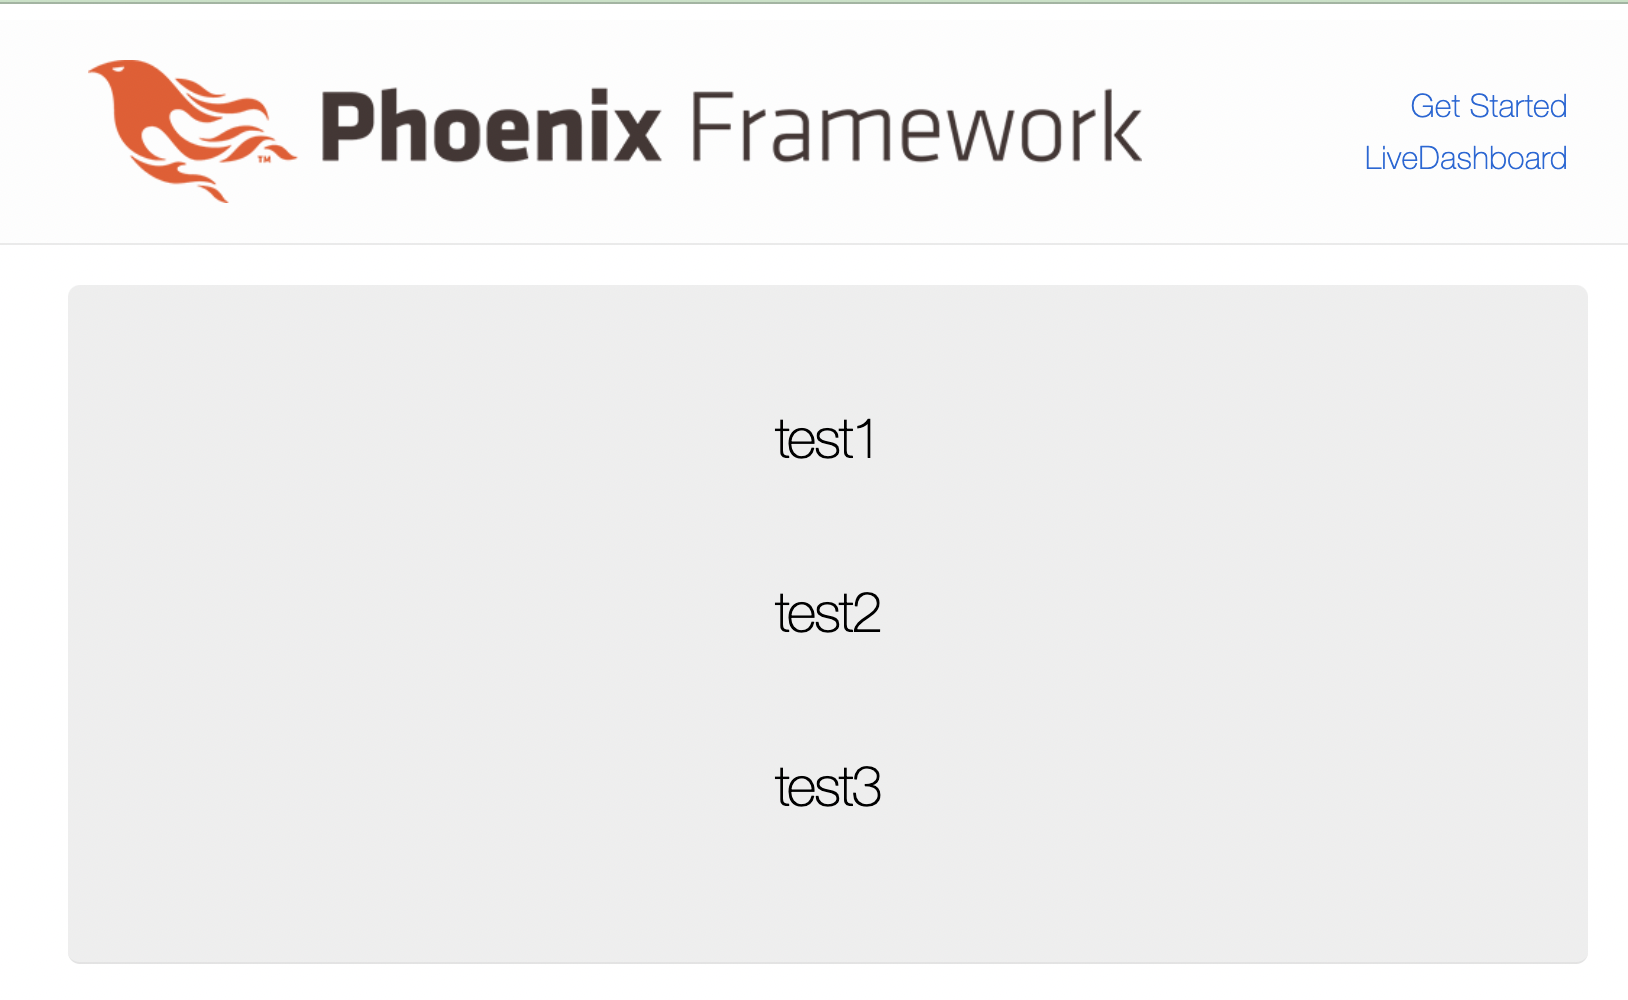
とりあえず、 index.html.heex に上記関数を利用してデータを表示してみる。
//qiita-image-store.s3.ap-northeast-1.amazonaws.com/0/72962/097208d9-ccd6-da9c-6c28-677443d8da5f.png)
<%
  req = QlCrientWeb.Graphql.Query.set("http://localhost:4000/api")
  %{ "places" => lists } = QlCrientWeb.Graphql.Query.places_all_post!(req)
%>

<section class="phx-hero">
  <%= for list <- lists do %>
    <h2>  <%= list["name"] %> </h2><br>
  <% end %>
</section>
とりあえず、以下のように表示されたら成功!
はい、ということで、ここまで準備が完了です。ようやっと色々できる土台ができましたね。