まえがき
この記事は、「fukuoka.ex Elixir/Phoenix Advent Calendar 2019」の1日目になります。
東京だけど fukuoka.ex の YOSUKENAKAO.me です。
普段は合同会社The Waggleで「教育」に関わるサービス作りのお仕事と学習教材の開発や
研修講座の企画開発をしています。
この記事の構成
このカレンダーでは、以下3つの Advent Calendar に投稿する予定の3部構成の第1弾となります。
そして、Advent Calender で扱うテーマは「GraphQL と Elixir で始めるプロトタイプ開発の未来」
という名のポエムです。
3部構成の大まかな予定は以下です。
Advent Calendar fukuoka.ex 1日目
GraphCMS から Absinthe を利用して作る Elixir で体験的に GraphQLSever を作る「ポエム」
Advent Calendar NervesJP 6日目
https://qiita.com/advent-calendar/2019/nervesjp
Nerves と GraphQLsever の組み合わせを考える「ポエム」
Advent Calendar Elixir 24日目
https://qiita.com/advent-calendar/2019/elixir
GraphCMS から入り、Absintheを利用して作って動かす「チュートリアル」
GraphCMS から Absinthe を利用して作る Elixir で体験的に GraphQLSever を作る「ポエム」
テーマ:GraphQL と Elixir が普及したら開発者は人間力で選ばれる
開発の生産性があがり、その手法がコモディティ化すると、より人間力が重要になる未来
それを感じるくらい、簡単に作れる時代が来たなぁ。という感想を持っている今日この頃の俺だぁ。
という事で、GraphCMS のサンプルをダウンロードし、GraphCMS でスキーマの設計をして GraphCMS への接続をする。
その後、Elixir で Phoenix Frameworkを利用して、Absinthe を導入して GraphQLSever を立ち上げ先に繋いでいた React のエンドポイントを変更するだけで移行が簡単に済む。
という体験をおすそ分けするチュートリアルを12月24日に向けて書いています。
なぜ、今回はポエムなの?
はい、それはですね。ボリュームが多いので3部作で作る予定でいてまずは全体の流れを掴んでもらう部分を
第1回目で予定しているのですが、流れを書く部分で終わるので今回はポエムとして眺めてください。
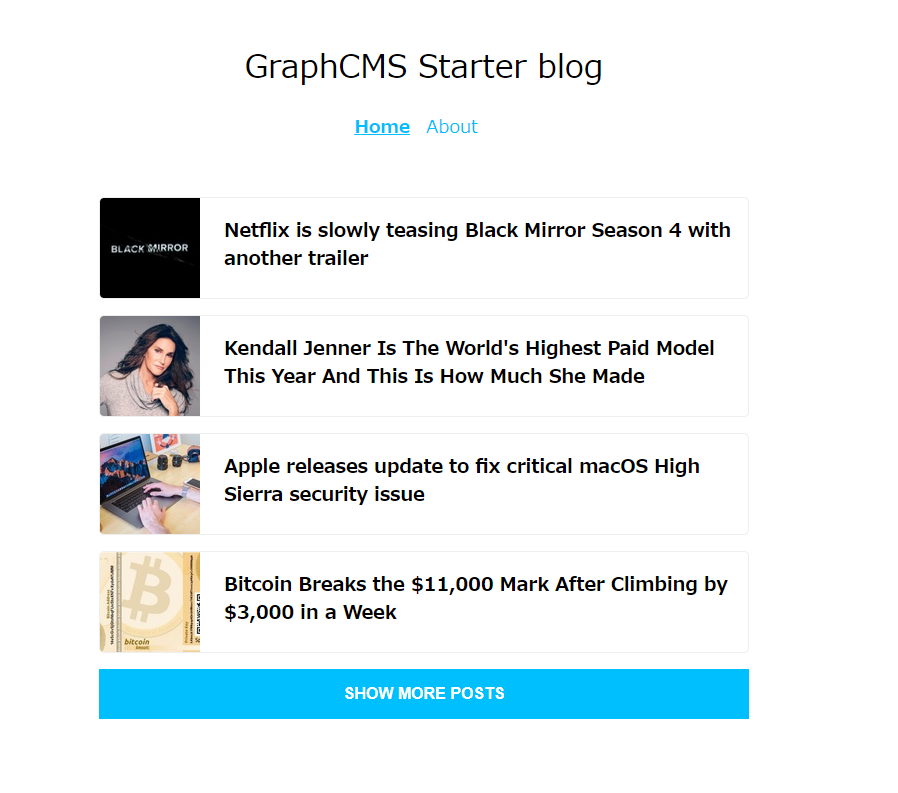
1.GraphCMS サンプルをダウンロード
種類はたくさんありますが、今回は React を選択します。
https://github.com/GraphCMS/graphcms-examples/tree/master/current/react-apollo-blog
2. How to Start
Hwo to Start にあるコマンドをコマンドプロンプトやターミナルに貼り付ける
git clone https://github.com/GraphCMS/graphcms-examples.git && cd graphcms-examples/current/react-apollo-blog && yarn && yarn start
3. GraphCMS のアカウントを登録してプロジェクトを作る
- サインアップする
- ログインして「Create new project」でプロジェクトを作る
- Choose a way to create your new project で「From Scratch」を選択する
- Set Project Details の「Name」に任意の名前(今回は Sample blog)と入力
- Select a region で「Asia East」を選んで Create を押す
- Plan を選択する画面が来るので、今回は無料を選ぶ
4. Model を作りエンドポイントを変更する
- git からダウンロードしたプロジェクトフォルダの中の src フォルダの About.js の中に書かれているクエリを見る
- GraphCMS で About.js に書かれているクエリに書かれているクエリの内容に合わせてスキーマを作る。
- Author name bibliography avatar で作成
- Post slug title dataAndTime coverImage で作成
- Settings の Endpoint を index.js の GRAPHCMS_API に代入します。
- Public API Permissions の Scoope を PROTECTED から QUERY に変更します。
- localhost:3000 で確認する
5. Phoenix Framework で GraphQL をセットする方法
1. sampleBlog という名前のプロジェクトを生成する
mix phx.new sampleBlog --no-html --no-webpack
mix ecto.create
2. Ecto を利用して、新しい Phoenix アプリケーションからデータベース(PostgreSQL)に接続する為のコンテキストを生成します。
GraphCMS で作成したモデルと同じものを作成しますが、今回は画像を追加は省きたいと思いますので avatar は無くします。
cd sampleBlog
mix phx.gen.context Blog Author authors name:string bibliography:string
3. authors のデータベーステーブルを作成します。
mix ecto.migrate
4. クエリを実行する為にデータベースに幾つかのデータが必要なのでデータベースに読み込むデータを準備します。
priv/repo/seeds.exsに以下を書き込みます。
alias SampleBlog.Repo
alias SampleBlog.Blog.Author

%Author{
  name: "Yosuke Nakao",
  bibliography: "The Waggle",
} |> Repo.insert!

%Author{
  name: "Nakao Yosuke",
  bibliography: "Fukuoka.ex",
} |> Repo.insert!
5. シードデータをデータベースにロードします。
mix run priv/repo/seeds.exs
6. Absinthe を使用して GraphQL のアプリをセットアップします。
defp deps do
 [
   # existing dependencies

   {:absinthe, "~> 1.4.16"},
   {:absinthe_plug, "~> 1.4.0"},
   {:absinthe_phoenix, "~> 1.4.0"}
 ]
end
mix deps.get
7.sampleBlog_web に schema フォルダを作成し、schema.ex ファイルを作成して、ファイルを作成します。
defmodule SampleBlogWeb.Schema.Schema do
    use Absinthe.Schema

    query do
      @desc "Get a list of authors"
      field :authors, list_of(:authors) do
        resolve &SampleBlogWeb.Resolvers.Blog.authors/3
      end

      @desc "Get a author by its id"
      field :author, :author do
        arg :id, non_null(:id)
        resolve &SampleBlogWeb.Resolvers.Blog.author/3
      end
    end

    object :author do
      field :id, non_null(:id)
      field :name, non_null(:string)
      field :bibliography, non_null(:string)
    end
  end
8.リゾルバモジュールファイルを作成します。 sampleBlog_web に resolvers フォルダを作成し、blog.exファイルを作成して、ファイルを作成します。
defmodule SampleBlog.Resolvers.Blog do
  alias Getaways.Blog

  def authors(_, _, _) do
    {:ok, Blog.list_authors()}
  end

  def author(_, %{id: id}, _) do
    {:ok, Blog.get_author!(id)}
  end
end
9.スキーマとリゾルバの準備をしたら、ルーターを設定します。
defmodule SampleBlogWeb.Router do
defmodule SampleBlogWeb.Router do
  use SampleBlogWeb, :router

  pipeline :api do
    plug :accepts, ["json"]
  end

  scope "/" do
    pipe_through :api

    forward "/api", Absinthe.Plug,
      schema:  SampleBlogWeb.Schema.Schema

    forward "/graphiql", Absinthe.Plug.GraphiQL,
      schema:  SampleBlogWeb.Schema.Schema,
      interface: :simple
  end
end
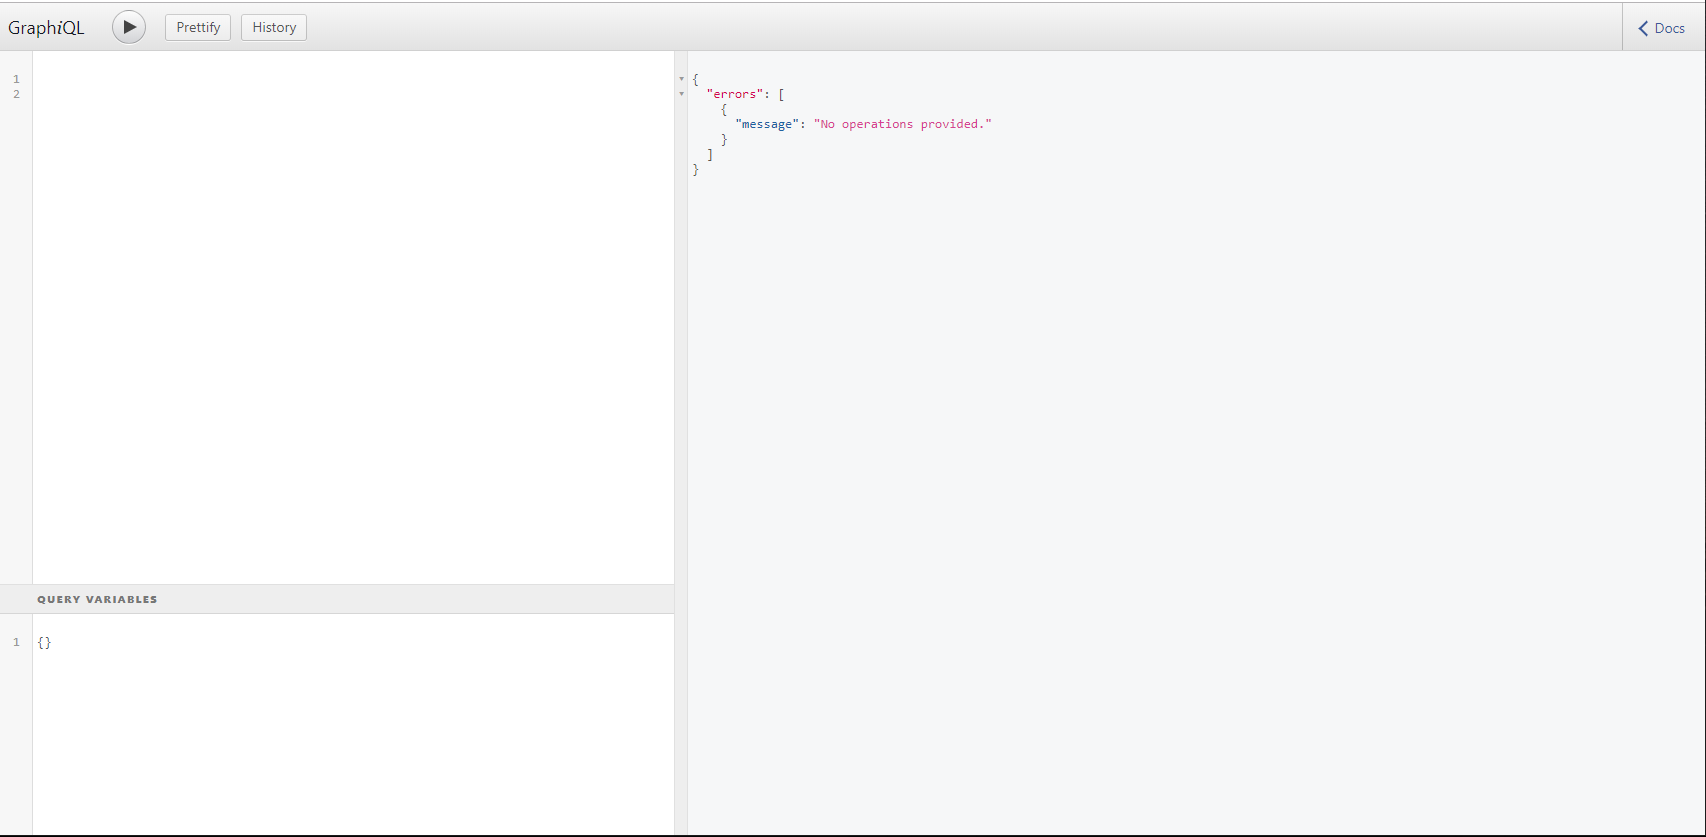
最後にサーバーを起動してみます。
mix phx.server
これでlocalhost:4000/graphiqlにアクセスして以下の画面が出てきたら作成準備完了です。
次回は、これを GraphCMS のサンプルで作った React のフロントへ接続するものをポエムとして書きます。
手順をチュートリアル的に書く予定は24日の記事に上げるので本日はこの辺で。