はじめに
前回AWS AmplifyのGen2のスターターテンプレートを使用して、Next.js (App Router) のアプリをデプロイしました。今回は、簡易なログインUIを追加したときの備忘録となります。
まとめ
- Amplify が提供している Authenticator UI コンポーネントを使うと10分程度で認証画面を用意できる
- 既存の Next.js(App Router)構成でもlayout.tsx を少し編集するだけで導入可能
- とりあえず認証画面を用意したいときに便利
公式ドキュメント
公式のドキュメントは下記の通りです。
ログインUIを追加する
前回使ったAWS AmplifyのGen2のスターターテンプレートを編集していきます。
Amplifyが用意しているAuthenticator UI コンポーネントを使用してログインUIを実装します。
app/layout.tsxへ下記を追加するのみです。
下記をインポートし、
import { Authenticator } from "@aws-amplify/ui-react";
import "@aws-amplify/ui-react/styles.css";
{children}をで囲うだけです。
<Authenticator>
          {children}
 </Authenticator>
変更後の layout.tsx
"use client";

import outputs from "@/amplify_outputs.json";
import { Authenticator } from "@aws-amplify/ui-react";
import "@aws-amplify/ui-react/styles.css";
import { Amplify } from "aws-amplify";

import { Inter } from "next/font/google";
import "./app.css";

const inter = Inter({ subsets: ["latin"] });

Amplify.configure(outputs);

export default function RootLayout({
  children,
}: {
  children: React.ReactNode;
}) {
  return (
    <html lang="en">
      <body>
        <Authenticator>{children}</Authenticator>
      </body>
    </html>
  );
}
ここまでできたら実装は完了です。実行してみましょう。
npm run dev
ブラウザでアクセスすると、ログイン画面が表示されます。
Authenticator UI コンポーネントを使うことで、10分程度で認証画面を用意できました。
![FireShot Capture 020 - - [localhost].png](https://qiita-user-contents.imgix.net/https%3A%2F%2Fqiita-image-store.s3.ap-northeast-1.amazonaws.com%2F0%2F95954%2F8e007520-bc0e-4880-954c-3a1c6b757613.png?ixlib=rb-4.0.0&auto=format&gif-q=60&q=75&s=ee51486488c6c4266754e160f01805ab)
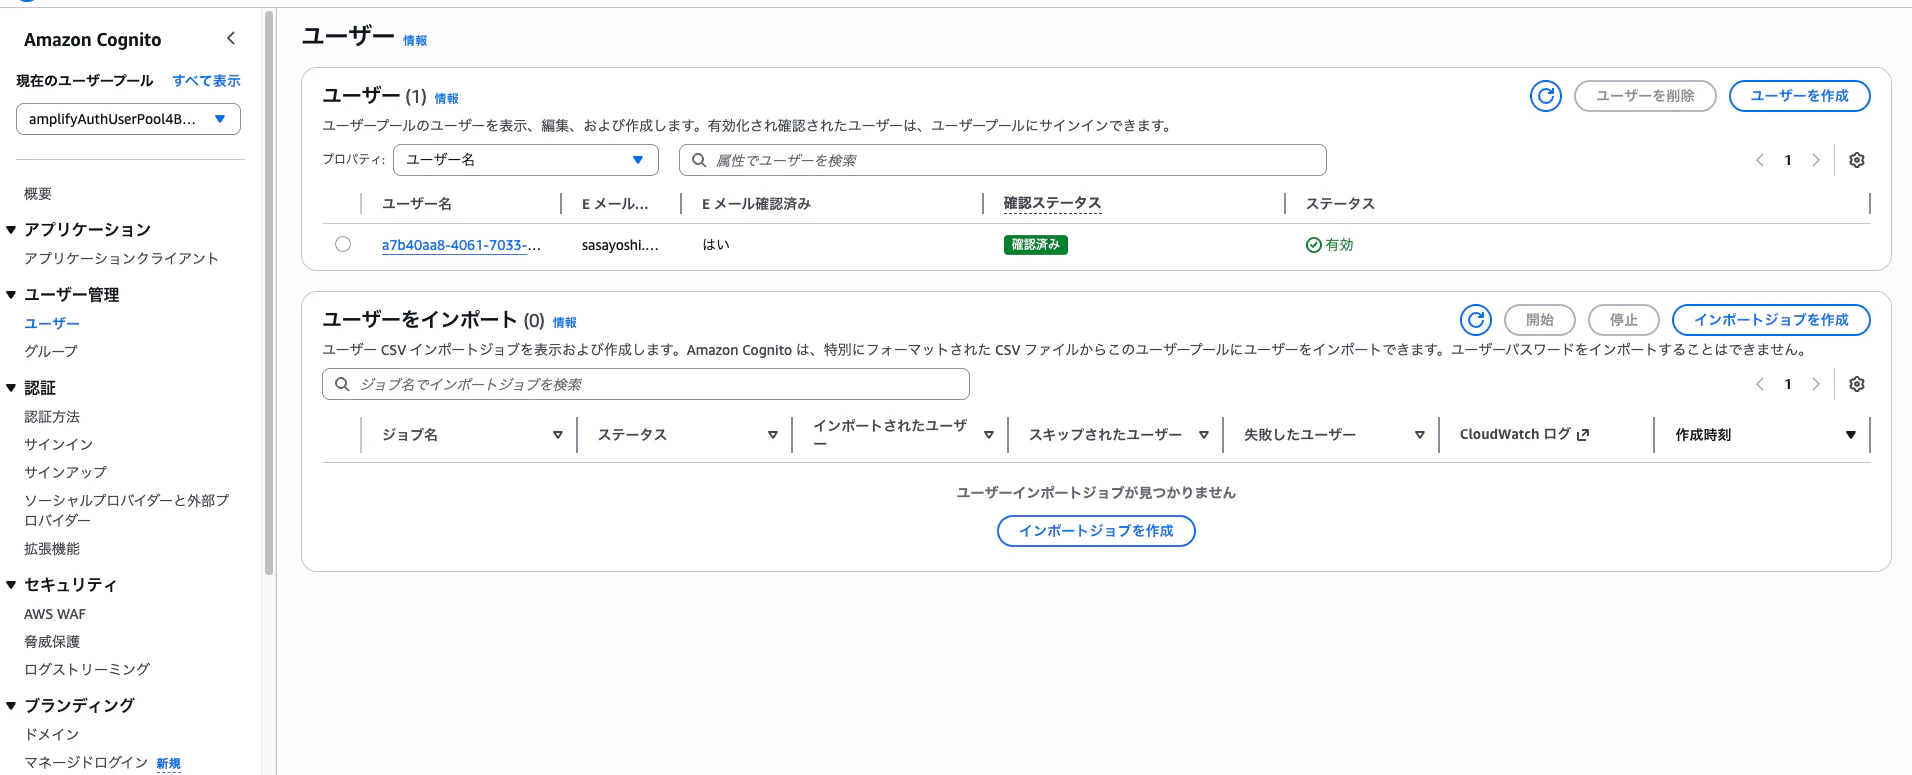
Create Account からメールアドレスとパスワードを設定すると、アカウントを作成できます。
作成したアカウントは Cognitoで確認できます。