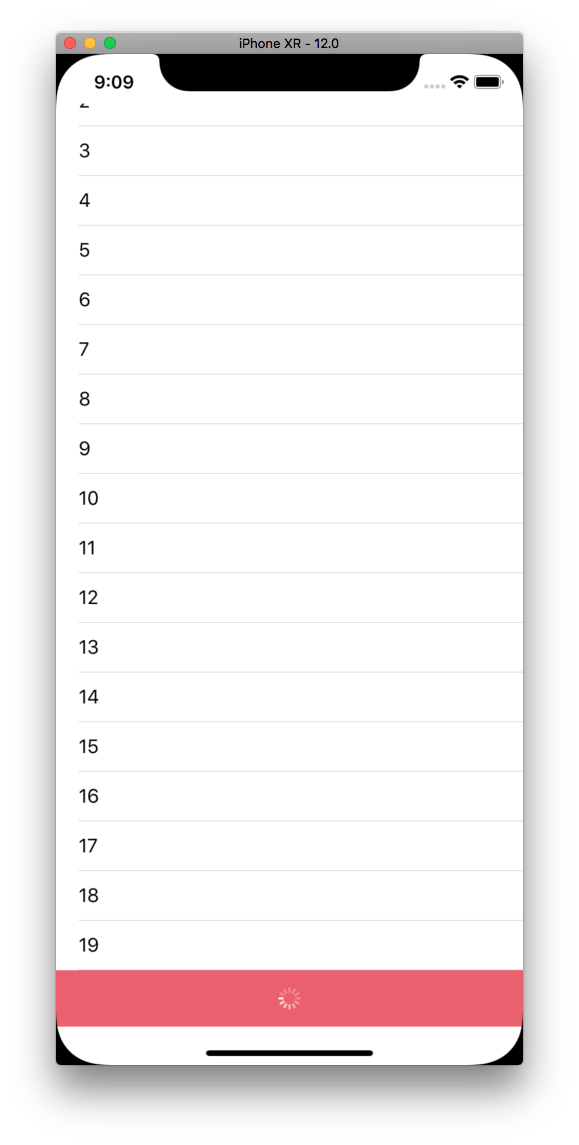
Swiftで、TableViewとかのScrollViewで、SwipeUpToRefreshする方法のメモ。
ソースコードがあるので、そちらを使って貰えると話が早いと思います。
MEMO: SwipeUpToRefresh とは、上に下から引っ張ったときにRefreshすることを言いたかった。
どんな話か
環境:
- Swift4.2
- Xcode10.0
ソースコード
以下:
Sample Source Code: https://github.com/ykeisuke/sample-pull-to-refresh-at-bottom
解説
手法概要:
- スクロールを感知
- 一番下の方に行ってれば、Indicatorをチラ見させる
- 閾値を超えていればRefresh開始する。(Indicatorは一番下の方に固定しておく
Indicatorの位置はConstraintの変更で対応している。
UIViewController
override func viewDidLoad() {
        super.viewDidLoad()
        // Do any additional setup after loading the view, typically from a nib.

        tableView.delegate = self
tableView.delegate = self で、Delegateを設定しておく
extension ViewController: UITableViewDelegate {

    //func scrollViewDidScroll(_ scrollView: UIScrollView, willDecelerate decelerate: Bool) {
    func scrollViewDidScroll(_ scrollView: UIScrollView) {

        // 下部でロードをしていいか、判定する
        let contentSize = scrollView.contentSize.height
        let tableSize = scrollView.frame.size.height - scrollView.contentInset.top - scrollView.contentInset.bottom
        let canLoadFromBottom = contentSize > tableSize

        // Offset
        // 差分を計算して、 `<= -120.0` で、閾値を超えていればrefreshするようにする。
        let currentOffset = scrollView.contentOffset.y
        let maximumOffset = scrollView.contentSize.height - scrollView.frame.size.height
        let difference = maximumOffset - currentOffset

        // Indicatorをごにょる。スクロールしている可能性があったり、表示するべきであれば表示する。
        if canLoadFromBottom, self.isLoadingMore == false {
            indicatorFrame.isHidden = false
            var indicatorDifference = difference + indicatorFrame.frame.height
            indicatorDifference = indicatorDifference * CGFloat.init(-1.0)
            // 一番下で固定しておくためなので
            if indicatorDifference > 0 {
                indicatorDifference = 0
            }
            indicatorBottomAlignmentConstraint.constant = indicatorDifference
            indicatorFrame.layoutIfNeeded()
        }
        if difference == 0.0 {
            indicatorFrame.isHidden = true
        }

        // Difference threshold as you like. -120.0 means pulling the cell up 120 points
        if canLoadFromBottom, difference <= -120.0 {

            // Loading中なら、もう一回ロードしないようにする。
            if (self.isLoadingMore == false) {

                // Save the current bottom inset

                // Add 50 points to bottom inset, avoiding it from laying over the refresh control.
                let previousScrollViewBottomInset = scrollView.contentInset.bottom
                scrollView.contentInset.bottom = previousScrollViewBottomInset + 50

                indicator.startAnimating()
                indicatorBottomAlignmentConstraint.constant = 0
                indicatorFrame.layoutIfNeeded()

                self.isLoadingMore = true

                // TODO: ここでローディング中に何かやりたい人はやればよい。↓は終わったら呼び出せば良い

                // loadMoreData function call
                // original:
                // loadMoreDataFunction(){ result in
                DispatchQueue.main.asyncAfter(deadline: DispatchTime.now() + .seconds(5)) {
                    // Reset the bottom inset to its original value
                    scrollView.contentInset.bottom = previousScrollViewBottomInset
                    self.isLoadingMore = false

                    self.indicator.stopAnimating()
                    self.indicatorBottomAlignmentConstraint.constant = -50


                }
            }
        }
    }

}
ほか、メモ
Indicatorを表示したいときは、以下の場所で表示/非表示を操作すればいい。
👇ここで、位置を少し上げて維持させてる。
scrollView.contentInset.bottom = previousScrollViewBottomInset + 50
👇で、ロードが終わったとして、位置を戻してる。
// Reset the bottom inset to its original value
scrollView.contentInset.bottom = previousScrollViewBottomInset
self.isLoadingMore = false
Refresh処理は、👇のあたりでやればいい。
👇の処理は、「5秒でロードが終わった」という設定で、場所を戻すためのサンプル。
(処理が終わったら位置を元に戻す処理を☝️のように呼び出せばオッケー)
// loadMoreDataFunction(){ result in
DispatchQueue.main.asyncAfter(deadline: DispatchTime.now() + .seconds(5)) {
以上φ('ᴗ'」)
