こんにちは!ayumuです。
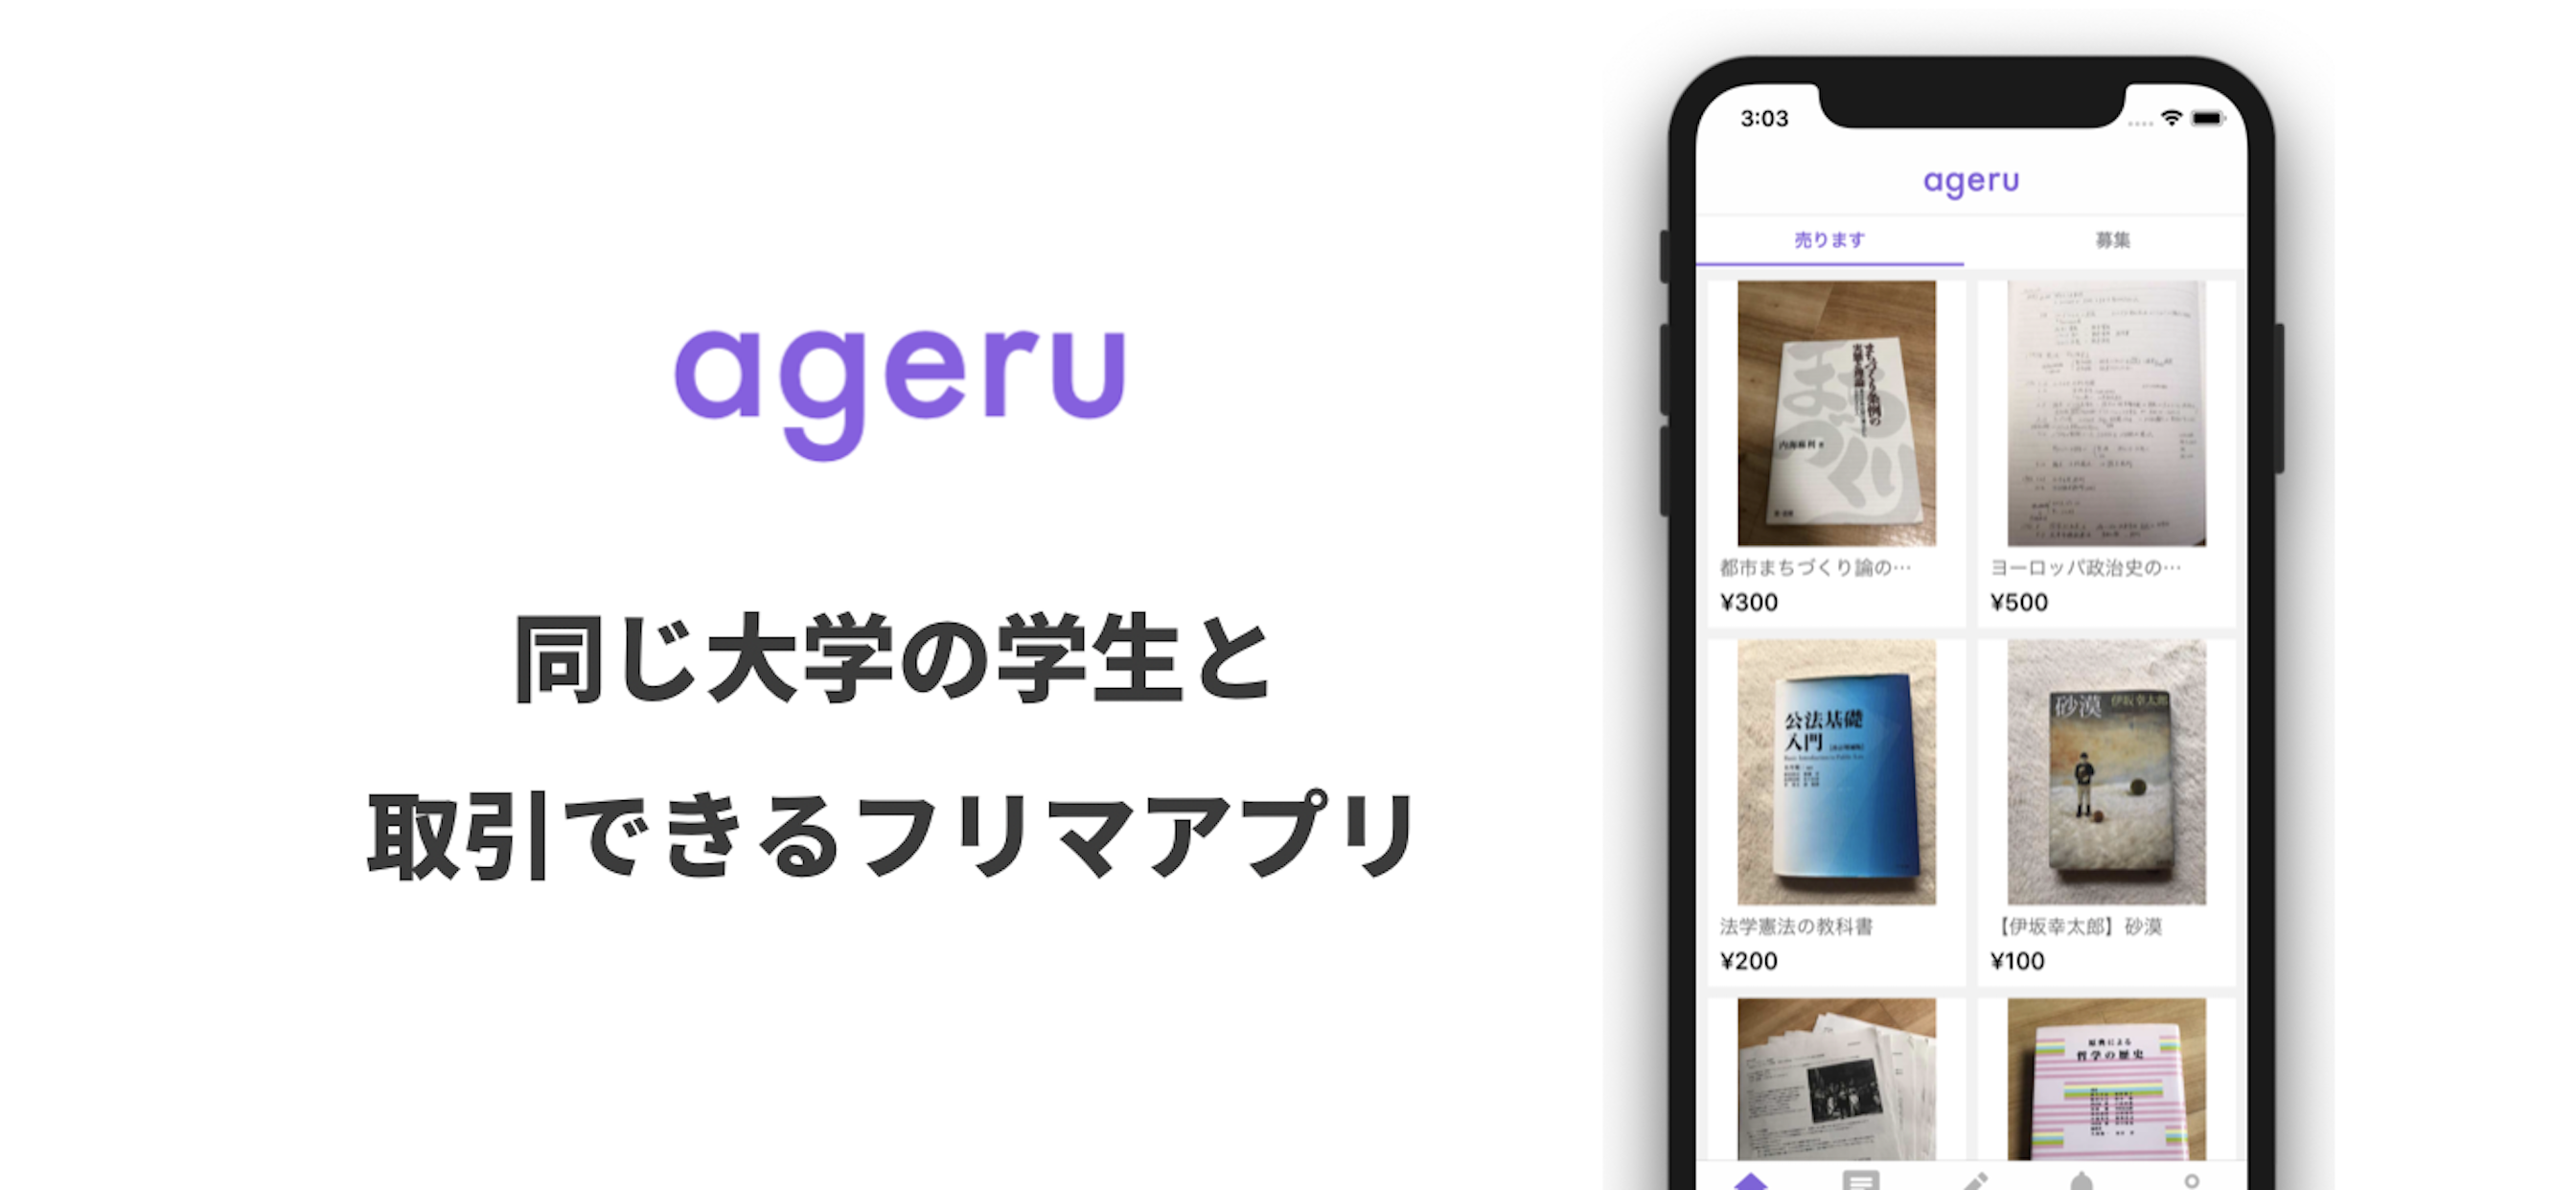
今回は自分の大学向けにフリマアプリを開発したので紹介させていただきたいと思います!
https://t.co/27rqwxEUAK
よかったら覗いてみてください!
作った理由#
自分の大学向けに何かサービスをしてみたかった。
大学4年間の中で関われる人の数が少ないと感じ、もっと交流機会を増やしたい。
といった思いがあり、教科書やノートなどの物を通して学生同士の交流機会を創出できるのでは?(多ければいいわけではないですが…笑)
という考えからアプリを開発しました。
苦戦した点#
色々と苦戦した点はあったのですが、今回はその中で2つあげたいと思います。
・ チャットの実装で利用したMessageKit
・ チャットの通知機能を実装する上で使用したCloud Function for Firebase
MessageKit#
とにかく日本語のドキュメントがなくて大変でした。
基礎的なものはあったが古かったり…
何度も公式のgithubを見ながら実装しました。
ここではユーザーのアイコンに表示する画像を非同期でセットする実装を紹介したいと思います!
よく見るMessageKitのアイコン部分の実装では
extension ChatViewController: MessagesDataSource {
    func configureAvatarView(_ avatarView: AvatarView, for message: MessageType, at indexPath: IndexPath, in messagesCollectionView: MessagesCollectionView) {

let avatar: Avatar
 if let url = URL(string: getIconUrl) {
         do {
            let imageData = try Data(contentsOf: url)
            let image = UIImage(data: imageData)
            avatar = Avatar(image: image, initials: "?")
         } catch {
            avatar = Avatar(image: nil, initials: "?")
         }
      } else {
         avatar = Avatar(image: nil, initials: "?")
      }
      avatarView.set(avatar: avatar)
   }
}
このようにavatarを生成してavatarViewにセットしています。
これでは取得したurlを非同期でセットできないので
import UIKit
import MessageKit
import SDWebImage

class ChatViewController: MessagesViewController {

   //省略
}

extension ChatViewController: MessagesDataSource {
    func configureAvatarView(_ avatarView: AvatarView, for message: MessageType, at indexPath: IndexPath, in messagesCollectionView: MessagesCollectionView) {

        if let url = URL(string: getIconUrl) {
            avatarView.sd_setImage(with: url) {
                image, error, cacheType, imageUrl in
                if error != nil { return }
                if image != nil && cacheType == .none {
                    avatarView.alpha = 0
                    UIView.animate(withDuration: 0.5, animations: {
                        avatarView.alpha = 1
                    })
                }
            }
            avatarView.sd_setImage(with: url)

        } else {
            print("失敗")
            avatarView.image = UIImage(named: "nothingIcon.png")
        }
    }


}
このようにavatarViewに直接 .sd_setImageをセットします。
※ライブラリはSDWebImageを使用しています。
これでurlから取得した画像を非同期でセットすることができます。
MessageKitの実装は他にも苦戦する点が多くあったのですが別の機会で記事にしたいと思います。
Cloud Functions for Firebase#
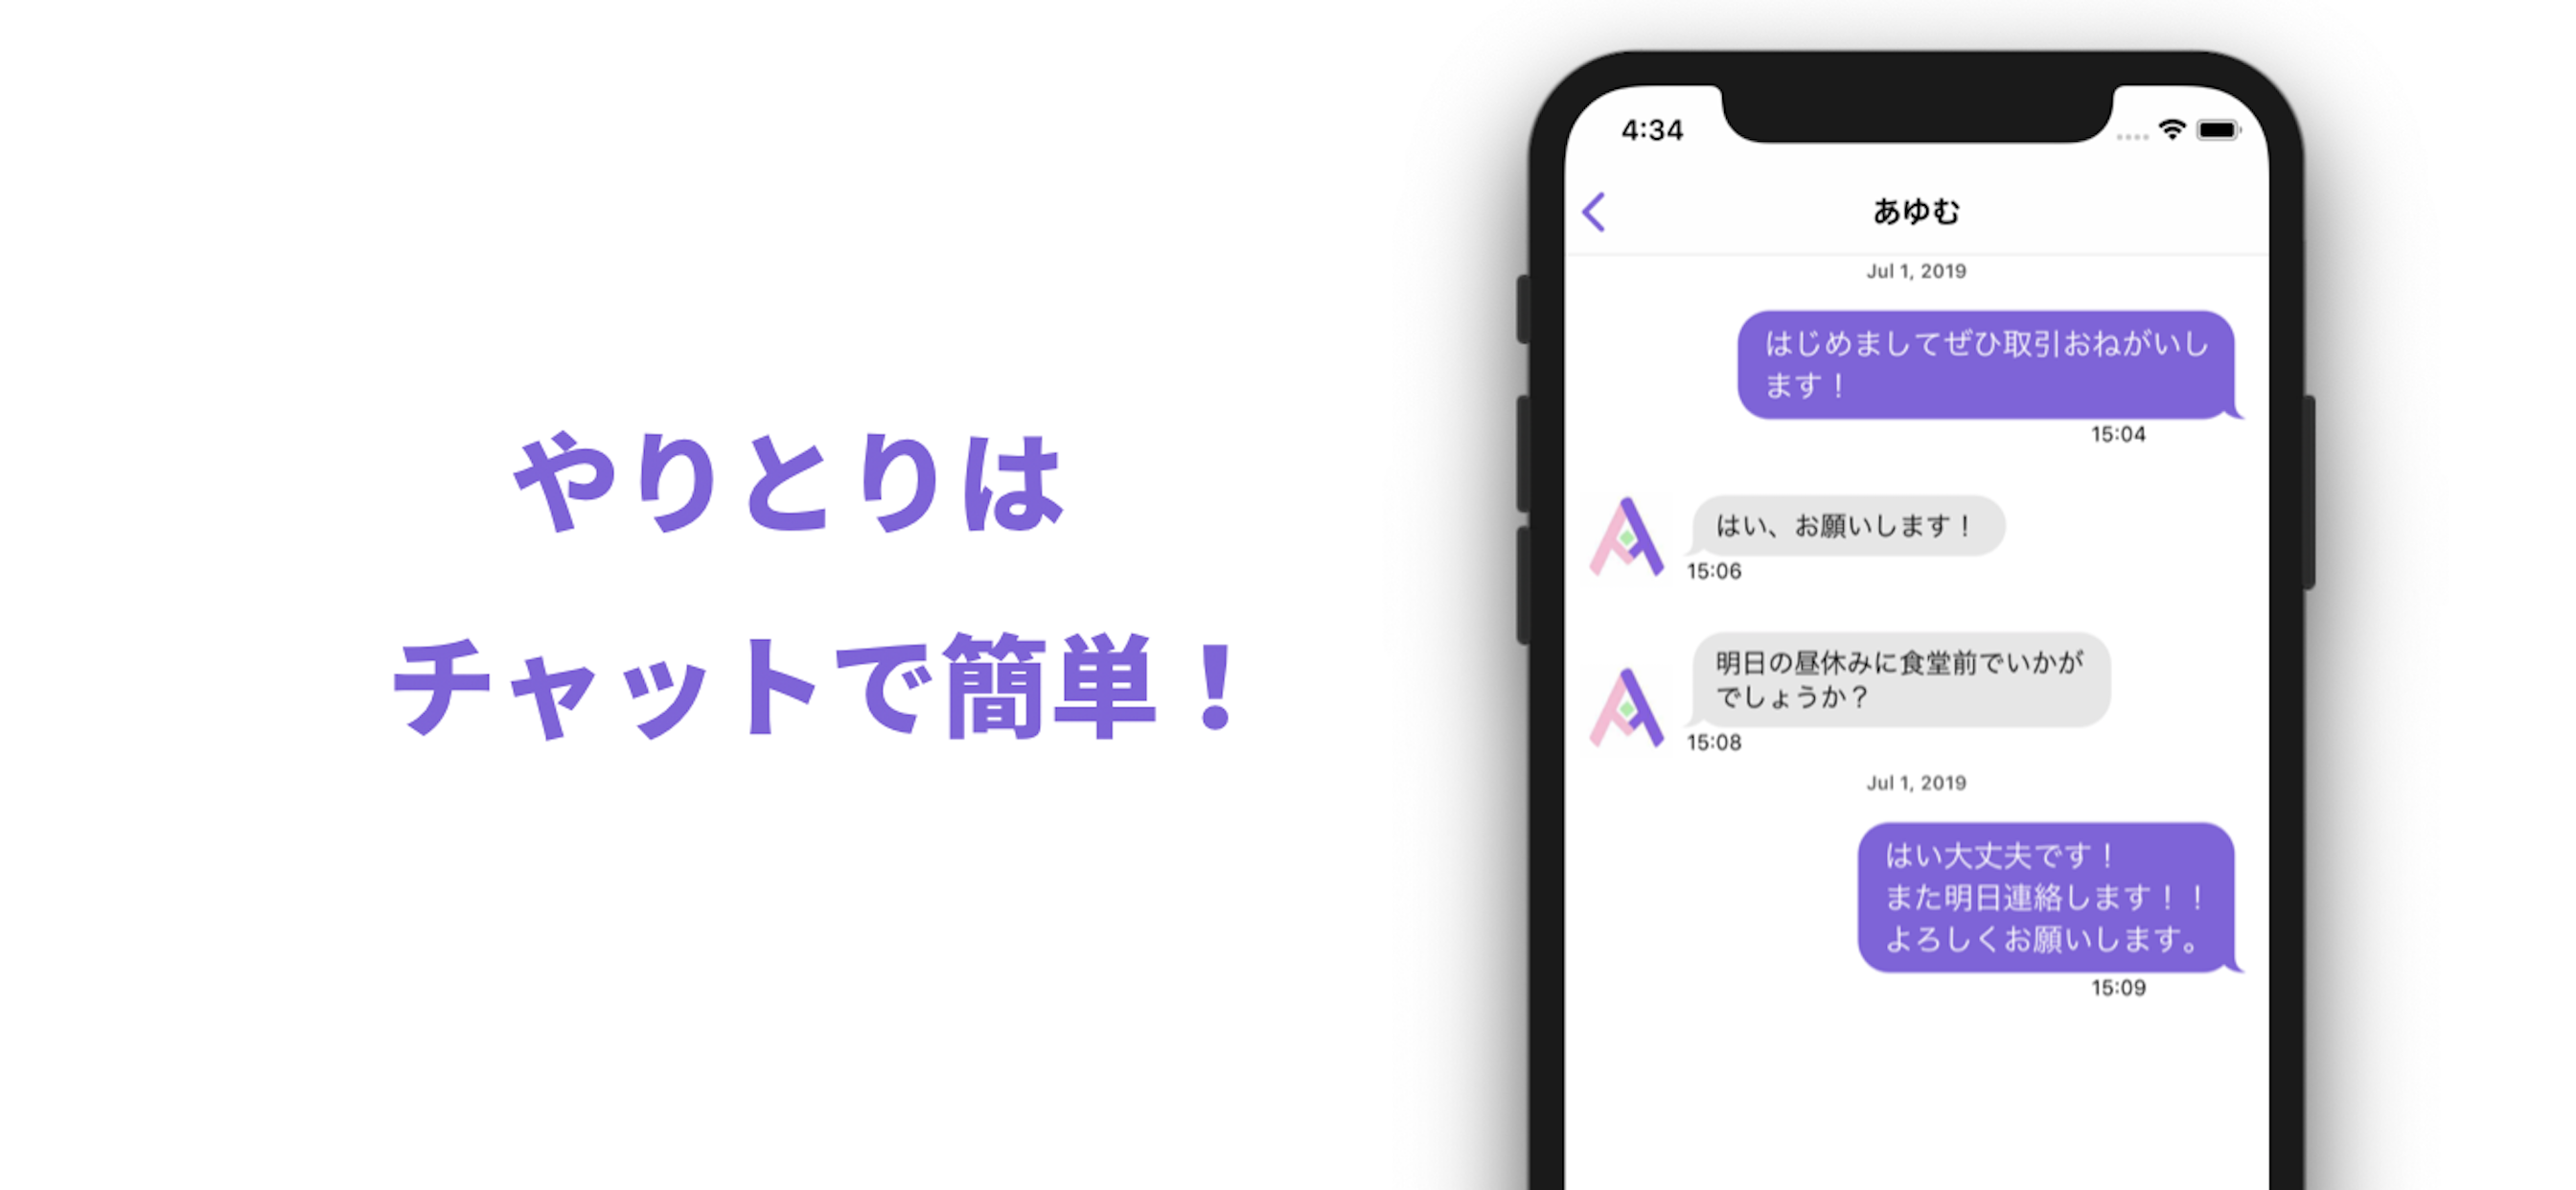
Cloud Function for Firebaseを使って、チャットでのやり取りの際にメッセージが届いたら受け手側にプッシュ通知でお知らせする実装を行いました。(LINEなどよくあるチャットの通知)
私はswiftとpython(少し…)での開発経験しかなかったのですが、
Cloud Function for Firebaseを使用するにあたってJavaScriptまたはTypeScriptを用いらなければならなかったので苦戦しました。
公式サイト
https://firebase.google.com/docs/functions/?hl=ja
こちらも自分なりに説明していきたいと思います。
間違っている点ありましたらご指定いただけると幸いです!
下準備#
まず、関数の作成、デプロイをするにあたって Node.js 環境とFirebase CLI が必要なのでこれらをセッティングしていきます。
公式サイト
https://firebase.google.com/docs/functions/get-started?hl=ja
とにかくNode.js と npm をインストールする必要があるみたいです!笑
こちらの記事を参考にさせていただきました!
https://qiita.com/akakuro43/items/600e7e4695588ab2958d
インストールを無事完了したら
npmを使用して Firebase CLI をインストールします。
$ npm install -g firebase-tools
インストールできたらfirebase loginを実行してログインし、認証します。
次にディレクトリを用意しfirebase init を実行します。
ageru_CFという名前のファイルを作成しました。
$ cd ageru_CF
$ firebase init
ここでJavaScript・TypeScriptどちらかの言語を選択します。
ここではJavaScriptを選択しました!
作成が完了したらこのような構造になっていると思います。
ageru_CF
├── database.rules.json
├── firebase.json
└── functions
    ├── index.js
    ├── node_modules/...
    └── package.json
これで下準備は完了です!
関数の作成(index.jsに書き込み)#
こちらを参考にさせていただきました!
https://qiita.com/k-boy/items/419ad3a6f1ffd86c20f1
まず実際に書いたコードはこちら
const functions = require('firebase-functions')
const admin = require('firebase-admin')
admin.initializeApp(functions.config().firebase)
const firestore = admin.firestore()

const pushMessage = (fcmToken, message, name) => ({
  notification: {
    title: `${name}`,
    body: `${message}`,
  },
  apns: {
     payload: {
       aps: {
         badge: 1,
       },
     },
   },
  token: fcmToken,
})

exports.sendNotifications = functions.firestore
    .document('user_profile/{uid}/{roomListId}/{roomId}')
    .onWrite((change, context) => {
      const room = change.after.data()
      const senderUid = room.sender_uid
      const userID = context.params.uid
      const userRef = firestore.doc(`user_profile/${userID}`)
      userRef.get().then((user) => {
      const userData = user.data()
      if (senderUid == userID ) {
        console.log("not_notification");
        return
      }
        admin.messaging().send(pushMessage(userData.fcm_token, room.last_message, room.partner_name))
        .then((response) => {
         console.log('Successfully sent message:', response)
       })
       .catch((e) => {
          console.log('Error sending message:', e)
        })
      }).catch((e) => console.log(e))
    })
後ほど苦戦した点などを詳しく解説したいと思います。
通知を打つ流れ#
まずユーザーがメッセージを送信すると、
Cloud FireStore Databaseに値が書き込まれます。
今回ではuser_profile/{uid}/{roomListId}/{roomId}に値が書き込まれます。
Dtabaseの構造を詳しく説明すると、
まず一番上のuser_profileというコレクション内にそれぞれのユーザーのuidをドキュメント名としてドキュメントが保存されます。
そのためuser_profile/{uid}という並びになっております。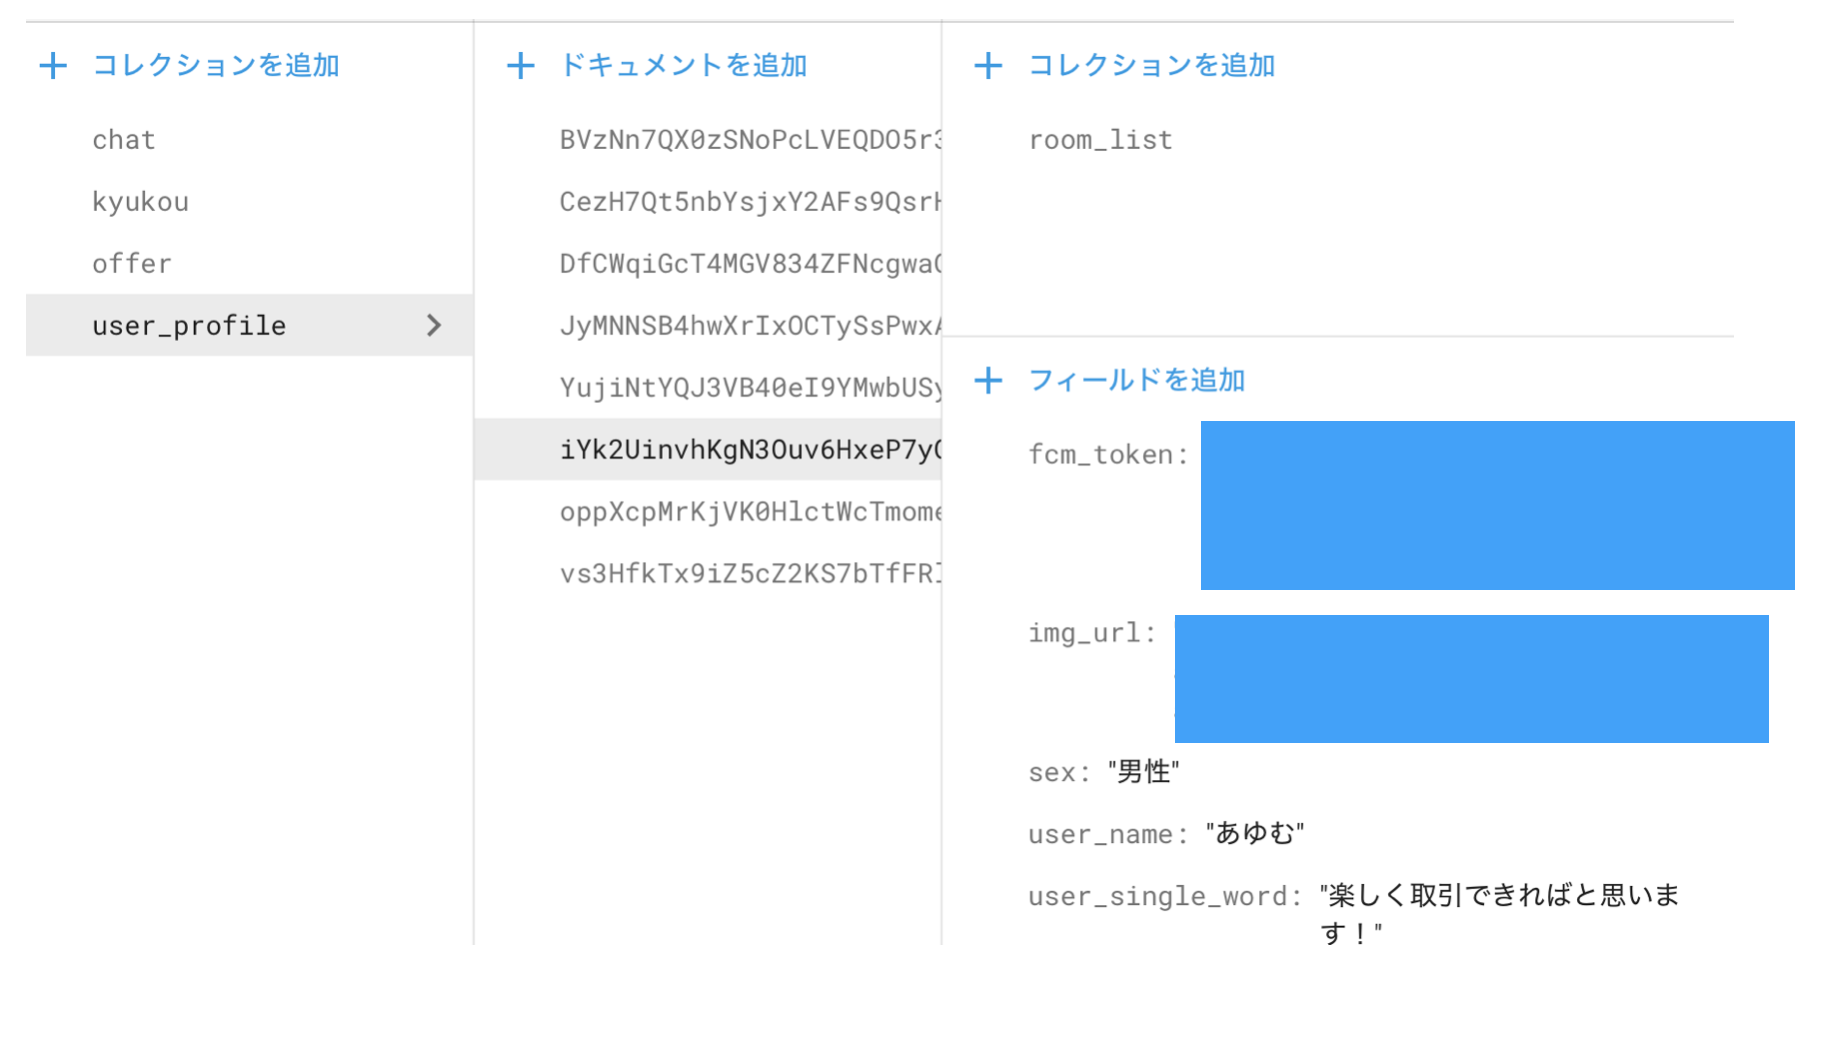

それぞれのドキュメントにroom_listというサブコレクションがあります。
このroom_list内にユーザーそれぞれのチャットの一番最後のメッセージがドキュメントとして格納されており、こちらの情報を通知で送る流れとなっております。
そのためuser_profile/{uid}/{roomListId}/{roomId}となっております。
ここで一つ苦戦したポイントなのですが、サブコレクションの名前はroom_listで固定されているのにコードでは{roomListId}になっている理由として、サブコレクション内のドキュメントを取得する際にroom_listのままではアクセスできず、{}をつけてあげる必要がありました。
苦戦したポイント#
ドキュメントにアクセスできない##
exports.sendNotifications = functions.firestore
    .document('user_profile/{uid}/{roomListId}/{roomId}')
上記で述べたのですが、サブコレクション部分を{}で囲っていなかったため、ドキュメント({roomId})のパラメーターを取得できませんでした。
バッジが表示されない##
const pushMessage = (fcmToken, message, name) => ({
  notification: {
    title: `${name}`,
    body: `${message}`,
    badge: 1,
  },
  token: fcmToken,
})
初めに私はネット記事を参考にして上記のコードで実装していました。
しかしこれではtitleとbodyのパラメーターは無事通知で送信できたもののバッジが表示されませんでした。
const pushMessage = (fcmToken, message, name) => ({
  notification: {
    title: `${name}`,
    body: `${message}`,
  },
  apns: {
     payload: {
       aps: {
         badge: 1,
       },
     },
   },
  token: fcmToken,
})
このようにapns,payload,apsを用いた構造にすることで送信できました。
最後に#
最後まで見てくださりありがとうございます!
初めて行う実装も多々あり、正しい解釈をできているか不安な点もありますが、何とかアプリを完成させサービスを始めることができました。
間違っている点ありましたらご指摘いただけると幸いです。
今後も多くの人に利用されるサービスを作れるよう頑張りたいです!
まずはこのageruを盛り上げられるよう頑張ります!!!