はじめに
Zabbix公式の手順に沿って進めればOKです
実行環境
- OS: Ubuntu 24.04
- コンポーネント: Zabbixサーバ、フロントエンド、エージェント
- DB: PostgreSQL
- Web Server: Nginx
手順
1. 公式リポジトリをダウンロード
wget https://repo.zabbix.com/zabbix/7.4/release/ubuntu/pool/main/z/zabbix-release/zabbix-release_latest_7.4+ubuntu24.04_all.deb
dpkg -i zabbix-release_latest_7.4+ubuntu24.04_all.deb
apt update
2. Zabbixサーバ、フロントエンド、エージェントのインストール
apt install zabbix-server-pgsql zabbix-frontend-php php8.3-pgsql zabbix-nginx-conf zabbix-sql-scripts zabbix-agent
3. Zabbix用のPostgreSQLユーザとDBを作成
sudo -u postgres createuser --pwprompt zabbix
sudo -u postgres createdb -O zabbix zabbix
4. データベースに初期データを投入
zcat /usr/share/zabbix/sql-scripts/postgresql/server.sql.gz | sudo -u zabbix psql zabbix
5. Zabbix Server 設定ファイルを修正
/etc/zabbix/zabbix_server.confに以下の行を追記
DBPassword=設定したパスワード
6. ZabbixのNginx設定ファイルを修正
/etc/zabbix/nginx.confの以下の行をコメントアウト、必要に応じて値を書き換える
# listen 8080;
# server_name example.com;
server_nameは実際にzabbixを公開するホスト名やIPアドレスを設定します。
7. Zabbixサーバとエージェントを起動
systemctl restart zabbix-server zabbix-agent nginx php8.3-fpm
systemctl enable zabbix-server zabbix-agent nginx php8.3-fpm
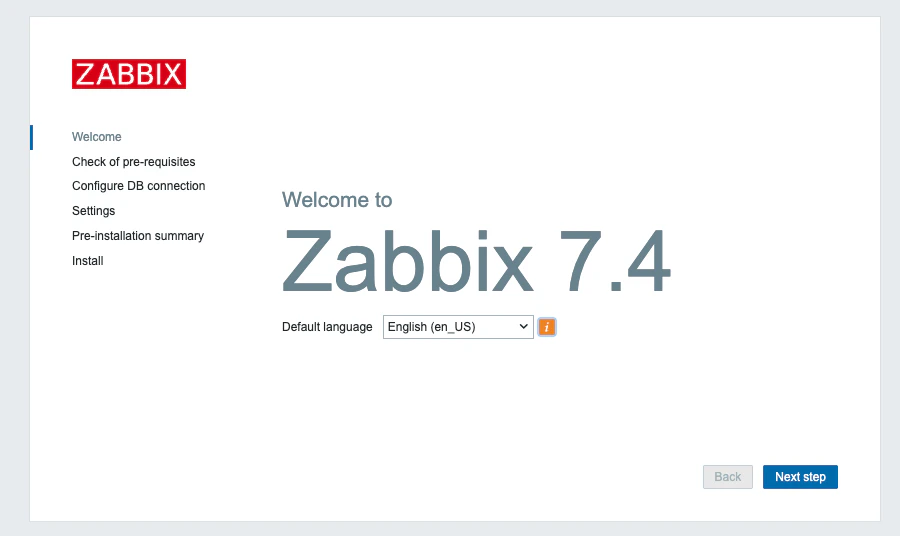
8. アクセスする
http://<IPアドレス>:<ポート>でアクセスできればOKです。