🎯 概要
Django REST Framework では、drf-spectacular を利用することで
OpenAPI 3.0 対応の Swagger UI を自動生成できます。
API 開発では「仕様がコードとズレる」「フロントとバックの認識違いが起きる」といった問題が発生しやすいため、
自動で最新状態に同期される API ドキュメントは非常に大きな価値を持ちます。
この記事では、DRF プロジェクトに /api/docs/(Swagger UI)を導入する具体的な手順をまとめます。
💡 なぜ Swagger(OpenAPI)が必要なのか?|導入背景
API 開発では以下のような課題が頻発します。
- 口頭ベースで仕様が伝わり、いつの間にか認識がズレる
- フロントエンドとバックエンド間の連携確認に時間がかかる
- パラメータ名・レスポンス形式・データ型などの変更が共有されない
- 非エンジニアが API を正しく理解しづらい
- 手動で作った仕様書がすぐに古くなる
Swagger(OpenAPI)を導入すると、これらの問題を根本から解決できます。
🚀 Swagger(drf-spectacular)を使うメリット
🔎 1. 自動で正確な API ドキュメントが生成される
コードから自動生成されるため、仕様と実装のズレが発生しません。
🧪 2. ブラウザ上で API を試せる(Try it out)
curl や Postman が不要になり、非エンジニアでも動作確認できます。
📦 3. OpenAPI 3.0 スキーマを export できる
外部ツール連携、TypeScript クライアント生成などにも活用できます。
🛠 4. DRF と相性抜群で設定が簡単
DEFAULT_SCHEMA_CLASS を追加するだけで DRF の ViewSet を解析してくれます。
それでは、早速、導入手順を説明します!
📌 1. ライブラリをインストール
requirements.txt に追記:
title=requirements.txt
drf-spectacular>=0.27
drf-spectacular-sidecar>=2024.0.0
インストール:
pip install -r requirements.txt
📌 2. settings.py の設定
INSTALLED_APPS へ追加
INSTALLED_APPS = [
    "django.contrib.auth",
    "django.contrib.contenttypes",
    "django.contrib.sessions",
    "django.contrib.staticfiles",

    "rest_framework",

    "drf_spectacular", → 追加!
    "drf_spectacular_sidecar", → 追加!

    "condition",
]
REST_FRAMEWORK の設定を追記
REST_FRAMEWORK = {
    "DEFAULT_RENDERER_CLASSES": [
        "rest_framework.renderers.JSONRenderer",
    ],
    "DEFAULT_SCHEMA_CLASS": "drf_spectacular.openapi.AutoSchema",
}
TEMPLATES の設定を追記
TEMPLATES = [
    {
        "BACKEND": "django.template.backends.django.DjangoTemplates",
        "DIRS": [],
        "APP_DIRS": True,
        "OPTIONS": {
            "context_processors": [
                "django.template.context_processors.debug",
                "django.template.context_processors.request",
                "django.contrib.auth.context_processors.auth",
                "django.contrib.messages.context_processors.messages",
            ],
        },
    },
]
Swagger メタ情報(任意)
SPECTACULAR_SETTINGS = {
    "TITLE": "Swim Condition API",
    "DESCRIPTION": "水泳選手コンディション管理 API のドキュメント",
    "VERSION": "1.0.0",
}
📌 3. urls.py に Swagger 用のパスを追加
from django.urls import path, include
from rest_framework.routers import DefaultRouter
from drf_spectacular.views import (
    SpectacularAPIView,
    SpectacularSwaggerView,
    SpectacularRedocView,
)
from condition.views import ConditionViewSet

router = DefaultRouter()
router.register(r"conditions", ConditionViewSet, basename="condition")

urlpatterns = [
    # OpenAPI JSON
    path("api/schema/", SpectacularAPIView.as_view(), name="schema"),

    # Swagger UI
    path(
        "api/docs/",
        SpectacularSwaggerView.as_view(url_name="schema"),
        name="swagger-ui",
    ),

    # ReDoc
    path(
        "api/redoc/",
        SpectacularRedocView.as_view(url_name="schema"),
        name="redoc",
    ),

    # 既存 API
    path("api/", include(router.urls)),
]
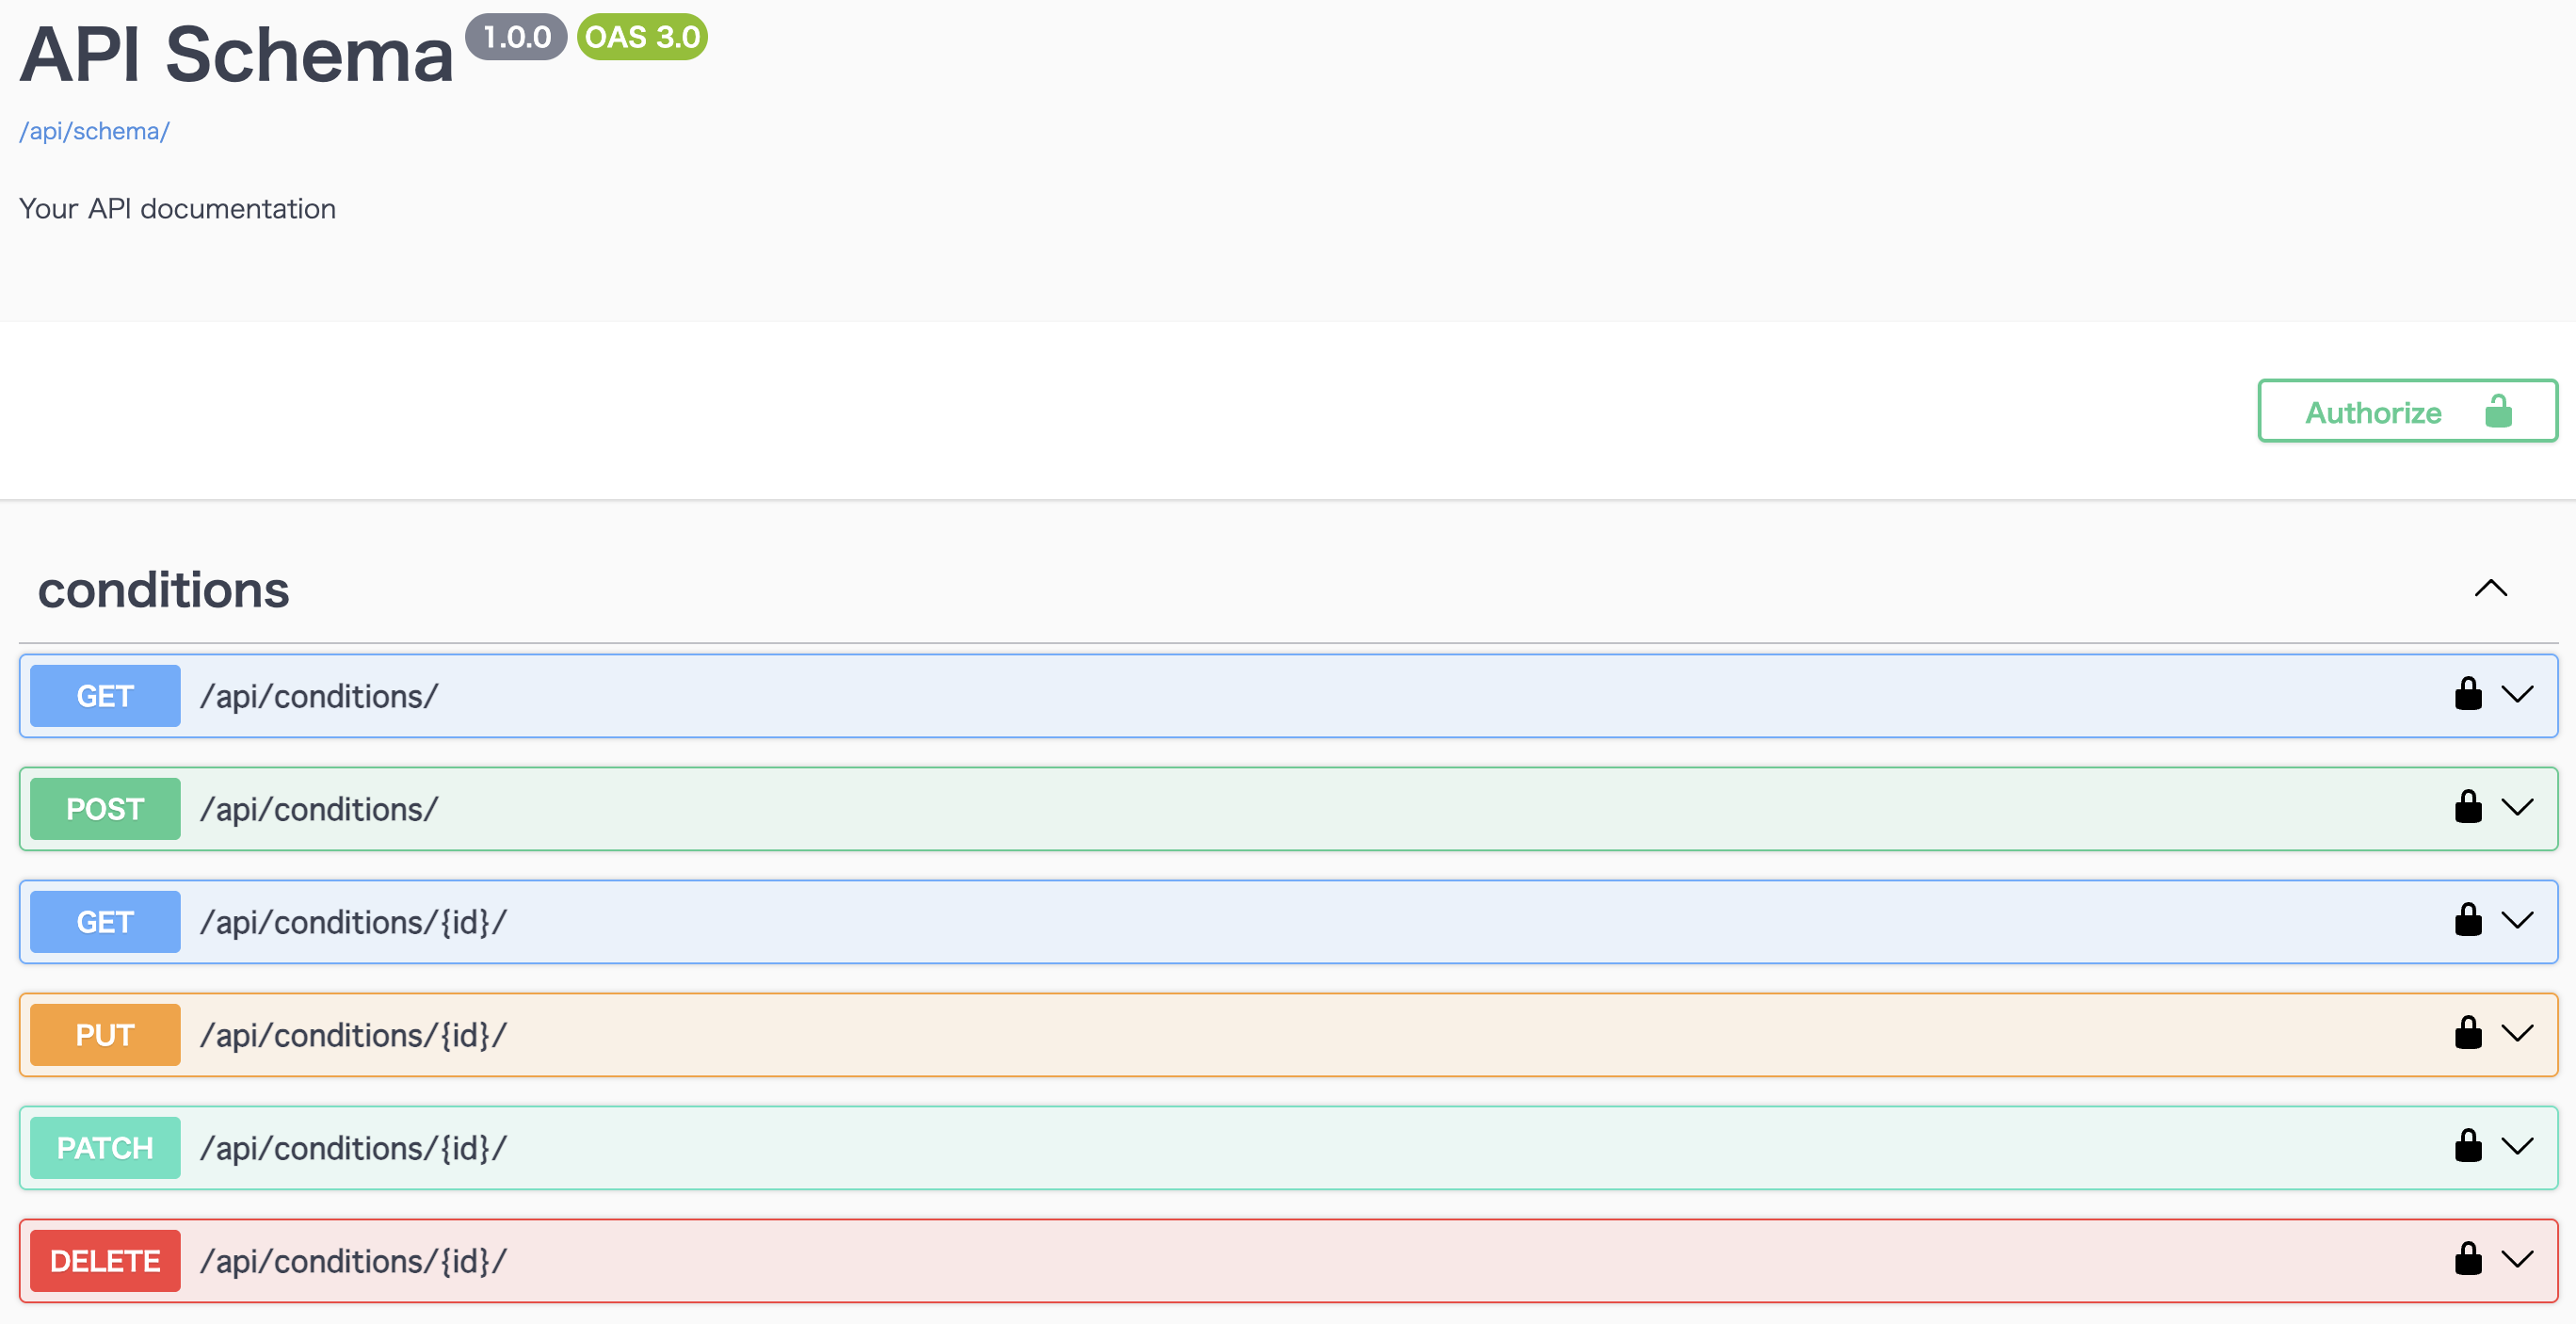
📌 4. 動作確認(ブラウザで確認)
| UI | URL |
|---|---|
| Swagger UI | http://localhost:8000/api/docs/ |
| OpenAPI JSON | http://localhost:8000/api/schema/ |
| ReDoc | http://localhost:8000/api/redoc/ |
🎉 まとめ
✔ pip install drf-spectacular
✔ settings.py にスキーマ設定追加
✔ urls.py に /api/docs/ を追加
✔ Swagger UI が自動生成される