はじめに
本稿の読み方
実行するコマンド(断りがない限りこの黒枠の部分はコピペ可)
実行結果(または強調)
cat /etc/redhat-release
CentOS Linux release 7.6.1810 (Core)
概要
Cent OS7 + Nginx + PHP 7.2(php-fpm) + MySQL 8.0の組み合わせで
VPSにWordPressをインストールします。
本稿は初心者向けです。
私はZabbixで色々監視したかったり、色々ぶっこんで見たかったのと、
せっかく(一応にも)エンジニアなのでVPSのテンプレートを使用せずに手作業でやってみようと思った次第です。
Linuxを触ったことがあれば作業難易度自体は高くないですが、
やる気と根気とつまづいてもググる能力が求められます。
以上をご理解の上御覧ください。
~~~~~
SELinux無効(任意)
だいたいこれが邪魔でくだらないところでつまづきます。
セキュリティ上無効化したくない人はSELinuxのルールの追加の仕方をググってください。
今回は解説しません。もとい、私もわかりません。
sed -i 's/SELINUX=enforcing/#SELINUX=enforcing/g' /etc/selinux/config
sed -i 'N;/#SELINUX=enforcing/\SELINUX=disabled' /etc/selinux/config
setenforce 0

getenforce
Enforcingまたはdisabledと表示されればOK
Firewall許可
HTTPとHTTPSのアクセスを許可します。
firewall-cmd --add-service=http --permanent
firewall-cmd --add-service=https --permanent
firewall-cmd --reload
OSアップデートと「いろいろ」をインストール
yum update -y

yum install -y openssh-clients vim wget rsync lsof net-tools chrony gcc libxml2-devel libxslt-devel epel-release libxml2-devel curl-devel openldap-devel  libmcrypt-devel libXpm-devel openssl-devel libjpeg-devel libpng-devel freetype-devel autoconf unzip redis
nginxの実行ユーザを作成
セキュリティ上の理由からNologinにしておきます。
useradd -s /sbin/nologin www
Nginx
Nginx install
yum -y install nginx
Nginx start
systemctl start nginx
NginxのConf設定
mv /etc/nginx/nginx.conf /etc/nginx/nginx.conf.org
cat >> /etc/nginx/nginx.conf << EOF

# For more information on configuration, see:
#   * Official English Documentation: http://nginx.org/en/docs/
#   * Official Russian Documentation: http://nginx.org/ru/docs/

user www;
worker_processes auto;
error_log /var/log/nginx/error.log;
pid /run/nginx.pid;

# Load dynamic modules. See /usr/share/nginx/README.dynamic.
include /usr/share/nginx/modules/*.conf;

events {
    worker_connections 1024;
}

http {
    log_format  main  '\$remote_addr - \$remote_user [\$time_local] "\$request" '
                      '\$status \$body_bytes_sent "\$http_referer" '
                      '"\$http_user_agent" "\$http_x_forwarded_for"';

    access_log  /var/log/nginx/access.log  main;

    sendfile            on;
    tcp_nopush          on;
    tcp_nodelay         on;
    keepalive_timeout   65;
    types_hash_max_size 2048;

    include             /etc/nginx/mime.types;
    default_type        application/octet-stream;

    # Load modular configuration files from the /etc/nginx/conf.d directory.
    # See http://nginx.org/en/docs/ngx_core_module.html#include
    # for more information.
    include /etc/nginx/conf.d/*.conf;

    server {
        listen       80 default_server;
        listen       [::]:80 default_server;
        server_name  _;
        root         /var/www/html;

        # Load configuration files for the default server block.
        include /etc/nginx/default.d/*.conf;

        location / {
                index  index.html index.htm index.php;
        }

        error_page 404 /404.html;
            location = /40x.html {
        }

        error_page 500 502 503 504 /50x.html;
            location = /50x.html {
        }
        location ~ \.php$ {
                root           /var/www/html;
                fastcgi_pass   unix:/dev/shm/php-fpm.sock;
                fastcgi_index  index.php;
                fastcgi_param  SCRIPT_FILENAME  \$document_root\$fastcgi_script_name;
                include        fastcgi_params;
         }
    }

# Settings for a TLS enabled server.
#
#    server {
#        listen       443 ssl http2 default_server;
#        listen       [::]:443 ssl http2 default_server;
#        server_name  _;
#        root         /usr/share/nginx/html;
#
#        ssl_certificate "/etc/pki/nginx/server.crt";
#        ssl_certificate_key "/etc/pki/nginx/private/server.key";
#        ssl_session_cache shared:SSL:1m;
#        ssl_session_timeout  10m;
#        ssl_ciphers HIGH:!aNULL:!MD5;
#        ssl_prefer_server_ciphers on;
#
#        # Load configuration files for the default server block.
#        include /etc/nginx/default.d/*.conf;
#
#        location / {
#        }
#
#        error_page 404 /404.html;
#            location = /40x.html {
#        }
#
#        error_page 500 502 503 504 /50x.html;
#            location = /50x.html {
#        }
#    }

}
EOF
testファイル配置
mkdir -p /var/www/html/
touch /var/www/html/index.html
echo testtestteeeeeeeeeeest >> /var/www/html/index.html
chown -R www:www /var/www/html/*
この時点でChrome等WebブラウザからWebページが見れるはずです。
PHP
PHP install
その他もろもろも一緒にインストール
yum install -y http://rpms.remirepo.net/enterprise/remi-release-7.rpm
yum install -y php72 php72-php php72-php-gd php72-php-mbstring php72-php-intl php72-php-fpm php72-php-opcache php72-php-json php72-php-mysqlnd php72-php-xml php72-php-xmlrpc php72-php-ldap php72-php-pecl-zip php72-php-pecl-redis php72-php-pecl-apcu php72-php-process php72-php-pecl-imagick
シンボリックリンク作成して起動
ln -s /opt/remi/php72/root/usr/bin/php /usr/bin/
systemctl start php72-php-fpm
systemctl enable php72-php-fpm
PHPの設定①
# backup
cp /etc/opt/remi/php72/php.d/40-apcu.ini /etc/opt/remi/php72/php.d/40-apcu.ini.org

cat /etc/opt/remi/php72/php.d/40-apcu.ini | grep enabled=1
上記catの実行結果が
apc.enabled=1
でなかった場合は
vim /etc/opt/remi/php72/php.d/40-apcu.ini
で1に変更してください。
PHPの設定②
cp /etc/opt/remi/php72/php.d/10-opcache.ini /etc/opt/remi/php72/php.d/10-opcache.ini.org
vim /etc/opt/remi/php72/php.d/10-opcache.ini
下記それぞれの値が
opcache.enable=1 opcache.enable_cli=1 opcache.memory_consumption=128 opcache.interned_strings_buffer=8 opcache.max_accelerated_files=10000 opcache.revalidate_freq=1 opcache.save_comments=1
であることを確認、値が違う場合は上記の通り変更します。
またコメントアウトされていない(行の先頭に;がついていない)ことを確認してください。
PHPの設定③
# backup
mv /etc/opt/remi/php72/php-fpm.d/www.conf /etc/opt/remi/php72/php-fpm.d/www.conf.org

cat >> /etc/opt/remi/php72/php-fpm.d/www.conf << EOF

[www]

user = www
group = www

listen = /dev/shm/php-fpm.sock
listen.backlog = 20480
listen.owner = www
listen.group = www
listen.mode = 0666

;pm = static
pm.max_children = 200

pm = dynamic
pm.start_servers = 10
pm.min_spare_servers = 10
pm.max_spare_servers = 100
pm.process_idle_timeout = 10s;

pm.max_requests = 1024

pm.status_path = /status_phpfpm

ping.path = /ping
ping.response = pong

slowlog = /var/opt/remi/php72/log/php-fpm/www-slow.log

clear_env = no

php_admin_value[error_log] = /var/opt/remi/php72/log/php-fpm/www-error.log
php_admin_flag[log_errors] = on

;php_value[session.save_handler] = files
;php_value[session.save_path] = /var/opt/remi/php72/lib/php/session
php_value[soap.wsdl_cache_dir] = /var/opt/remi/php72/lib/php/wsdlcache

php_value[session.save_handler] = redis
php_value[session.save_path] = "tcp://127.0.0.1:6379"
EOF
フォルダ作成&所有者を変更してPHPをRestart
mkdir -p /var/log/php-fpm
chown www:www /var/log/php-fpm
chown www:www /var/opt/remi/php72/lib/php/*
systemctl restart php72-php-fpm
testファイル作成
touch /var/www/html/index.php
echo " <?php var_dump( phpinfo() ); ?> " >> /var/www/html/index.php
chown -R www:www /var/www/html/*
この時点でChrome等Webブラウザから
http://nginxをインストールしたPCのIPaddress/index.php
にアクセスするとphpの詳細が表示されるWebページが見れるはずです。
ダウンロードが始まった方はphpのSocketやSELinux等でつまづいている可能性があります。
MySQL Install
リポジトリ追加&インストール
rpm -ivh https://dev.mysql.com/get/mysql80-community-release-el7-2.noarch.rpm
yum install -y mysql-community-devel mysql-community-server
MySQL設定①
# 設定ファイルbackup
cp /etc/my.cnf /etc/my.cnf.org


# ログのタイムゾーンの設定(初期値:UTC)
echo log_timestamps=SYSTEM >> /etc/my.cnf

# クライアントの文字セットの設定を無視する
echo skip-character-set-client-handshake >> /etc/my.cnf

# 認証方法の変更
echo default_authentication_plugin= mysql_native_password >> /etc/my.cnf
MySQL起動
systemctl start mysqld
systemctl enable mysqld
MySQLへログインする
まず初期パスワードを調べる
grep password /var/log/mysqld.log
実行すると
2019-08-25T17:30:31.014991+09:00 5 [Note] [MY-010454] [Server] A temporary password is generated for root@localhost: pnR,e5,j;!0dZ
という実行結果が得られる。上記の場合、初期パスワードは行末尾の
pnR,e5,j;!0dZ
となる。これをメモする。
MySQL初期化
mysql_secure_installation --use-default
Securing the MySQL server deployment.
Enter password for user root:
と聞かれるので、先程メモしたパスワードを入力し、Enter
The existing password for the user account root has expired. Please set a new password.
New password:
新しいパスワードを入力してくださいと言われたので、任意のパスワードを入力してEnter。
なお、確認のためもう一度パスワードの入力を求められるのでこれも入力してEnter。
ずら~とでて
All done!
と表示されれば完了
なおパスワードが「Pasword123」くらい"弱すぎる"と怒られて先に進めません。
英数字に加えて記号をを入力しないとだいたい怒られます。
回避方法がありますがここでは解説しません。
MySQLにログイン
mysql -u root -p
先程入力した任意のパスワードを入力し、Enter。
パスワードがあっていれば
Welcome to the MySQL monitor. Commands end with ; or \g.
Your MySQL connection id is 11
Server version: 8.0.17 MySQL Community Server - GPL
Copyright (c) 2000, 2019, Oracle and/or its affiliates. All rights reserved.
Oracle is a registered trademark of Oracle Corporation and/or its affiliates. Other names may be trademarks of their respective owners.
Type 'help;' or '\h' for help. Type '\c' to clear the current input statement.
mysql>
と、コンソールがmysql>に変わり、MySQLへのログインが完了した。
MySQLのユーザ追加
コンソールがmysql> の状態で下記4つのコマンドを実行する。
注意点として
・今回ユーザ名とデータベース名をwordpressとしていますが、任意の名前に変更が可能です。こだわりがなければwordpressでよいと思います。
・@@@@@@@@@@@@の部分は任意のパスワードを入力してください。先程と同様、"弱いパスワード"だと怒られます。これも回避方法がありますが、同様に今回は解説しません。
・(quitを除く)上記コマンド実行ごとにQuery OK, 0 rows affected (0.01 sec)等と表示されていれば成功です。
CREATE USER `wordpress`@`localhost` IDENTIFIED WITH mysql_native_password BY '@@@@@@@@@@@';
CREATE DATABASE wordpress CHARACTER SET utf8;
GRANT ALL PRIVILEGES ON wordpress.* TO `wordpress`@`localhost` WITH GRANT OPTION;
flush privileges;
quit
WordPress
WordPressのダウンロード&解凍
wget https://ja.wordpress.org/latest-ja.tar.gz
tar -xzvf latest-ja.tar.gz -C /var/www/html/
chown -R www:www /var/www/html/wordpress/
この時点でChrome等Webブラウザから
http://nginxをインストールしたPCのIPaddress/wordpress/index.php
にアクセスするとWordpressの設定画面が表示されます。
私の場合はここでは設定しません。
WordPress初期設定
cd /var/www/html/wordpress/
cp wp-config-sample.php wp-config.php

sed -i 's/database_name_here/wordpress/g' /var/www/html/wordpress/wp-config.php
sed -i 's/username_here/wordpress/g' /var/www/html/wordpress/wp-config.php
sed -i 's/password_here/ここにMySQLのWordPressユーザーのパスワード/g' /var/www/html/wordpress/wp-config.php
sed -i 's/password_here/ここのMySQLのWordPressユーザーのパスワード/g' /var/www/html/wordpress/wp-config.php
ですが、MySQLで作成したユーザー「wordpress」に設定したパスワードが「1145141919」だった場合
sed -i 's/password_here/1145141919/g' /var/www/html/wordpress/wp-config.php
となります。
しかしこの方法だと楽な反面historyコマンドでパスワードが表示されてセキュリティ上よろしくないので、vimコマンドで直接パスワードを変更することをおすすめします。
認証用ユニークキー設定
wp-config.phpの55行目から、下記のような文面が見られます。
# 注意 実行部分は[root@ wordpress]# の最後の#以降から行末まで

[root@ wordpress]# vim wp-config.php
~(略)~
 55 define('AUTH_KEY',         'put your unique phrase here');
 56 define('SECURE_AUTH_KEY',  'put your unique phrase here');
 57 define('LOGGED_IN_KEY',    'put your unique phrase here');
 58 define('NONCE_KEY',        'put your unique phrase here');
 59 define('AUTH_SALT',        'put your unique phrase here');
 60 define('SECURE_AUTH_SALT', 'put your unique phrase here');
 61 define('LOGGED_IN_SALT',   'put your unique phrase here');
 62 define('NONCE_SALT',       'put your unique phrase here');
上記のput your unique phrase hereに認証用のパスワードとして適当な文字列を入力すれば良いのですが、全部に入力するのは面倒です。
WordPress公式サイトに自動生成してくれるサイトがあるのでこれを利用します。
Chrome等Webブラウザから
https://api.wordpress.org/secret-key/1.1/salt/
にアクセスすると
define('AUTH_KEY', 'fUei(dkIfeT|j|g.ph@1kdfet|5,XKR5u7ePmJeSoRyzLXb}%H+DH,O!(J+lhe'); define('SECURE_AUTH_KEY', '43[N)/-e+#P%p|uO+!-(d6kdiemdf=h$FMtH(VMr%J* :L!t =2gJ4(@u.lf1XXN'); define('LOGGED_IN_KEY', 'PhdqpRu+wEY$IKzP~Eq} :;in{Sy!IQ@p#ABwT|u79lX7JQ>d/!j75>Jn(s C5q,'); define('NONCE_KEY', '7Dl8#^fe3Mkh_L:!t;DgG(k ~vna8-}{k|c8@bUcFa|arh,{1v)9Xua6BK+D3+Pn'); define('AUTH_SALT', 'eDPOPC@/I&s2J5NW5ZV,p4gVmq;ESPjn-+7%1/:{*<)D3>G9k=pTwQ#)H]cS|Gq|'); define('SECURE_AUTH_SALT', 'IUjK {jmRb%|phv{9fhuedm8djJ1#k+i _&lKj=l;,YY{LuIl}p6i#^@}(Q-:s4_'); define('LOGGED_IN_SALT', ';b8FB6;_x%x*^)B{jWT{[tPlpgb:qJXOq4zq|1Hh4.1|>.8XC._9m8{?->E5:8*['); define('NONCE_SALT', 'om6)|JNP+KKUO-]Nw!nCy$L(vU{6,[P!}l|J-~J5*>^*o@$C74S3:<j9Zb5j-(kA');
このように自動的に文字列を生成してくれます。
これをwp-config.phpに貼り付けます。
vimの操作方法がわからない人はググってね☆
先人の知恵を貼っておきます
https://qiita.com/hattys2/items/56d973ad4f197b751501
これでTerminalでの操作は終わりです。
とりあえず再起動したい方は再起動してもOKです
systemctl restart nginx
systemctl restart mysqld
systemctl restart php72-php-fpm
systemctl restart nginx
WordPressログイン
この時点でChrome等Webブラウザから
http://nginxをインストールしたPCのIPaddress/wordpress/index.php
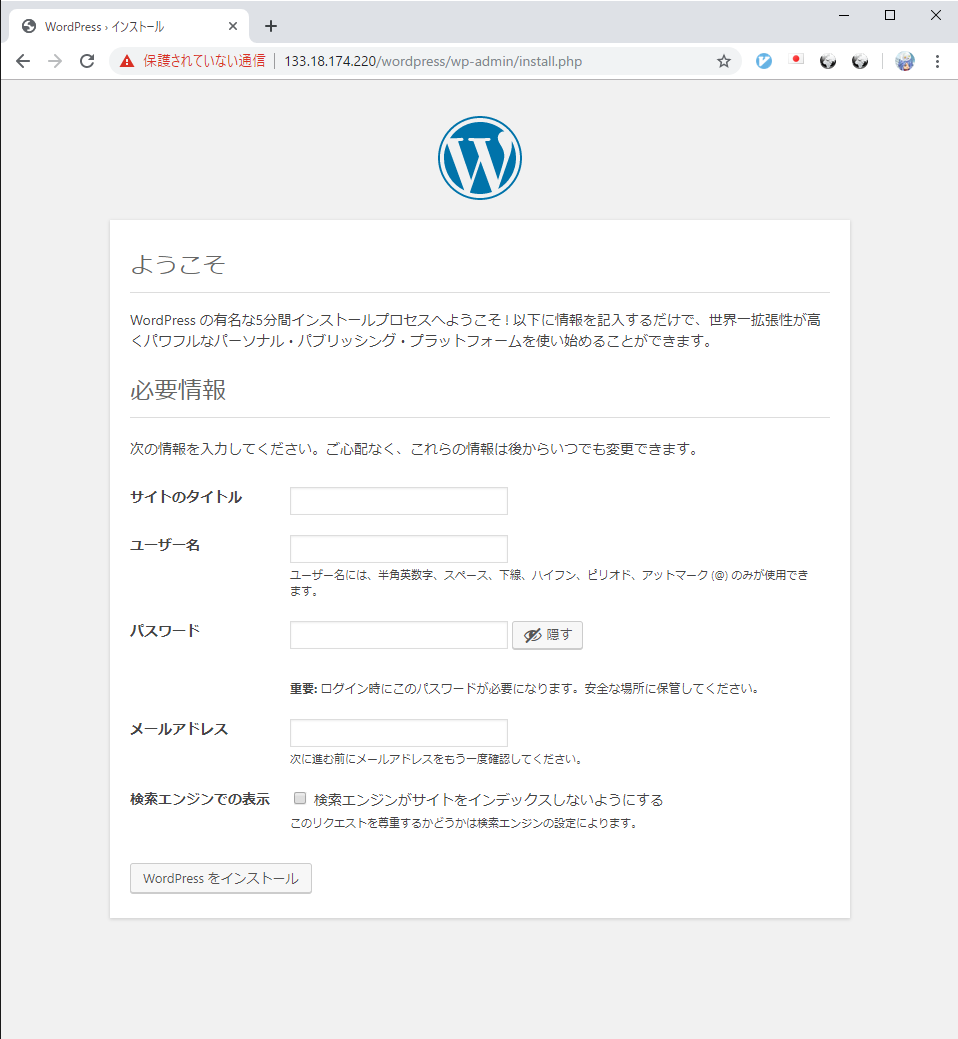
にアクセスするとWordpressの設定画面が表示されます。さっきも表示しましたね。
指示通りに進めるだけです。
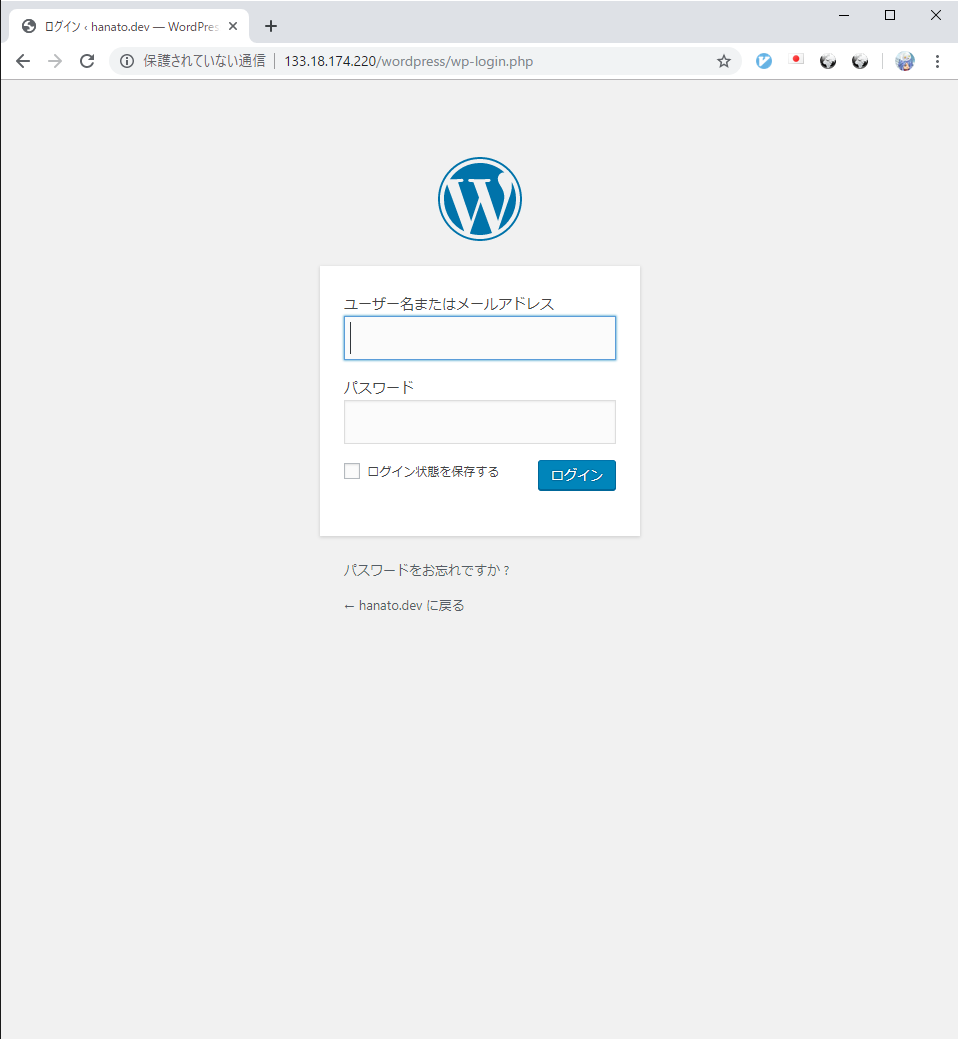
↓下記の画面はお好きに、どうぞ。
↓上記の画面の設定が終わると下記画面(ログイン画面)が表示されます。
上記画面で入力したユーザ名とパスワードを入力してください。
↓ログインに成功するとWordPressのDashboardが表示されます。おつかれさまでした。
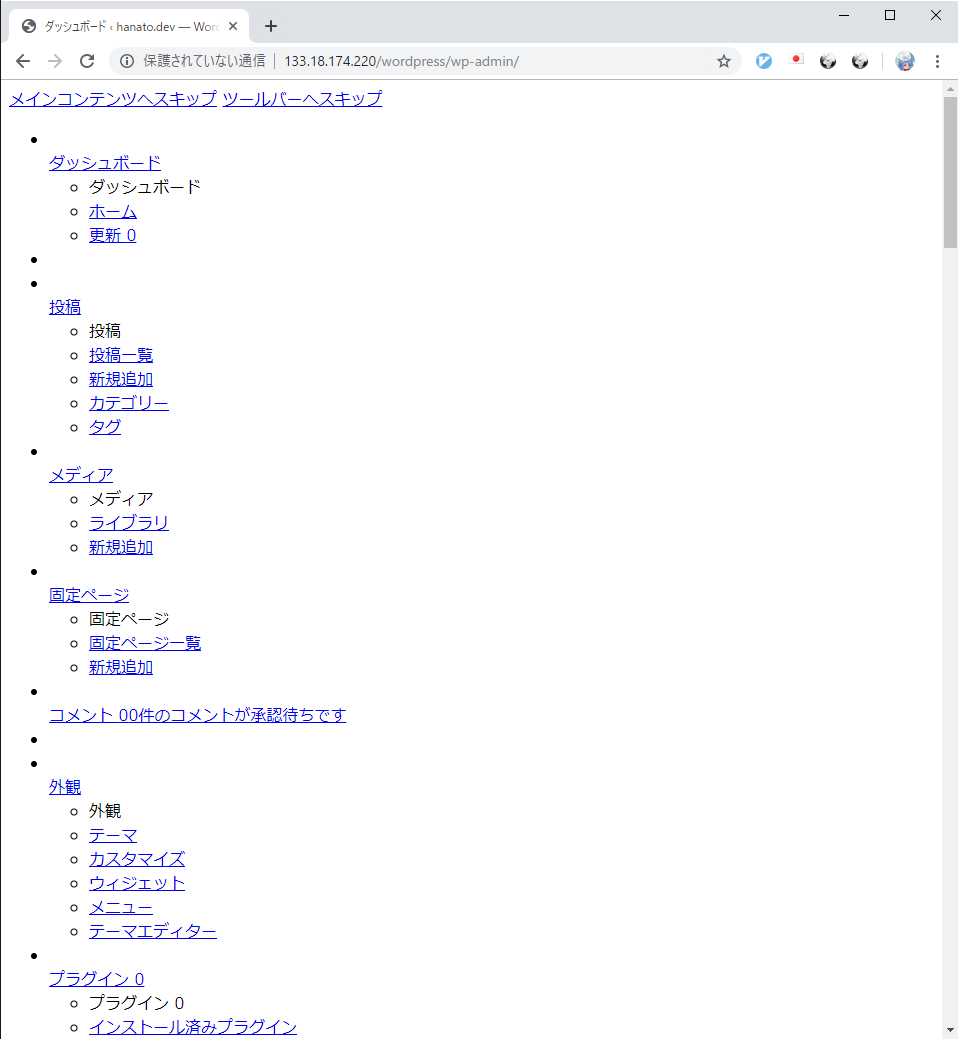
いやいや待てよ
上記の画面のようにログイン後に画面が崩れる場合があります。
困ったときのログ拝見すると
tail -n 30 /var/log/nginx/error.log
~(略)~
2019/08/25 20:15:04 [crit] 13626#0: *79 open() "/var/lib/nginx/tmp/fastcgi/2/00/0000000002" failed (13: Permission denied) while reading upstream,
~(略)~
よくあるPermissionエラーです。
chown -R www:www /var/lib/nginx/
これで解決。
課題
SSL化
強制的にHTTPSアクセスさせる(≒Port80へのアクセスを443へ転送)
Let's Encrypt(https://free-ssl.jp/)
IPアドレスでのアクセスを拒否
ドメイン取得(.tokyoが安定して安い気がする)