はじめに
- Mac環境に Amplify CLI をインストールする機会があったので、その備忘録です。
動作環境
- macOS Catalina 10.15.7
shell
# Node.js:8.x以降
$ node -v
# → v12.20.1
shell
# npm:5.x以降
$ npm -v
# → 6.14.10
Amplify CLIのインストール
- 以下のコマンドで Amplify CLI をインストールします。
shell
$ npm install -g @aws-amplify/cli
- CLI上で操作するIAMユーザを作成します。以下のコマンドを実行します。
shell
$ amplify configure
- すると、AWSマネジメントコンソールへのログイン画面がブラウザで表示されるので、対象のアカウント、ユーザーでログインします。
ログインが完了したらターミナル上でEnterキーを押下します。
shell
Follow these steps to set up access to your AWS account:

Sign in to your AWS administrator account:
https://console.aws.amazon.com/
Press Enter to continue
- リージョンを指定します。
shell
pecify the AWS Region
? region:  ap-northeast-1
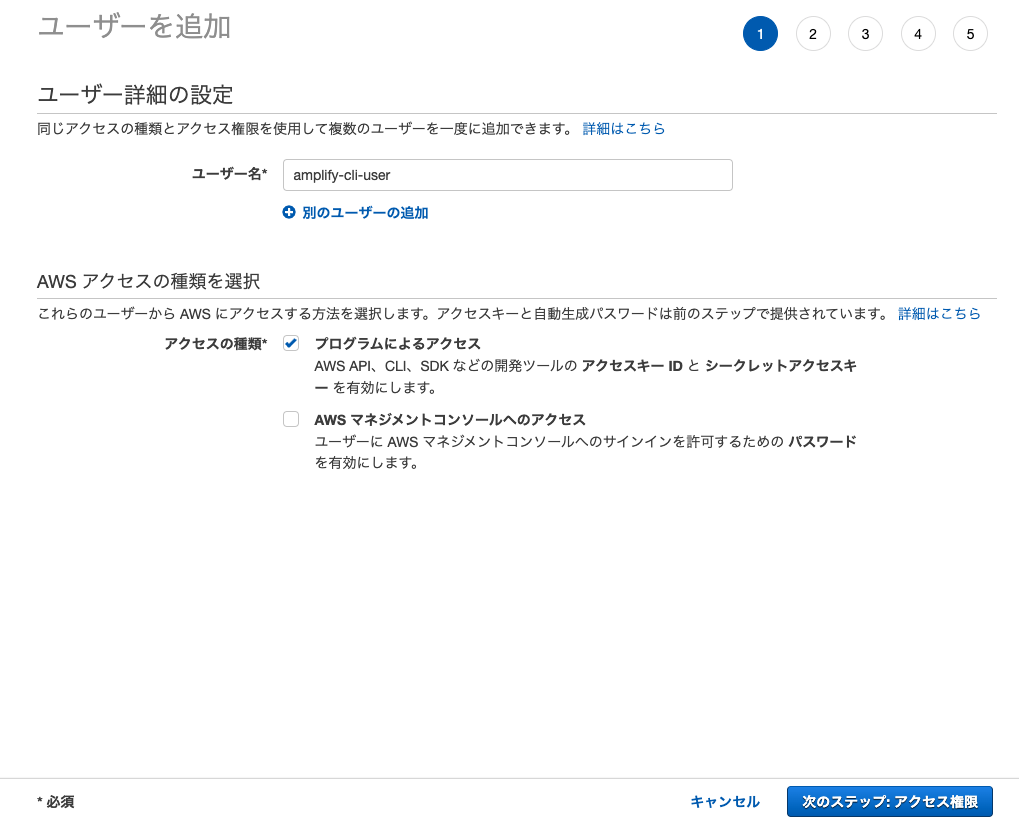
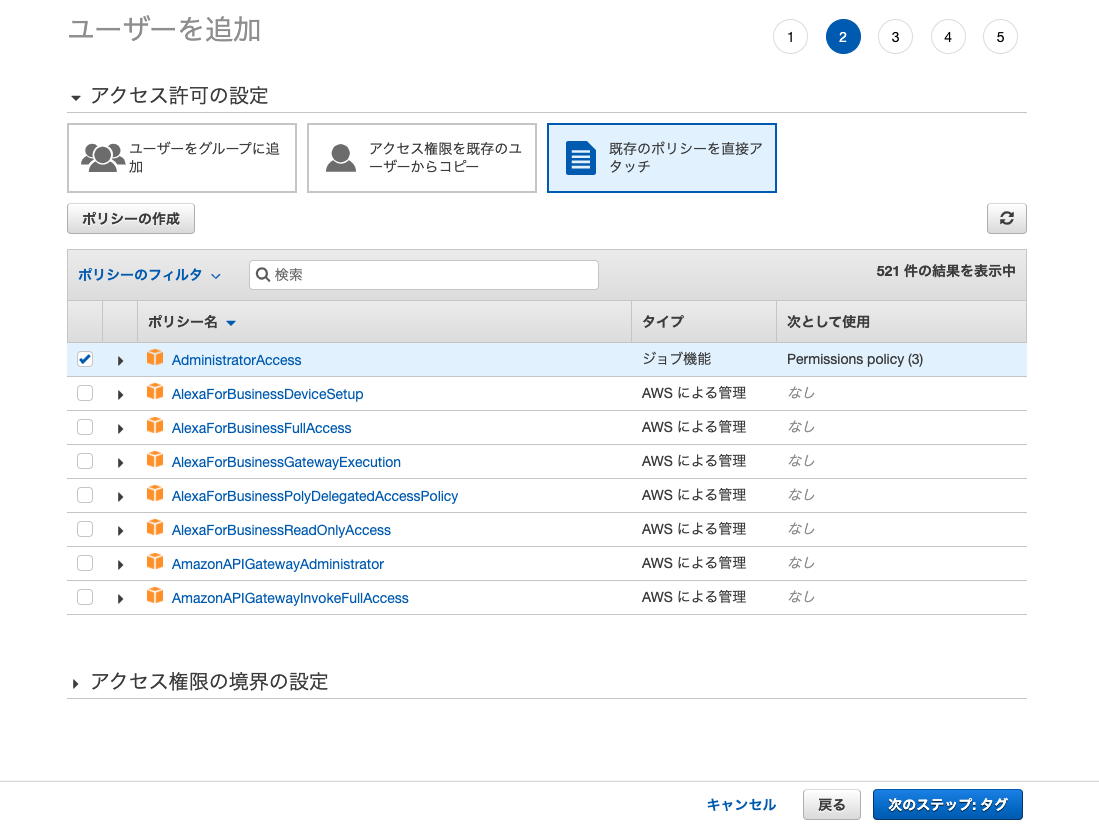
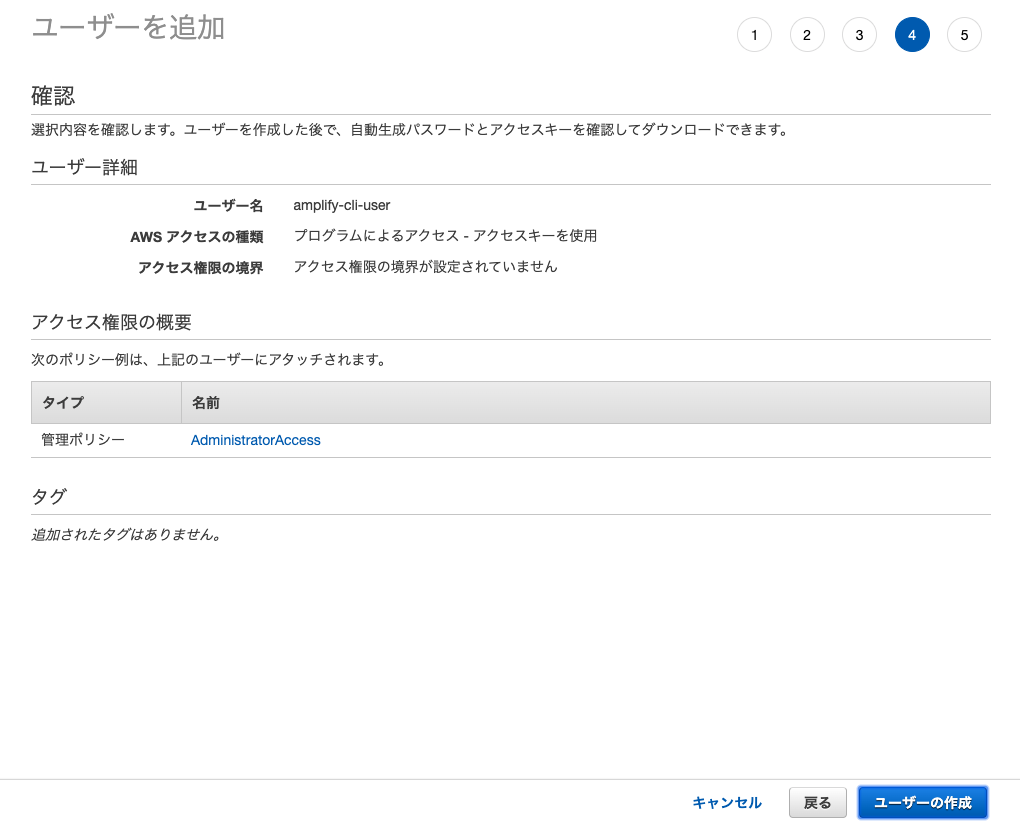
- IAMユーザ名を設定します。Enterキーを押すとブラウザでIAMユーザ作成画面が起動します。
shell
Specify the username of the new IAM user:
? user name:  amplify-cli-user
-
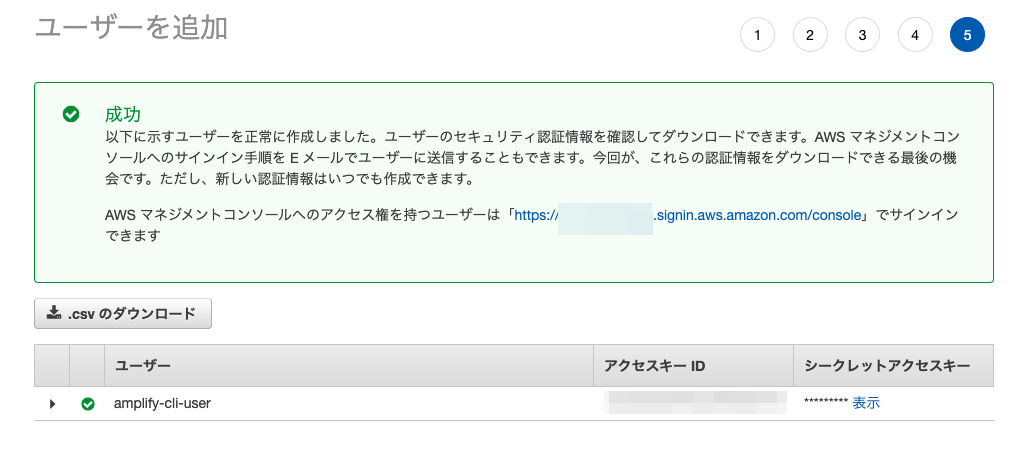
マネジメントコンソールに表示されていた
アクセスキーIDとシークレットアクセスキーを入力します。
shell
Enter the access key of the newly created user:
? accessKeyId:  *****************
? secretAccessKey:  **********************************
- 最後に、
.aws/configに保存するプロファイル名を指定します。 デフォルトはdefaultですが、上書きされたくなかったので、amplify-cli-userとします。
shell
? Profile Name:  amplify-cli-user
Successfully set up the new user.
-
.aws/configと.aws/credentialsに、IAMユーザ情報が追加されていることが確認できます。
.aws\config
[default]
region = ap-northeast-1
output = json

[profile amplify-cli-user]
region = ap-northeast-1
.aws\credentials
[default]
aws_access_key_id = xxxxxxxx
aws_secret_access_key = yyyyyyyy

[amplify-cli-user]
aws_access_key_id = zzzzzzzz
aws_secret_access_key = aaaaaaaa
amplify init に実行ユーザを指定
- プロジェクトの初期設定時に、作成したIAMユーザを指定して操作できるようにします。対象プロジェクトのルートフォルダで、初期設定コマンドを実行します。
shell
$ amplify init
- 実行するとプロジェクト名やエディタなどを聞かれるので、各種選択していきます。最後に、プロファイルを使用するかどうか聞かれるので、
Yを入力します。
shell
$ Do you want to use an AWS profile? (Y/n):y
- どのプロファイルを使用するか聞かれるので、今回作成したプロファイルを指定します。
shell
$ Please choose the profile you want to use:amplify-cli-user
- これで実行ユーザの設定が完了です。どのプロファイルのユーザで実行されているかは、プロジェクトフォルダ内の
amplify/.config/local-aws-info.jsonで確認できます。
amplify/.config/local-aws-info.json
{
    "EnvName": {
        "configLevel": "project",
        "useProfile": true,
        "profileName": "amplify-cli-user"
    }
 }
- プロジェクトに紐づくプロファイルを変更したい場合、
amplify/.config/local-aws-info.jsonの設定内容を削除した上で、amplify initを実行すると、再度プロファイルを使用するか聞かれるので、適宜変更できます。


