工場出荷時の状況に戻す
家のM5StickC Plus2は、UIFlow2用のファームウェアを焼いて使っていたので、工場出荷時の状態に戻します。
M5Bannerをダウンロードして使います。
StickC Plus2 ファームウェアの初期化方法です。
Arduino IDEのインストール
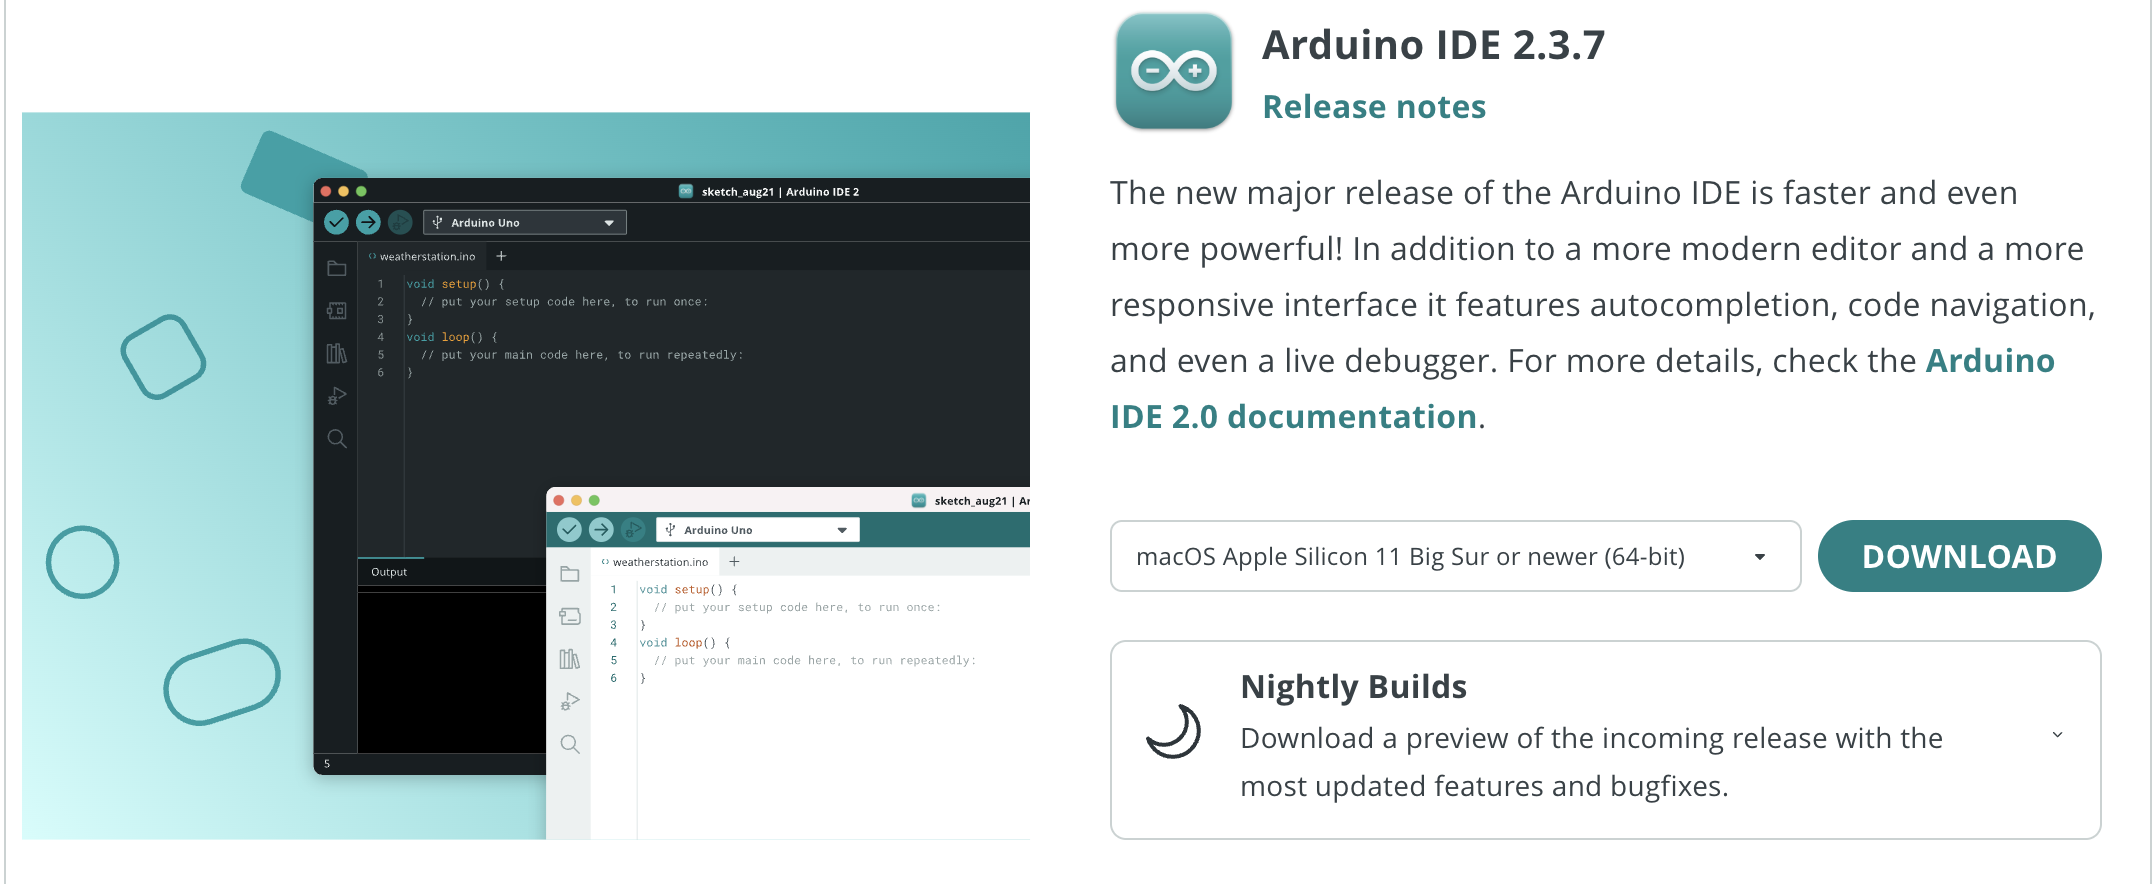
Arduino IDEのダウンロード
今回はM4 MacBookAirを使うので「macOS Apple Sillicon 11 Big Sur or newer(64-bit)」をダウンロードしました。
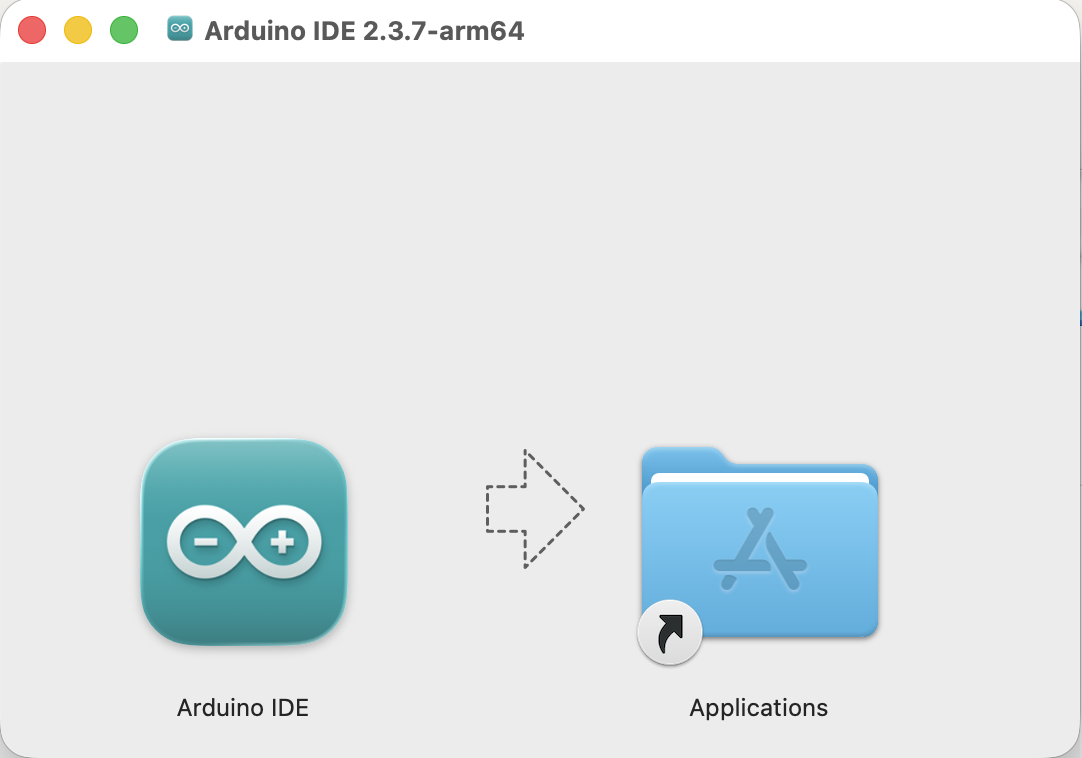
ダウンロードしたdmgファイルを起動して、Arduino IDEをアプリフォルダにコピーします。
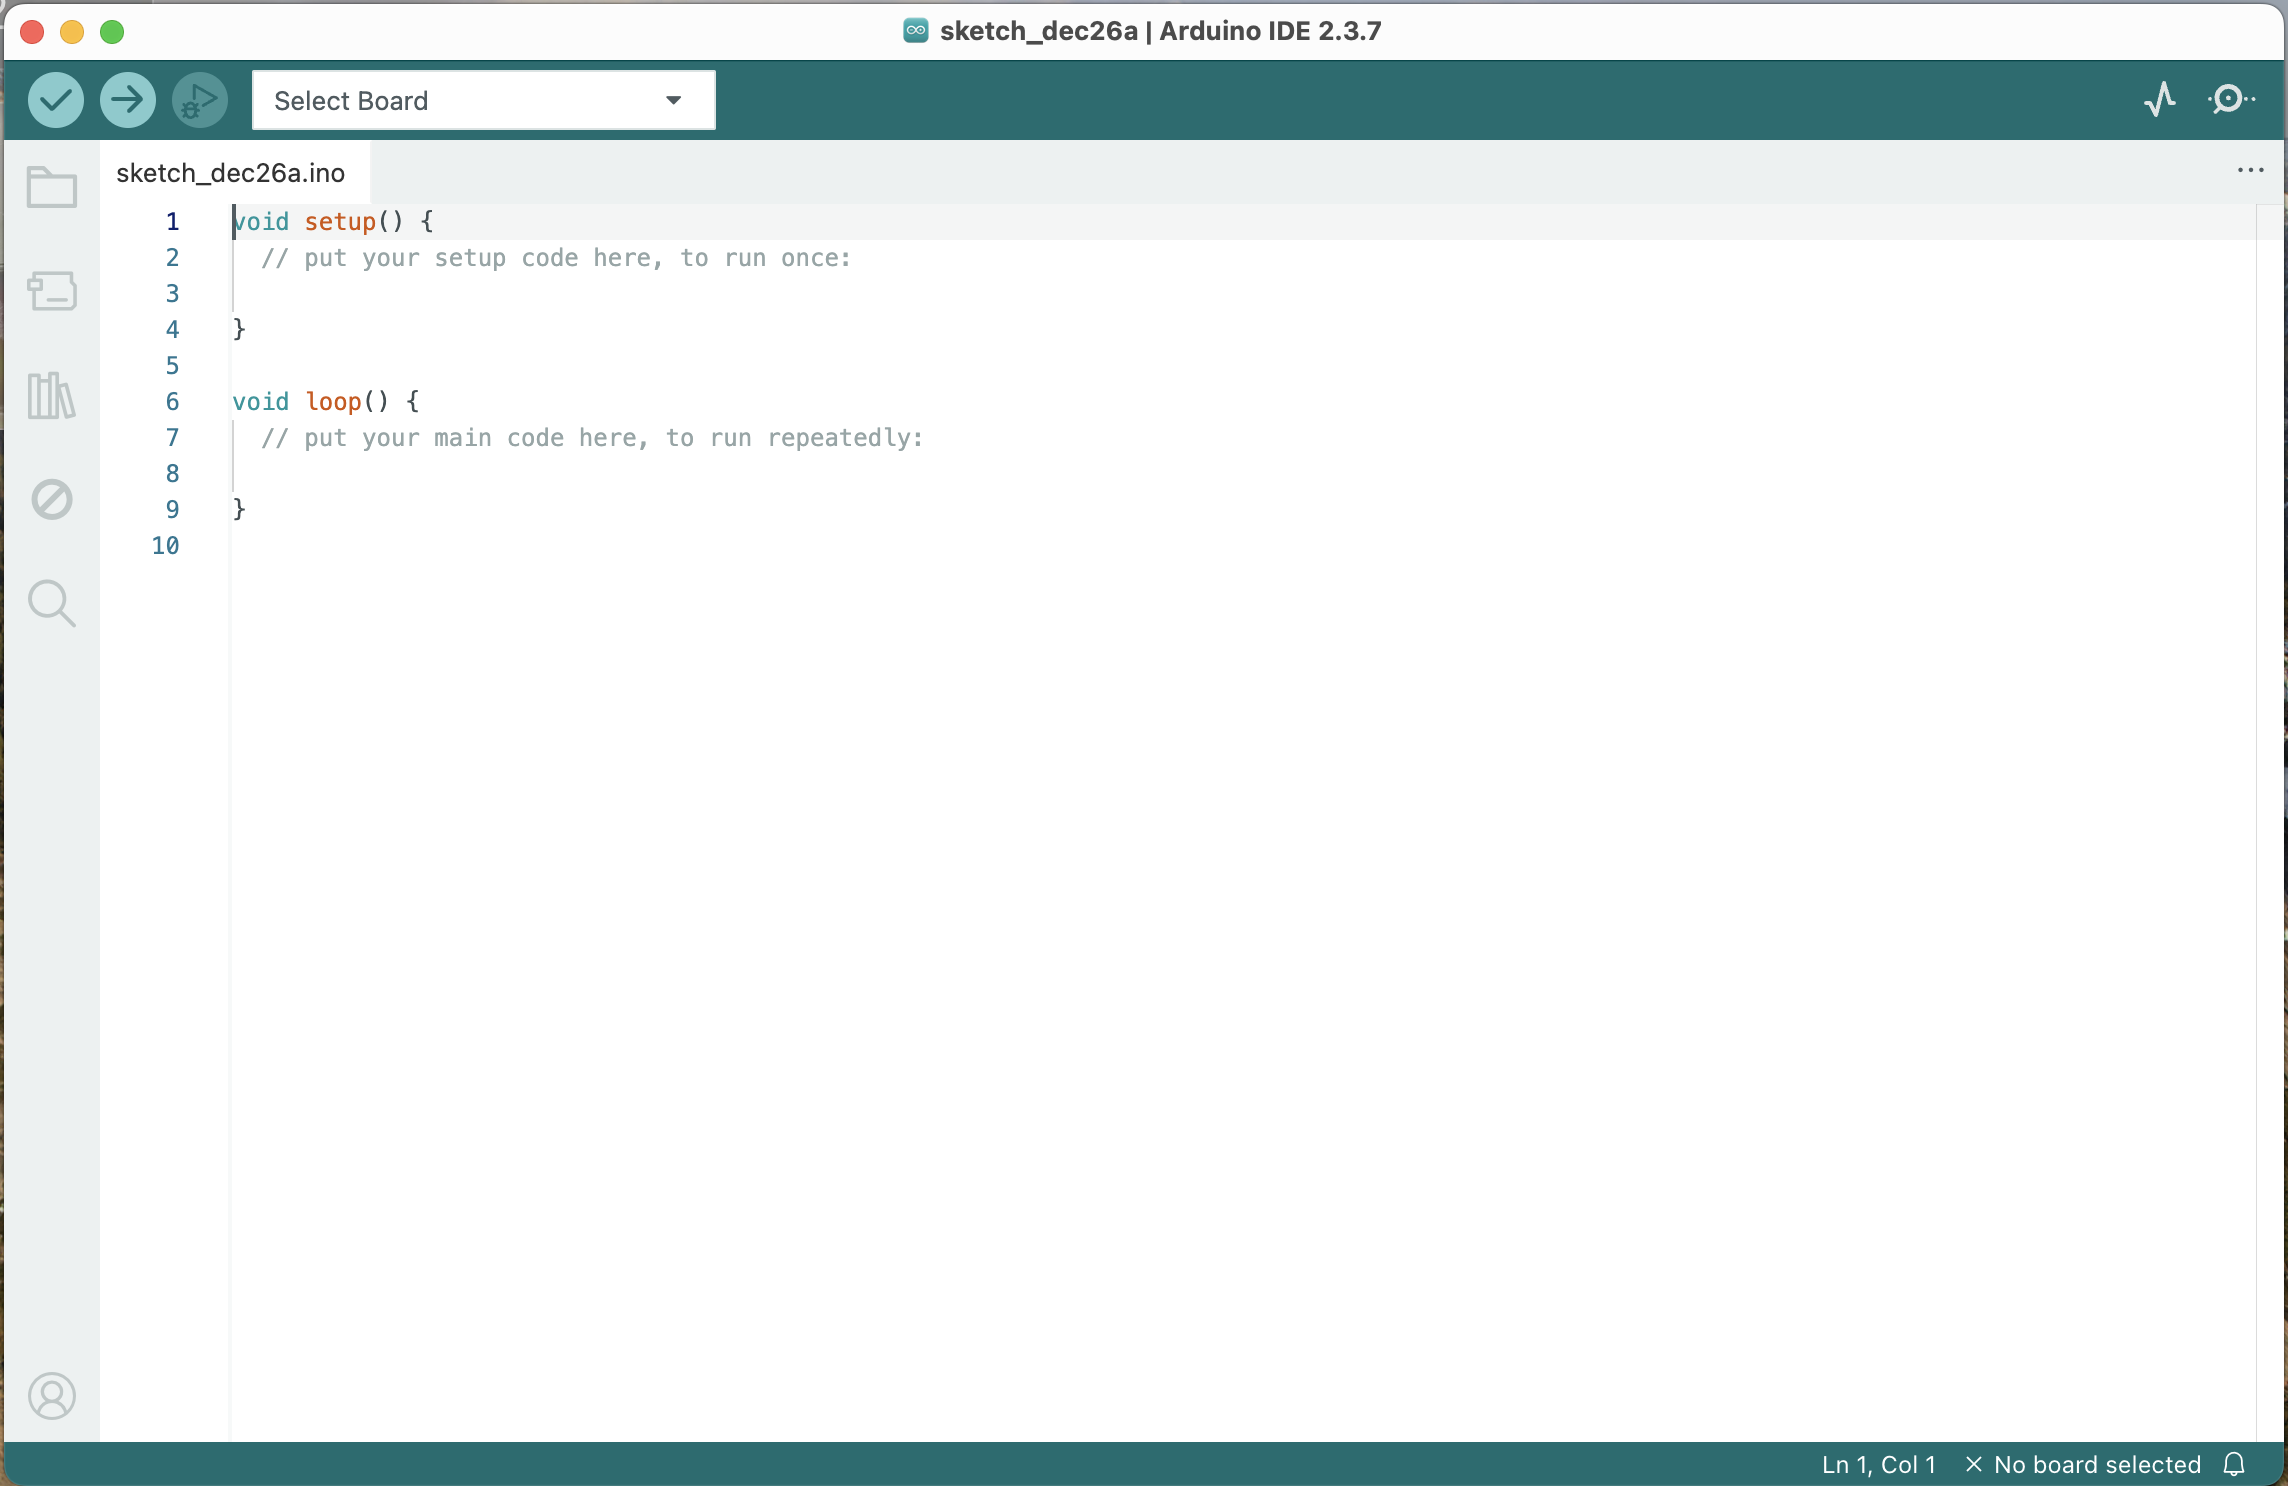
ダブルクリックで起動します。
英語で起動したら日本語に変更しておきます。僕は。
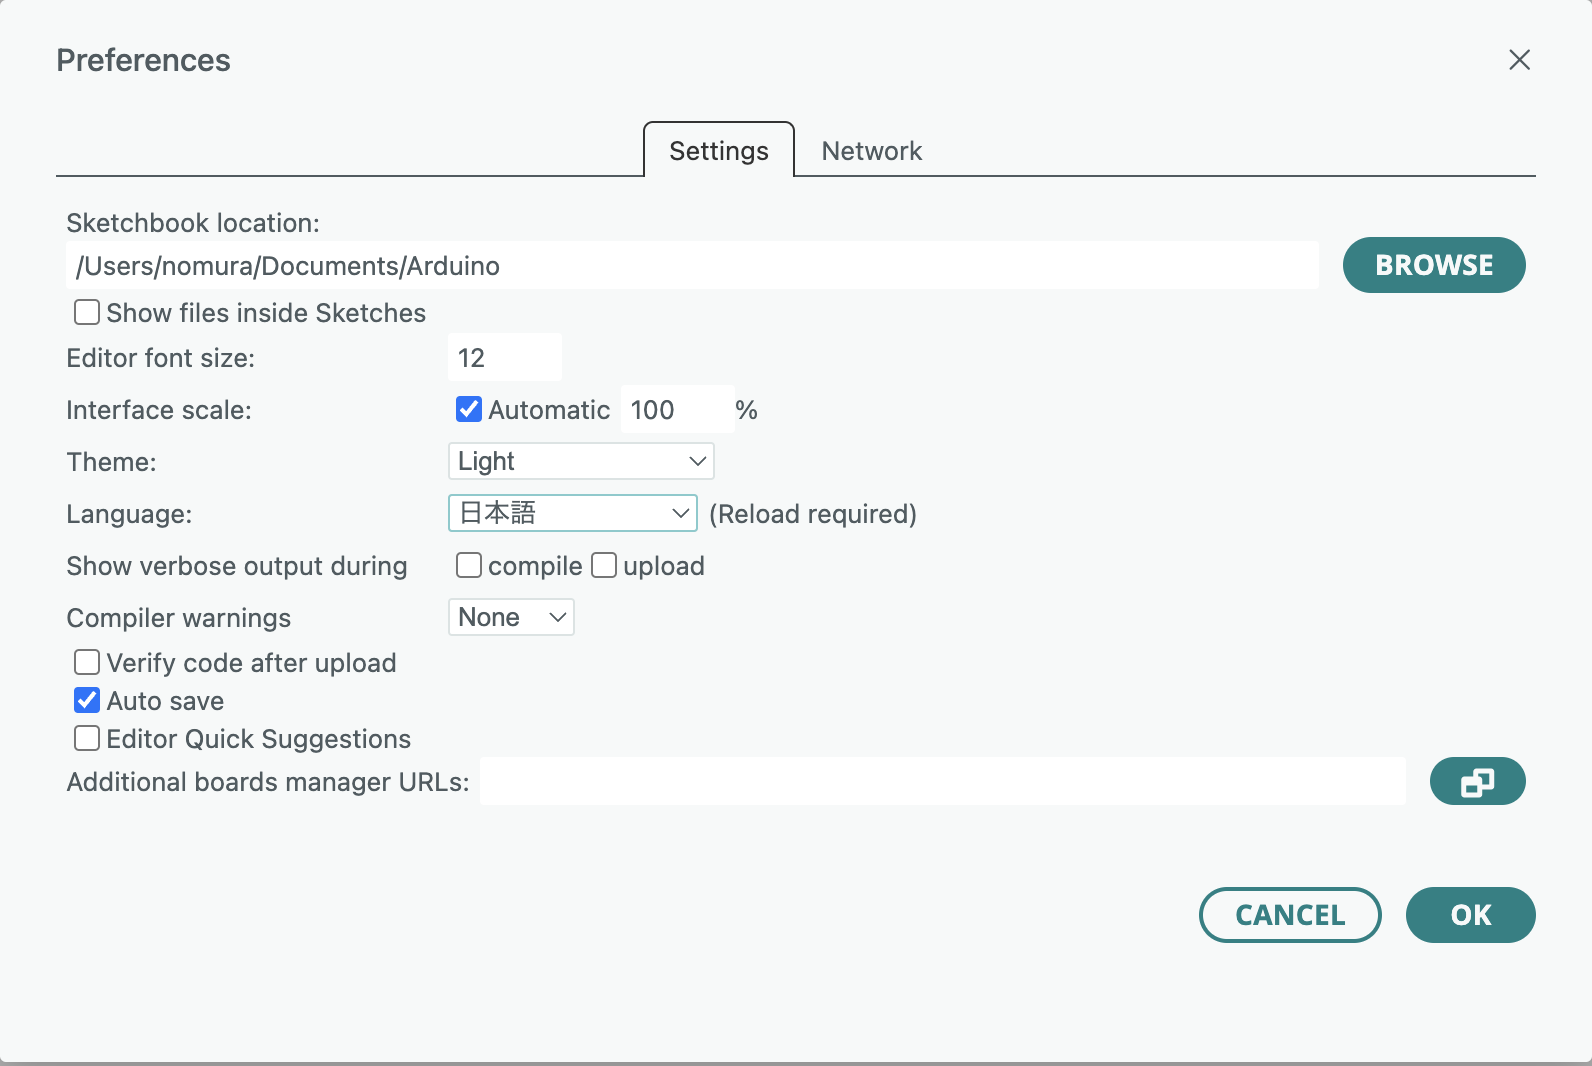
Arduino IDEの設定
メニューバーの[Arduino IDE]>[基本設定]を選択して基本設定のダイアログを開きます。
追加のボードマネージャのURLに以下のURLを貼ります。
https://espressif.github.io/arduino-esp32/package_esp32_index.json
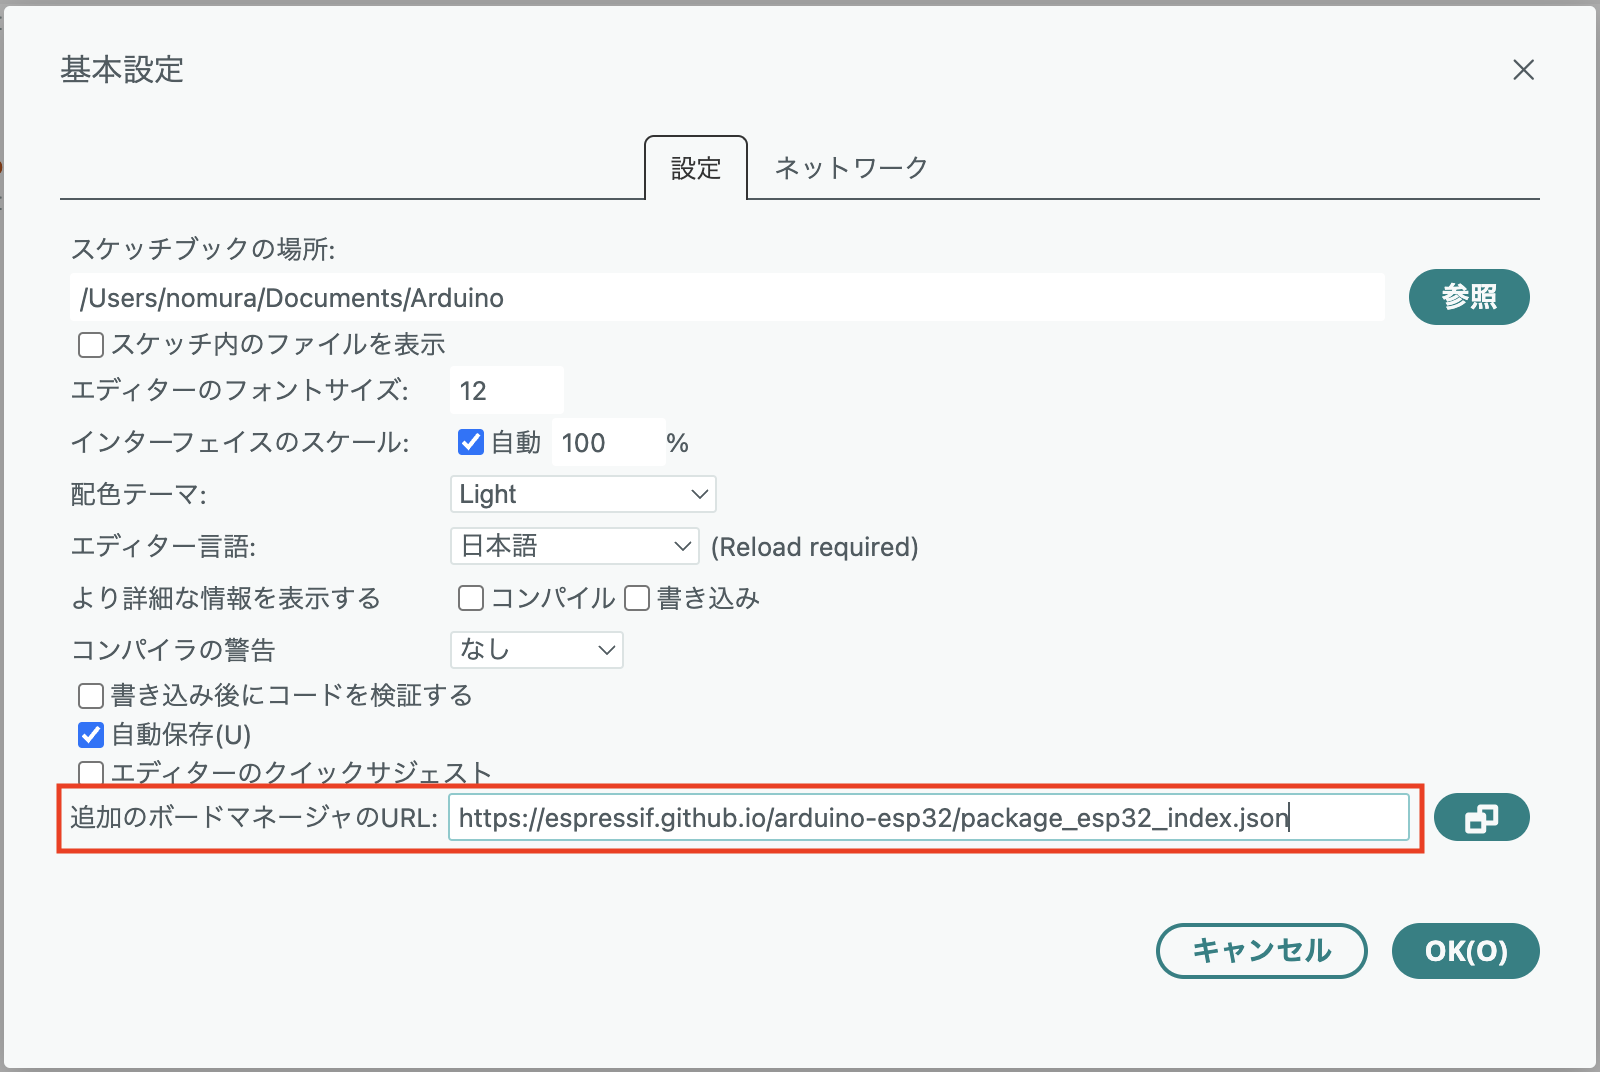
OKを押してダイアログを閉じます。
EPS32ボード定義のインストール
メニューバーの[ツール]>[ボード]>[ボードマネージャ]を選択します。
検索ボックスにESP32を入力します。
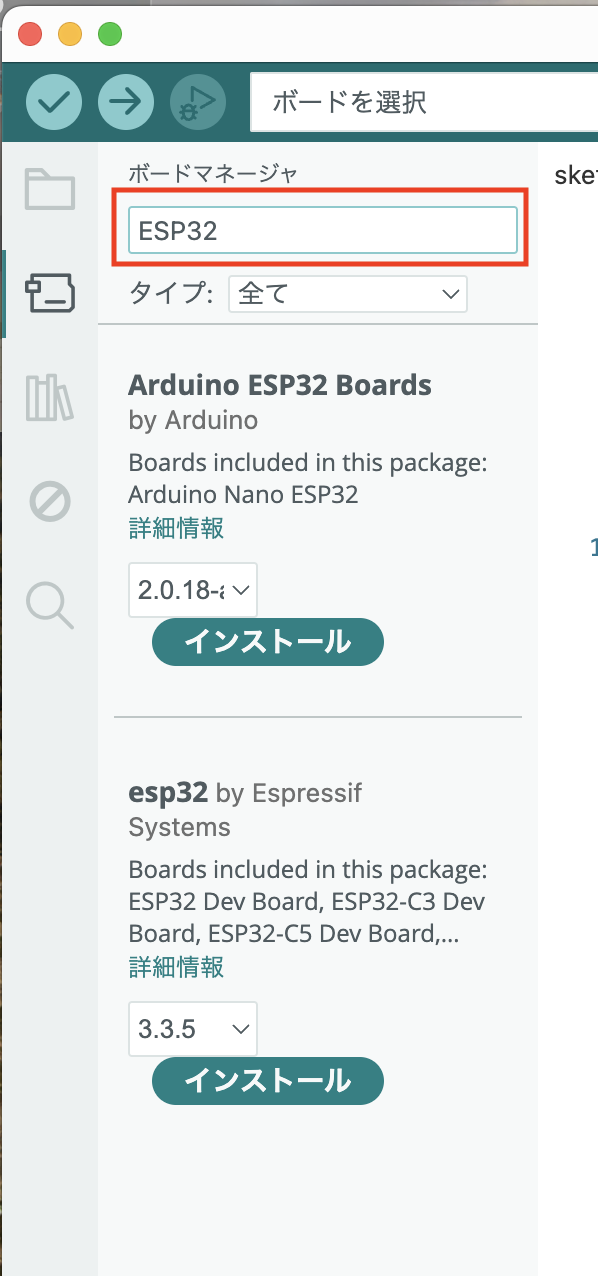
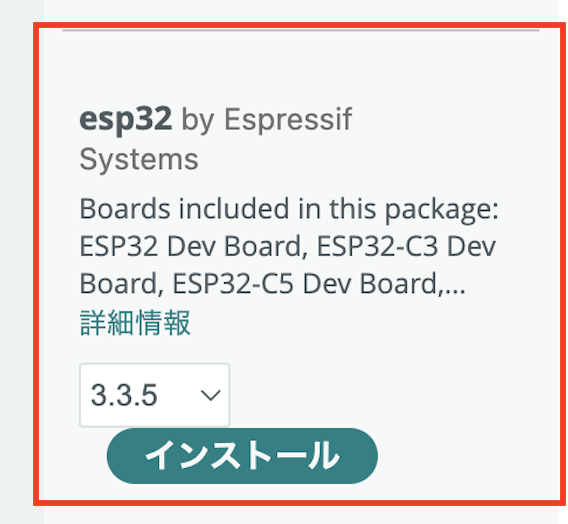
esp32 by Espressif System をインストールします。
ライブラリのインストール
メニューバーの[スケッチ]>[ライブラリをインクルード]>[ライブラリを管理]を選択します。
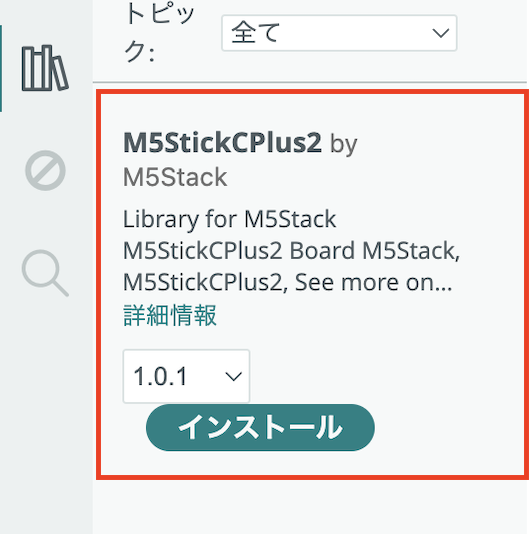
検索ボックスにM5StickCPlus2を入力します。
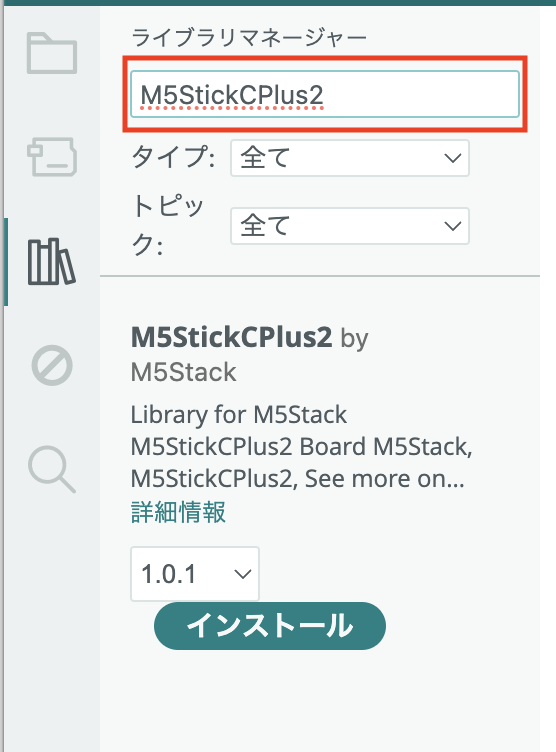
M5StickCPlus2 by M5Stackをインストールします。
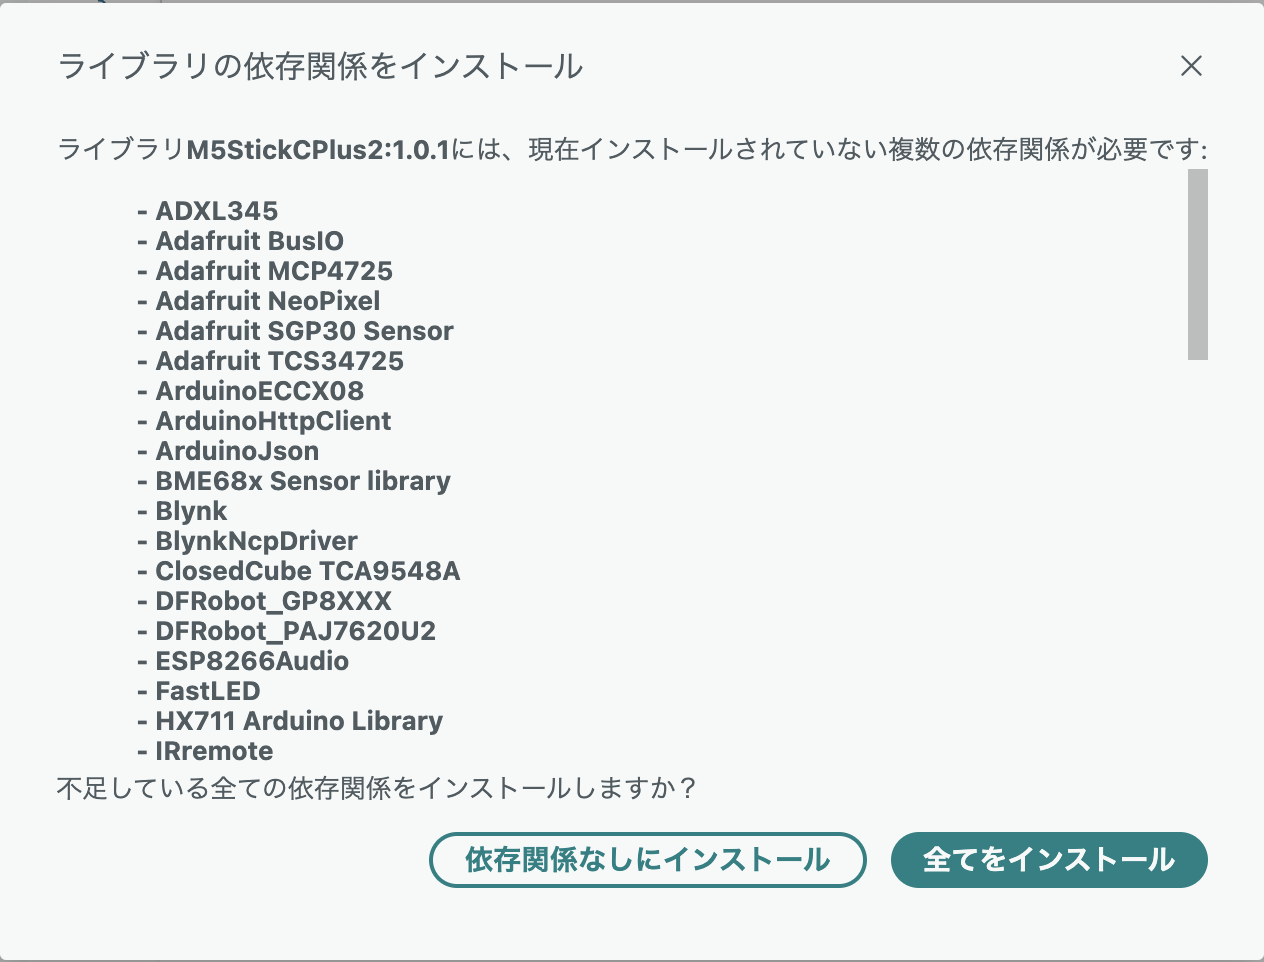
全てをインストールを選択します。
書き込み設定
MacとM5StickC Plus2をUSBケーブルで接続します。
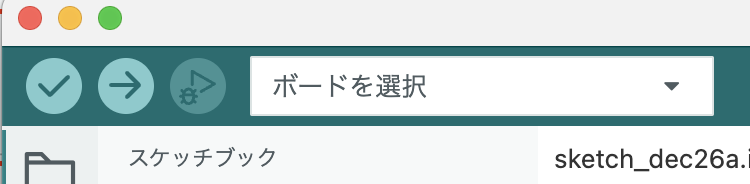
Arduino IDEの左上にあるボード選択のプルダウンメニューを開きます。
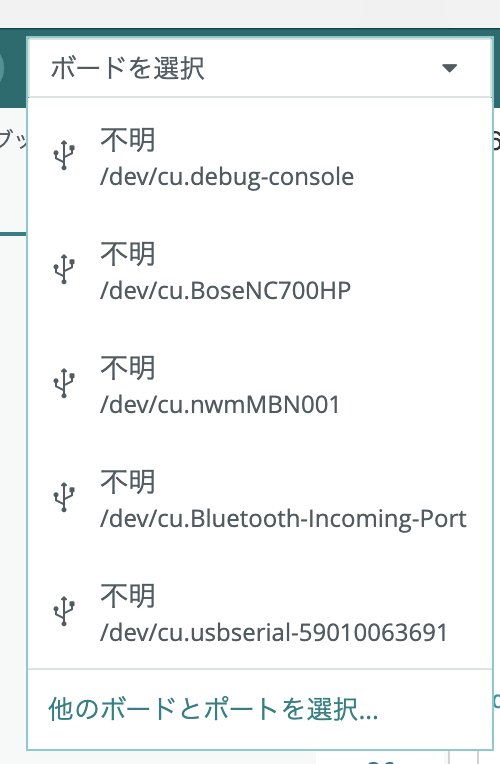
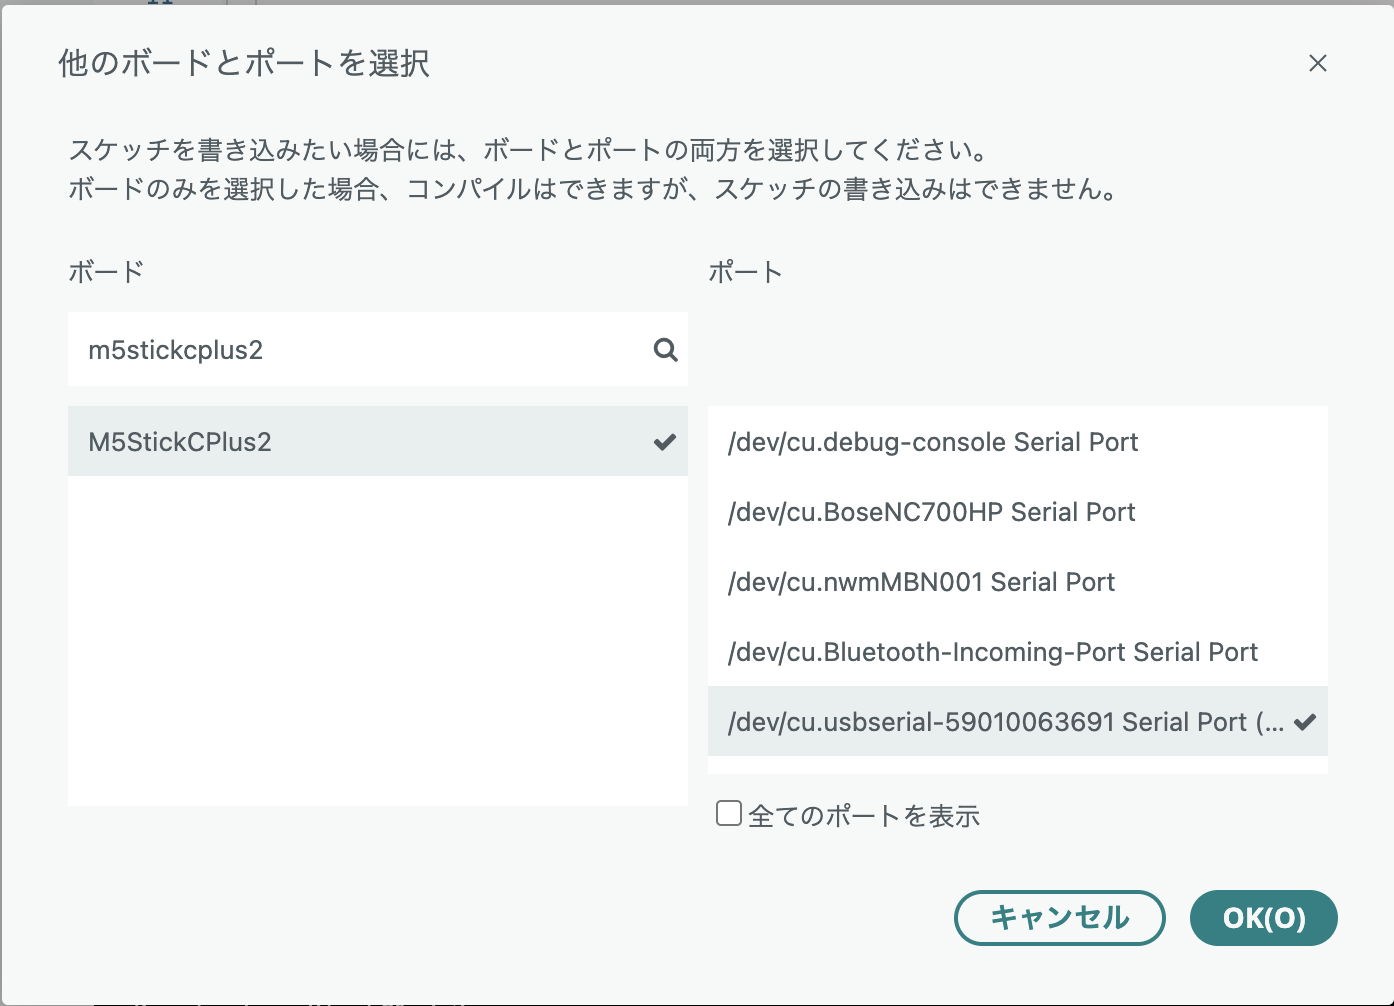
一番下の他のボードとポートを選択を選択します。
ボードは、検索バーでm5stickplus2と検索し、M5StickCPlus2を選択します。
ポートは、認識されているポートから**/dev/cu.usbserial-xxx...**を選択してOKを押します。
# 動作確認
Geminiに動作確認用のプログラムを作ってくださいとお願いすると、「Hello M5StickC Plus2!」を表示し、本体のLEDを点滅させるプログラムを作ってくれました(コメントなどもそのままです)。
Arduino IDE左上の **[→] (書き込みボタン) **をクリックすると、コンパイルと転送が始まり、画面に「Hello M5StickC Plus2!」と表示して本体のLEDが点滅しました。
#include <M5StickCPlus2.h>

void setup() {
    // 本体初期化
    auto cfg = M5.config();
    M5.begin(cfg);

    // 画面の向き設定 (0-3)
    M5.Lcd.setRotation(3);

    // 文字サイズと色の設定
    M5.Lcd.setTextSize(3);
    M5.Lcd.setTextColor(ORANGE);

    // 画面に文字を表示
    M5.Lcd.setCursor(10, 30);
    M5.Lcd.print("Hello\nM5StickC\nPlus2!");

    // LEDのピンモード設定(Plus2のLEDはGPIO 19)
    pinMode(19, OUTPUT);
}

void loop() {
    // LEDを点灯 (LOWで点灯のケースが多いですが、Plus2はHIGHの場合もあります。動作を見て確認してください)
    digitalWrite(19, HIGH);
    delay(500);

    // LEDを消灯
    digitalWrite(19, LOW);
    delay(500);
}
以上で、環境構築は終わりです。