概要
はじめての Amplify デプロイまで の続きです。
前回のプロジェクト作成時点で認証に Cognito を使うようにしたり、mock で必要な設定を docker に入れています。
Cognito によるユーザー認証と GraphQL との連携を実装します。
ユーザー認証機能の追加
yarn add aws-amplify aws-amplify-react
App.tsx を以下のように変更します。
アカウント作成時に電話番号を不要にするために withAuthenticator の signUpConfig に hiddenDefaults を追加しています。
import React from 'react';
import Amplify from '@aws-amplify/core';
import awsmobile from './aws-exports';
import { withAuthenticator } from 'aws-amplify-react';
import '@aws-amplify/ui/dist/style.css';

Amplify.configure(awsmobile)

const App: React.FC = () => {
  return (
    <>
      <h1>タイトル</h1>
    </>
  )
}

//@ts-ignore
export default withAuthenticator(App, {
  signUpConfig: {
    hiddenDefaults: ['phone_number']
  }
});
※ import '@aws-amplify/ui/dist/style.css'; がないと認証画面のスタイルがない状態になるので必要でした
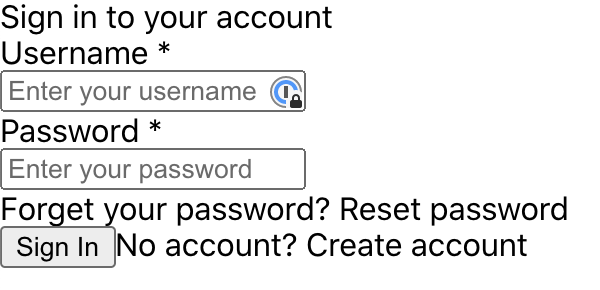
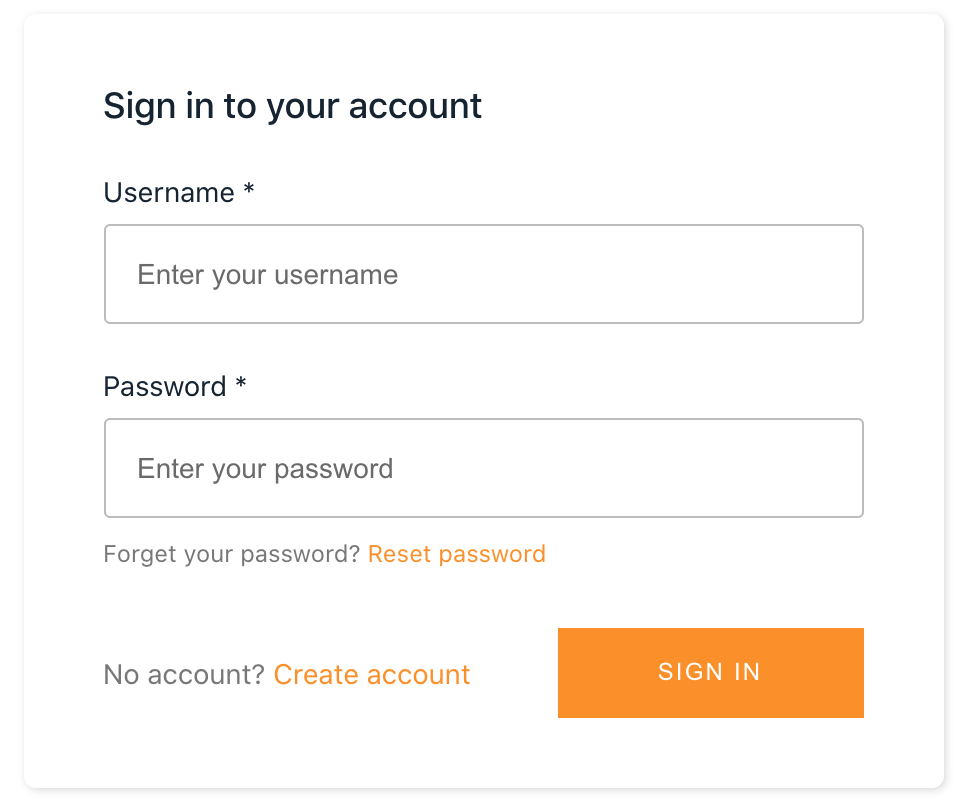
ログイン画面から Create account でアカウントを作成し、メールの認証をするとログインができます。
「タイトル」が表示されます。
GraphQL API の作成
まずは自動生成された schema.graphql の TODO モデルを試してみます。
type Todo @model {
  id: ID!
  name: String!
  description: String
}
mock を利用することでローカルで検証ができます。
$ amplify mock api
http://localhost:20002 にアクセスすると以下のように表示されていると思います。

TODO の作成
以下のように createTodo を実行しました。

react と GraphQL の連携
作成したデータを画面に表示してみます。
今回は docker でやっているので aws-exports.js の aws_appsync_graphqlEndpoint を
以下のように localhost に書き換えが必要です(ローカル開発中だけ)
"aws_appsync_graphqlEndpoint": "http://localhost:20002/graphql",
App.tsx を以下のように変更します。
Todo に保存したデータの1つを表示します。
import React, {useState} from 'react'
import Amplify from '@aws-amplify/core'
import awsmobile from './aws-exports'
import {withAuthenticator} from 'aws-amplify-react'
import '@aws-amplify/ui/dist/style.css'
import {listTodos} from './graphql/queries'
import API, {graphqlOperation} from '@aws-amplify/api'
import { Auth } from 'aws-amplify';

Amplify.configure(awsmobile)

const App: React.FC = () => {
  const [todos, setTodos] = useState<any>({})

  const getTodo = async() => {
    try {
      const res: any = await API.graphql(graphqlOperation(listTodos))
      console.log(res)
      setTodos(res.data.listTodos.items)
    } catch (e) {
      console.log(e)
    }
  }

  const ShowTodo = () => {
    if (todos.length > 0) {
      const todo = todos[0]
      return (
        <>
          <p>{ todo.id }</p>
          <p>{ todo.name }</p>
          <p>{ todo.description }</p>
          <p>{ todo.createdAt }</p>
          <p>{ todo.updatedAt }</p>
        </>
      )
    }
    return (
      <></>
    )
  }

  return (
    <>
      <h1>Todos</h1>
      <button onClick={() => getTodo()}>get todos!</button>
      <div>
        <ShowTodo/>
      </div>
    </>
  )
}
...
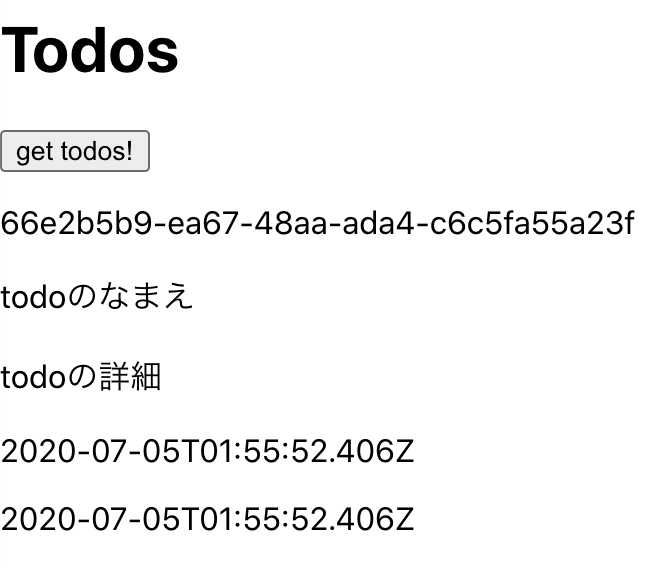
get todos! ボタンを押すと下に取得したデータが表示されます。
cognito group による制御
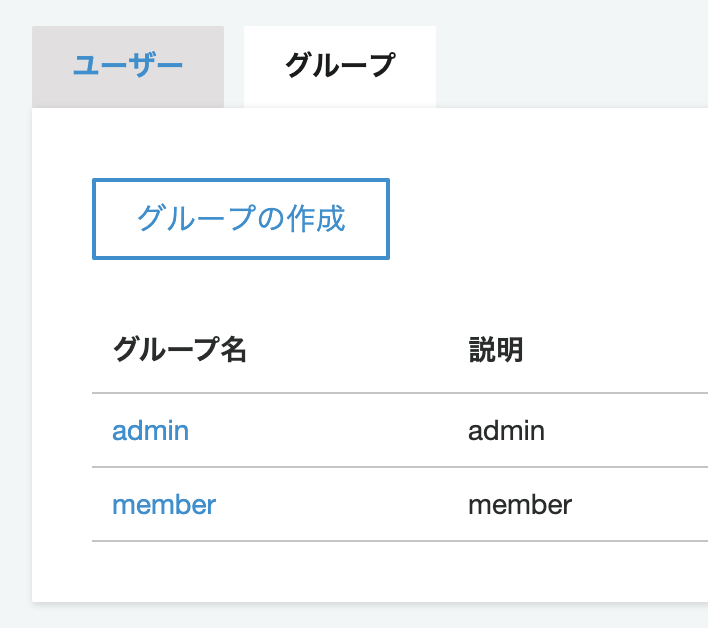
AWS コンソールの Cognito で、グループを作成し、最初のユーザー認証で作成したアカウントに member グループを割り当てます。
schema.graphql を以下のように変更します。
type Todo
  @model
  @auth(rules: [
    { allow: owner },
    { allow: groups, groups: ["admin"], operations: [read, update] }
  ])
{
    id: ID!
    name: String!
    description: String
}
これにより、member 権限のアカウントは Todo に対してなにもできなくなります。
一度ログアウトするために App.tsx を以下のように変更します。
import React, {useState} from 'react'
import Amplify from '@aws-amplify/core'
import awsmobile from './aws-exports'
import {withAuthenticator} from 'aws-amplify-react'
import '@aws-amplify/ui/dist/style.css'
import {listTodos} from './graphql/queries'
import API, {graphqlOperation} from '@aws-amplify/api'
import { Auth } from 'aws-amplify';

Amplify.configure(awsmobile)

const App: React.FC = () => {
  const [todos, setTodos] = useState<any>({})

  const signOut = () => {
    Auth.signOut()
  }

  const getTodo = async() => {
    try {
      const res: any = await API.graphql(graphqlOperation(listTodos))
      console.log(res)
      setTodos(res.data.listTodos.items)
    } catch (e) {
      console.log(e)
    }
  }

  const ShowTodo = () => {
    if (todos.length > 0) {
      const todo = todos[0]
      return (
        <>
          <p>{ todo.id }</p>
          <p>{ todo.name }</p>
          <p>{ todo.description }</p>
          <p>{ todo.createdAt }</p>
          <p>{ todo.updatedAt }</p>
        </>
      )
    }
    return (
      <></>
    )
  }

  return (
    <>
      <button onClick={ () => signOut() }>ログアウト</button>
      <h1>Todos</h1>
      <button onClick={() => getTodo()}>get todos!</button>
      <div>
        <ShowTodo/>
      </div>
    </>
  )
}
...
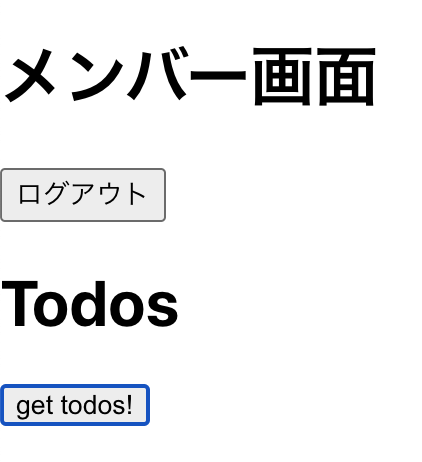
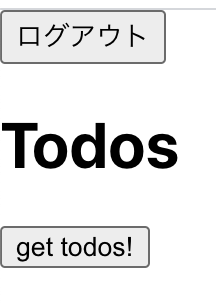
以下のような画面になります。
一度ログアウトをすると、ログイン画面に遷移するので再度ログインします。
get todos! ボタンを押しても表示は変わらず、データが0件であることがわかります。
例えば、ここで schema.graphql の groups を admin から member に変更すると、データが取得できることを確認できます。
また、画面表示をグループごとに分けたいので、App.tsx に以下を追加しました。
初回でログインユーザーのグループ情報を取得し、その情報をもとに表示を出し分けました。
useEffect で初回のみユーザー情報を取得します(第2引数に [] を入れないと無限ループします)
  const [group, updateGroup] = useState<any>({})

  const getUser = async() => {
    const user =  await Auth.currentAuthenticatedUser();
    updateGroup(user.signInUserSession.accessToken.payload["cognito:groups"])
    console.log(user.signInUserSession.accessToken.payload["cognito:groups"])
  }

  useEffect(() => {
    getUser()
  }, [])

  return (
    <>
      {
        group === 'admin' ? (
          <h1>管理者画面</h1>
        ) : (
          <h1>メンバー画面</h1>
        )
      }
      <button onClick={ () => signOut() }>ログアウト</button>
      <h1>Todos</h1>
      <button onClick={() => getTodo()}>get todos!</button>
      <div>
        <ShowTodo/>
      </div>
    </>
  )
