できたもの
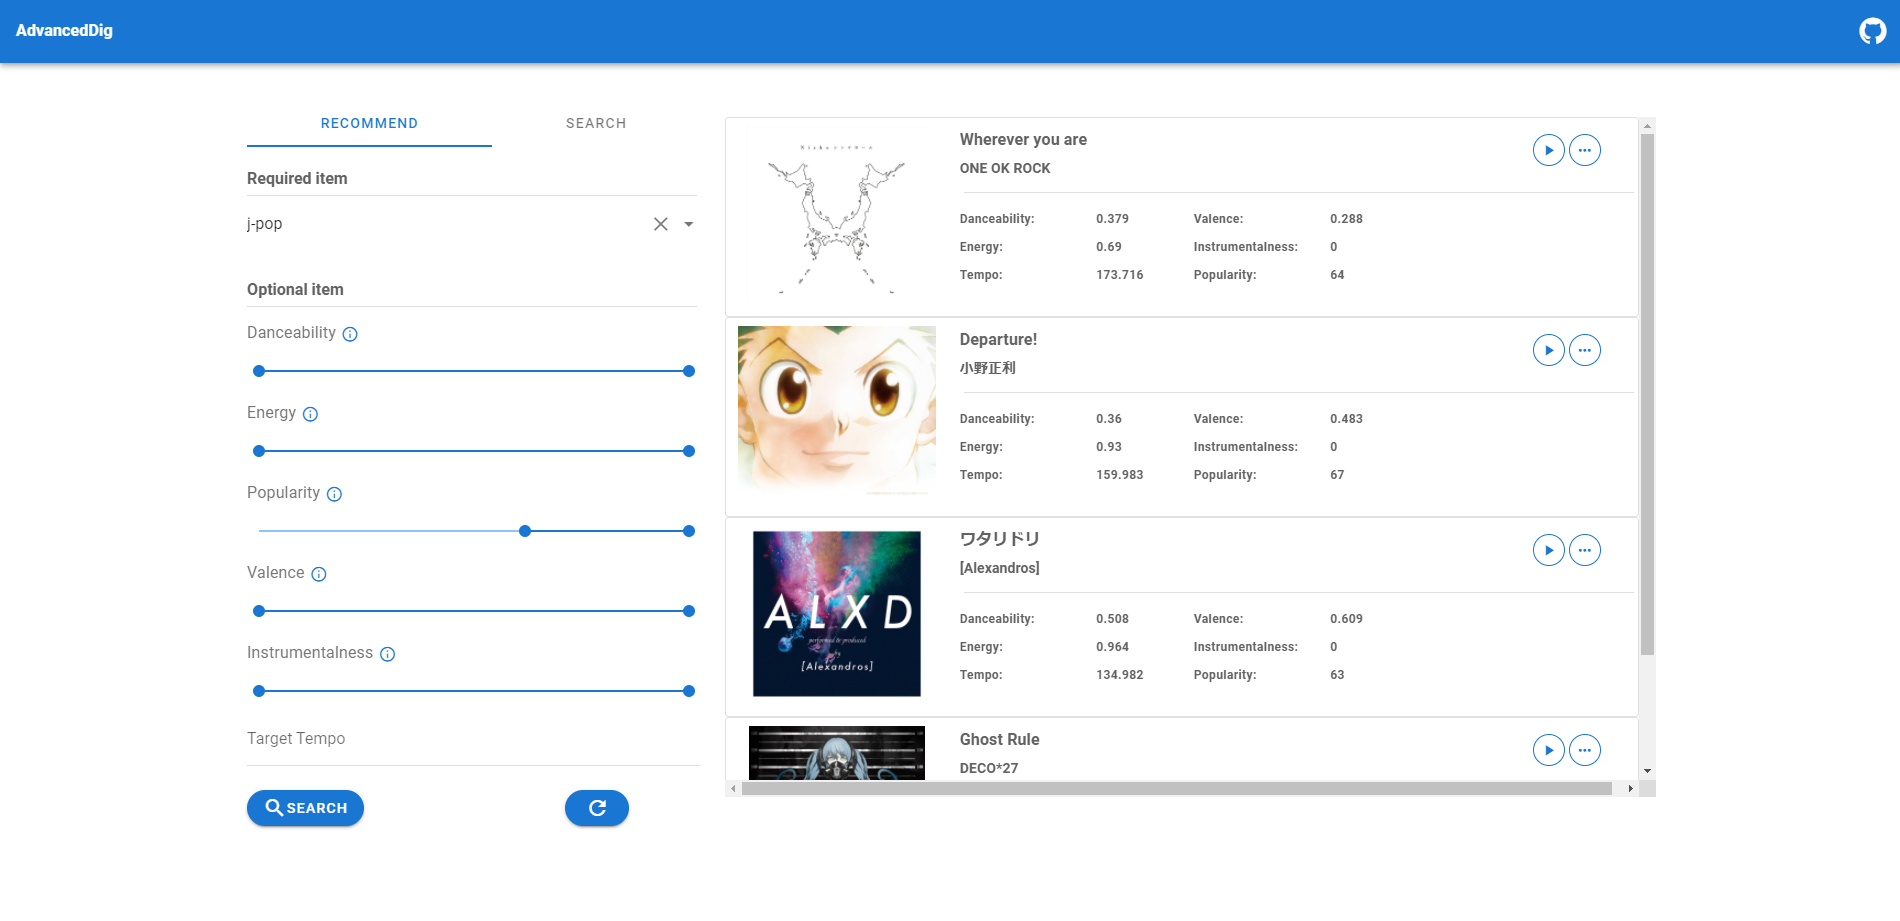
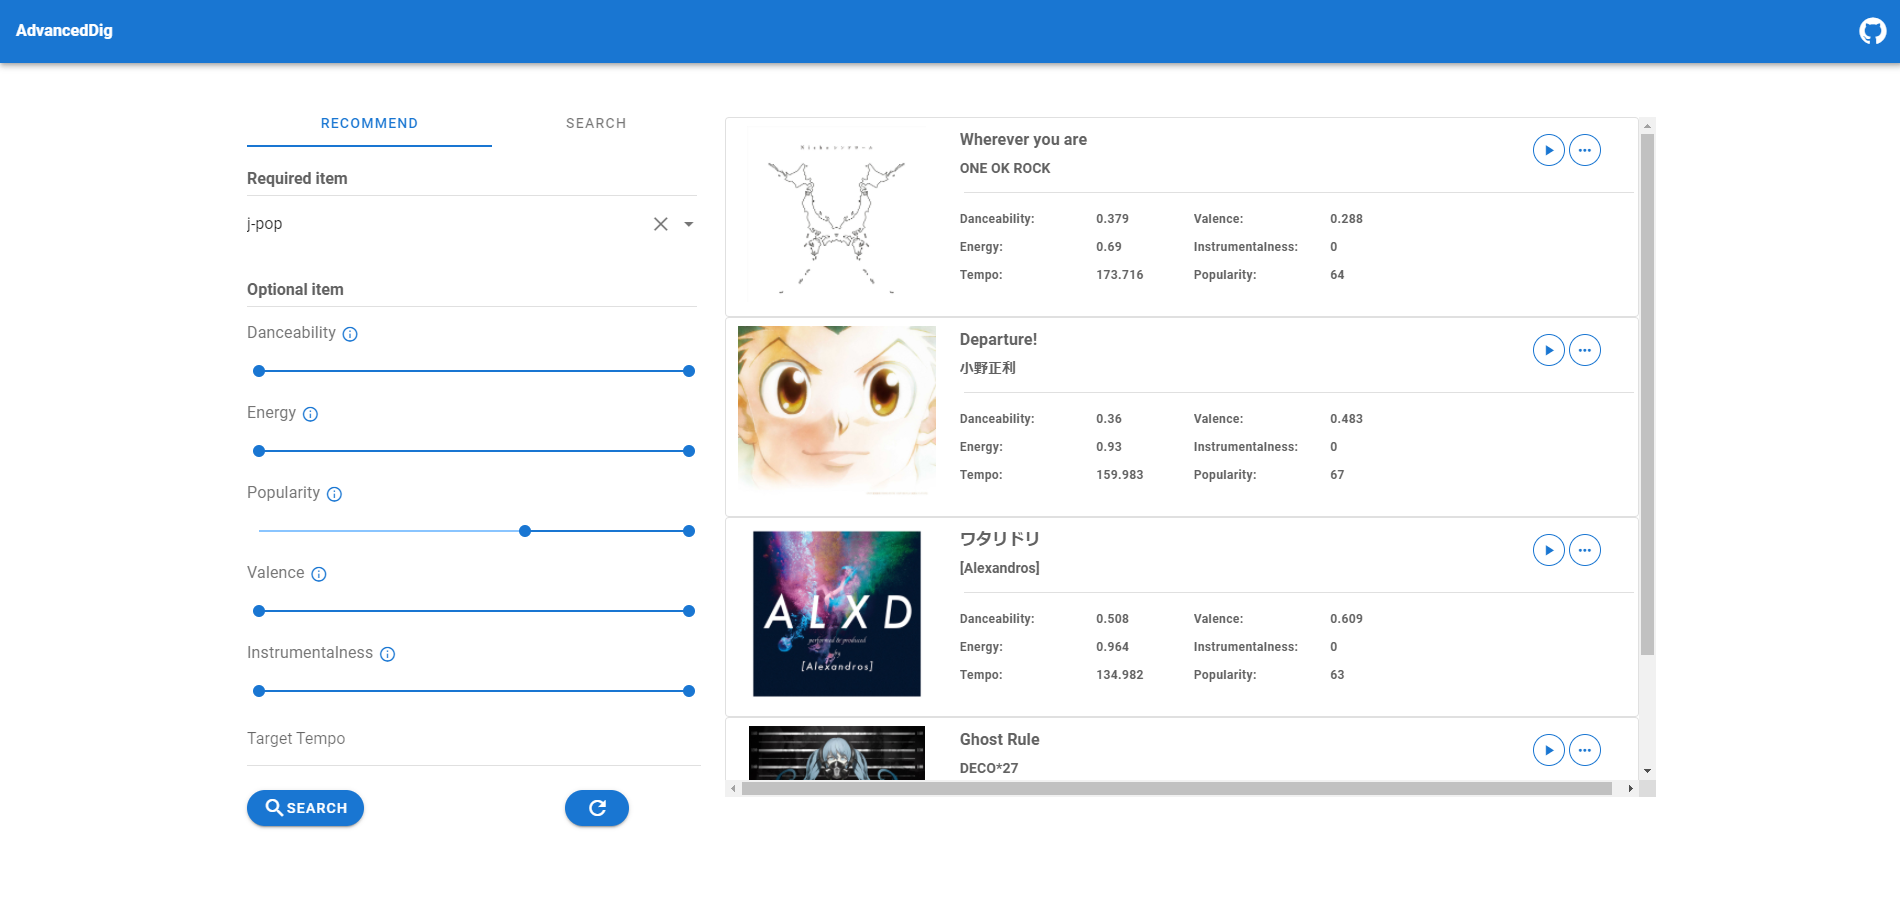
SpotifyAdvanecdDigができました。
SpotifyAPIがため込んでいる楽曲の分析データから、楽曲の絞り込みを行うことができます。
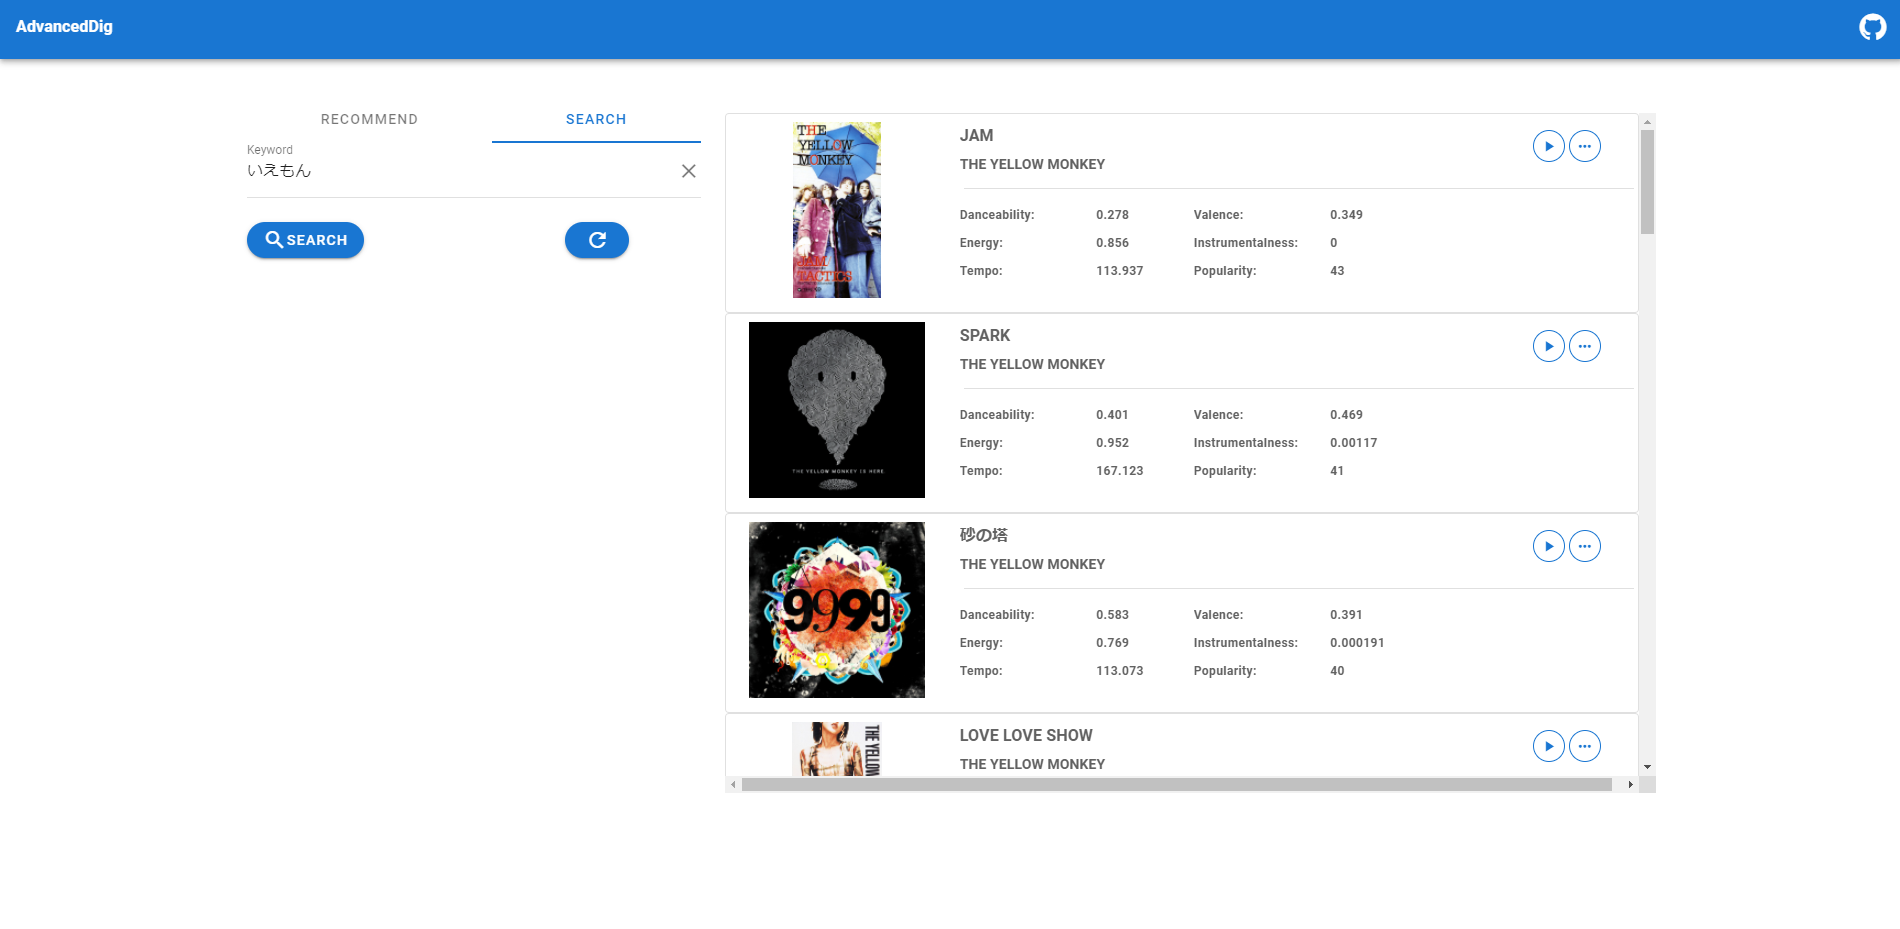
また、自分の好きな音楽を検索し、Spotifyの分析データを閲覧することも可能です。
なんで作った
SpotifyAPIから得られる楽曲データをのぞいてみたところ、Danceability(踊れる曲か)や、Popularity(有名な曲か)など、普段はアクセスできないデータを持っていることがわかりました。
楽曲データが持つ値を指定して楽曲を絞り込むエンドポイントが用意されていたので、GUIで操作できるようにすると新しいDigりかたができそうだったので製作しました。
すべての楽曲に適切なジャンルの割り当てがされているわけではないため、ある程度偏った検索が行われますが、特定のジャンルで一番有名な曲を探してみたり、聞いたこともないジャンルで検索してみると面白いです。
環境
- 言語: TypeScript
- フレームワーク: Nuxt.js
- CSSフレームワーク: Vuetify
- デプロイ先: Heroku
TypeScriptを選んだ理由は型がついていてほしいからと、nuxt-property-decoratorを使って開発したかったからです。
デプロイ先にHerokuを選んだ理由は後述します。
SpotifyAPI
SpotifyAPIにアクセスするためには、アプリ側で以下3つのStepを踏み、トークンを取得する必要があります。(Oath2認証)
- ClientidとRedirectUrlをクエリに含めログイン画面へ遷移させる
- RedirectUrlでSpotifyAPIからトークンと引き換えるためのCodeを受け取る
- Codeと暗号化したClientId,ClientSecretをSpotifyAPIへ送り、トークンと引き換える
詳しい流れは、SpotifyAPIのドキュメントに記載されています。
Spotifyが公開しているサンプルコードも非常に参考になりました。
ClientidとRedirectUrlをクエリに含めログイン画面へ遷移させる
async asyncData(context: Context): Promise<{
    userProfile: UserProfile
    authUrl: string
  }> {
    const { $config } = context
    const url = new URL('https://accounts.spotify.com/authorize')
    const scopes: string[] = [
      'streaming',
      'user-read-email',
      'user-read-private',
      'user-modify-playback-state',
    ]
    url.searchParams.set('response_type', 'code')
    url.searchParams.set('scope', scopes.join(' '))
    url.searchParams.set('redirect_uri', $config.redirectUri)
    url.searchParams.set('client_id', $config.clientId)
    url.searchParams.set('state', 'state')
    return {
      authUrl: url.href,
    }
  }
ページが表示される前に、環境変数から読み取った値をクエリにセットしたURLを生成して、ログインボタンのhrefに設定しています。
scopesを用い、ユーザーに要求するアクセス権限を設定します。
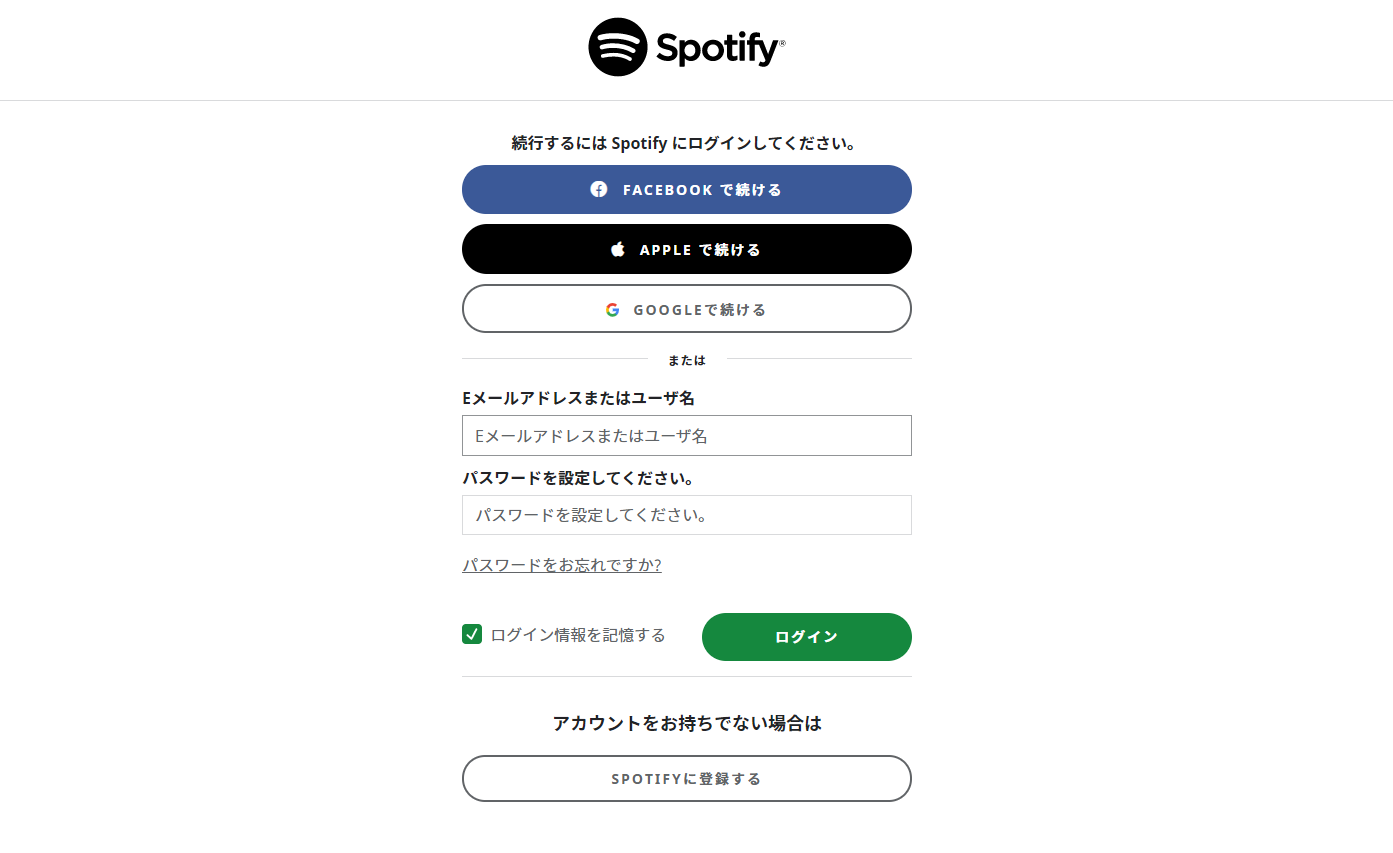
ログインボタンをクリックすると、Spotify側が用意しているログインページに飛びます。
RedirectUrlでSpotifyAPIからトークンと引き換えるためのCodeを受け取る
  async fetch(context: Context): Promise<void> {
    const { $config, query, error } = context
    const isString = (arg: string | (string | null)[]): arg is string =>
      typeof arg === 'string'
    const postParams = new URLSearchParams()
    postParams.set('grant_type', 'authorization_code')
    postParams.set('code', isString(query.code) ? query.code : '')
    postParams.set('redirect_uri', $config.redirectUri)
    await axios
      .post('https://accounts.spotify.com/api/token', postParams, {
        headers: {
          Authorization:
            'Basic ' +
            Buffer.from($config.clientId + ':' + $config.clientSecret).toString(
              'base64'
            ),
        },
      })
      .then((res) => {
        userInfoStore.setToken(res.data.access_token)
        userInfoStore.setRefreshToken(res.data.refresh_token)
        userInfoStore.setLoginStatus(true)
      })
      .catch((err) => {
        error({ statusCode: 404 })
      })
  }
ユーザーがSpotifyの画面でログインを行うと、クエリに設定していたRedirectUrlに遷移します。
遷移先では、クエリからcodeを受け取ることができ、codeと暗号化したアプリの情報を送ることで、APIアクセス
に必要なトークンと引き換えることができます。
AdvancedDigではExpressのようなミドルウェアは使用せず、NuxtのPagesにリダイレクトを受け取るための何も描画しないページを用意しています。
Nuxtライフサイクル上のfetchを用い、トークンの引き換えを行った後、アプリのページへ自動的に遷移します。
Codeと暗号化したClientId,ClientSecretをSpotifyAPIへ送り、トークンと引き換える
codeを受け取った後は、codeとトークンの引き換えを行います。
トークンの引き換えるため、ClientIDとClientSecretを:で連結したものをBase64によるエンコードを行い、codeとともにAPIへ伝えなければなりません。
codeはクエリに設定し、暗号化したアプリ情報はヘッダーに含め、axiosのPostメソッドでAPIへアクセスしています。
ここまでのステップを踏むことで、APIアクセスに必要なトークンを得ることができます。
検索機能
絞り込み検索
検索は、SpotifyAPIに用意されているエンドポイントhttps://api.spotify.com/v1/recommendationsを利用しています。
https://api.spotify.com/v1/recommendationsは、おすすめのもととなるジャンル、楽曲、アーティストをクエリに含めることで、条件にあった楽曲のリストを返すエンドポイントです。
指定可能なジャンルは、https://api.spotify.com/v1/recommendations/available-genre-seedsエンドポイントから取得することができます。
APIが返すおすすめ楽曲には詳細なデータが含まれていないので、楽曲ごとのIDを利用し、https://api.spotify.com/v1/audio-features/{id}やhttps://api.spotify.com/v1/tracks/{id}といったエンドポイントから詳細な分析データを取得しています。
export default class Track {
constructor(
public readonly artist: string,
public readonly image: string,
public readonly name: string,
public readonly id: string,
public readonly tempo: number,
public readonly danceability: number,
public readonly energy: number,
public readonly valence: number,
public readonly popularity: number,
public readonly liveness: number,
public readonly instrumentalness: number
) {}
}
export const fetchRecommendTracks = async (
requestUri: string
): Promise<Track[]> => {
if (userInfoStore.getloginStatus === false) {
return []
} else {
const recommendTracksRes = await axios.get(requestUri, {
headers: {
Authorization: `Bearer ${userInfoStore.getToken}`,
},
}).catch((e) => {
console.log(e)
return e.response
})
if (recommendTracksRes.status !== 200)
{
return []
}
let trackRes = recommendTracksRes.data.tracks
if ('items' in trackRes) {
trackRes = trackRes.items
}
console.log(recommendTracksRes)
const trackAry: Track[] = await Promise.all(
trackRes.map(
async (track: {
id: string
album: { images: { url: string }[] }
artists: { name: string }[]
name: string
}): Promise<Track> => {
const featureRes = await axios.get(
`https://api.spotify.com/v1/audio-features/${track.id}`,
{
headers: {
Authorization: `Bearer ${userInfoStore.getToken}`,
},
}
).catch((e) => {
console.log(e)
return e.response
})
const trackInfoRes = await axios.get(
`https://api.spotify.com/v1/tracks/${track.id}`,
{
headers: {
Authorization: `Bearer ${userInfoStore.getToken}`,
},
}
).catch((e) => {
console.log(e)
return e.response
})
if (trackInfoRes.status !== 200 || featureRes.status !== 200)
{
return EmptyTrack
}
const artistNames = track.artists.map((x) => x.name)
const trackRes = new Track(
artistNames.join(', '),
track.album.images[0].url,
track.name,
track.id,
featureRes.data.tempo,
featureRes.data.danceability,
featureRes.data.energy,
featureRes.data.valence,
trackInfoRes.data.popularity,
featureRes.data.liveness,
featureRes.data.instrumentalness
)
return trackRes
}
)
)
return trackAry
}
}
取得したデータを上記クラスに成型し、配列で保持したものをv-forでレンダリングしています。
名前検索
好きな楽曲、アーティストを検索し、詳細データを閲覧できる機能も実装しています。
検索には、https://api.spotify.com/v1/searchエンドポイントを利用しています。
適当な文字列をクエリに含め、リクエストを送ると、マッチする楽曲を教えてくれるエンドポイントです。
検索はAPIがやってくれるので、テキストを受け取る部分を配置するだけで機能しました。
プレイヤー
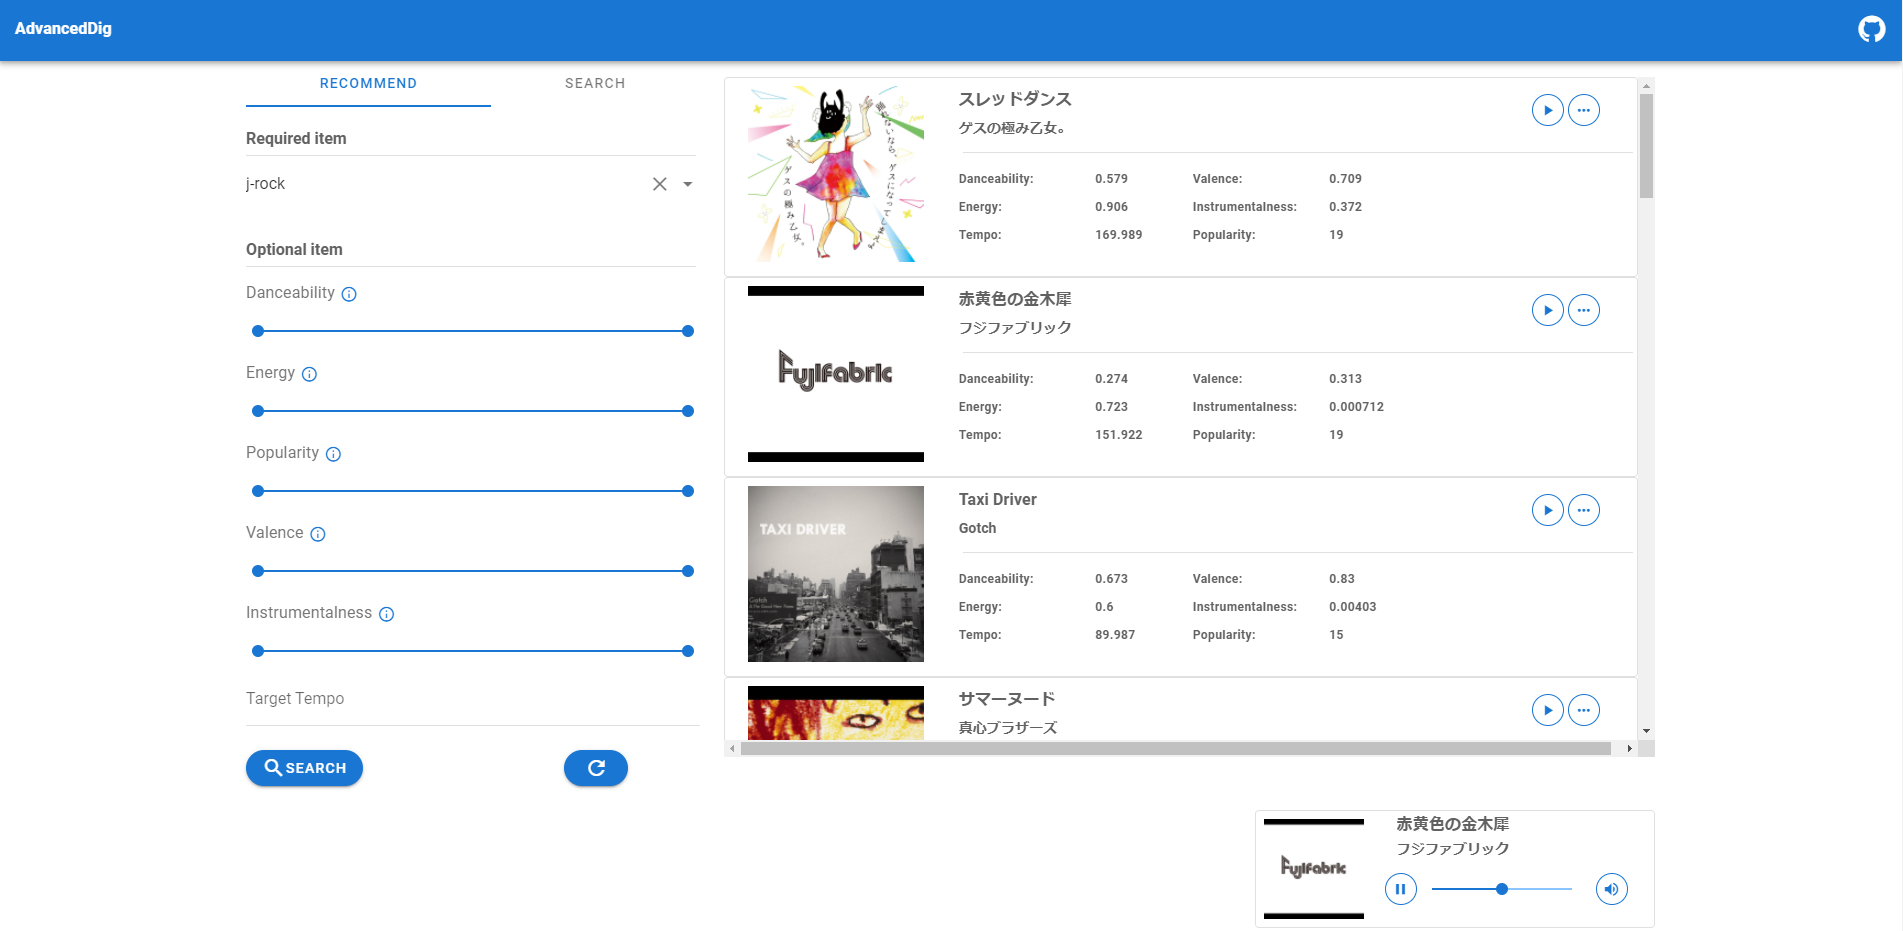
Spotifyで配信されている楽曲を実際に再生するプレイヤー機能も実装しました。
プレイヤーの主な機能は、Spotifyが用意しているSDKを利用しています。
CDNでインストールする必要がありますが、型情報はnpmでインストールすることができました。
コンポーネント上で下記のコードをを呼出すことでプレイヤーの準備が完了します。
  mounted() {
    let playerSdkTag = document.createElement('script')
    playerSdkTag.setAttribute('src', 'https://sdk.scdn.co/spotify-player.js')
    document.head.appendChild(playerSdkTag)

    if (process.browser) {
      window.onSpotifyWebPlaybackSDKReady = () => {
        const token = `${userInfoStore.getToken}`
        const player = new Spotify.Player({
          name: 'AdvancedDig',
          getOAuthToken: (cb) => {
            cb(token)
          },
          volume: 0.15,
        })
        player.addListener('ready', ({ device_id }) => {
          console.log('Device Ready')
          userInfoStore.setDeviceId(device_id)
        })
        player.connect()
        userInfoStore.setPlayer(player)
      }
    }
  }
https://api.spotify.com/v1/me/player/playに楽曲のidとデバイスIDを送ると、その楽曲をデバイス上で再生することができます。
しかし、スマホでアクセスしている場合や、Spotifyのアカウントがプレミアムでない場合は、プレイヤーを動作させることができません。
そのため、こちらの記事を参考に、UAによる動作の切り分けを行っています。
また、ユーザーのSpotify契約状況は、https://api.spotify.com/v1/meエンドポイントから取得することができます。
  async fetch(): Promise<void> {
    if (userInfoStore.getloginStatus) {
      const ua = window.navigator.userAgent.toLowerCase()
      const userInfoRes = await fetchUserProduct()
      if (
        ua.indexOf('iphone') !== -1 ||
        ua.indexOf('ipad') !== -1 ||
        ua.indexOf('android') !== -1 ||
        userInfoRes !== 'premium'
      ) {
        userInfoStore.setIsPlayerAvailable(false)
      } else {
        userInfoStore.setIsPlayerAvailable(true)
      }
    } else {
      userInfoStore.setIsPlayerAvailable(false)
    }
  }
一時停止や、再生位置の変更も、APIにアクセスを行うことで実現できますが、SDK側でAPIアクセスの処理をラップした機能が実装されているため、そちらを利用しました。
一時停止機能はボタンでメソッドを呼び出すだけです。
  private async togglePlay() {
    const stateRes = await this.player?.getCurrentState()
    if (stateRes === null || stateRes?.paused === undefined) return
    await this.player?.togglePlay()
    this.isPlaying = stateRes?.paused
  }
再生位置の変更を行うためのシークバーは、こちらの記事を参考にさせていただきました。
//再生が始まるとモニタリング開始
  public async startMonitoring() {
    this.timeOut = setInterval(async () => {
      const res = await this.player?.getCurrentState()
      res
      if (res !== null && res !== undefined) {
        this.duration = res.duration       //総再生時間
        if (res?.position !== undefined && !this.isMouseDown) {
          this.position = res.position     //現在の再生位置
        }//スライダーの再生位置はposition/duration
      }
    }, 100)
  }

//再生が終わるとモニタリング終了
  public finishMonitoring() {
    if (this.timeOut !== undefined) {
      clearInterval(this.timeOut)
    }
  }
再生を行っている間のみ楽曲の再生状況を取得するSDKの機能getCurrentStateを定期的に実行し、総再生時間からの割合でスライダーの位置を調整しています。
変数をv-modelでスライダーと紐づけているため、値を変更すると表示されているスライダーが自動的に更新されます。
//mouseDownイベント
  private mouseDown() {
    this.isMouseDown = true
  }
//mouseUpイベント
  private mouseUp() {
    this.isMouseDown = false
  }
//changeイベント
  private async setSeekPosition() {
    if (this.position === 0) {
      this.position = 0.0001
    }
    this.player?.seek(this.position)
  }
再生位置の変更は、vuetifyのv-sliderコンポーネントが持っているイベントを利用しています。
スライダーの値を操作している間も、モニタリングによる値変更が発生してしまうため、mouse系のイベントが発生している間は、モニタリングによる値変更が発生しないようにしています。
positionの値に0を設定できるようにしてしまうと、SDKの内部で0除算が発生してしまうため、最低値をずらしました。
//スライダーの値が代わると呼び出される
  private async setPlayerVolume() {
    await this.player?.setVolume(this.playerVolume / 100)
  }
ボリューム調整の機能もSDKが用意してくれているので、スライダーを用いて簡単に実装することができました。
デプロイ
初めはVercelへのデプロイを想定していたのですが、APIや環境変数に設定するRedirectUrlをあらかじめ確定させておく必要があったため、デプロイごとにURLが代わるVercelではアプリを動かすことができませんでした。
個人ドメインも持っていなかったので、URLがあらかじめ確定しているHerokuへデプロイしました。
Herokuへのデプロイは公式のドキュメントを参考にしました。
環境変数の読み込みは、nuxtのruntimeconfigを利用しています。
Herokuに環境変数を設定するだけで簡単に読み込むことができました。
  publicRuntimeConfig: {
    clientId: process.env.CLIENT_ID || '',
  },
  privateRuntimeConfig: {
    clientSecret: process.env.CLIENT_SECRET || '',
    redirectUri: process.env.REDIRECT_URI || '',
  },
まとめ
SpotifyAPIの機能を利用するだけで、簡単にWebアプリを製作することができました。
認証処理の実装や、VuetifyのCSS上書きなどに手こずりましたが、良い開発経験を得ることができました。
また、記事中にも書きましたが、今回Webアプリを製作するにあたり、こちらの記事を非常に参考にさせていただきました。この場を借りてお礼申し上げます。
