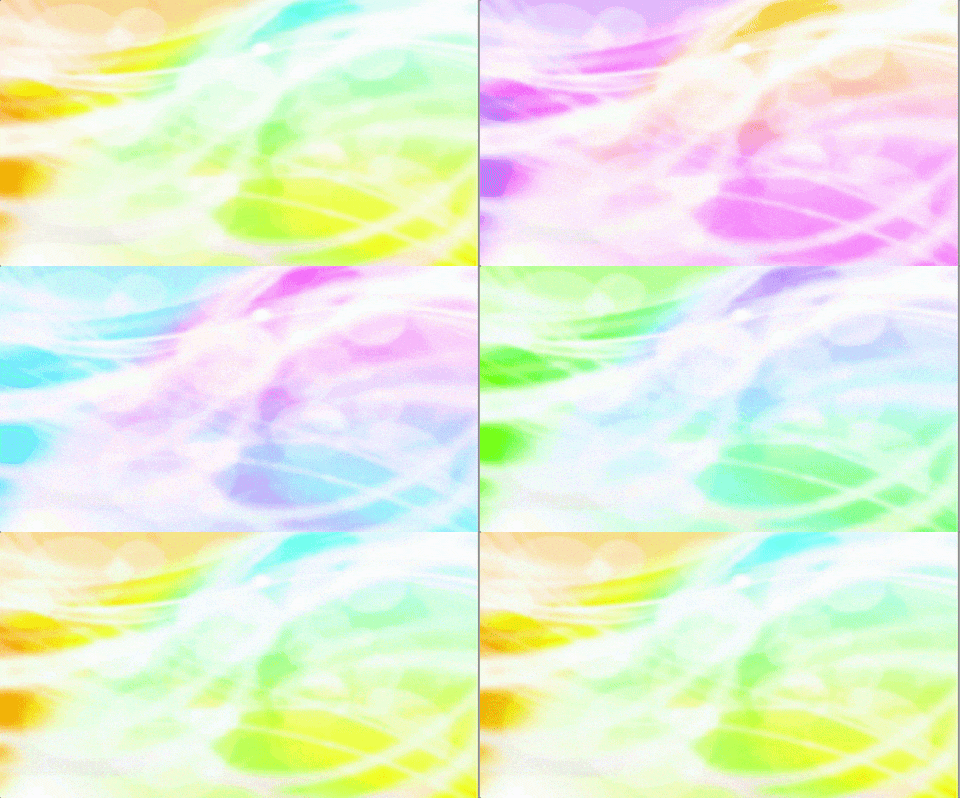
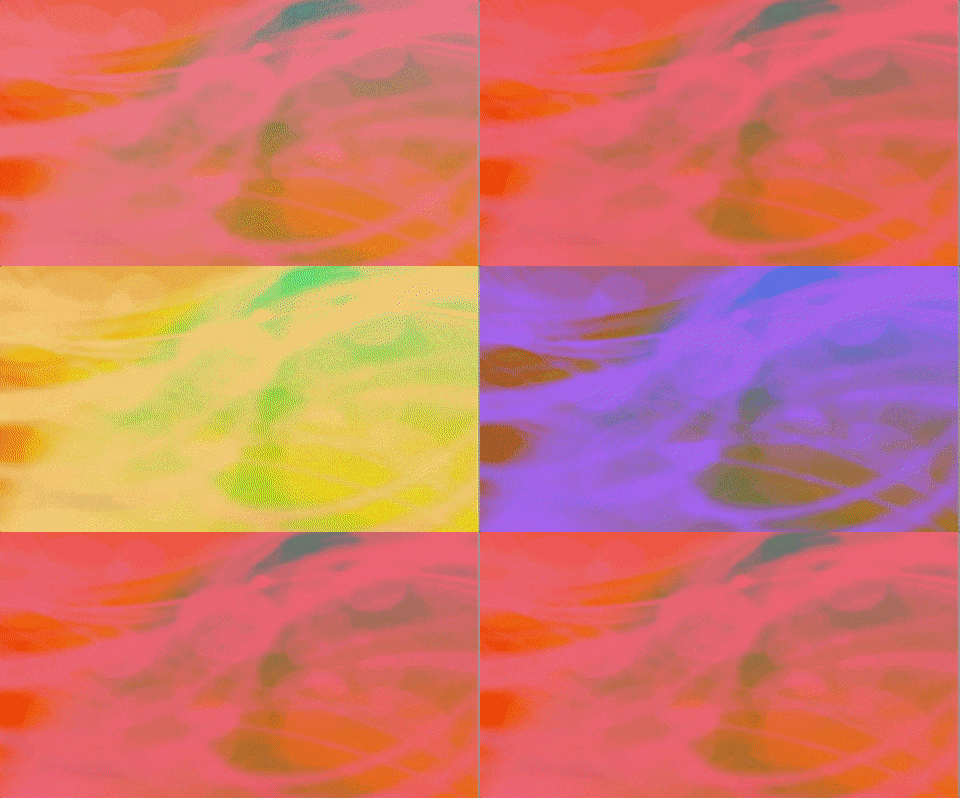
成果
Colorを使った色相の変更
画像のカラーは通常RGBで指定しますが,以下の画像のように右上のボタンを押すとHSVで色を指定できます.

このHが色相(Hue)でこの値をいじることで指定できます.
しかし,この状態でHの値を調節しても画像は何も変わりません..
なぜならUnityの画像のColorは乗算する色だからです.
白の色相を変えても白のままです.かといってSVを変えてしまうと
濃い.
Shaderを使って色相を変える
ImageのColorではだめだったのでShaderを自作します.
ビルトインシェーダをもとに改造しました.
Shader "Custom/HsvUI"
{
    Properties
    {
        [PerRendererData] _MainTex ("Sprite Texture", 2D) = "white" {}
        _Hue ("Hue", Float) = 0         //色相
 		_Sat ("Saturation", Float) = 1  //彩度
 		_Val ("Value", Float) = 1       //明度

        _Color ("Tint", Color) = (1,1,1,1)

        _StencilComp ("Stencil Comparison", Float) = 8
        _Stencil ("Stencil ID", Float) = 0
        _StencilOp ("Stencil Operation", Float) = 0
        _StencilWriteMask ("Stencil Write Mask", Float) = 255
        _StencilReadMask ("Stencil Read Mask", Float) = 255

        _ColorMask ("Color Mask", Float) = 15

        [Toggle(UNITY_UI_ALPHACLIP)] _UseUIAlphaClip ("Use Alpha Clip", Float) = 0
    }

    SubShader
    {
        Tags
        {
            "Queue"="Transparent"
            "IgnoreProjector"="True"
            "RenderType"="Transparent"
            "PreviewType"="Plane"
            "CanUseSpriteAtlas"="True"
        }

        Stencil
        {
            Ref [_Stencil]
            Comp [_StencilComp]
            Pass [_StencilOp]
            ReadMask [_StencilReadMask]
            WriteMask [_StencilWriteMask]
        }

        Cull Off
        Lighting Off
        ZWrite Off
        ZTest [unity_GUIZTestMode]
        Blend SrcAlpha OneMinusSrcAlpha
        ColorMask [_ColorMask]

        Pass
        {
            Name "Default"
        CGPROGRAM
            #pragma vertex vert
            #pragma fragment frag
            #pragma target 2.0

            #include "UnityCG.cginc"
            #include "UnityUI.cginc"

            #pragma multi_compile __ UNITY_UI_CLIP_RECT
            #pragma multi_compile __ UNITY_UI_ALPHACLIP

            struct appdata_t
            {
                float4 vertex   : POSITION;
                float4 color    : COLOR;
                float2 texcoord : TEXCOORD0;
                UNITY_VERTEX_INPUT_INSTANCE_ID
            };

            struct v2f
            {
                float4 vertex   : SV_POSITION;
                fixed4 color    : COLOR;
                float2 texcoord  : TEXCOORD0;
                float4 worldPosition : TEXCOORD1;
                UNITY_VERTEX_OUTPUT_STEREO
            };

            fixed4 _Color;
            fixed4 _TextureSampleAdd;
            float4 _ClipRect;
            half _Hue, _Sat, _Val;

            fixed3 shift_col(fixed3 RGB, half3 shift)
			{
				fixed3 RESULT = fixed3(RGB);
				float VSU = shift.z*shift.y*cos(shift.x*3.14159265/180);
				float VSW = shift.z*shift.y*sin(shift.x*3.14159265/180);

				 RESULT.x = (.299*shift.z+.701*VSU+.168*VSW)*RGB.x
				     + (.587*shift.z-.587*VSU+.330*VSW)*RGB.y
				     + (.114*shift.z-.114*VSU-.497*VSW)*RGB.z;

				 RESULT.y = (.299*shift.z-.299*VSU-.328*VSW)*RGB.x
				     + (.587*shift.z+.413*VSU+.035*VSW)*RGB.y
				     + (.114*shift.z-.114*VSU+.292*VSW)*RGB.z;

				 RESULT.z = (.299*shift.z-.3*VSU+1.25*VSW)*RGB.x
				     + (.587*shift.z-.588*VSU-1.05*VSW)*RGB.y
				     + (.114*shift.z+.886*VSU-.203*VSW)*RGB.z;

				return (RESULT);
			}

            v2f vert(appdata_t v)
            {
                v2f OUT;
                UNITY_SETUP_INSTANCE_ID(v);
                UNITY_INITIALIZE_VERTEX_OUTPUT_STEREO(OUT);
                OUT.worldPosition = v.vertex;
                OUT.vertex = UnityObjectToClipPos(OUT.worldPosition);

                OUT.texcoord = v.texcoord;

                OUT.color = v.color * _Color;
                return OUT;
            }

            sampler2D _MainTex;


            fixed4 frag(v2f IN) : SV_Target
            {
                half4 color = (tex2D(_MainTex, IN.texcoord) + _TextureSampleAdd) * IN.color;
                #ifdef UNITY_UI_CLIP_RECT
                color.a *= UnityGet2DClipping(IN.worldPosition.xy, _ClipRect);
                #endif

                #ifdef UNITY_UI_ALPHACLIP
                clip (color.a - 0.001);
                #endif

                half3 shift = half3(_Hue, _Sat, _Val);

 				return fixed4( shift_col(color, shift), color.a);
            }


        ENDCG
        }
    }
}
画像それぞれに固有のマテリアルを当てはめたいので,それ用のスクリプトも作ります.
using System.Collections;
using System.Collections.Generic;
using UnityEngine;
using UnityEngine.UI;

[ExecuteInEditMode]
[RequireComponent(typeof(Graphic))]
public class UIHue : MonoBehaviour {

	Graphic img;
	Graphic Img{
		get{
			if (img == null)
				img = this.GetComponent<Graphic> ();
			return img;
		}
	}

	Material Mat{
		get{
			if (Img.material == null || !Img.material.HasProperty("_Hue")) {
				Img.material = new Material (Shader.Find ("Custom/HsvUI"));
			}
			return Img.material;
		}
	}

	[Range(0f, 360f)]
	public float hue = 0;

	void Update(){
		UpdateHue ();
	}

	void UpdateHue(){
		Mat.SetFloat ("_Hue", hue);
	}

	// 色を変える
	public void ChangeHue(float val = 25){
		hue += val;
		hue = hue % 360f;
	}
}
UIHue.csを画像にアタッチすると勝手にマテリアルが追加されます.

Hueをいじることによって色相を変化させることができます.
ChangeHueを使うことでコードからも変更できます.
Github
こちらからダウンロードしてそのままプロジェクトに突っ込むのが試しやすいです.
https://github.com/teach310/Hue
参考


