(タイトルはちょっとネタが入ってます)
英語で日記やブログを書きたい、英語が書けるようになりたい...という方は多いと思います。
しかし、一から英語を書こうと思っても、なかなか難しいことも事実。
そこで、翻訳AIである Microsoft Translator テキスト API と、ブログ・CMSソフトである Movable Type を組み合わせて、日本語を自動で英訳し、そのまま投稿できるシングルページアプリケーションを作ってみました。
やること
-
Movable Type の Data APIを使って、ブログ記事を投稿できるアプリを作る
-
入力した日本語を、Microsoft Translator テキスト APIに渡して、英訳した文章を受け取る
-
英訳文章を、ブログ記事として Movable Type に投稿する
利用環境
- Microsoft Azure
- Movable Type 6.3.3
操作の流れ
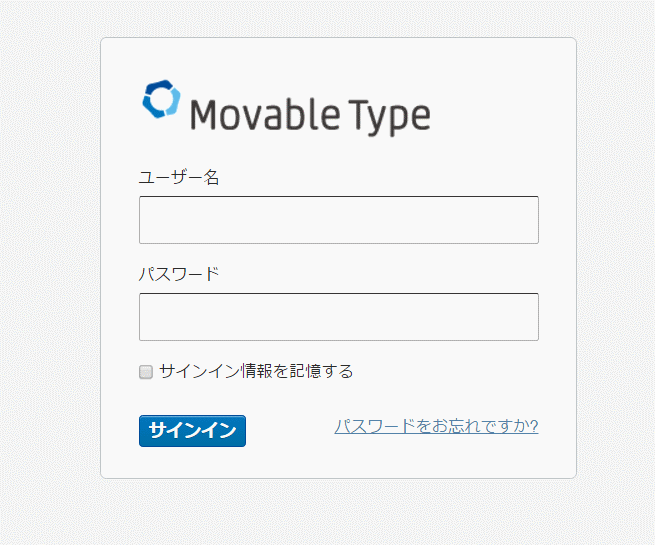
初期画面。投稿権限があるかどうかの認証を求める。

サインインをクリックすると、Movable Type の認証画面を表示
認証が済むと、日本語入力欄と、英訳ボタン、英訳した文章の表示欄、投稿ボタンを表示

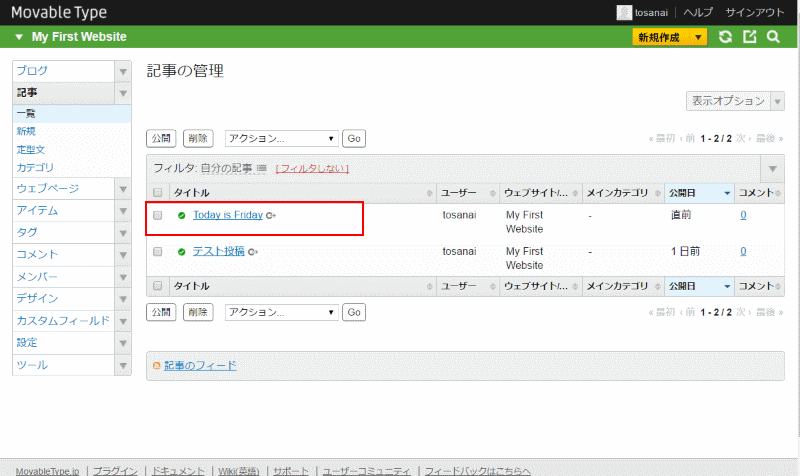
投稿すると、Movable Type の記事として登録
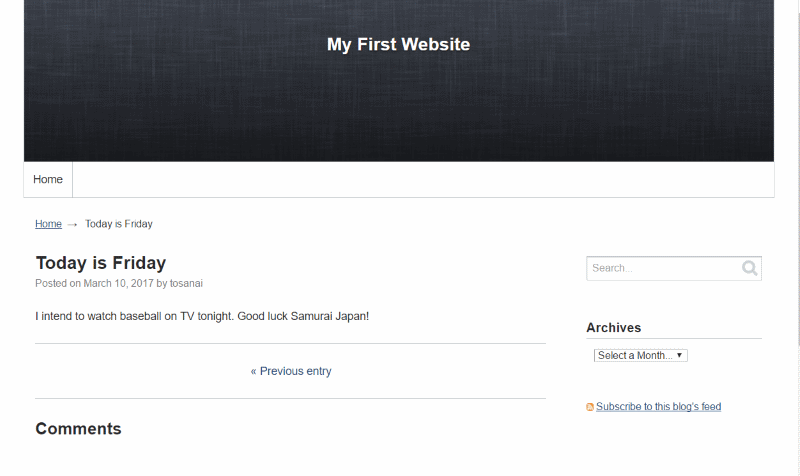
公開されたブログ記事
処理の流れ
処理の流れはこんな感じです。
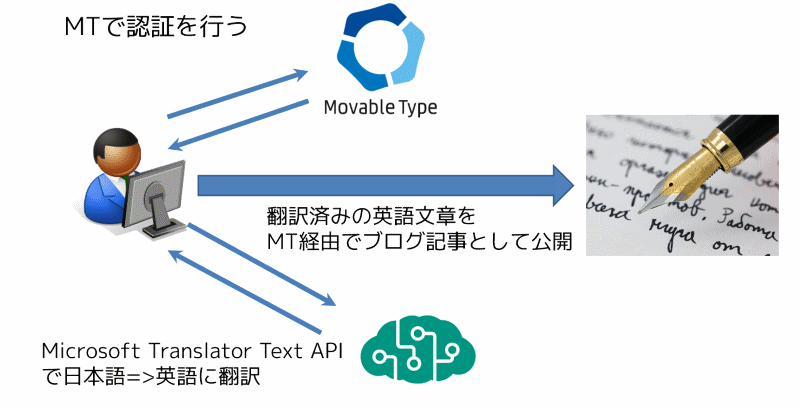
- MTの認証システムを、Data APIから利用する
- MTへ、記事データを登録する
- Microsoft Translator テキスト APIを使って翻訳を行う
の3点がポイントになるかと思います。
実装
- Movable Type を準備
- Microsoft Translator テキスト APIを使えるようにAPIキーを準備
- コード作成
1については、Movable Type のライセンスを確認の上、必要なライセンス・パッケージを取得します。開発者の方向けに、無料で使える[開発者ライセンス]があります。Movable Type for AWSでは、t2microサイズに限り、MTのライセンスが無料で利用できます。
https://www.sixapart.jp/movabletype/license/
http://qiita.com/TakeshiNickOsanai/items/060adba3214dc3bb509c
2については、過去記事をご覧ください。
今回は、フォーム画面をhtml。翻訳処理をphpで実装しました。
フォーム画面[sample.html]。
Movable Type のテンプレートとして再構築をすると、htmlが出力される。
<!DOCTYPE html>
<html lang="ja">
<head>
  <title>sample-03</title>
  <meta charset="utf-8">
  <meta name="viewport" content="width=device-width, initial-scale=1">
  <link rel="stylesheet" href="https://maxcdn.bootstrapcdn.com/bootstrap/3.3.7/css/bootstrap.min.css">
  <script src="https://ajax.googleapis.com/ajax/libs/jquery/3.1.1/jquery.min.js"></script>
  <script src="https://maxcdn.bootstrapcdn.com/bootstrap/3.3.7/js/bootstrap.min.js"></script>
  <script src="<$MTStaticWebPath$>data-api/v3/js/mt-data-api.js"></script>
</head>
<body>

<div class="container" id="container">

  <h1>英訳した記事をMTに投稿するサンプル</h1>
  <div id="message"></div>

  <div id="content" style="display: none;">
    <div>
      <p class="h3">タイトル:</p>
      <input type="text" class="form-control" id="title" placehold>
    </div>

    <div>
      <p class="h3">本文:</p>
      <textarea class="form-control" rows="5" id="body"></textarea>
    </div>

    <div>
      <button class="btn btn-default" id="translate">英訳する</button>
    </div>

    <div>
      <p class="h3">タイトル:</p>
      <input type="text" class="form-control" id="en-title">
    </div>

    <div>
      <p class="h3">本文:</p>
      <textarea class="form-control" rows="5" id="en-body"></textarea>
    </div>

    <div>
      <button class="btn btn-default" id="submit">登録する</button>
    </div>

  </div>
</div>


  <script>

  "use strict";

  $(function() {

// Movable Type Data API のインスタンス生成

    const api = new MT.DataAPI({
      baseUrl: "<$MTCGIPath$><$MTDataAPISCript$>",
      clientId: "sampleid"
    });

// MTのブログIDを変数 siteId に格納

    const siteId = <$MTBlogID$> ;

// メッセージ表示のために使う変数 [html] を定義

    let html = '';

// MTにサインインしているかどうか、トークンを確認する。
// トークンがない場合、サインインを促す。存在した場合、hiddenで隠されている登録用フォームを表示する

    if (!api.getTokenData()) {

      html += "<p>記事を登録するためにはサインインしてください。</p>";
      html += "<p><input type=\"button\" id=\"signin\" class=\"btn btn-primary btn-lg\" value=\"サインイン\"></p>";
      $("#message").html(html);

    } else {

      $("#content").show();
    }

// サインインをクリックしたら、SDKの関数 [getAuthorizationUrl] を実行して、サインインを行う

    $("#signin").on("click", function() {
      location.href = api.getAuthorizationUrl(location.href);
    });


    $("#translate").click(function() {
      $.ajax({
        url: 'sample.php',
        type: 'POST',
        data: {
          request1: $("#title").val(),
          request2: $("#body").val(),
        }

      }).done(function(data, status, xhr) {

        $("#en-title").val(data.result1[0]);
        $("#en-body").val(data.result2[0]);

      }).fail(function(xhr, status, error) {

        alert("通信に失敗しました。");

      });
    });


// フォームを表示して、MTへ登録するためのデータを受け取る
// 登録ボタンをクリックしたら、MTへ登録するための変数を生成する。
// 変数が準備できたら、JavaScript SDK の関数 [createEntry] を利用して、MTの記事として登録する。

    $("#submit").on("click", function() {

      const entry = {};
        entry.title = $("#en-title").val();
        entry.body = $("#en-body").val();

      api.createEntry(siteId, entry, function(response) {

        if (response.error) {

  // 記事登録時にエラーが発生した場合、ページトップに戻り、エラーメッセージを表示

          $('html,body').animate({ scrollTop: 0 }, '1');
          $("#message").html('<p class="bg-warning">エラーが発生しました。</p>');
          $('#message > p').fadeOut(3000);

        } else {

  // 記事データ登録が成功した場合、表示データを消去

          $("#title").val("");
          $("#body").val("");
          $("#en-title").val("");
          $("#en-body").val("");


  // ページトップに戻り、登録完了のメッセージを表示

          $('html,body').animate({ scrollTop: 0 }, '1');
          $("#message").html('<p class="bg-warning">記事を登録しました。</p>');
          $('#message > p').fadeOut(3000);

        }

      });

    });

  });

  </script>

</html>
翻訳用のphpファイル
[sample.php]。
<?php

// Microsoft Tranlator テキスト API を使うためのAPIキーを定数として設定

define('APIKEY', 'APIキーを記述する');


// 取得した翻訳文字列を返すために Content-type を設定。JSON形式で返す

header('Content-type: application/json; charset=utf-8');


// フォームから2項目の値を受けとり、翻訳関数を実行する。
// どちらかが欠けていた場合エラーとする

if (isset($_POST['request1']) && ($_POST['request2']) ) {

  $response = getTranslation();
  echo ($response);

} else {

// エラー処理

}


// 翻訳用関数 getTranslation を定義
// フォームから入力されたデータをXMLに整形して、Microsoft Translator テキスト APIへPOSTする

function getTranslation() {

  $token = getToken();
  $key = "Bearer" . " " . $token;
  $uri = 'https://api.microsofttranslator.com/V2/http.svc/TranslateArray';

  $headers = array(
    "Authorization: " . $key,
    "Content-Type: application/xml",
  );

// XMLでパラメーター指定

  $word1 = htmlspecialchars($_POST['request1']);
  $word2 = htmlspecialchars($_POST['request2']);

  $params = <<<EOF

<TranslateArrayRequest>
  <AppId />
  <Texts>
    <string xmlns="http://schemas.microsoft.com/2003/10/Serialization/Arrays">$word1</string>
    <string xmlns="http://schemas.microsoft.com/2003/10/Serialization/Arrays">$word2</string>
    </Texts>
  <To>en</To>
</TranslateArrayRequest>

EOF;

  $ch = curl_init();

  curl_setopt($ch, CURLOPT_POSTFIELDS, $params);
  curl_setopt($ch, CURLOPT_RETURNTRANSFER, true);
  curl_setopt($ch, CURLOPT_URL, $uri);
  curl_setopt($ch, CURLOPT_HTTPHEADER, $headers);

  $html =  curl_exec($ch);
  curl_close($ch);

// SimpleXMLElementを利用してオブジェクト生成

  $data = new SimpleXMLElement($html);

// 翻訳結果をJSONデータに変換してフォーム画面へ返す

$result =array(

'result1' => $data->TranslateArrayResponse[0]->TranslatedText,
'result2' => $data->TranslateArrayResponse[1]->TranslatedText,

);

$result = json_encode($result);

return $result;

}


// Microsoft Translator テキスト APIを利用するためのトークンを取得する関数

function getToken(){

  $headers = array(
    "Content-Type: application/json",
    "Accept: application/jwt",
    "Ocp-Apim-Subscription-Key: " . APIKEY,
    "Content-Length:0"
  );

  $url     = "https://api.cognitive.microsoft.com/sts/v1.0/issueToken";
  $ch      = curl_init();

  curl_setopt($ch, CURLOPT_POST, true);
  curl_setopt($ch, CURLOPT_URL, $url);
  curl_setopt($ch, CURLOPT_RETURNTRANSFER, true);
  curl_setopt($ch, CURLOPT_HTTPHEADER, $headers);

  $html = curl_exec($ch);

  return $html;
  curl_close($ch);
}

?>
備考
十分なテストを行っていないため、ご利用の際はご注意ください。
Movable Type のData API 活用例として書いたサンプルコードですが、何かの参考になれば幸いです。