はじめに
LINE Botを開発するにあたって、herokuやAWS等のPaaSやIaaSを使用している方が多いと思いますが、修正の度に毎回デプロイするのは面倒だと思います。
そこで、Ngrokをというツール使用して普通のwebアプリケーションを開発するように手軽にローカル環境でLINE Botを動かしたり、デバッグしたりする方法を紹介します。
ちなみにLINE BotはRails前提で書いています。
環境
- OS : Ubuntu 16.04.3
- Ruby : 2.4.2
- Ruby on Rails : 5.1.4
- OS : Windows 8.1
- Ngrok
※Windows上からvagrantでRails環境を動かしています
1. LINE Developersでの設定
1-1. チャネルの作成
以下の公式の手順を参考にBOT用のチャネルを作成します。
https://developers.line.me/ja/docs/messaging-api/getting-started/
1-2. コンソールでボットを設定
続いて、以下コンソールより作成したチャネルの設定を行います。
https://developers.line.me/console/
ここでは、[Webhook送信] を選択してwebhookを有効にします。
また以下のキーを控えておきます。
- Channel Secret
- アクセストークン(ロングターム)
2. Rails初期セットアップ
rails newでプロジェクト作成します。不要なものはオプションで省きます。
bundle exec rails new sample_bot --skip-turbolinks --skip-test --skip-bundle
Gemfileを修正します。
初期設定のままでも問題ないですが、gem 'line-bot-api'は追加しておきます。
source 'https://rubygems.org'

gem 'rails', '~> 5.1.4'
gem 'puma', '~> 3.7'
gem 'line-bot-api'

group :production do
  gem 'pg', '0.18.4'
end

group :development, :test do
  gem 'sqlite3'
  gem 'byebug', platforms: [:mri, :mingw, :x64_mingw]
  gem 'better_errors'
  gem 'binding_of_caller'
  gem 'rspec-rails'
  gem 'rails-controller-testing'
end

group :development do
  gem 'web-console', '>= 3.3.0'
  gem 'listen', '>= 3.0.5', '< 3.2'
  gem 'spring'
  gem 'spring-watcher-listen', '~> 2.0.0'
end

gem 'tzinfo-data', platforms: [:mingw, :mswin, :x64_mingw, :jruby]
bundle installします。
bundle install --without production
以下でrailsが起動すれば完了です。
bundle exec rails server
2. オウム返しBOTの実装
とりあえずオウム返しするbotを実装します。以下の公式SDKのサンプルをベースに作成します。
https://github.com/line/line-bot-sdk-ruby
Rails.application.routes.draw do
  post '/callback', to: 'webhook#callback'
end
require 'line/bot'

class ApplicationController < ActionController::Base
  protect_from_forgery with: :null_session

  before_action :validate_signature

  def validate_signature
    body = request.body.read
    signature = request.env['HTTP_X_LINE_SIGNATURE']
    unless client.validate_signature(body, signature)
      error 400 do 'Bad Request' end
    end
  end

  def client
    @client ||= Line::Bot::Client.new { |config|
      config.channel_secret = ENV["LINE_CHANNEL_SECRET"]
      config.channel_token = ENV["LINE_CHANNEL_TOKEN"]
      # ローカルで動かすだけならベタ打ちでもOK
      # config.channel_secret = "your channel secret"
      # config.channel_token = "your channel token"
    }
  end
end
class WebhookController < ApplicationController

  def callback
    body = request.body.read
    events = client.parse_events_from(body)

    events.each { |event|
      case event
      when Line::Bot::Event::Message
        case event.type
        when Line::Bot::Event::MessageType::Text
          message = {
            type: 'text',
            text: event.message['text']
          }
          client.reply_message(event['replyToken'], message)
        when Line::Bot::Event::MessageType::Image, Line::Bot::Event::MessageType::Video
          response = client.get_message_content(event.message['id'])
          tf = Tempfile.open("content")
          tf.write(response.body)
        end
      end
    }
    "OK"
  end
end
application_controller.rbで参照する環境変数をサーバに設定しますが、ローカルで動かすだけならベタ打ちでも問題ないでしょう。
-
ENV["LINE_CHANNEL_SECRET"]-> LINE Developersのコンソールから取得したChannel Secret を指定 -
ENV["LINE_CHANNEL_TOKEN"]-> LINE Developersのコンソールから取得したアクセストークンを指定
3. ローカルで動かす
ここからがローカルで動かすメインの手順です。以下の手順に従いローカルでLINE Botを動かす環境を整えます。
3-1. Ngrokのインストール
Ngrokを以下からダウンロードして解凍します。
https://ngrok.com/
※解凍したフォルダにpathを通しておいて下さい。
3-2. Ngrokの起動
- vagrant等を利用してゲストOSでRailsを動かしている場合
ngrok http -host-header=rewrite 192.168.33.10:3000
# ローカルからアクセスできるRailsのURL(この場合は192.168.33.10:3000)にリライトするように指定します
- ローカルでRailsを動かしている場合(
http://localhost:3000でアクセスできる場合)
ngrok http 3000
# リライト不要で ngrok http 3000でOK
↓の感じで起動するので、https://d9cbf7ca.ngrok.ioの部分をコピペします。LINEのWebhook URLはhttpsであることが必須ですが、以下の通り、httpsで起動していることがわかります。
ngrok by @inconshreveable

Session Status                online
Version                       2.2.8
Region                        United States (us)
Web Interface                 http://127.0.0.1:4040
Forwarding                    http://d9cbf7ca.ngrok.io -> 192.168.33.10:3000
Forwarding                    https://d9cbf7ca.ngrok.io -> 192.168.33.10:3000

Connections                   ttl     opn     rt1     rt5     p50     p90
                              0       0       0.00    0.00    0.00    0.00
3-3. LINE DevelopersからWebhook URLを設定
https://developers.line.me/ja/

先ほどコピペしたURL + /callback を指定します。
3-4. Railsの起動
bundle exec rails server
3-5. LINEから稼働確認
ここまででローカルから稼働確認できる環境が整いましたので、作成したBOTを友だち追加して、実際にLINEからメッセージを送ってみます。
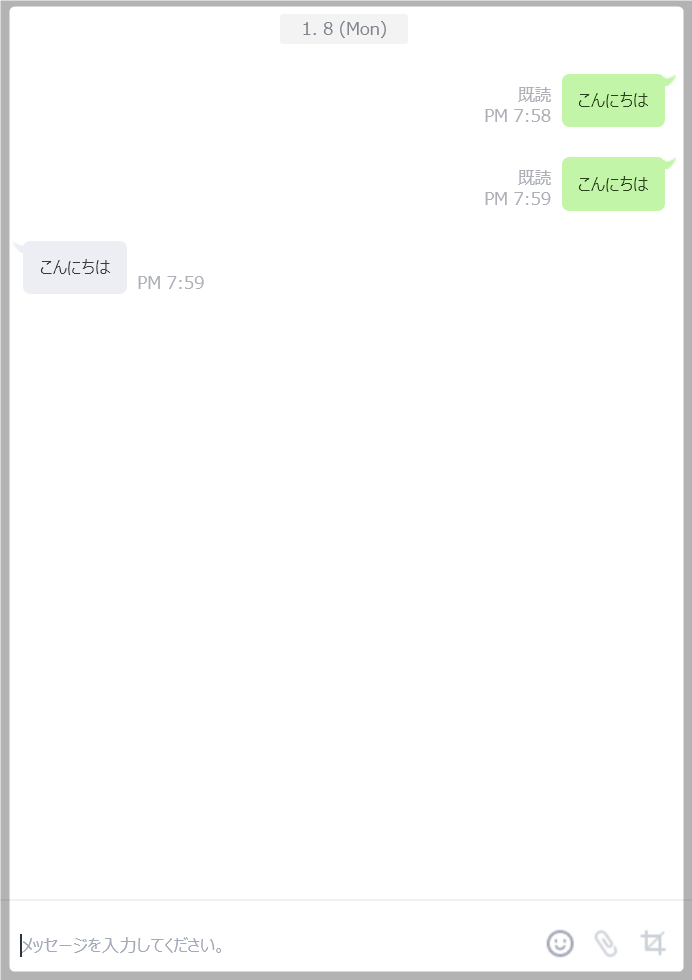
流れ的にはこんな感じでしょうか。
LINEアプリ -> LINE Messaging API -> Ngrok -> Rails(local)
デバッグも!
byebugやbinding.pryを仕込めば普通にデバッグも可能です。
(デバッグ方法はこちら→ Ruby / Ruby on Rails デバッグ方法まとめ)
[6, 15] in /vagrant/rails_app/sample_bot/app/controllers/webhook_controller.rb
    6:     events = client.parse_events_from(body)
    9:     byebug
   10:
=> 11:     events.each { |event|
   12:       case event
   13:       when Line::Bot::Event::Message
   14:         case event.type
   15:         when Line::Bot::Event::MessageType::Text
(byebug)
これでLINE Bot開発が加速します。よかったね。