はじめに
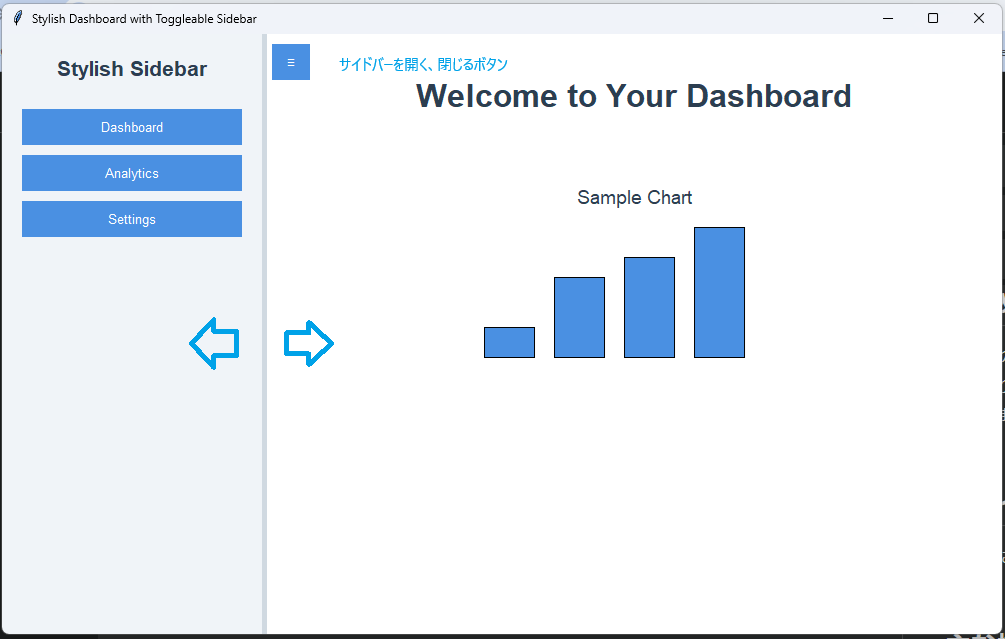
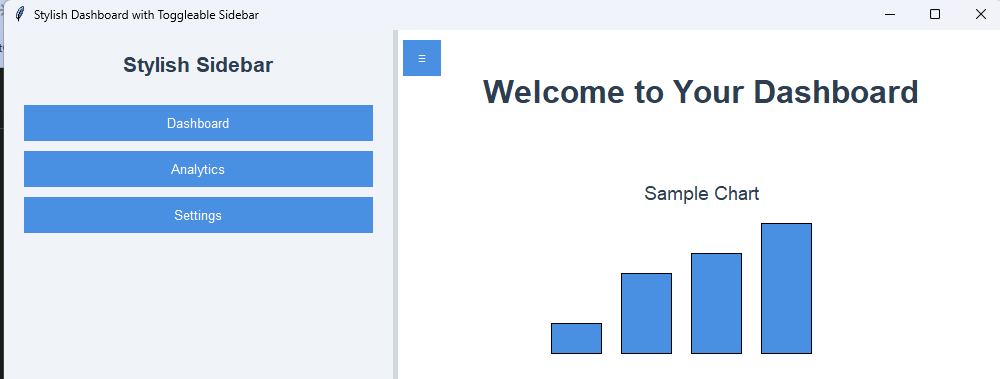
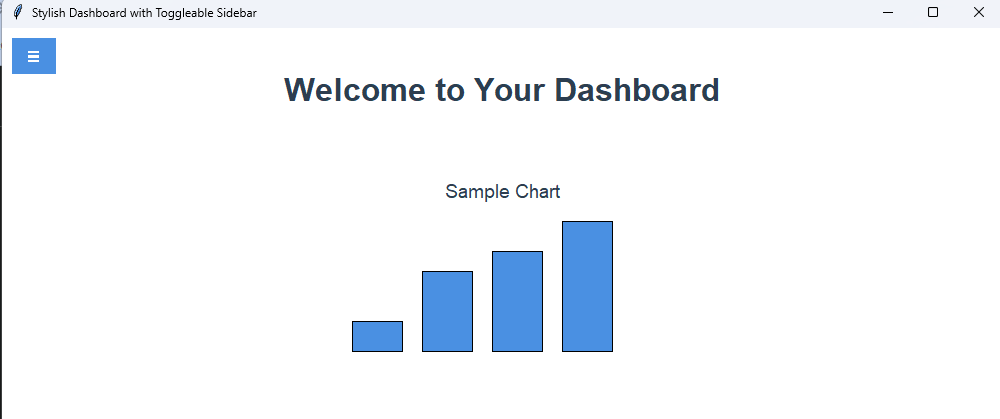
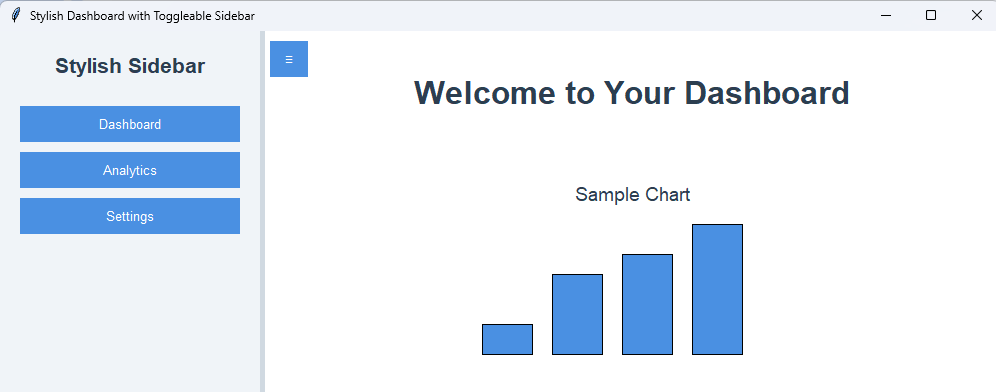
Pythonのグラフィカルユーザーインターフェイス(GUI)ライブラリであるTkinterを使用して、折りたたみ可能なサイドバーを持つダッシュボードアプリケーションを作成する方法を紹介します。このサイドバーは幅の調整が可能で、完全に折りたたむこともできます。
完成イメージ
主な機能
- 左側に配置された折りたたみ可能なサイドバー
- サイドバーの幅を調整可能
- サイドバーを完全に折りたたむ/展開するトグルボタン
- スタイリッシュなデザイン
クラス図
MainApplication クラス:
tk.Tk を継承し、アプリケーションのメインウィンドウとして機能します
ResizableSidebar のインスタンスを作成・管理します
ResizableSidebar クラス:
tk.Frame を継承し、サイドバーの主要な機能を実装しています
サイドバーの表示/非表示、リサイズ機能を管理します
StylishButton を使用してトグルボタンを作成します
StylishButton クラス:
tk.Button を継承し、カスタムスタイルのボタンを提供します
ホバーエフェクトなどの視覚的な機能を追加しています
シーケンス図
コード
import tkinter as tk
from tkinter import ttk

class StylishButton(tk.Button):
    def __init__(self, master=None, **kwargs):
        super().__init__(master, **kwargs)
        self.config(
            bg="#4A90E2",
            fg="white",
            activebackground="#5DA0E2",
            activeforeground="white",
            relief=tk.FLAT,
            padx=10,
            pady=5,
            font=("Helvetica", 10)
        )
        self.bind("<Enter>", self.on_enter)
        self.bind("<Leave>", self.on_leave)

    def on_enter(self, e):
        self['bg'] = self['activebackground']

    def on_leave(self, e):
        self['bg'] = "#4A90E2"

class ResizableSidebar(tk.Frame):
    def __init__(self, parent, width=250, min_width=200, max_width=400):
        super().__init__(parent)
        self.parent = parent
        self.width = width
        self.min_width = min_width
        self.max_width = max_width
        self.is_expanded = True

        self.pack(fill="both", expand=True)

        self.sidebar_container = tk.Frame(self)
        self.sidebar_container.pack(side="left", fill="y")

        self.sidebar = tk.Frame(self.sidebar_container, bg="#F0F4F8", width=self.width)
        self.sidebar.pack(side="left", fill="y")
        self.sidebar.pack_propagate(False)

        self.sash = tk.Frame(self.sidebar_container, width=5, cursor="sb_h_double_arrow", bg="#D0D9E1")
        self.sash.pack(side="left", fill="y")

        self.main_content = tk.Frame(self, bg="#FFFFFF")
        self.main_content.pack(side="left", fill="both", expand=True)

        # トグルボタンの追加
        self.toggle_button = StylishButton(self, text="≡", command=self.toggle_sidebar, font=("Helvetica", 16))
        self.toggle_button.place(x=self.width + 10, y=10)

        # サイドバーにスタイリッシュなコンテンツを追加
        self.sidebar_title = tk.Label(self.sidebar, text="Stylish Sidebar", bg="#F0F4F8", fg="#2C3E50", font=("Helvetica", 16, "bold"))
        self.sidebar_title.pack(pady=20)
        self.dashboard_button = StylishButton(self.sidebar, text="Dashboard")
        self.dashboard_button.pack(pady=5, padx=20, fill="x")
        self.analytics_button = StylishButton(self.sidebar, text="Analytics")
        self.analytics_button.pack(pady=5, padx=20, fill="x")
        self.settings_button = StylishButton(self.sidebar, text="Settings")
        self.settings_button.pack(pady=5, padx=20, fill="x")

        # メインコンテンツにサンプルウィジェットを追加
        main_label = tk.Label(self.main_content, text="Welcome to Your Dashboard", bg="#FFFFFF", fg="#2C3E50", font=("Helvetica", 24, "bold"))
        main_label.pack(pady=40)

        # サンプルのグラフ風の要素
        canvas = tk.Canvas(self.main_content, width=400, height=200, bg="white", highlightthickness=0)
        canvas.pack(pady=20)
        canvas.create_rectangle(50, 150, 100, 180, fill="#4A90E2")
        canvas.create_rectangle(120, 100, 170, 180, fill="#4A90E2")
        canvas.create_rectangle(190, 80, 240, 180, fill="#4A90E2")
        canvas.create_rectangle(260, 50, 310, 180, fill="#4A90E2")
        canvas.create_text(200, 20, text="Sample Chart", fill="#2C3E50", font=("Helvetica", 14))

        self.sash.bind("<ButtonPress-1>", self.start_resize)
        self.sash.bind("<B1-Motion>", self.resize_sidebar)
        self.sash.bind("<ButtonRelease-1>", self.stop_resize)

    def start_resize(self, event):
        self.start_x = event.x_root
        self.start_width = self.sidebar.winfo_width()

    def resize_sidebar(self, event):
        if self.is_expanded:
            delta_x = event.x_root - self.start_x
            new_width = self.start_width + delta_x
            if self.min_width <= new_width <= self.max_width:
                self.width = new_width
                self.sidebar.config(width=self.width)
                self.update_toggle_button()

    def stop_resize(self, event):
        self.start_x = None
        self.start_width = None

    def toggle_sidebar(self):
        if self.is_expanded:
            self.sidebar_container.pack_forget()
            self.toggle_button.config(text="☰")
        else:
            self.sidebar_container.pack(side="left", fill="y", before=self.main_content)
            self.toggle_button.config(text="≡")
        self.is_expanded = not self.is_expanded
        self.update_toggle_button()

    def update_toggle_button(self):
        if self.is_expanded:
            self.toggle_button.place(x=self.width + 10, y=10)
        else:
            self.toggle_button.place(x=10, y=10)

class MainApplication(tk.Tk):
    def __init__(self):
        super().__init__()
        self.title("Stylish Dashboard with Toggleable Sidebar")
        self.geometry("1000x600")
        self.configure(bg="#FFFFFF")

        self.resizable_sidebar = ResizableSidebar(self)

if __name__ == "__main__":
    app = MainApplication()
    app.mainloop()
コードの説明
StylishButton クラス
カスタムボタンクラスで、ホバー効果を持つスタイリッシュなボタンを作成します。
ResizableSidebar クラス
アプリケーションの主要なコンポーネントで、サイドバーとメインコンテンツを管理します。
-
__init__メソッド:- サイドバー、サッシュ(リサイズハンドル)、メインコンテンツエリアを初期化します。
- トグルボタンとサイドバーの内容を追加します。
-
start_resize,resize_sidebar,stop_resizeメソッド:- サイドバーのリサイズ機能を実装します。
-
toggle_sidebarメソッド:- サイドバーの表示/非表示を切り替えます。
-
update_toggle_buttonメソッド:- サイドバーの状態に応じてトグルボタンの位置を更新します。
MainApplication クラス
メインウィンドウを作成し、ResizableSidebarを配置します。
使い方
- スクリプトを実行すると、サイドバー付きのダッシュボードアプリケーションが表示されます。
- サイドバーの右端をドラッグして幅を調整できます。
- 左上のトグルボタン(≡)をクリックしてサイドバーを折りたたむ/展開できます。
カスタマイズ
- 色やフォントを変更して、アプリケーションの外観をカスタマイズできます。
- サイドバーやメインコンテンツに独自のウィジェットを追加して、機能を拡張できます。
まとめ
このTkinterアプリケーションでは、折りたたみ可能で幅調整可能なサイドバーを実装しました。このテクニックを使用して、より複雑なGUIアプリケーションを構築できます。Tkinterの柔軟性を活かし、ユーザーフレンドリーなインターフェースを作成しましょう。
参考リンク
以上で、Tkinterを使用した折りたたみ可能なサイドバーの実装について説明しました。このコードを基に、さらに機能を追加したり、デザインをカスタマイズしたりして、独自のアプリケーションを作成してみてください。


