はじめに
Ruby初学者です。
まずはチュートリアルからRubyを学習しようと思い、どうせならとリリースされたRuby2.5.0でRuby on Railsの環境構築をしたので自分なりにまとめてみます。
参考までにマシンスペック
- macOS High Sierra(10.13.2)
- MacBook Air(Mid 2012) 古い。。。
- Intel Core i5
- メモリ 8GB
- デフォ ruby 2.3.3p222 (2016-11-21 revision 56859)
構築手順
Command Line Toolsのインストール
- Appleのdeveloperアカウントページにログイン
- メニューからDownloadsやDownload Toolsを探してダウンロードページへ
- See more downloadsからダウンロードリストページへ
- OSに対応したCommand Line Toolsを探してダウンロード
- ダウンロードされた.dmgファイルをインストール
Homebrewのインストール
Homebrewがインストールされているか確認
$ brew -v
Homebrew 1.4.2
Homebrew/homebrew-core (git revision a678; last commit 2018-01-02)
インストールされていたら、、、アップデートする
$ brew update
インストールされていなければ、、、Homebrew macOS 用パッケージマネージャーのサイトでの手順に従ってコマンドをターミナルにコピペしてインストール
rbenvのインストール
rubyのバージョン管理ができるようにrbenvをHomebrewでインストール
rbenvがインストールされているか確認
$ rbenv -v
rbenv 1.1.1
インストールされていたら、、、アップデートする
$ brew upgrade rbenv
インストールされていなければ、、、下記コマンドでインストール
$ brew install rbenv ruby-build
$ echo 'export PATH="~/.rbenv/shims:/usr/local/bin:$PATH"' >> ~/.bash_profile
$ echo 'eval "$(rbenv init -)"' >> ~/.bash_profile
$ source ~/.bash_profile
Ruby2.5.0のインストール
インストール可能なRubyのバージョンを下記コマンドで確認
$ rbenv install --list
今回は2017年12月にリリースされた2.5.0をインストールする
$ rbenv install 2.5.0
$ rbenv global 2.5.0
$ rbenv rehash
$ ruby -v
インストール後に環境全体に有効なバージョンに2.5.0を指定しておき、バージョンが反映されているか確認する
Bundlerのインストール
Bundlerがインストールされているか確認
$ bundle -v
Bundler version 1.16.1
インストールされていたら、、、アップデートする
$ gem update bundler
インストールされていなければ、、、下記コマンドでインストールしてバージョンの確認
$ gem install bundler
$ bundle -v
MySQLのインストール
MySQLをインストールして起動する
$ brew install mysql
$ mysql.server start
Starting MySQL
SUCCESS!
Railsのインストール
Railsをインストールし作業するディレクトリを作成する
$ mkdir ~/workspace
$ cd ~/workspace
Rubyのバージョンを指定する(今後のバージョン切り替えを考慮して念のため)
$ rbenv local 2.5.0
作業ディレクトリに.ruby-versionファイルが作成される
$ bundle init
Gemfileを編集し# gem "rails"をコメント解除する
# frozen_string_literal: true

source "https://rubygems.org"

git_source(:github) {|repo_name| "https://github.com/#{repo_name}" }

gem "rails"
Railsをインストールしてバージョン確認
$ bundle install --path=vendor/bundle
$ bundle exec rails -v
Rails 5.1.4
Railsアプリを作成する。今回はRails をはじめようのblogのチュートリアルにつなげたいのでblogを指定
$ bundle exec rails new blog
Webサーバーを起動する
$ rails server
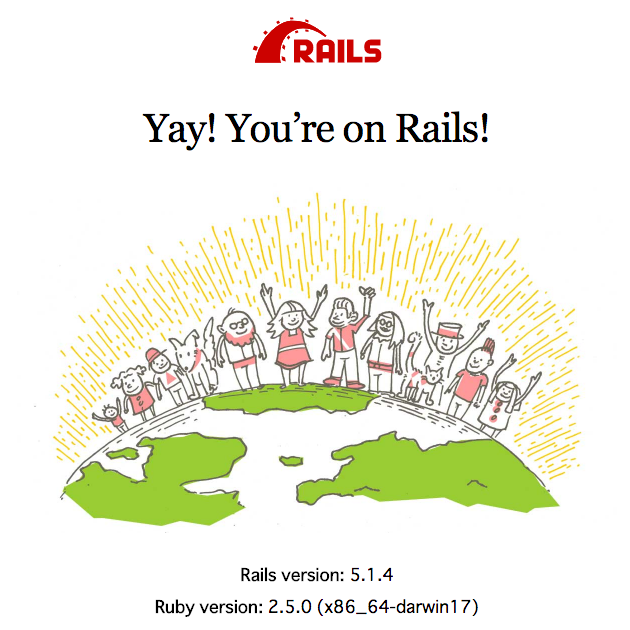
Yay! You're on Rails!
http://localhost:3000/ へブラウザアクセスするとRailsの画面が表示される
Rubyバージョンが2.5.0になっているはず。

railsコマンドが使えないときにやったこと
もしrails serverが正常に動作しないときはこちらの方法で解消できました。
railsコマンドが使えないときにやったこと
参考サイト
[2017年]MacでRuby on Rails環境構築を理由も含めてきちんと教えちゃる![Ruby]
最速!MacでRuby on Rails環境構築
railsをインストールできない