吾輩は人間である
前書き
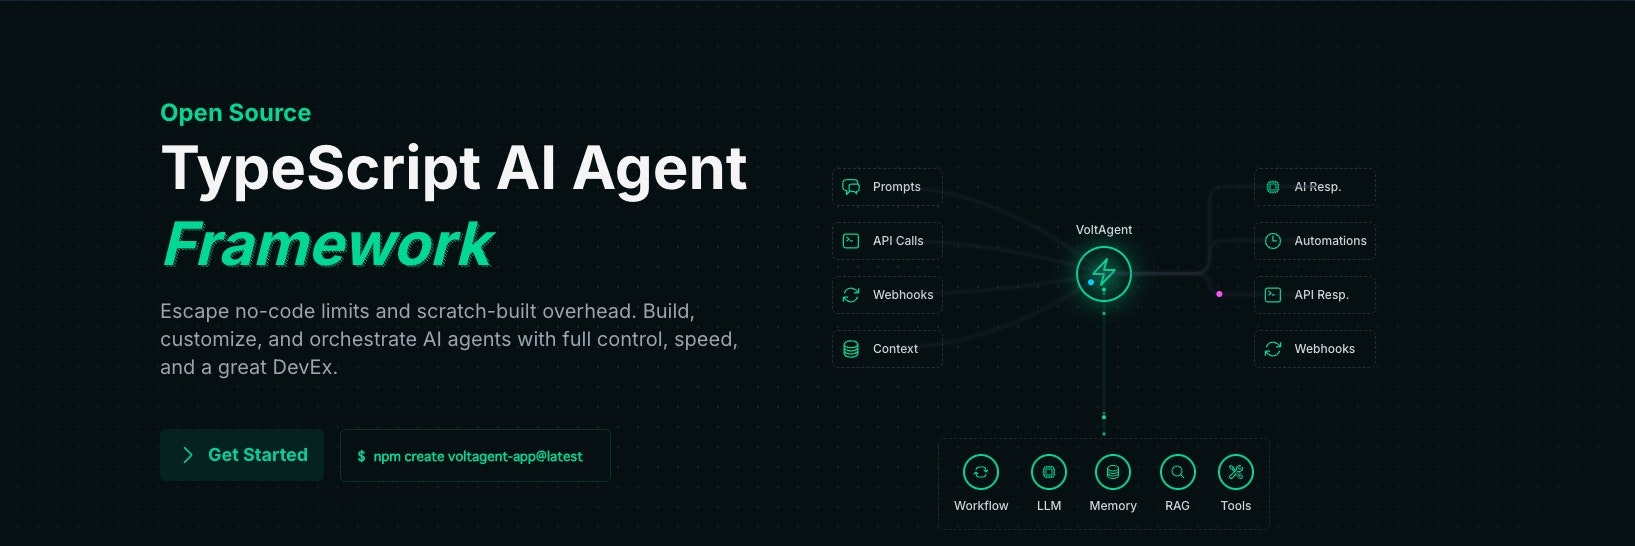
VoltAgentは皆さん聞いたことがあると思いますが、Typescript使ってAIエージェントを構築できて、洗練されたプレイグラウンドも備えており、そこでトレース観測したり、AIエージェントの思考回路を可視化したりすることができます。
実は、このきれいなプレイグラウンドはVoltOpsと呼ばれており、プロジェクト的にはVoltAgentと独立しています。
この記事では、MastraとVoltOpsとの連携方法をご紹介したいと思います。
VoltOpsの現状
VoltOpsは現在、LangfuseのようなLLMOpsツールを目指しています。
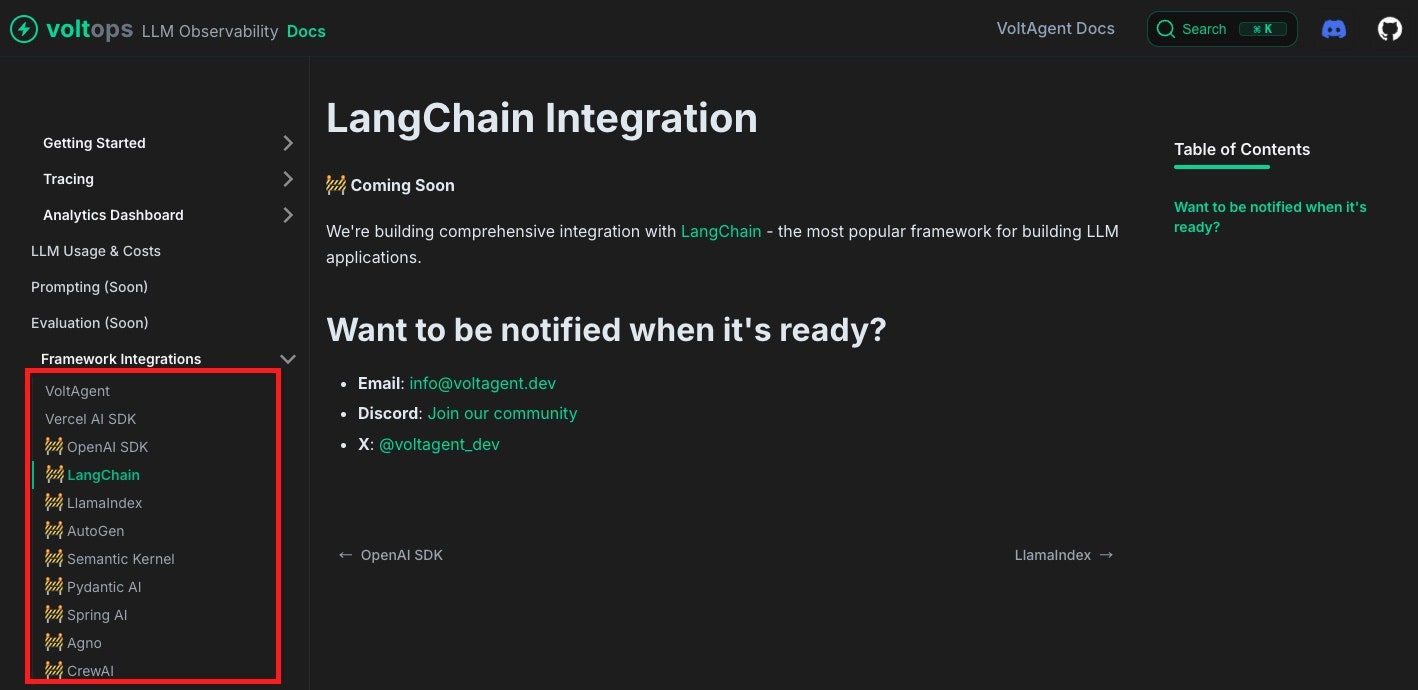
ホームページを確認すると、LLMトレースの観測機能がリリースされており、評価機能やプロンプト調整機能についてはCOMING SOONとなっています。
対応フレームワークも拡大しており、VoltAgent以外にAI SDKはすでに対応済みで、Python系のLangChainやCrewAIなどにも対応しようとしています。
Mastraはどうなの?
MastraはVoltAgentとはライバル関係にあり、対応フレームワークのリストにも掲載されていませんが、同じAI SDKをインフラとして使用しているため、実際に連携できるのではないかと考え、試してみたところ、うまく動作しましたので、その手順をご紹介します。
今回試したのは、Next.jsに組み込む形式のMastraです。単体でも動作するはずですが、そちらは試していません。
統合方法については、以下のドキュメントをご確認ください。
VoltOpsを使用するには、まずconsole.voltagent.devにログインして、SettingsからpublicKey,secretKey,baseUrlを取得します。
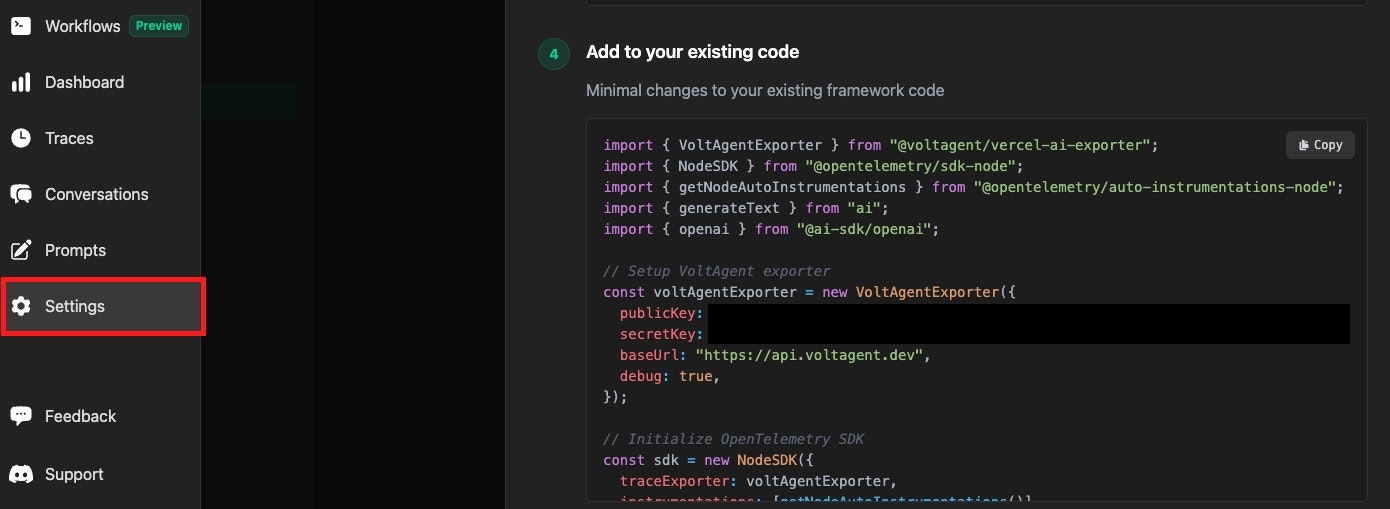
そして@voltagent/vercel-ai-exporterだけをインストールします。
% npm install @voltagent/vercel-ai-exporter
Mastraインスタンスのtelemetryを有効化します。
export const mastra = new Mastra({
  agents: { corporateBot },
  storage: new LibSQLStore({
    url: ":memory:",
  }),
  logger: new PinoLogger({
    name: "Mastra",
    level: "info",
  }),
+  telemetry: {
+    serviceName: "ai",
+    enabled: true,
+  },
});
Next.jsのinstrumentation.tsファイルを追加して、中にVoltOps向けてトレースを送信する設定を追加します。
instrumentation.tsは外形監視ツールを導入する際に、トリガーとしてよく使用されるファイルです。Next.jsのプロジェクト起動時に一度だけ実行されます。
export async function register() {
  if (process.env.NEXT_RUNTIME === "nodejs") {
    const {
      NodeSDK,
      getNodeAutoInstrumentations,
      ATTR_SERVICE_NAME,
      resourceFromAttributes,
    } = await import("@mastra/core/telemetry/otel-vendor");
    const { VoltAgentExporter } = await import("@voltagent/vercel-ai-exporter");

    // 取得した環境変数を追加
    const voltAgentExporter = new VoltAgentExporter({
      publicKey: process.env.VOLTAGENT_PUBLIC_KEY,
      secretKey: process.env.VOLTAGENT_SECRET_KEY,
      baseUrl: "https://api.voltagent.dev",
      debug: true,
    });

    const sdk = new NodeSDK({
      traceExporter: voltAgentExporter,
      instrumentations: [getNodeAutoInstrumentations()],
      resource: resourceFromAttributes({
        [ATTR_SERVICE_NAME]: "ai",
      }),
    });

    sdk.start();
  }
}
これで設定は完了です。
実際にAIエージェントに何らかのメッセージを送信すると、そのトレースがVoltOpsに送信されます。

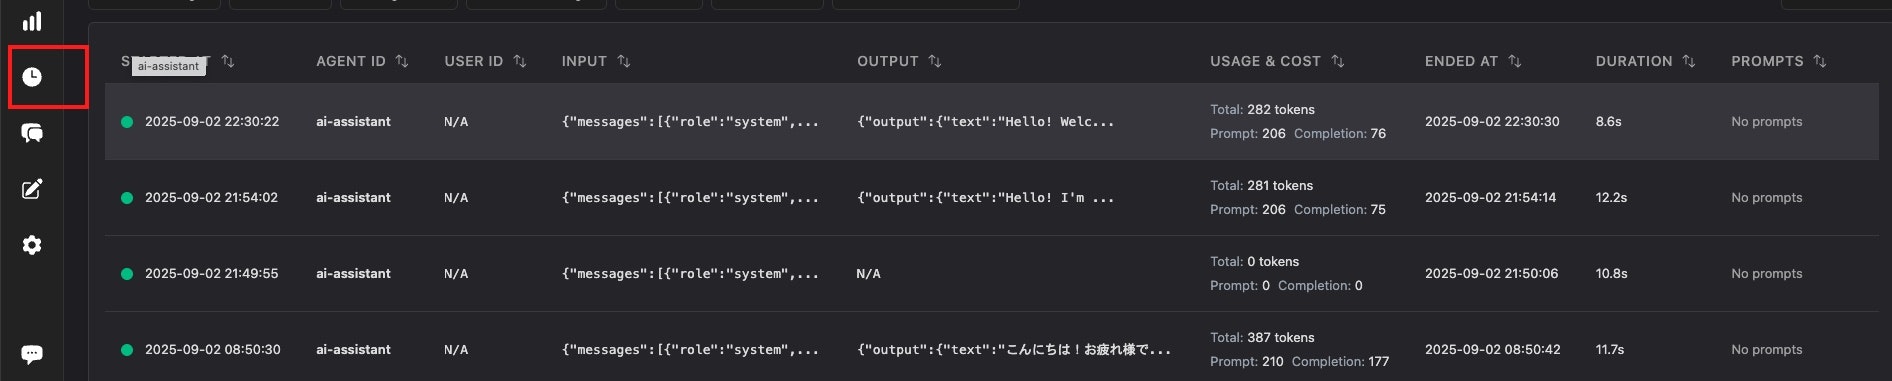
トレースの詳細を確認すると、きれいなダッシュボードで詳細を確認できます。

感想
現時点(2025/09/02)では、VoltOpsは他のフレームワークのサポート機能がまだ弱く、見た目はきれいですが、プロダクトでの利用はまだ先になりそうです。