初期設定は、Amazon EC2でnode.js,Expressアプリケーションを立ち上げるの インスタンスにnode.jsをセットアップ までを参考にしてください。
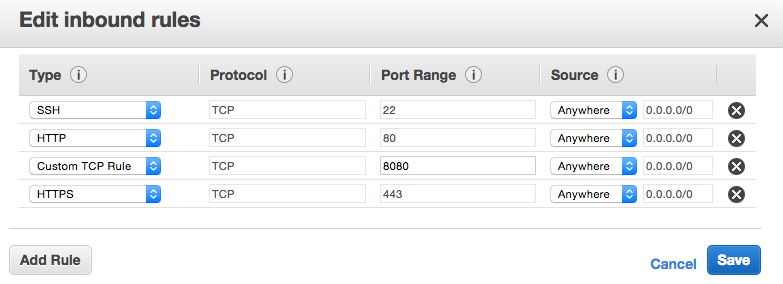
Angular-fullstackはポート8080番を使用するので、Security Group設定でポート8080番を開けておいてください。
インスタンスにAngular-fullstackをセットアップ
sshで対象のインスタンスにログインし、下記コマンドを順番に実行していきます。
yeomanのインストール
$ sudo npm install -g yo
bowerのインストール
'$ sudo npm install -g bower'
gruntのインストール
$ sudo npm install -g grunt-cli
angular-fullstackのジェネレーターをインストール
$ sudo npm install -g generator-angular-fullstack
アプリケーションを作成
アプリケーションのフォルダを作成してフォルダに移動
$ mkdir myAngularApp && cd $_
yeomanを利用してアプリケーションを生成
$ yo angular-fullstack myAngularApp
何点か選択肢が表示されるので、選択してください。
今回はDBの設定をしていないのでMondoDBの利用はしないようにしてください。
それ以外の選択肢はお好みで。
sassを使用したい場合は下記コマンドを追加で実行してください。
$ sudo gem install sass
アプリケーションをビルド
gruntのbuildコマンドを実行して、アプリケーションをビルドします。
$ grunt build
ビルドが完了しdistフォルダが作成されるので対象フォルダに移動します。
'$ cd dist/server`
サーバーを起動
環境変数オプションを付けて起動します。
$ NODE_ENV=production node app.js
ブラウザから確認
http:[インスタンスのIPアドレス]:8080
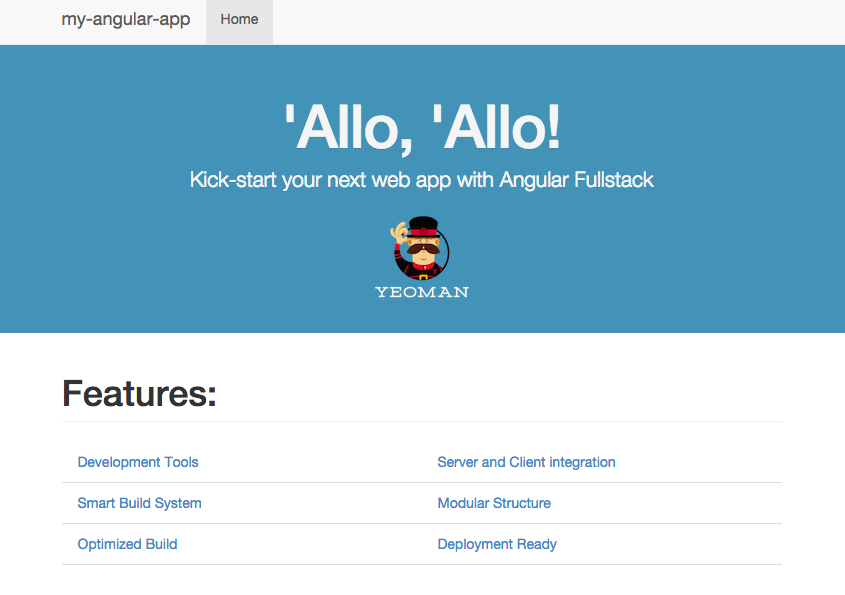
上記webページにアクセスすると、アプリケーションのページが表示されます。

