Overview
In this article I will explain you how to incorporate the payment mechanism into a Node.js application using the LINE Pay API. We will see how develop and simulate the settlement mechanism using LINE Pay's Sandbox environment.
Flow of settlement using LINE Pay API
There are 3 characters. The first is a Service provider (Merchant or you) who offers goods or services for a fee. The second one is the User who purchases the product or service. And the third one is LINE Pay. The Service Provider will access to the API of LINE Pay and the User will approve on LINE Pay. The settlement will be done with the following flow:
Settlement reservation
The Service Provider sends the settlement information such as the product's name, price etc. to the API (Reserve API) of the settlement reservation, and obtains the settlement URL.
User approval
Provide the User with the acquired settlement URL. The User goes to the settlement URL. LINE Pay is activated, the product and the amount are displayed, and the User confirms the information and approves the settlement.
Execute settlement
Once the User approves, the Service Provider will be notified by redirecting to any URL or POST request to any URL. Since it is in a state where you can execute settlement at that point, after you access the API (Confirm API) of settlement execution, settlement is completed.
This is the basic flow of settlement each time. Besides this, there is a mechanism called Continuous Settlement. Continuous Settlement is a mechanism that allows you to execute settlement only between the Service Provider and LINE Pay without requiring User approval for next time.
Creation and setting of LINE Pay Sandbox
In order to actually settle the Merchant, you need to register a Merchant but you can just use the sandbox if you develop your application and to check the operations.
-
Apply for a Sandbox account on Sandbox Creation menu.
-
Once you submit the application, the account information will be sent to the email address you input.
-
Accesss to the page LINE Pay and login with the account information received via email.
-
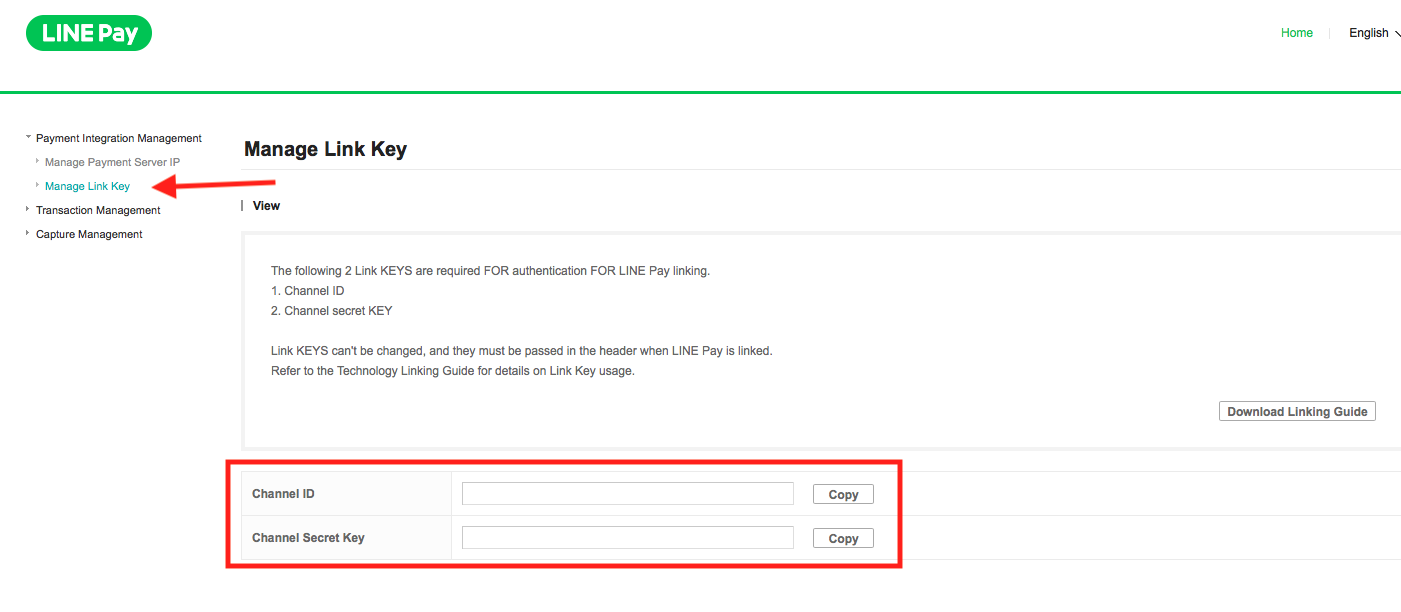
Get your Channel ID & Channel Secret Key for integration.
-
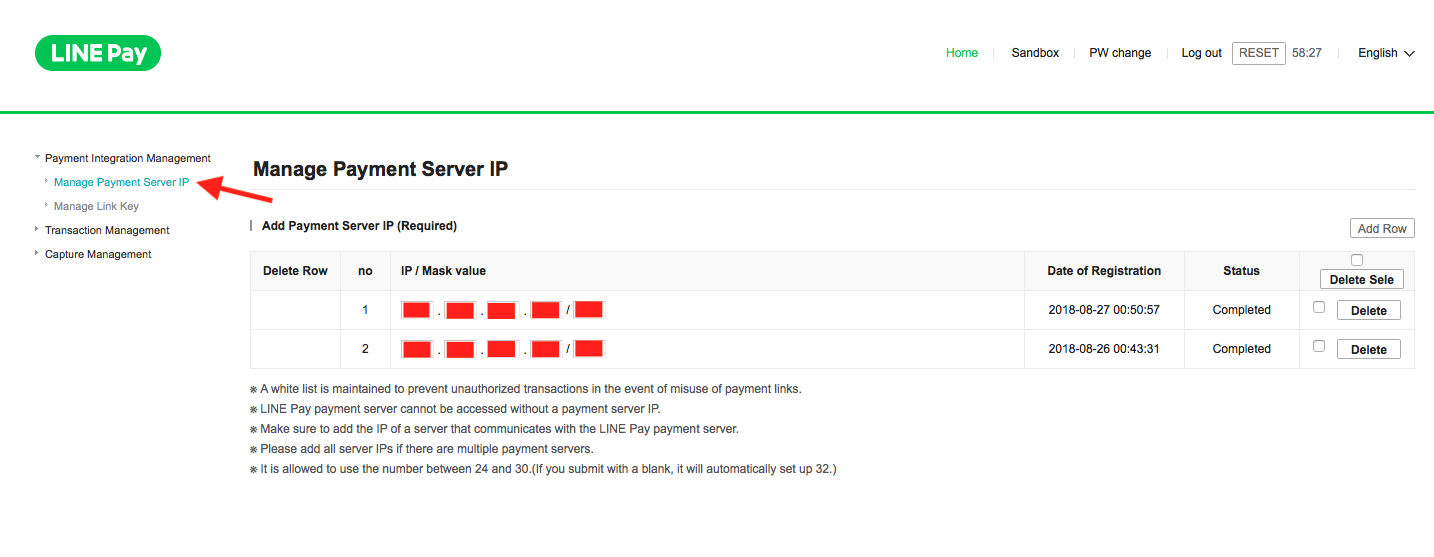
Register payment server's IP(s) as white IP.
-
Proceed a test to check if LINE Pay has been integrated properly.
Node.js app
We will create a simple website that works on Node.js and Express. A Website that allow to buy apples via LINE Pay. You can get the source at that link.
Create a project Node.js
$ mkdir project_name
$ cd project_name
$ touch index.js
$ npm init
We need to install some dependencies, like the LINE Pay sdk for Node.js, Express and ...
$ npm install --save line-pay-sdk express ejs uuid
Let's create a file .env with all your environment variables.
LINE_PAY_CHANNEL_ID=YOUR_LINE_PAY_CHANNEL_ID
LINE_PAY_CHANNEL_SECRET=YOUR_LINE_PAY_CHANNEL_SECRET
PORT=5000
const line = require("line-pay-sdk");
const express = require("express");
const uuid = require("uuid/v4")
const dotenv = require("dotenv");

// Get the env vars from the .env file.
dotenv.config()

// Init the LINE Pay client.
const client = new line.Client({
  channelId: process.env.LINE_PAY_CHANNEL_ID,
  channelSecret: process.env.LINE_PAY_CHANNEL_SECRET,
});

// Init express.
const app = express();

// Set ejs as template engine.
app.set("view engine", "ejs");

// Router configuration to serve web page containing pay button.
app.get("/", (req, res) => {
  res.render(__dirname + "/index");
});

// Middleware configuration to serve static file.
app.use(express.static(__dirname + "/public"));

/**
 *  LINE PAY WITHOUT MIDDLEWARE
 */
// Router configuration to start payment.
app.use("/pay/reserve", (req, res) => {
  const options = {
    productName: "Apple",
    amount: 1,
    currency: "JPY",
    orderId: uuid(),
    confirmUrl: `http://localhost:${process.env.PORT || 5000}/pay/confirm`
  };

  client.reservePayment(options).then((response) => {
    console.log("Reservation was made!");
    console.log("Response: ", response);

    res.redirect(response.info.paymentUrl.web);
  });
});

// Router configuration to recieve notification when user approves payment.
app.use("/pay/confirm", (req, res) => {
  if (!req.query.transactionId){
    throw new Error("Transaction Id not found.");
  }

  const confirmation = {
    transactionId: req.query.transactionId,
    amount: 1,
    currency: "JPY"
  };

  console.log(`Going to confirm payment with following options.`);
  console.log(confirmation);

  client.confirmPayment(confirmation).then((response) => {
    res.send("Payment has been completed.");
  });
});

/**
 *  LINE PAY WITH MIDDLEWARE
 *  Perform the reservePayment & confirmPayment.
 *  Once the User approves the settlement.
 */
app.use("/middleware", client.middleware({
  productName: "Golden apple",
  amount: 2,
  currency: "JPY",
  orderId: uuid(),
  confirmUrl: `http://localhost:${process.env.PORT || 5000}/middleware/confirm`
}), (req, res, next) => {
  res.send("Payment has been completed.");
});

app.listen(process.env.PORT || 5000, () => {
  console.log(`Server is running on http://localhost:${process.env.PORT || 5000}`);
});
And the ejs view.
<html>
  <head>
    <meta name="viewport" content="width=device-width, initial-scale=1" />
  </head>
  <body>
    <p>LINE Pay without middleware</p>
    <a href="/pay/reserve"><img src="/pay_btn.png"></img></a>

    <p>LINE Pay with middleware</p>
    <a href="/middleware"><img src="/pay_btn.png"></img></a>
  </body>
</html>
Now it is time to test your application. Let's run your server:
$ node index.js
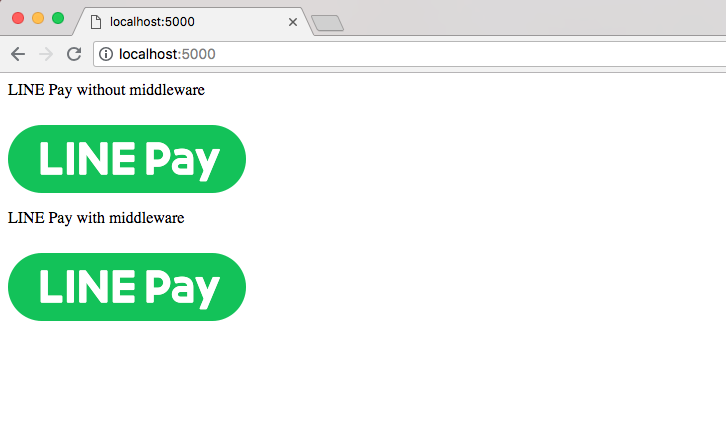
Connect to your application http://localhost:5000.
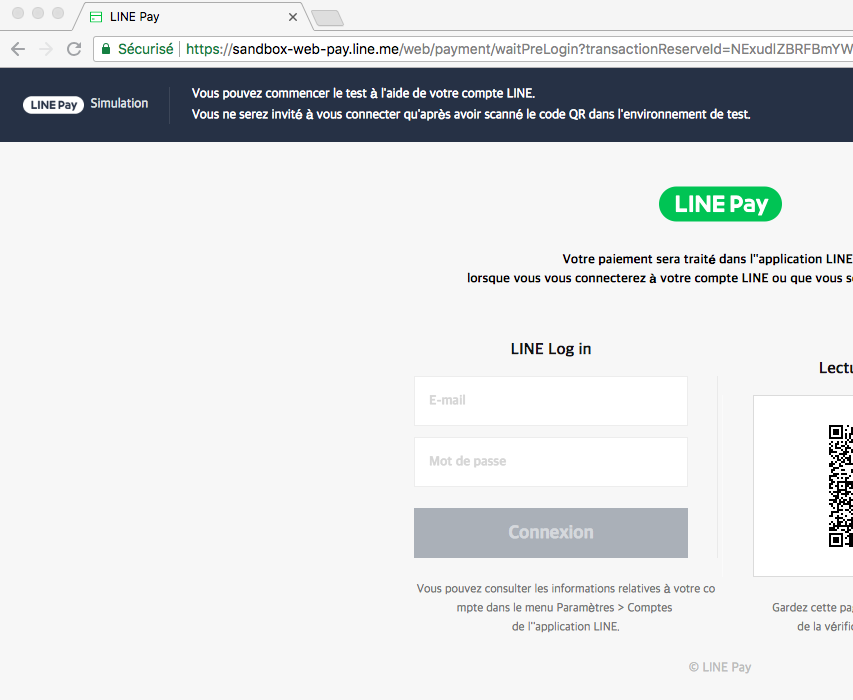
When you click on the LINE Pay's button, you will be redirect to sandbox-web-pay.line.me.
Next you have to login with your LINE account.
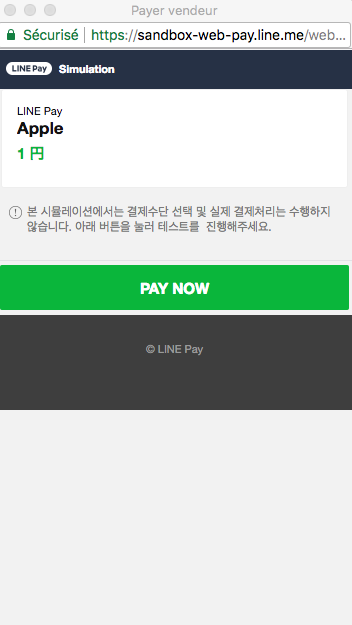
The pop-up below will appear and you have just to click on PAY NOW to confirm the payment.
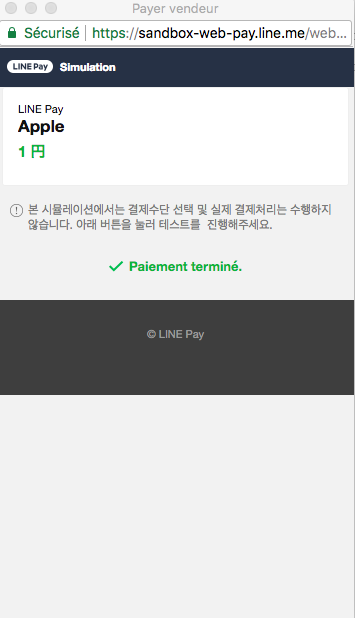
Confirm that your payment is complete.
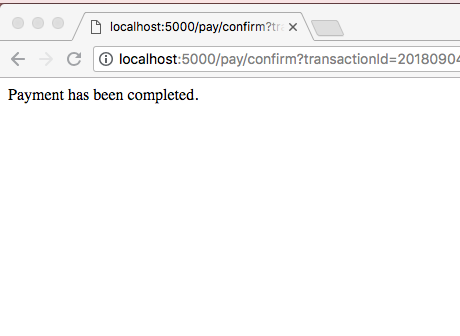
Once the payment is done, we send the message "Payment has been completed." in the browser.
To learn more about the LINE Play API here is the official documentation and the documentation for my LINE Pay's SDK Node.js.

