経緯
2020年1月にiOSアプリをリリースして、もともとAndroidのアプリがあったので
これは今ならLP作れるのでは... ![]()
という浅い考えと、何か新しい方法で試してみたいという欲求から今回は
GatsbyJSとNetlifyを使ってLPを作る事にしました。
2020年初のアプリリリースしました🎉
— slowhand (@wes_ja0927) January 17, 2020
神社巡ったり好きな方は良ければ使って見てください。iOSアプリです。m(_ _)mhttps://t.co/qv2C9dDhu1
GatsbyJSとNetlify
-
GatsbyJS
- GatsbyJSに関してはこちら参照 GatsbyJSを試してみた
-
Netlify
- 静的サイトをホスティングすることができるWebサービス
-
料金に関して
- 今回は無料の枠内で対応
 環境構築
環境構築
今回はこちらのテンプレートを使用してLPを作成したいと思います。
$ gatsby new app-lp https://github.com/anubhavsrivastava/gatsby-starter-newage
早速起動してみます。
$ cd app-lp
$ gatsby develop
ブラウザで http://localhost:8000/にアクセスして↓のページが表示されればOKです。
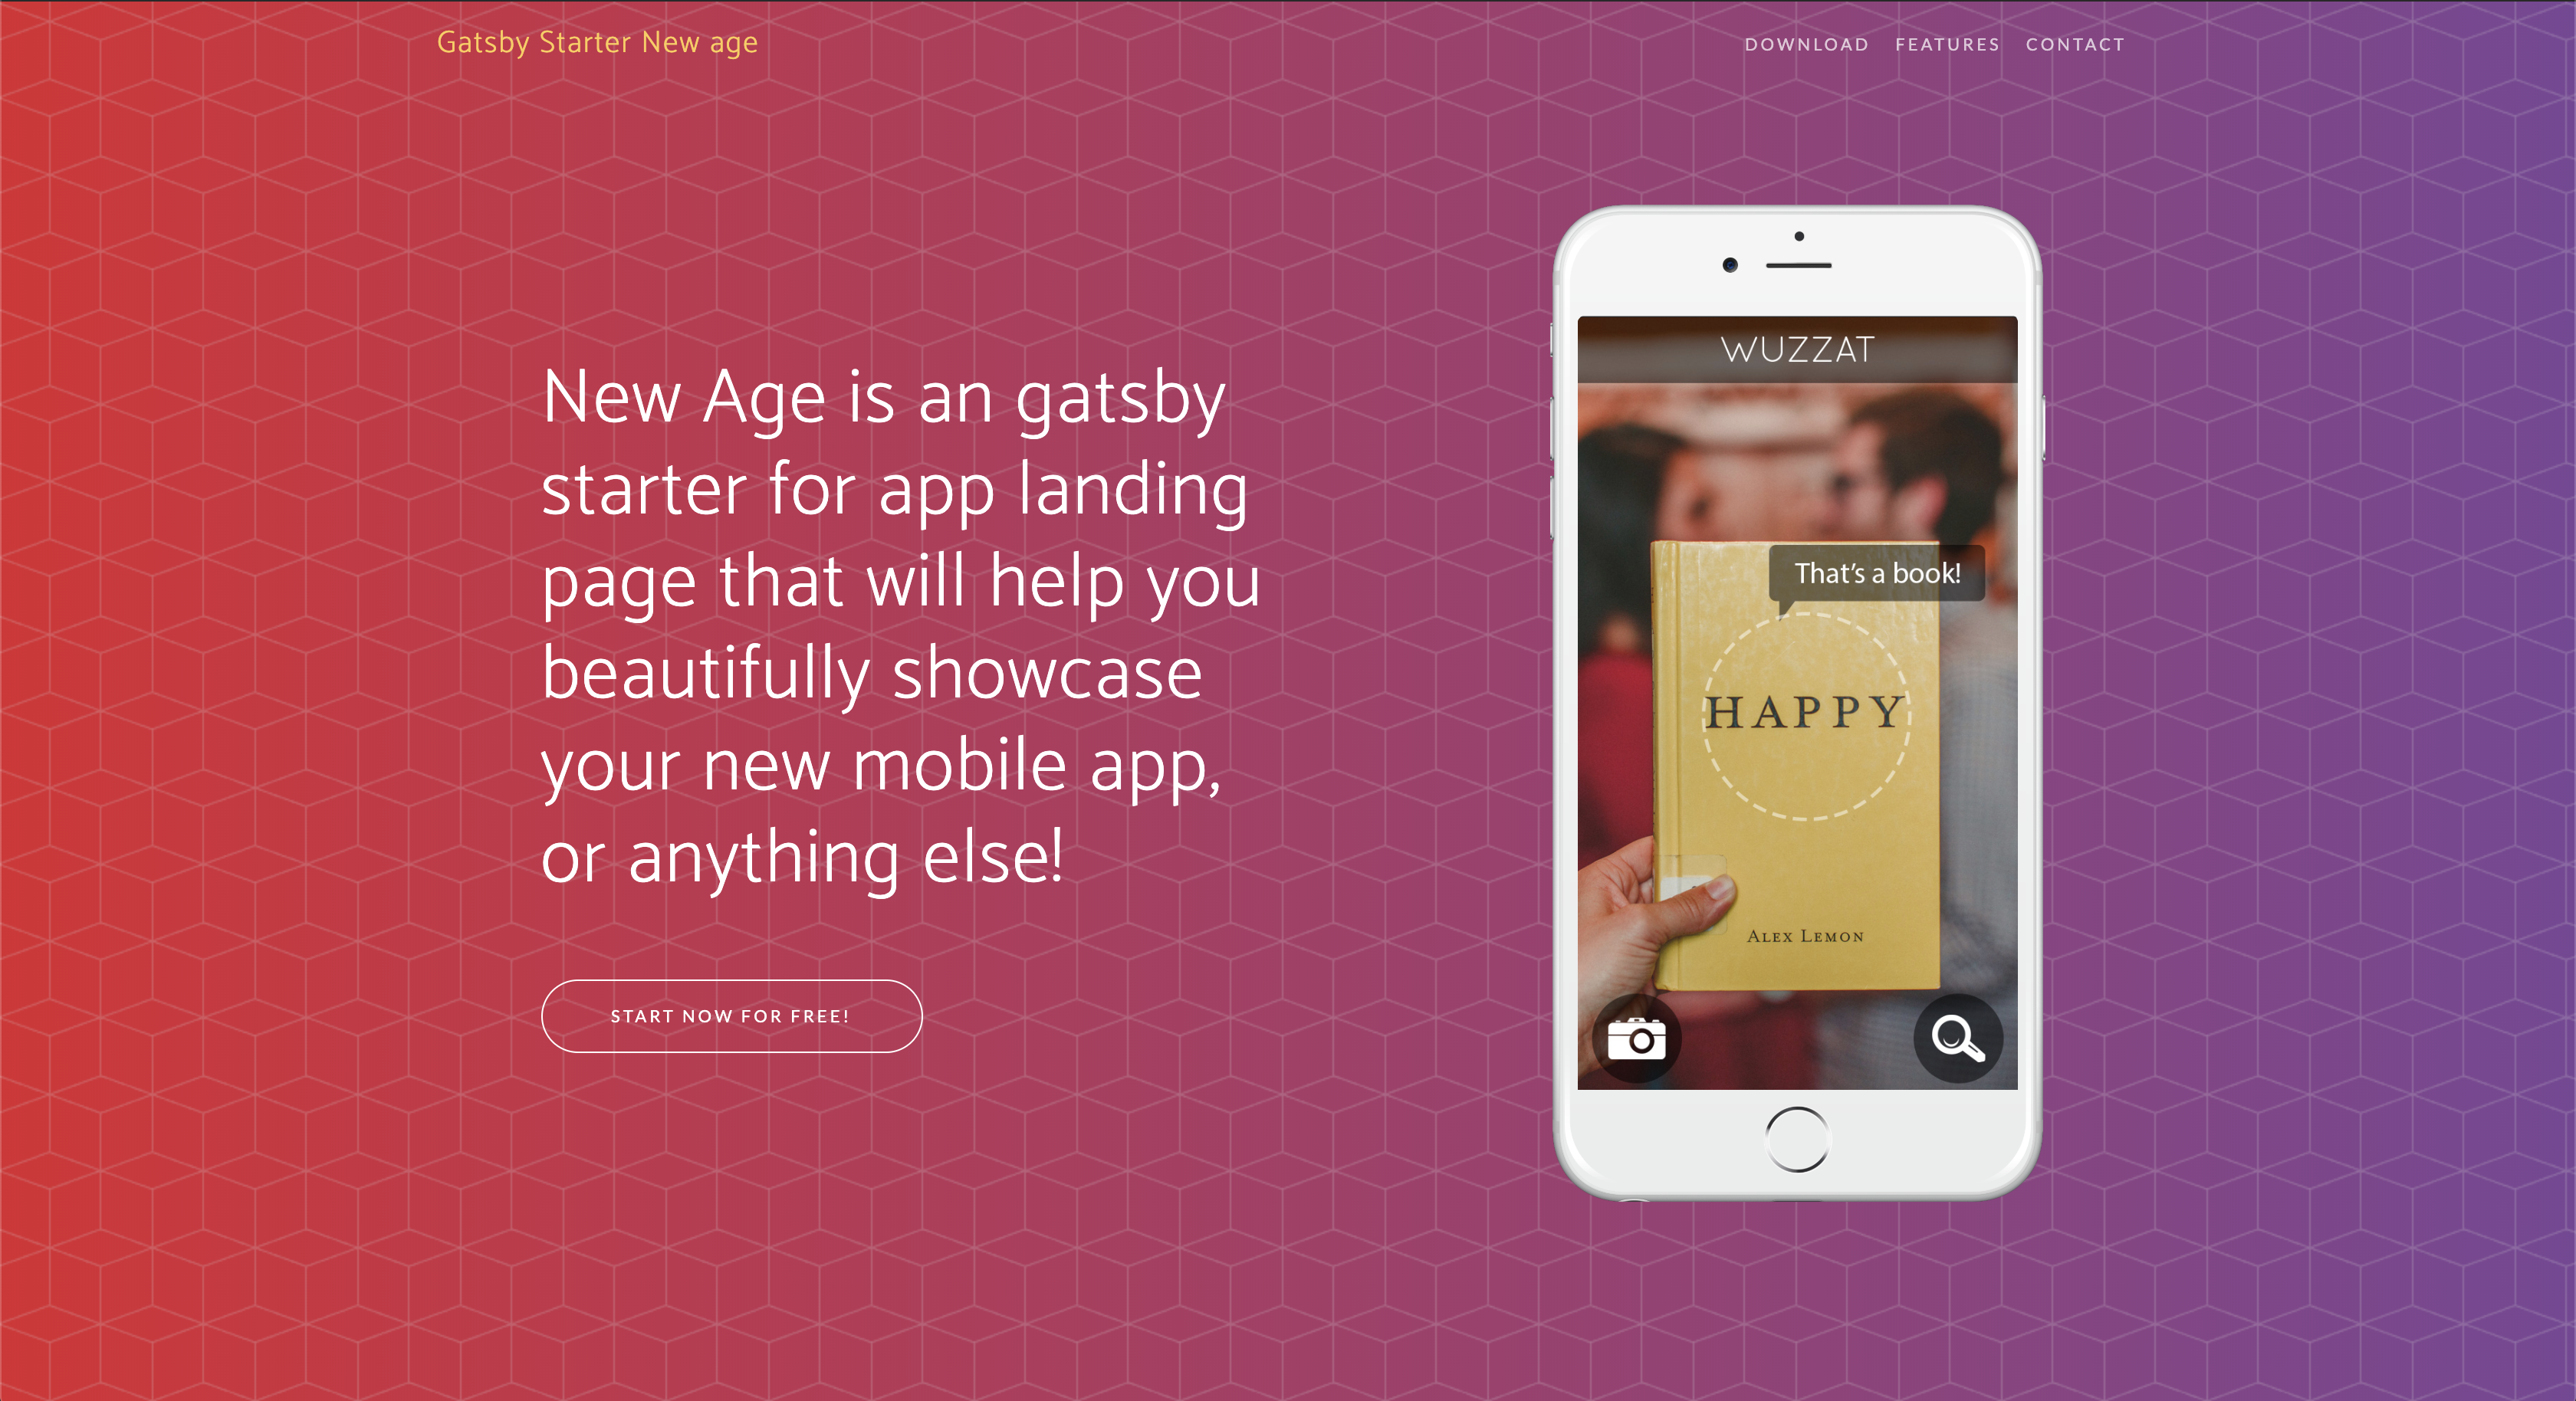
LPポイですねw (当たり前)
ここまで出来たら、一度Github上にリポジトリを作成しPushします。
今回はPrivateなリポジトリでも可能なのか検証も含めPrivateリポジトリで試しました。
(確認後Publicにしてます)
 サイトページの内容を修正
基本的な情報
config.js で設定されているので、ここを適宜修正します。
module.exports = {
  siteTitle: '[アプリ名]', // <title> ☆修正
  manifestName: 'app-lp', // ☆修正
  manifestShortName: 'Landing', // max 12 characters
  manifestStartUrl: '/',
  manifestBackgroundColor: '#EB6101', // ☆修正
  manifestThemeColor: '#EB6101', // ☆修正
  manifestDisplay: 'standalone',
  manifestIcon: 'src/assets/img/website-icon.png', // ☆アイコン修正
  pathPrefix: `/app-lp/`, // ☆修正
  // social ☆必要に応じて修正
  socialLinks: [
    {
      icon: 'fa-github',
      name: 'Github',
      url: 'https://github.com/xxxx',
    },
    {
      icon: 'fa-linkedin-in',
      name: 'Linkedin',
      url: 'https://linkedin.com/in/xxxx/',
    },
    {
      icon: 'fa-twitter',
      name: 'Twitter',
      url: 'https://twitter.com/xxxx',
    },
    {
      icon: 'fa-facebook-f',
      name: 'Facebook',
      url: 'https://facebook.com/xxxx',
    },
  ],
};
Footerの修正
まずは簡単な所から、src/components/Footer.js のコピーライトの部分を修正しました。
import React from 'react';
export default function Footer() {
return (
<footer>
<div className="container">
<p>© [名前]. All Rights Reserved.</p>
</div>
</footer>
);
}
コンテンツ全般の修正
次にコンテンツ全般の修正をガッツリ行いました。主に修正するファイルは
src/pages/index.js になります。
また、適宜CSSも微調整しました。
Netlifyでページ公開
ページを修正したら、早速デプロイして公開していきたいと思います。
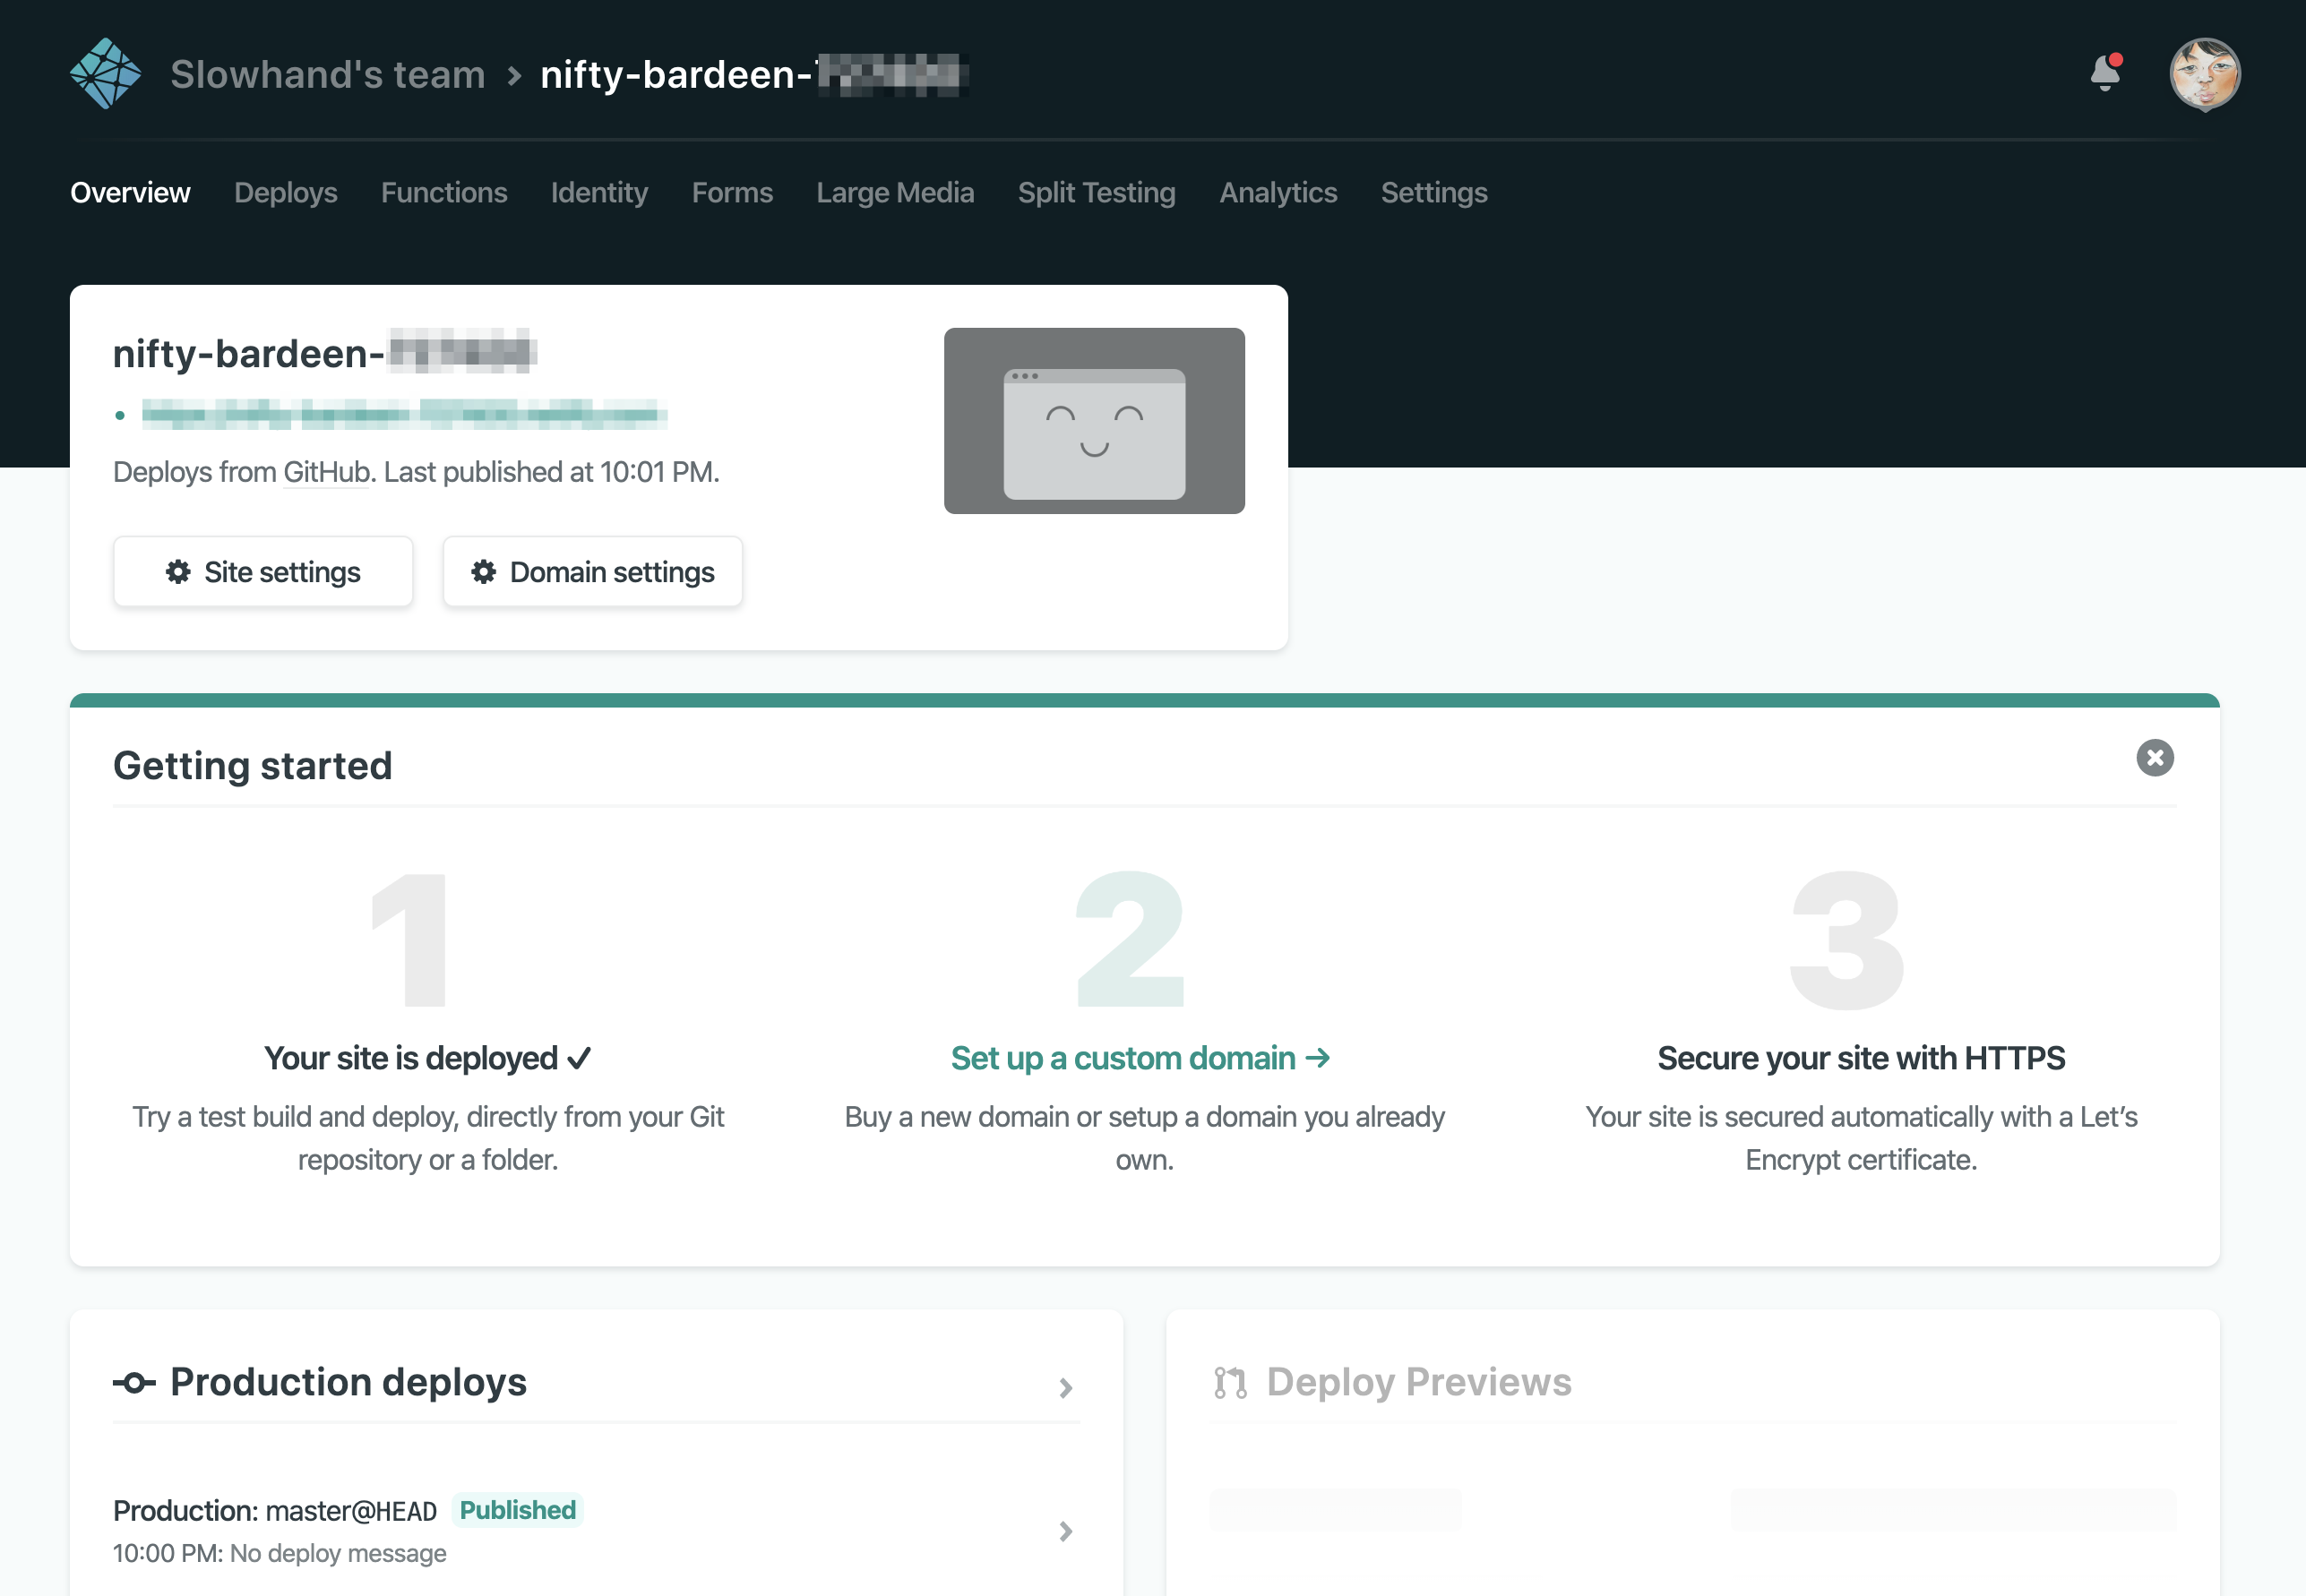
Netlifyにログインすると以下のページが表示されます。
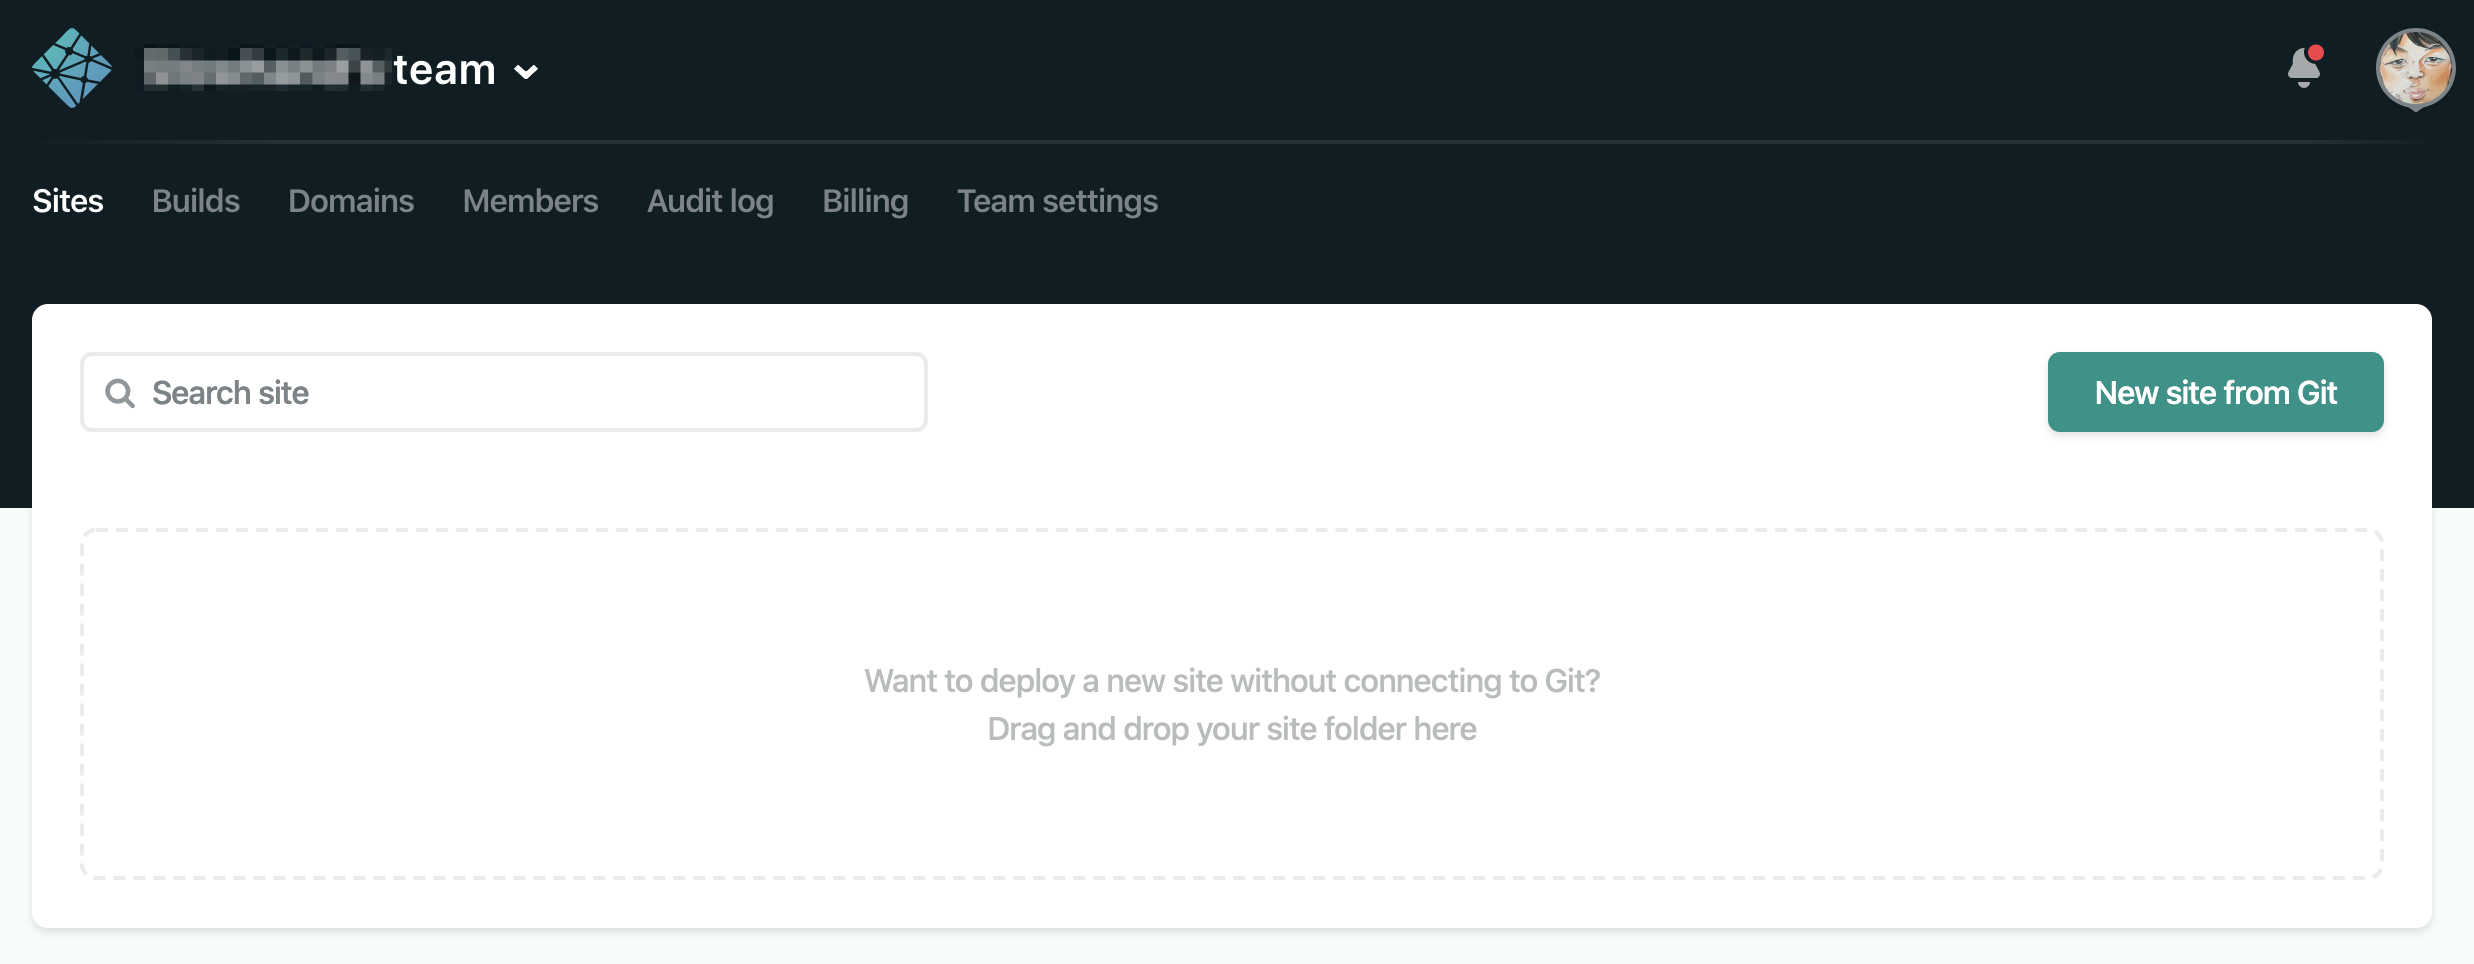
早速Githubのレポジトリと連携しようと思うので、「New from site Git」から連携するリポジトリを選択します。
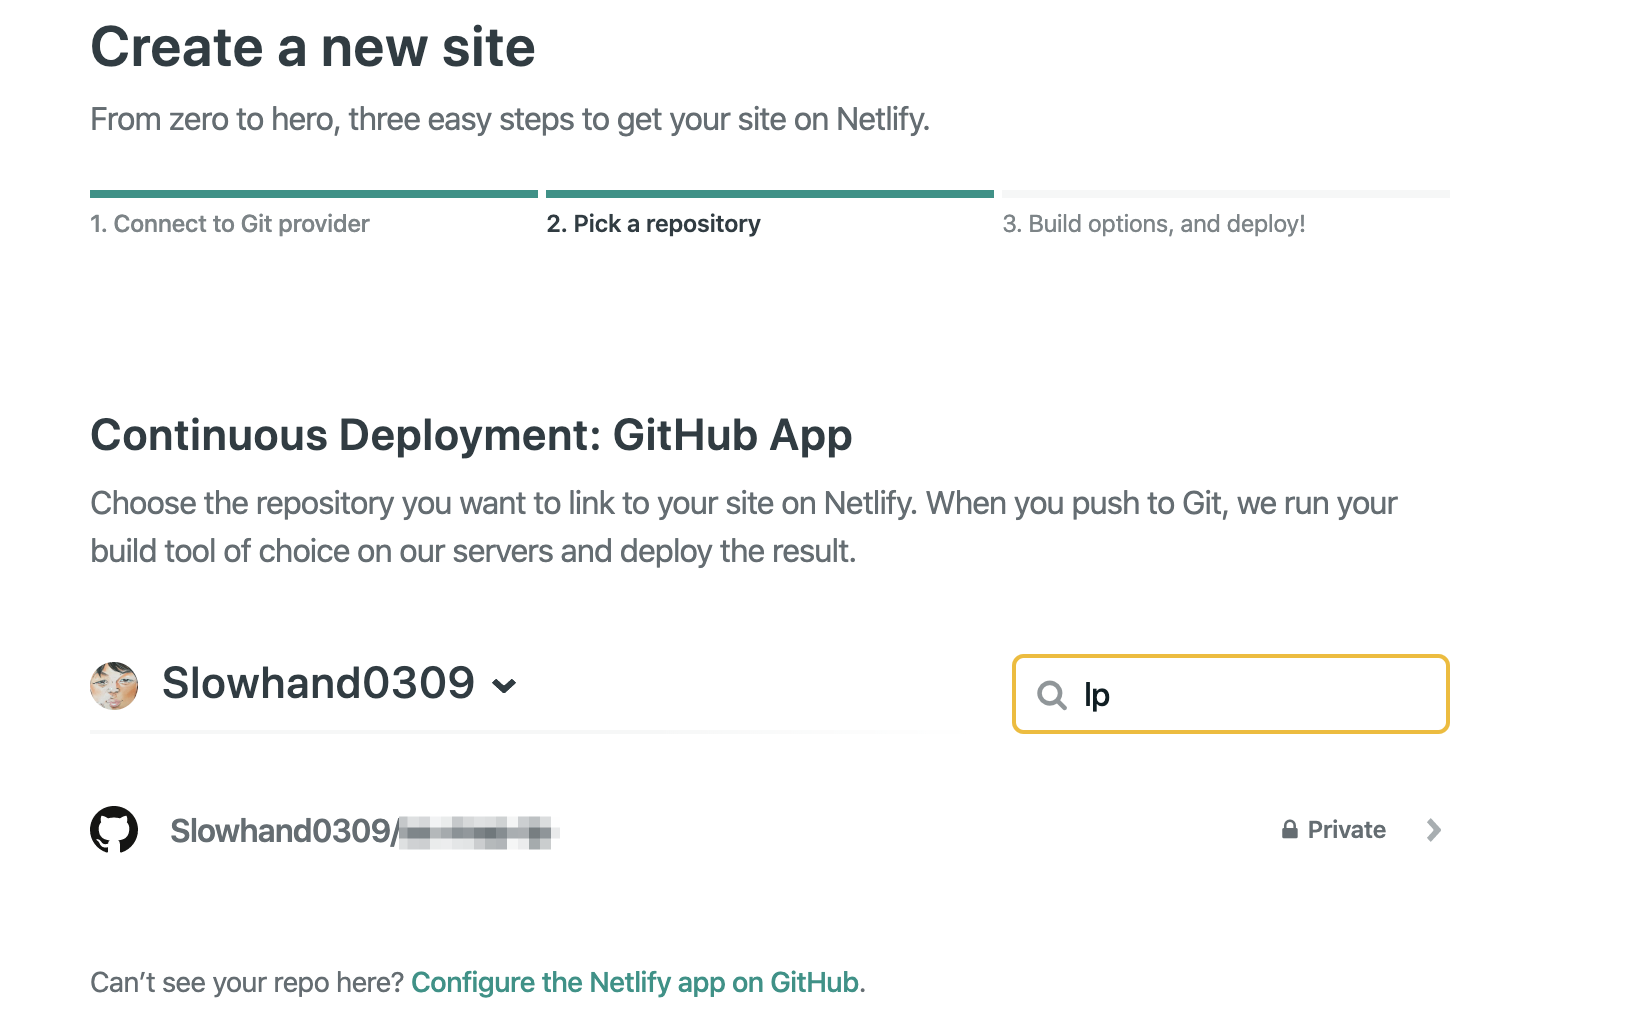
設定はデフォルトのままで「Deploy site」で早速デプロイしてみます。
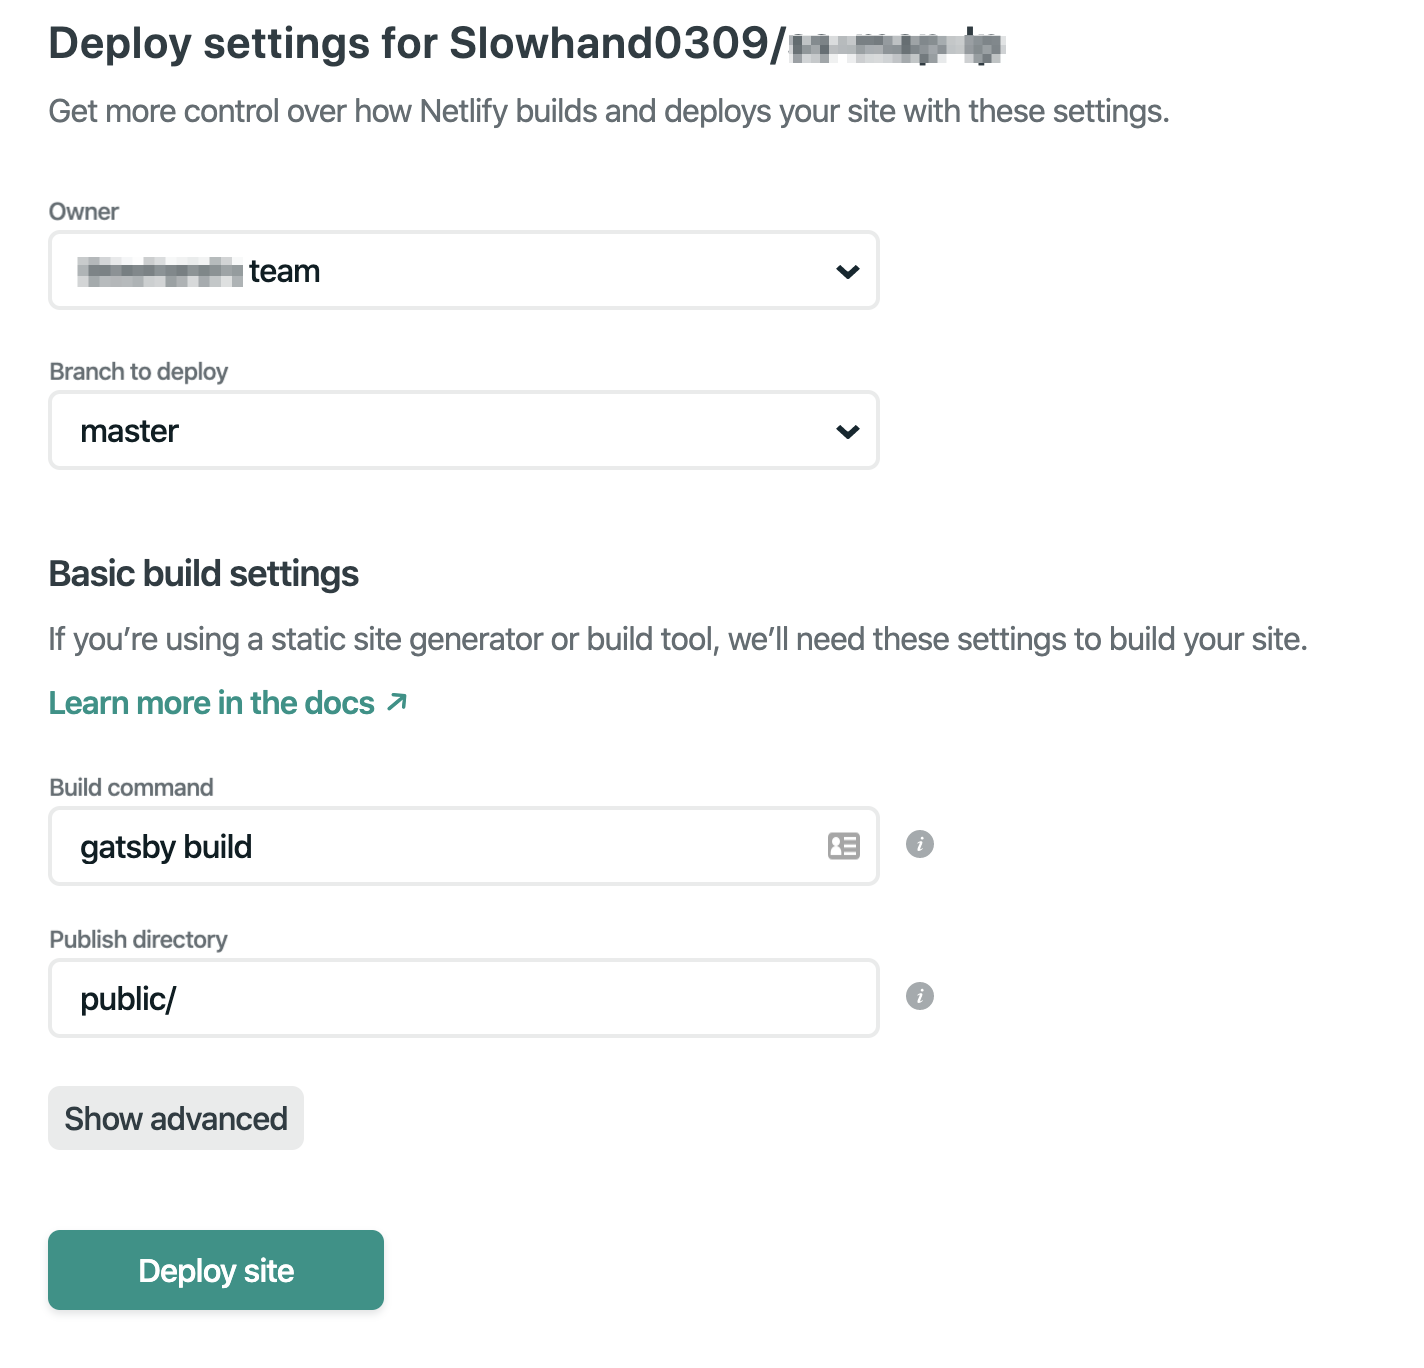
これだけでデプロイが完了しました ![]() 簡単。
簡単。
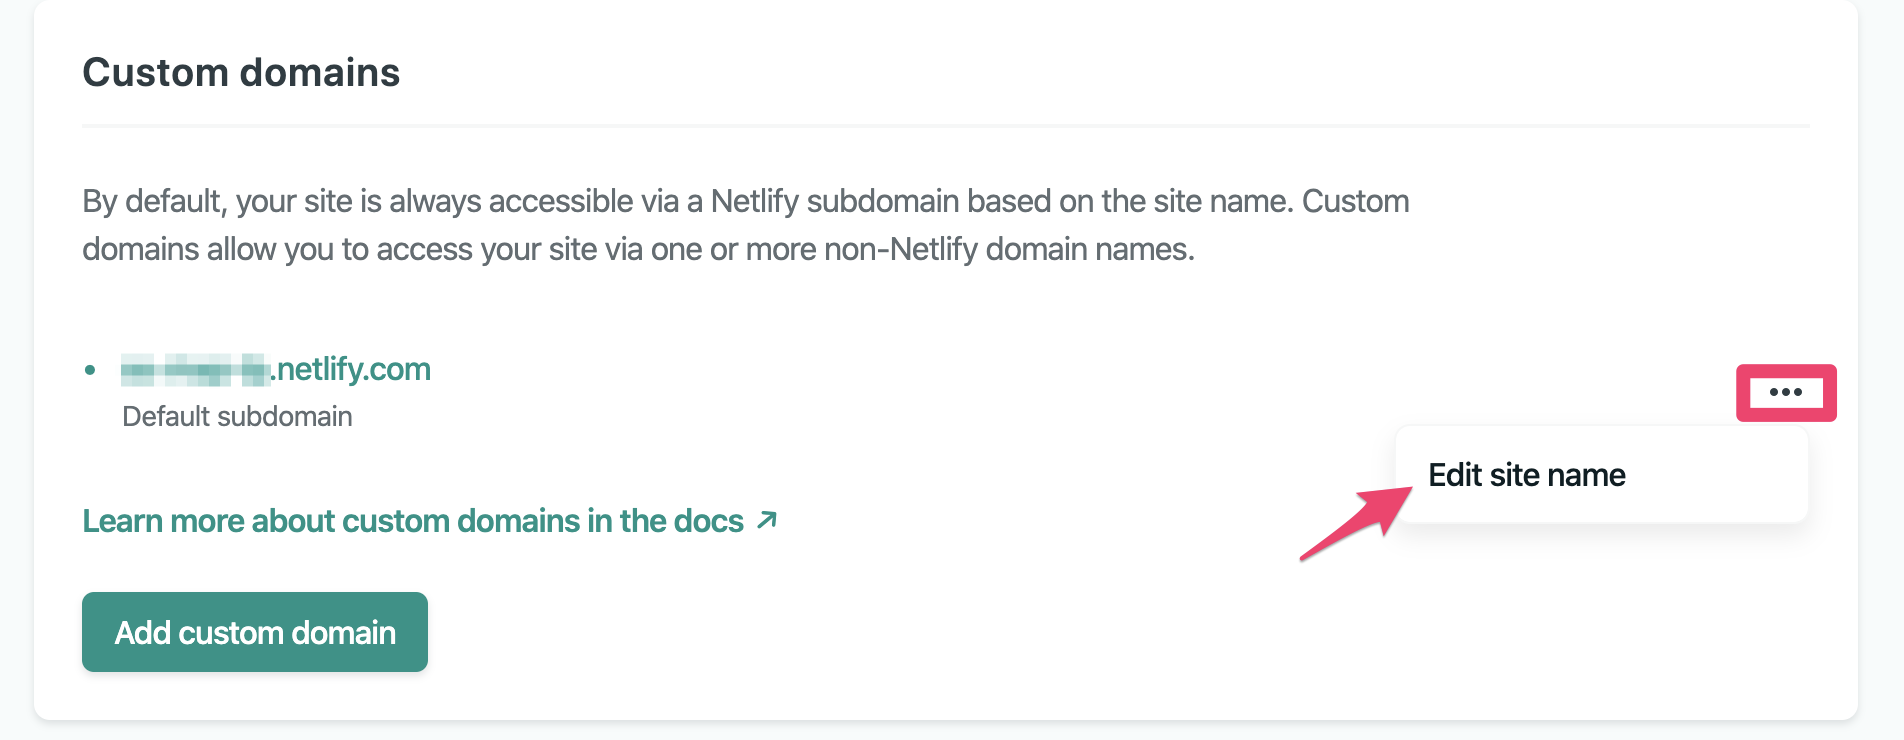
最後にサイト名を修正します ![]()
今回作成したLPは以下に公開してます !
https://ss-map-lp.netlify.com/
※ドメイン変更まで行うと有料になるので、今回はやりませんでした。
リポジトリはこちら
https://github.com/Slowhand0309/ss-map-lp
(※Privateでも大丈夫そうだったので、今は公開してます)
ものの数時間でデプロイできました ![]() 更新があっても後はリポジトリにPushするだけなのでとても便利そうです。
更新があっても後はリポジトリにPushするだけなのでとても便利そうです。