はじめに
Dockerコンテナでローカルに環境構築をしたので
作業内容をメモとして残します。
RailsAPIの挙動を確かめるために、構築したものです。
構成の概要
- Ruby: 3.1
- Rails: 7.0 (APIモード)
- MySQL: 8.0
ディレクトリ構成
作業前にディレクト・ファイルを用意しておきます。
.
├── Dockerfile
├── Gemfile
├── Gemfile.lock
├── docker-compose.yml
└── entrypoint.sh
設定ファイル
各種ファイルの設定していきます。
docker-compose.yml
まずは複数コンテナを操作するdocker-composeから設定します。
ここではMySQLのパスワードを直書きしていますが
本来は環境変数をまとめる.envなどのファイルを
gitignoreで追跡除外して、GitHub上で
一般に公開されないように考慮するべきです。
(今回は行っていません)
version: '3.8'

services:

  db:
    image: mysql:8.0.29
    command: --default-authentication-plugin=mysql_native_password
    volumes:
      - ./tmp/db:/var/lib/mysql
    environment:
      MYSQL_ROOT_PASSWORD: initial_password

  web:
    build: .
    volumes:
      - .:/myapp
    ports:
      - "3000:3000"
    depends_on:
      - db
Dockerfile
続いてwebサーバーのコンテナイメージを生成するDockerfileを設定します。
現時点のRubyバージョンの安定版をネットでリサーチして
DockerHubからイメージを探して、ベースイメージとして設定します。
FROM ruby:3.1

RUN mkdir /myapp
WORKDIR /myapp
COPY Gemfile* ./
RUN bundle install
COPY . /myapp

COPY entrypoint.sh /usr/bin/
RUN chmod +x /usr/bin/entrypoint.sh
ENTRYPOINT ["entrypoint.sh"]
EXPOSE 3000

CMD ["rails", "server", "-b", "0.0.0.0"]
Gemfile/Gemfile.lock
ここではRailsバージョンを指定するGemfileを設定します。
Gemfile.lockはインストールされた各種ライブラリのバージョンを記録するものなので
箱だけ用意して無記入としておきます。
source 'https://rubygems.org'
gem 'rails', '~>7.0.1'
## 何も記入しない
entrypoint.sh
次はDockerfileのビルド時に読み込まれるentrypoint.shに
Docker公式で載せられているコードをコピペします。
私の場合はRailsコンテナ(webコンテナ)の作業ディレクトリを
myappとしているので、その点だけ変更しています。
#!/bin/bash
set -e

# Remove a potentially pre-existing server.pid for Rails.
rm -f /myapp/tmp/pids/server.pid

# Then exec the container's main process (what's set as CMD in the Dockerfile).
exec "$@"
以上で、ひとまずファイル設定は完了です。
Railsアプリを生成する
では、用意したファイルをもとにターミナルで以下コマンドを実行します。
# イメージを生成する
% docker-compose build

# webコンテナを起動させてRailsアプリを生成する
% docker-compose run --rm web rails new . -f -B -d mysql --api --skip-test --skip-turbolinks
すると、Railsフレームワークのファイル一式が生成されます。
config/database.yml
ファイル一式が作成された後には
データベースに接続するファイルを
以下2点だけ編集する必要があります。
- password: RailsからMySQLに接続する際のパスワードを記載する
- host: docker-compose.ymlで設定したdbコンテナの「db」を記載する
# MySQL. Versions 5.5.8 and up are supported.
#
# Install the MySQL driver
#   gem install mysql2
#
# Ensure the MySQL gem is defined in your Gemfile
#   gem "mysql2"
#
# And be sure to use new-style password hashing:
#   https://dev.mysql.com/doc/refman/5.7/en/password-hashing.html
#
default: &default
  adapter: mysql2
  encoding: utf8mb4
  pool: <%= ENV.fetch("RAILS_MAX_THREADS") { 5 } %>
  username: root

  #######################
  ### 以下2行だけ編集する ###
  #######################
  password: initial_password
  host: db

development:
  <<: *default
  database: myapp_development

# Warning: The database defined as "test" will be erased and
# re-generated from your development database when you run "rake".
# Do not set this db to the same as development or production.
test:
  <<: *default
  database: myapp_test

# As with config/credentials.yml, you never want to store sensitive information,
# like your database password, in your source code. If your source code is
# ever seen by anyone, they now have access to your database.
#
# Instead, provide the password or a full connection URL as an environment
# variable when you boot the app. For example:
#
#   DATABASE_URL="mysql2://myuser:mypass@localhost/somedatabase"
#
# If the connection URL is provided in the special DATABASE_URL environment
# variable, Rails will automatically merge its configuration values on top of
# the values provided in this file. Alternatively, you can specify a connection
# URL environment variable explicitly:
#
#   production:
#     url: <%= ENV["MY_APP_DATABASE_URL"] %>
#
# Read https://guides.rubyonrails.org/configuring.html#configuring-a-database
# for a full overview on how database connection configuration can be specified.
#
production:
  <<: *default
  database: myapp_production
  username: myapp
  password: <%= ENV["MYAPP_DATABASE_PASSWORD"] %>
Railsサーバーを起動
最後に以下コマンドを実行します。
このコマンドで
- RailsがMySQLに接続して新しくデータベースを作成する
- docker-composeでdbコンテナとwebコンテナの2つが起動する
が実現されます。
# 上書きされたGemfileをもとにイメージを改めて生成する
% docker-compose build

# webコンテナを起動させて新規データベースを作成する
% docker-compose run --rm web rails db:create

# バックグラウンドでRailサーバーとMySQLサーバーを起動させる
% docker-compose up
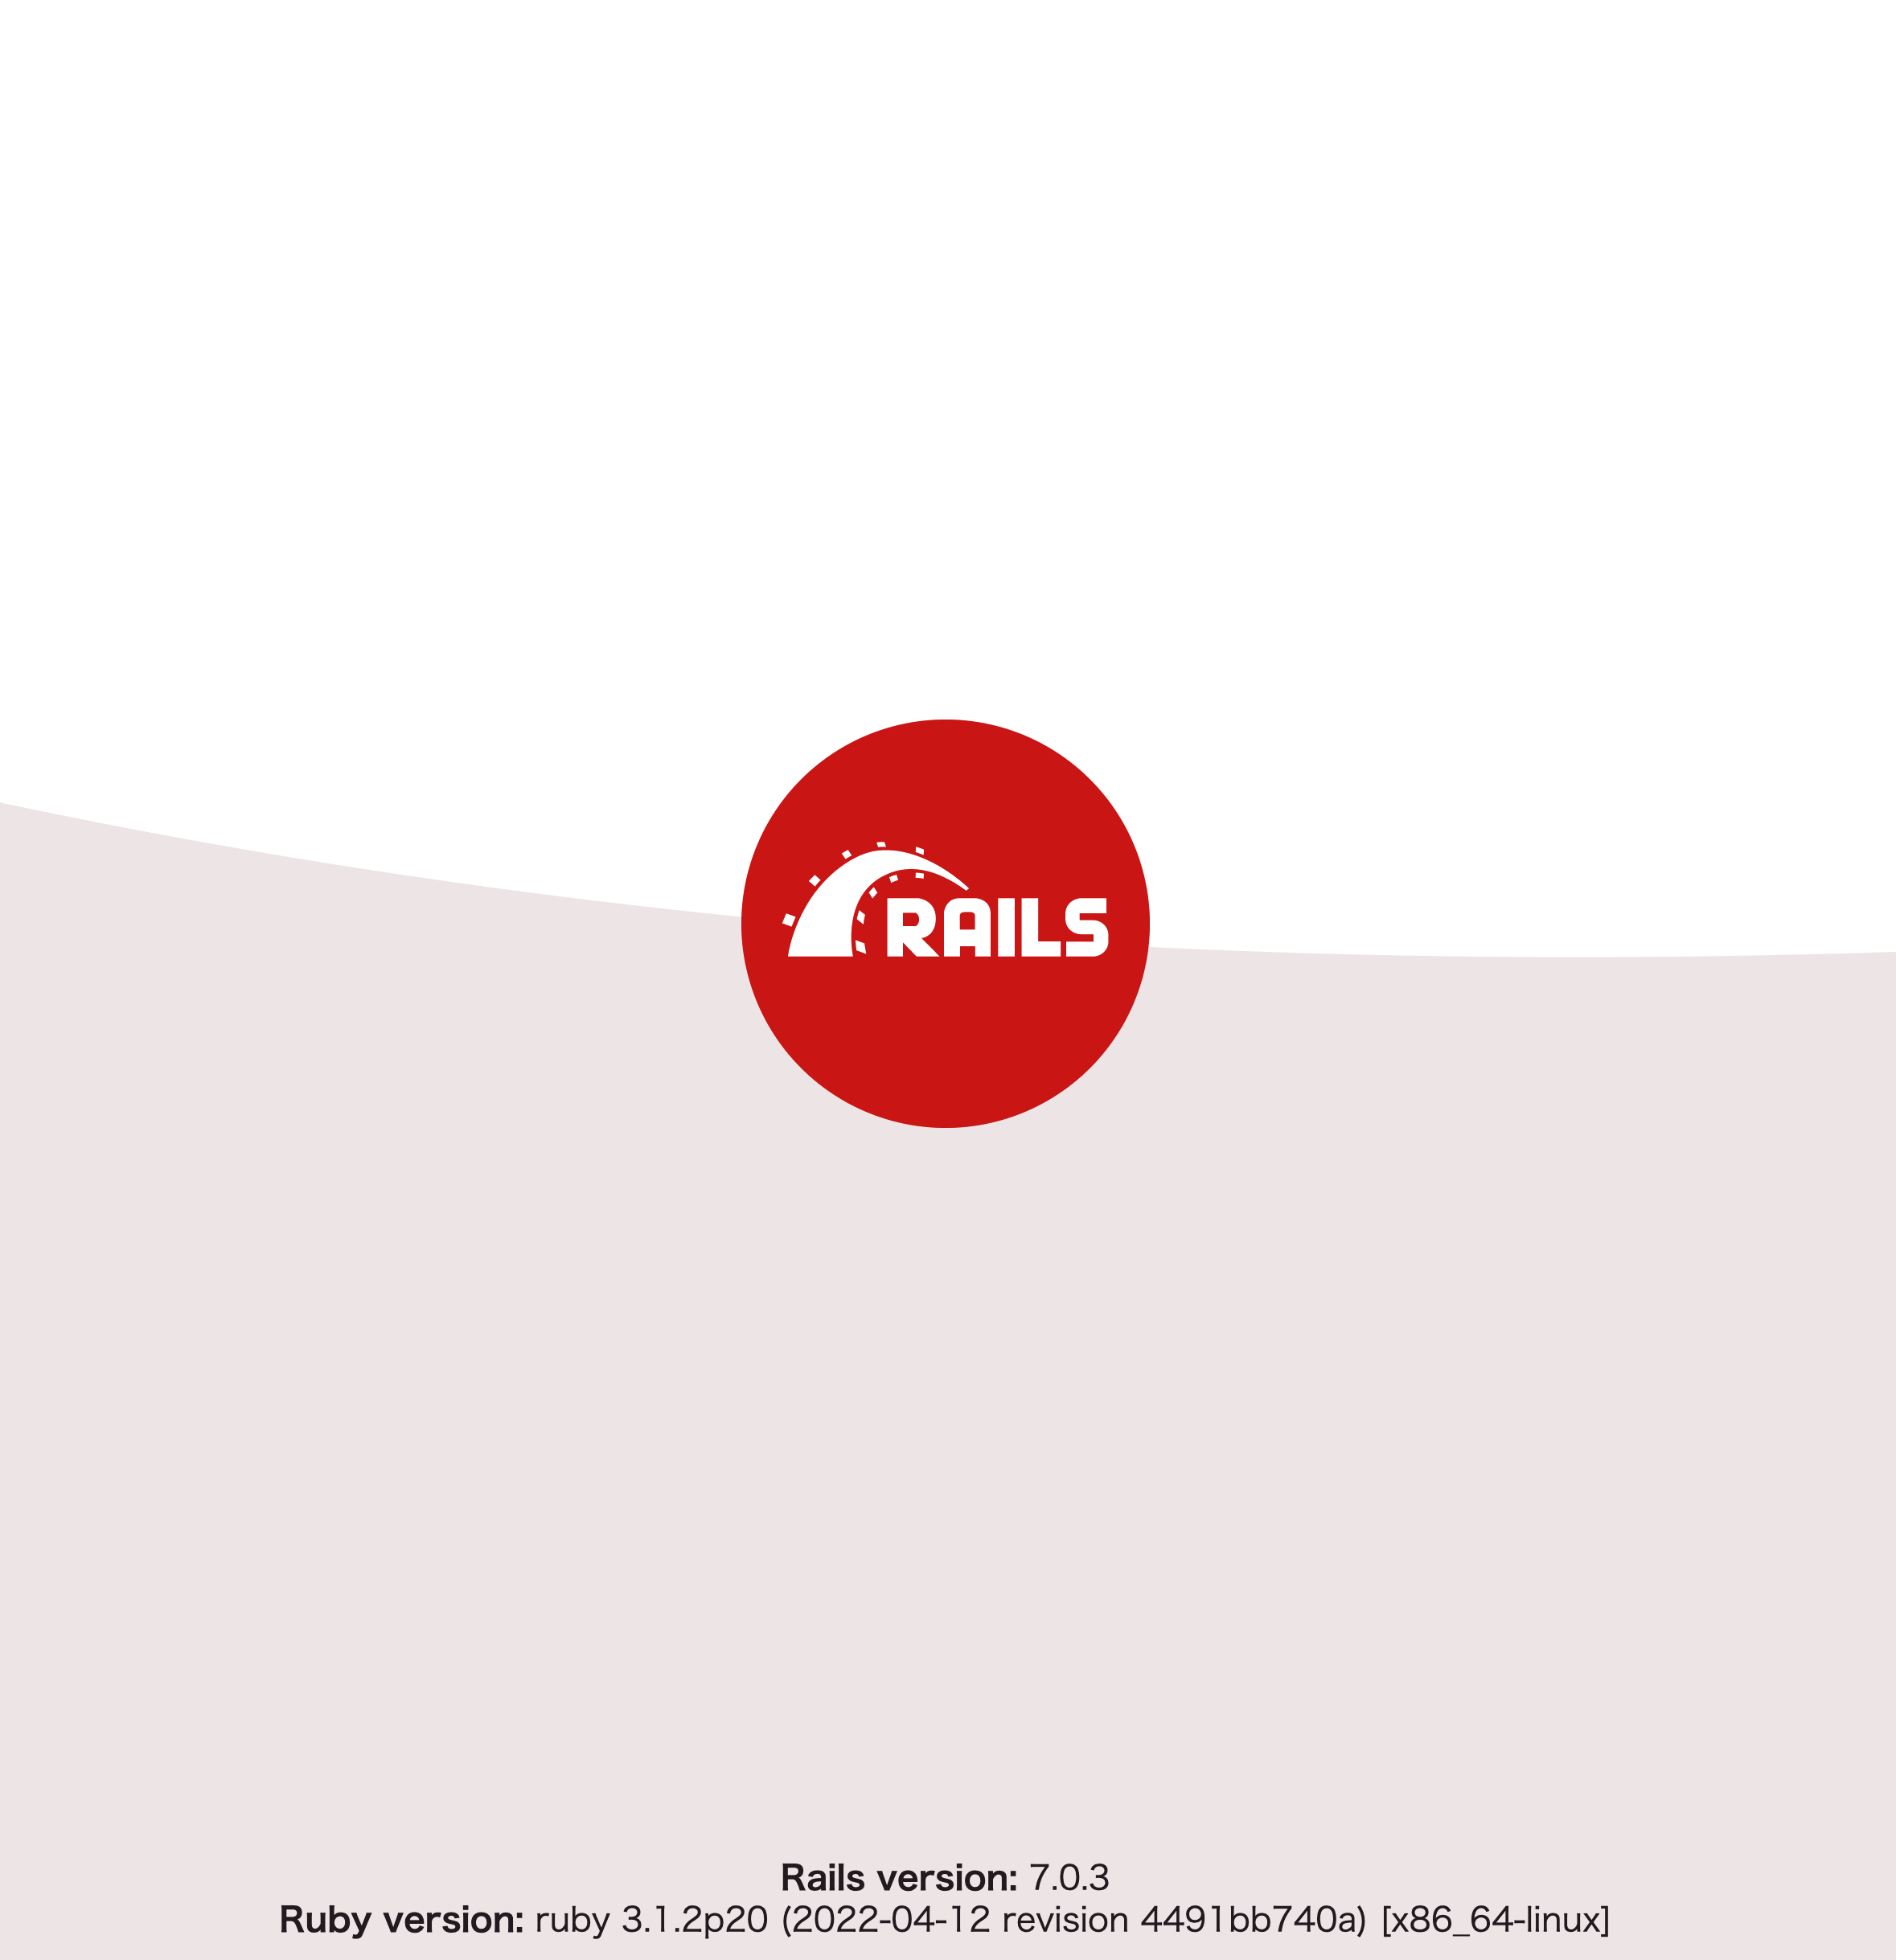
上手く起動できれば、
ブラウザでhttp://localhost:3000にアクセスすると
Railsの下記画面が表示されます。
参考記事
終わりに
完全にひねりなしのシンプル設定でした。
お疲れ様でした。
最後までお読みいただき、ありがとうございます。
