この記事は、UnityAdventCalendar2016 14日目の記事になります
はじめに
去年に引き続きまして、12月14日にUIで手抜きするためのTips的なものをアップさせていただきます。
ちなみに、14日は私の誕生日です。
去年の記事
http://qiita.com/ShiroKuro/items/c028d29229fc135bac01
こちらで、ノンコーディングでEditorから触れる機能だけで簡単なUI遷移を行いました。
今年の記事
去年、Animationで遷移アニメを作成し、TriggerからのUI遷移を行いましたが、
正直Animationの作成がめんどくさいです。
ですので、今回はアニメーションを出来るだけシンプルな形で実装してみようと思います。
実装
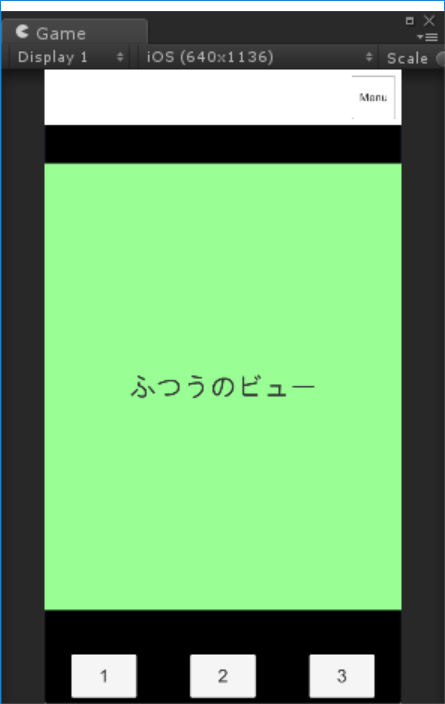
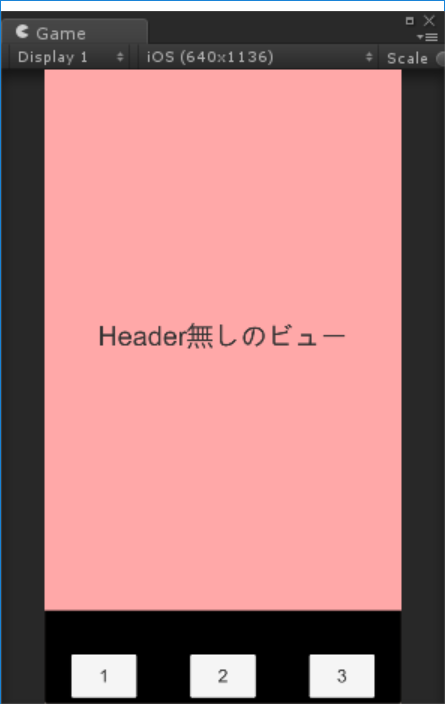
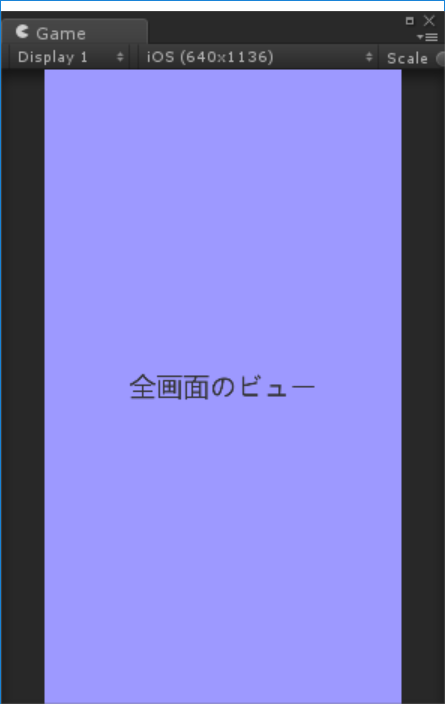
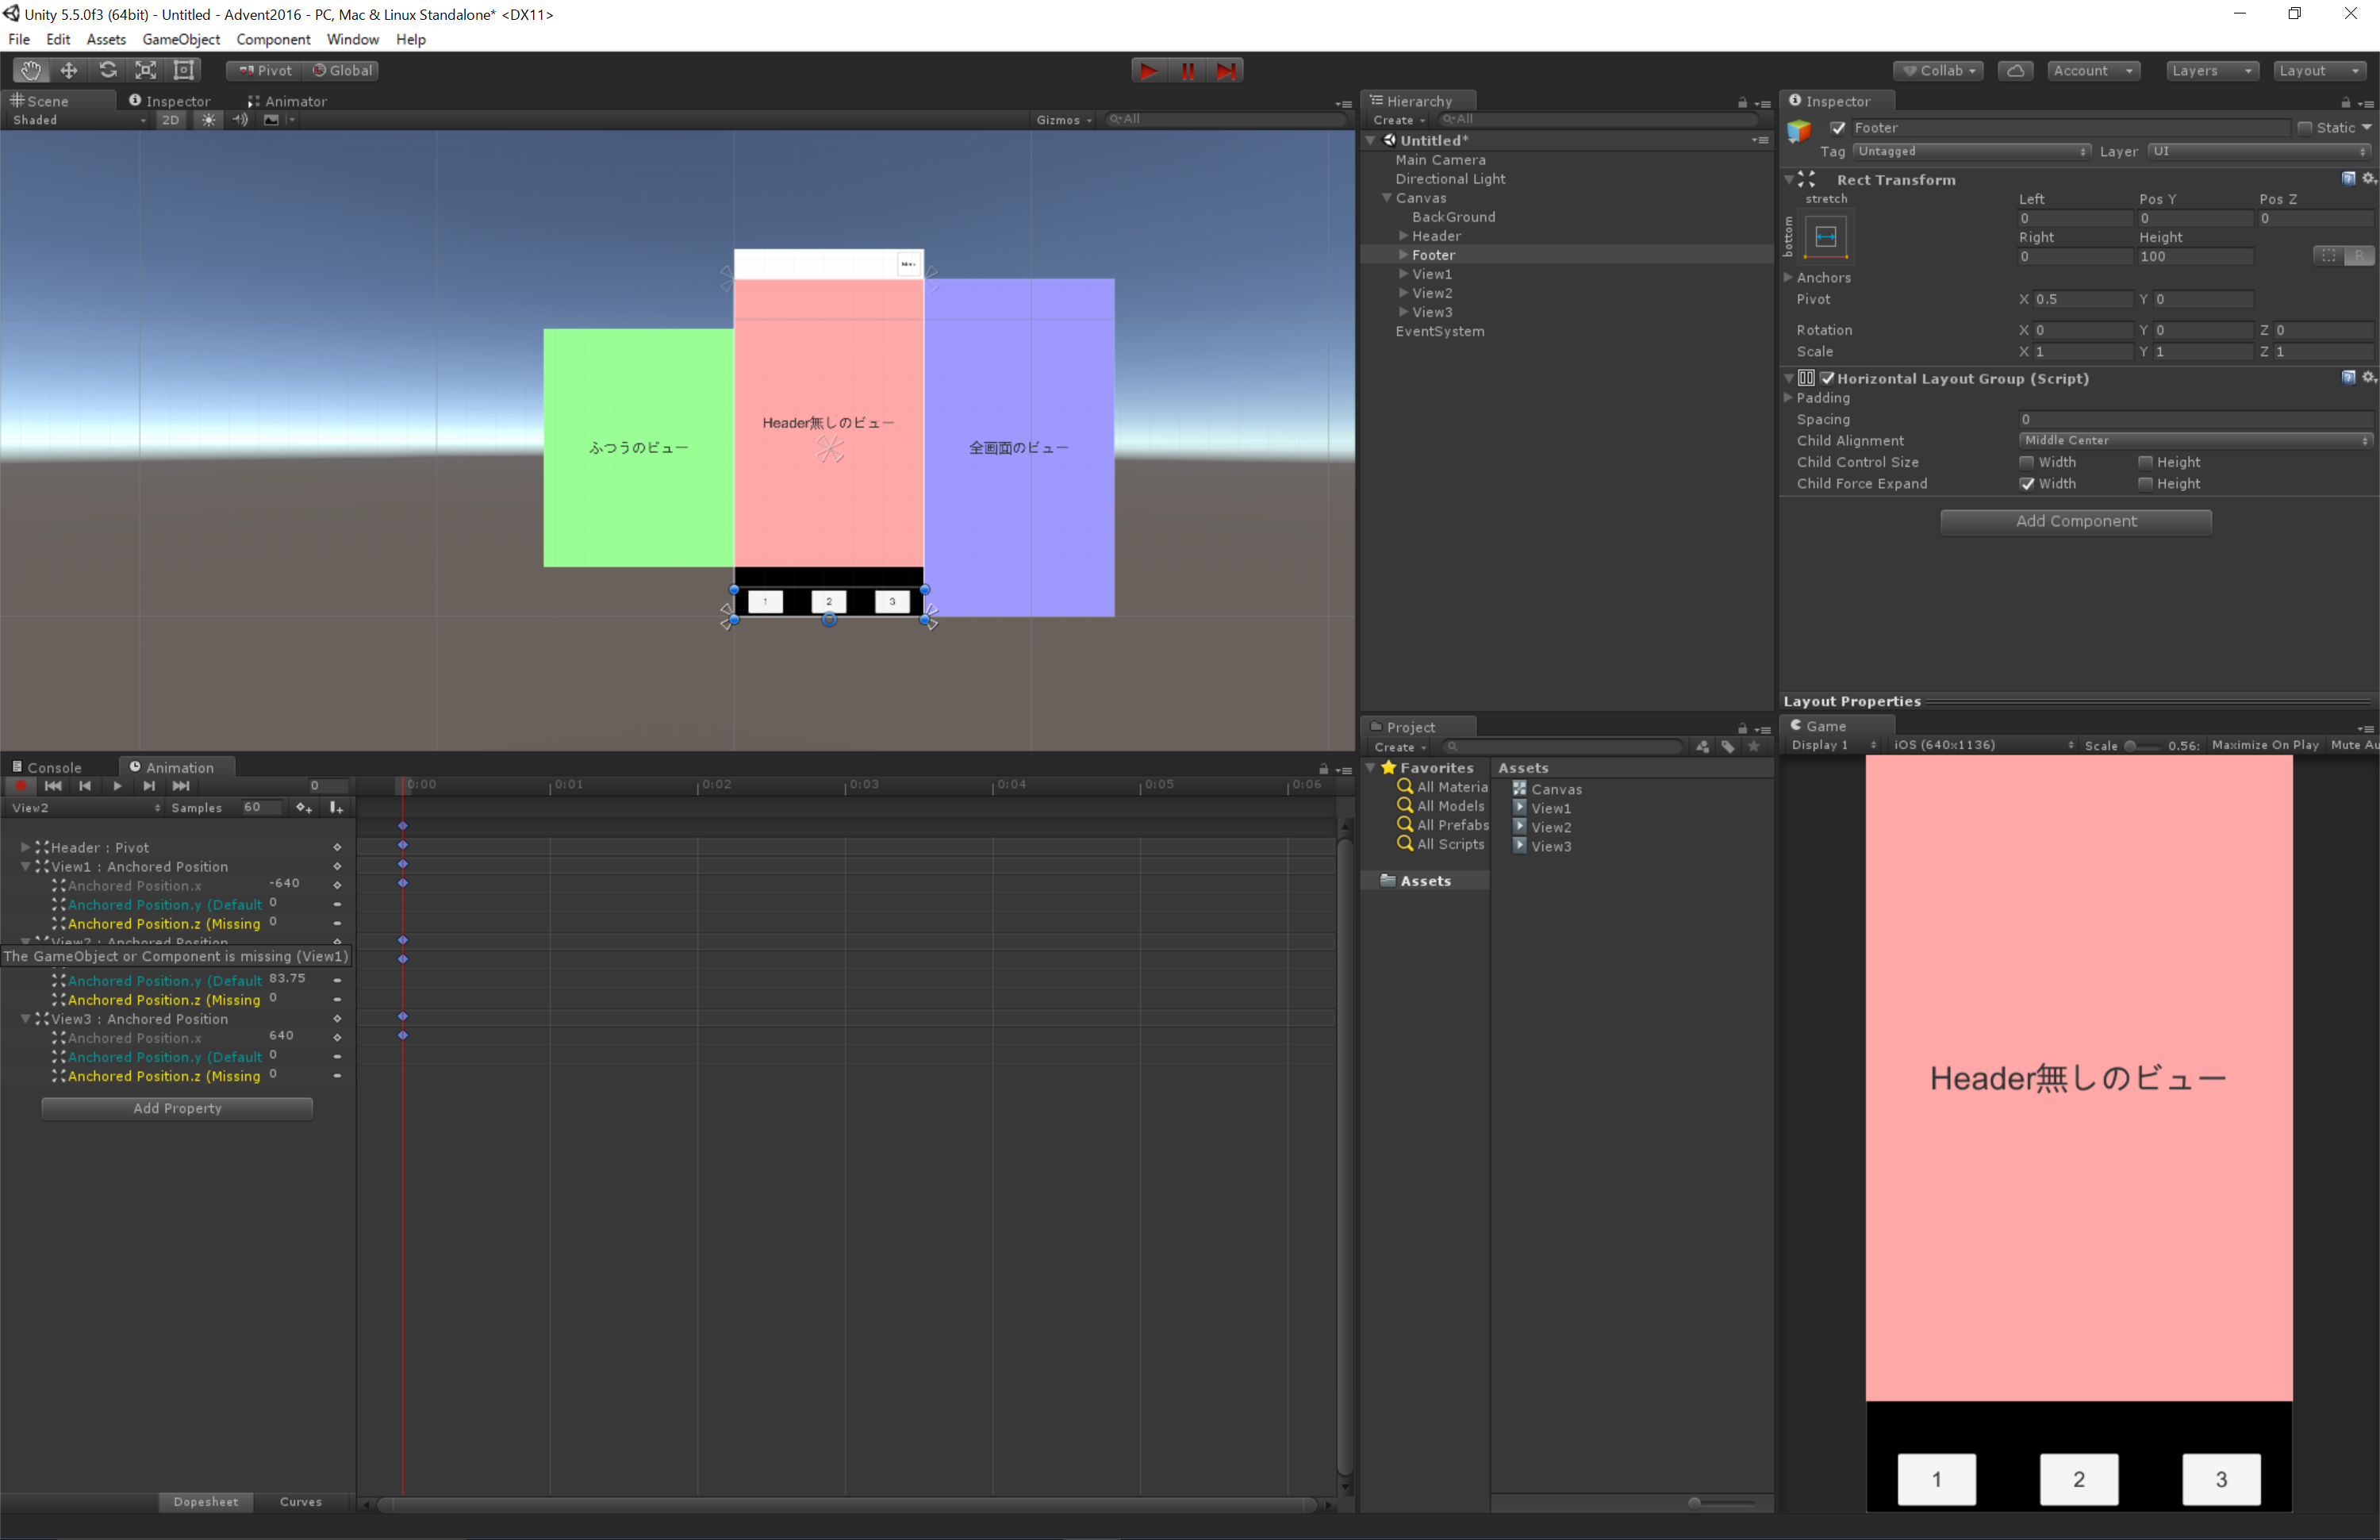
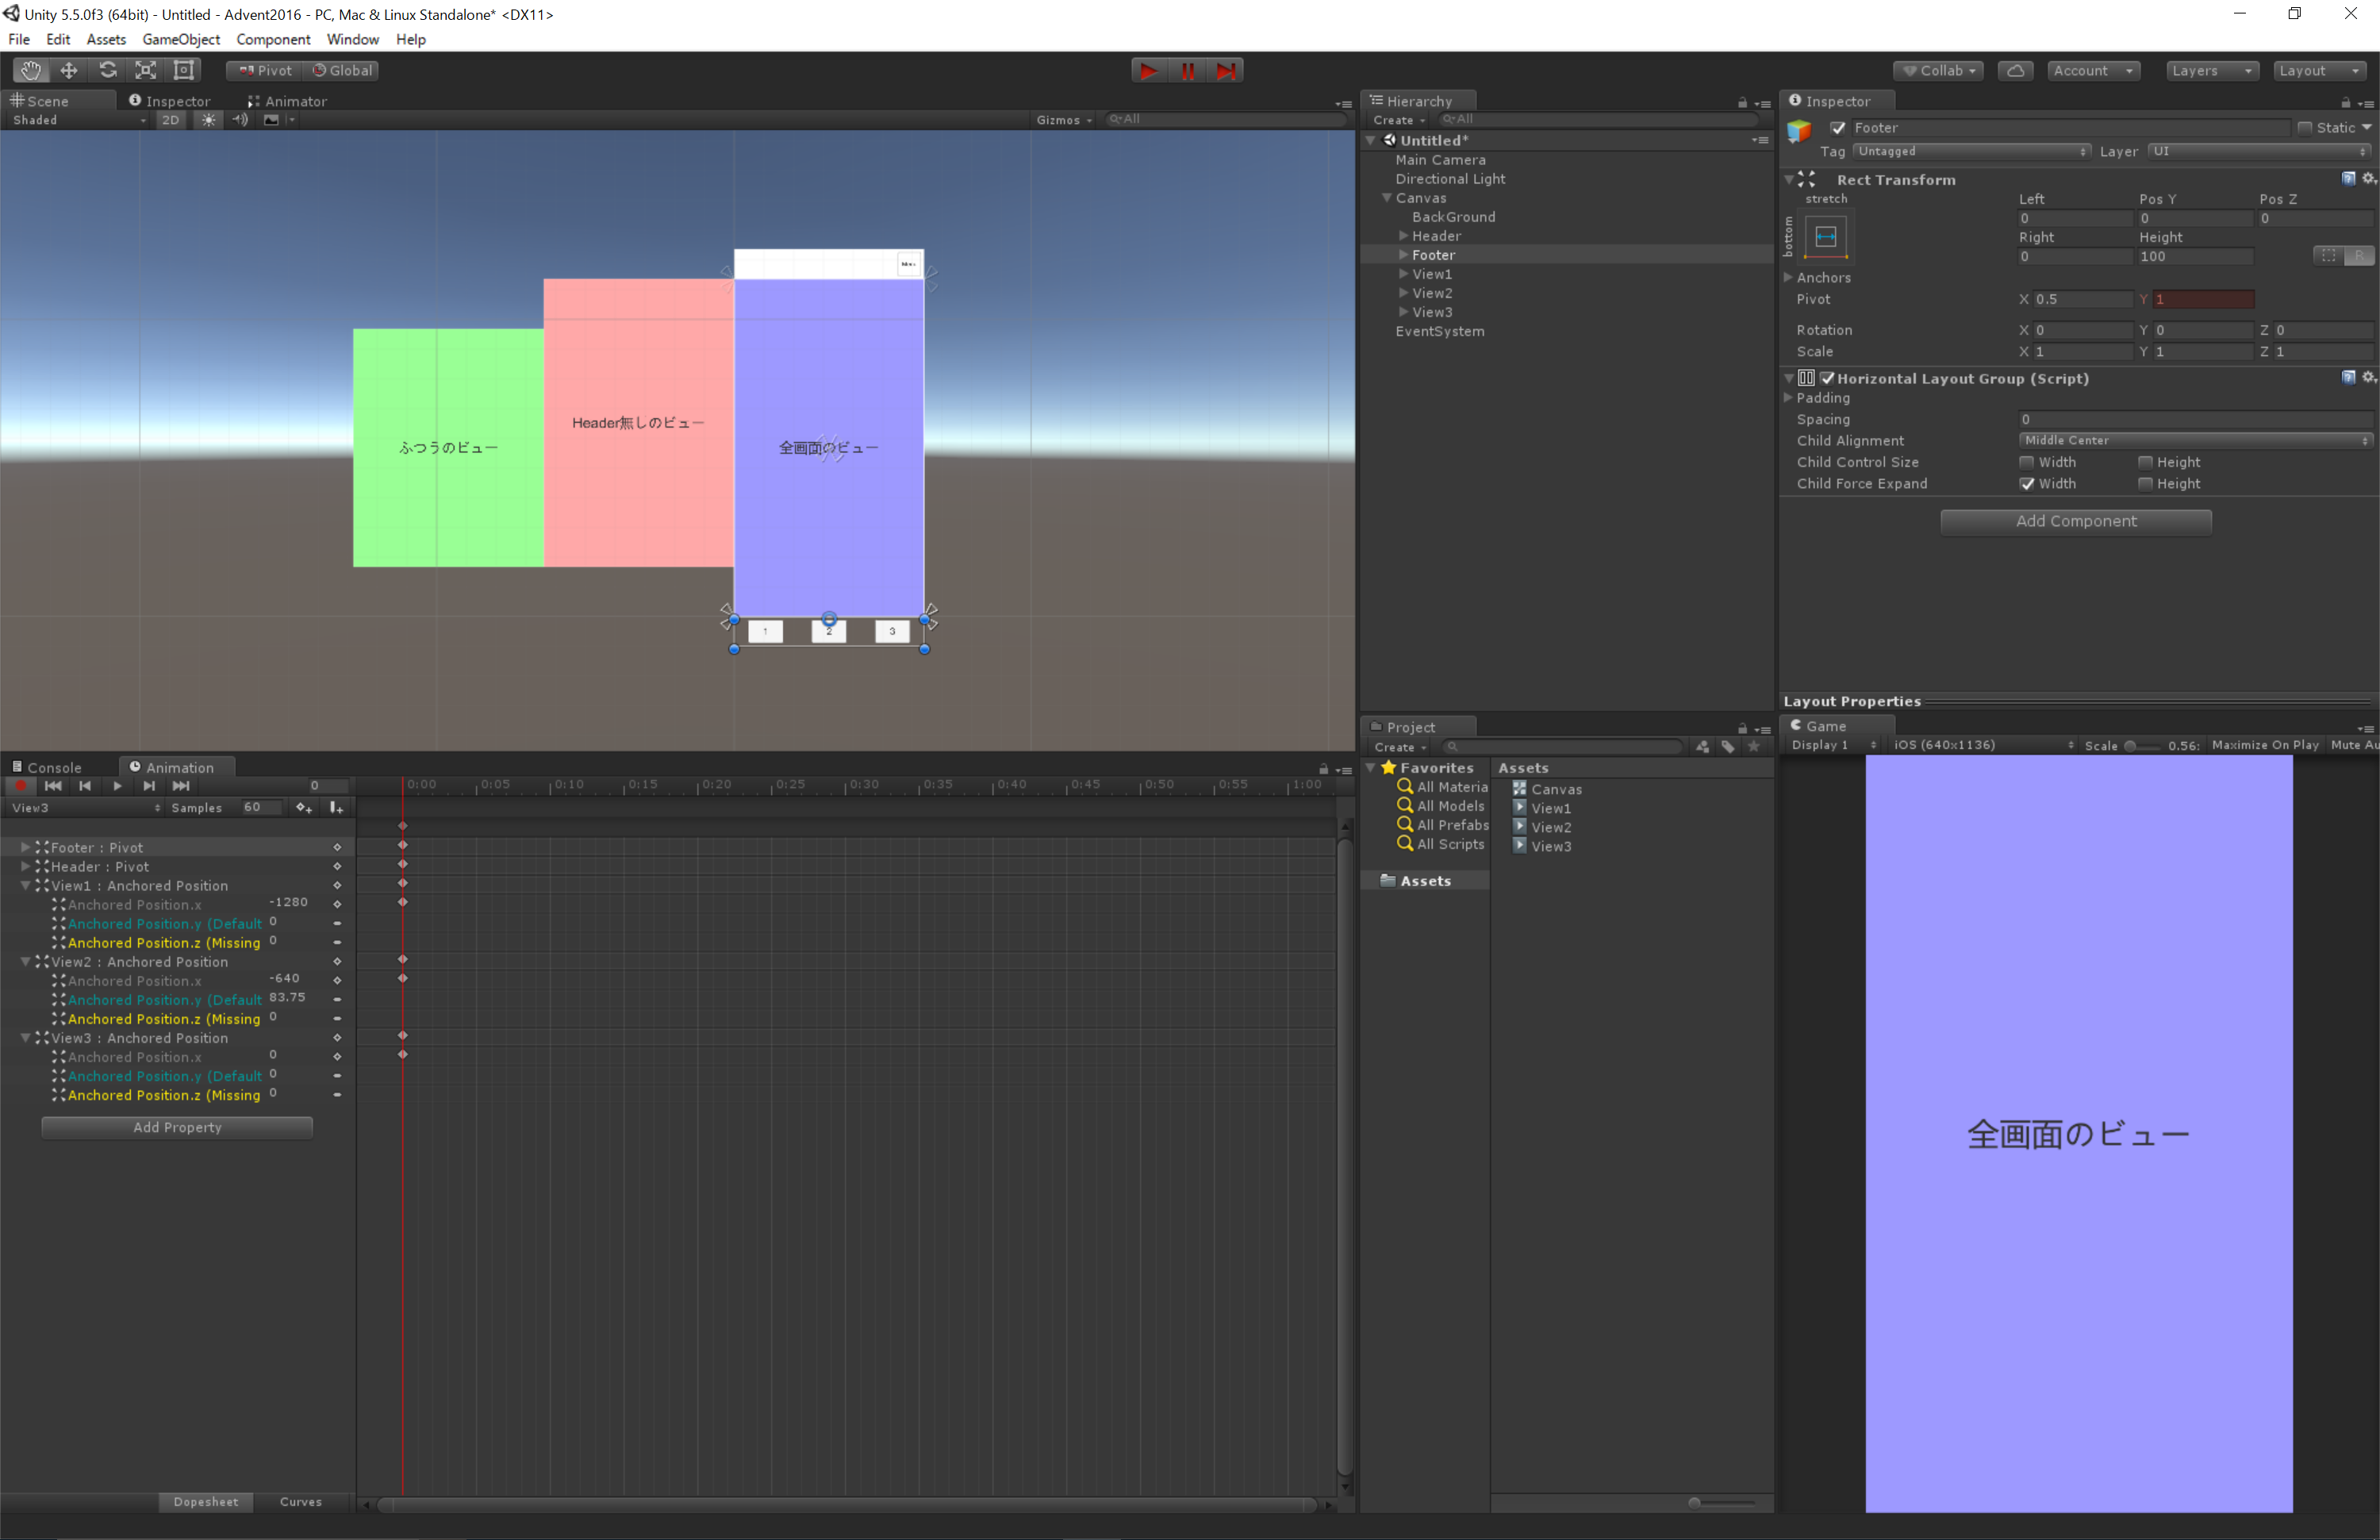
とりあえず、各画面の状態を作ります。
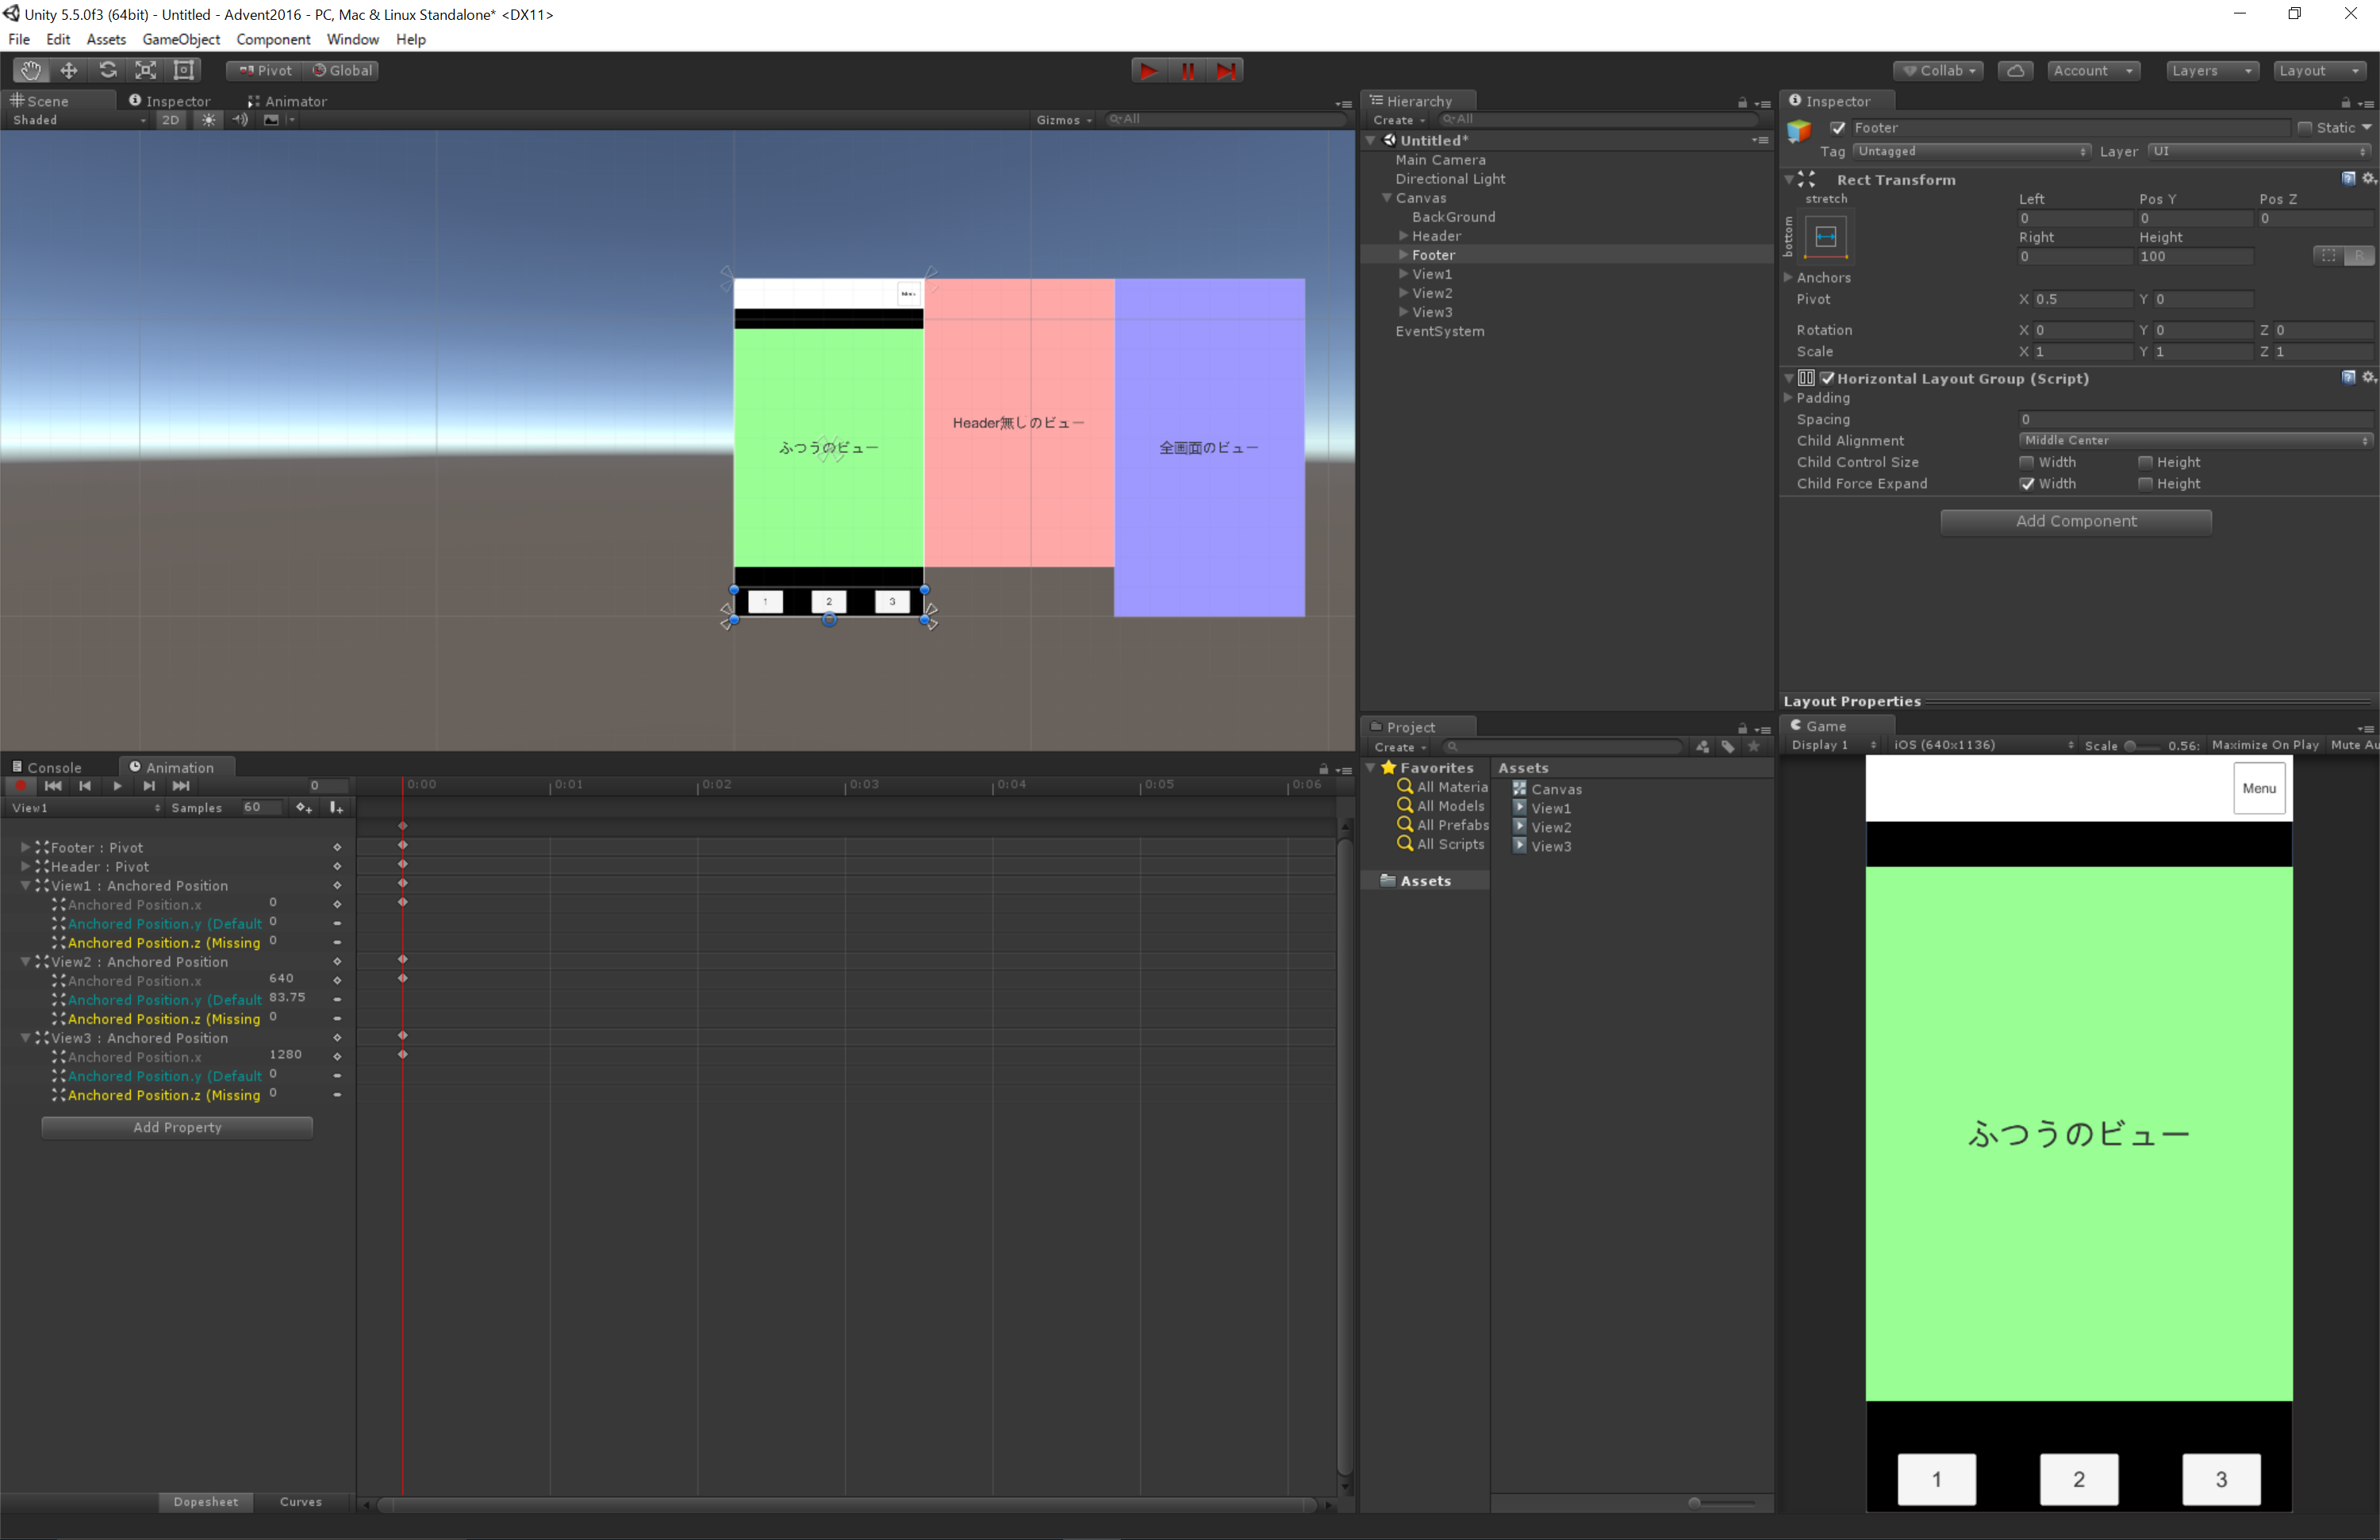
ではここにアニメーションを作っていこうと思いますが、3画面間の遷移で6パターンのアニメを作るのは大変です。
とりあえず、遷移は置いておいて、各状態を記憶したAnimationClipを作りましょう。
準備は大体これでできました。
ではAniamtionControllerを適当に組み上げます。
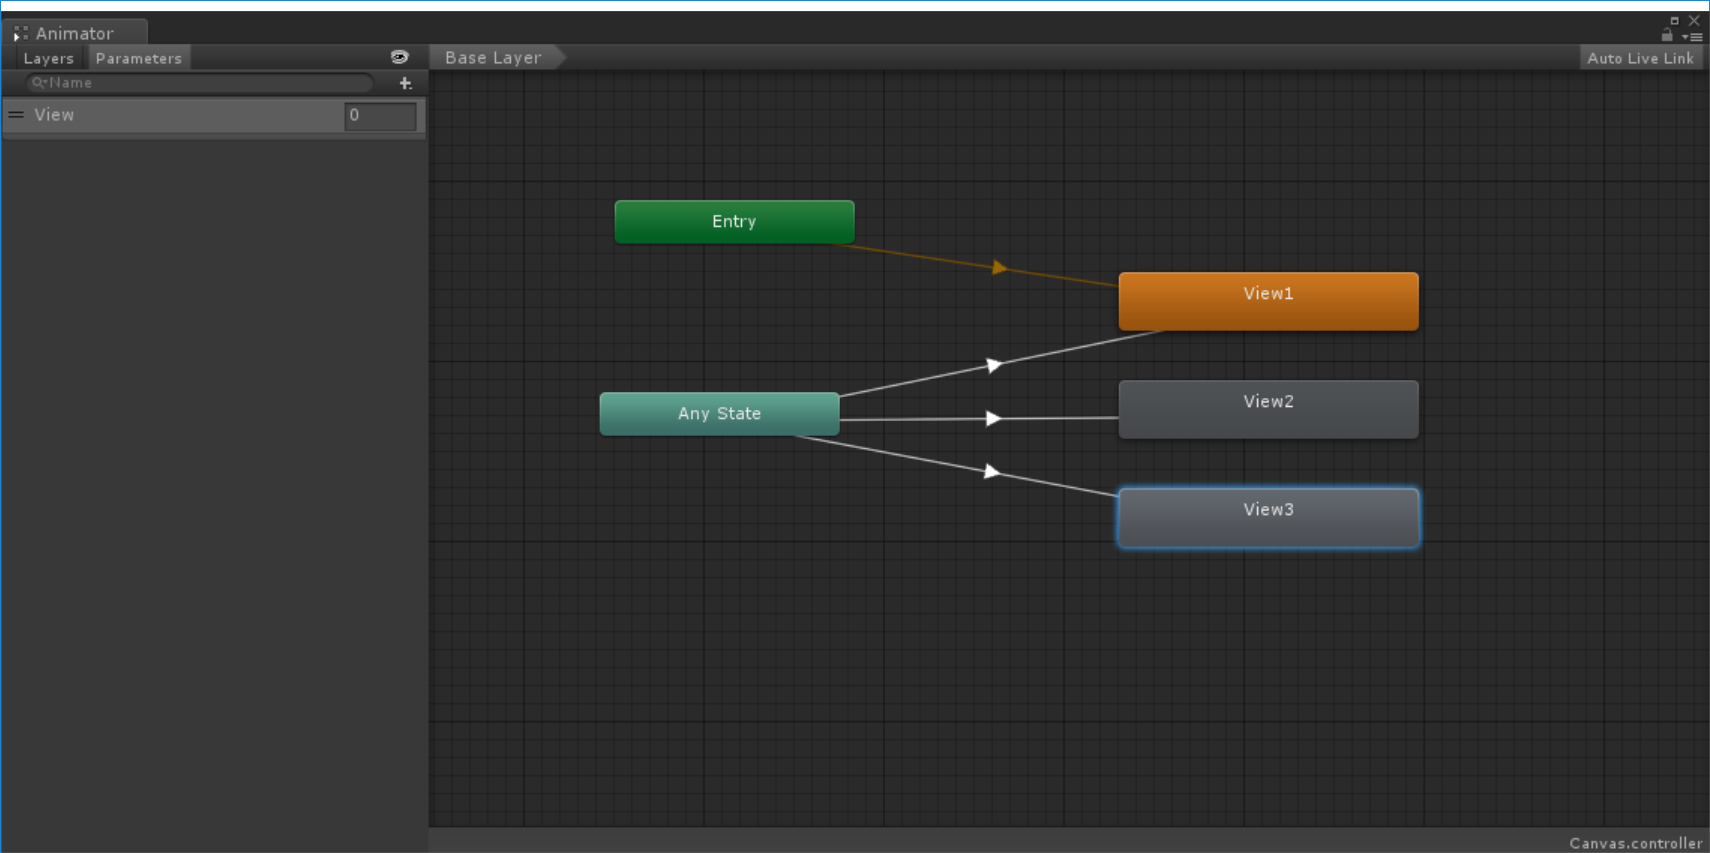
遷移条件は以下みたいな感じです。
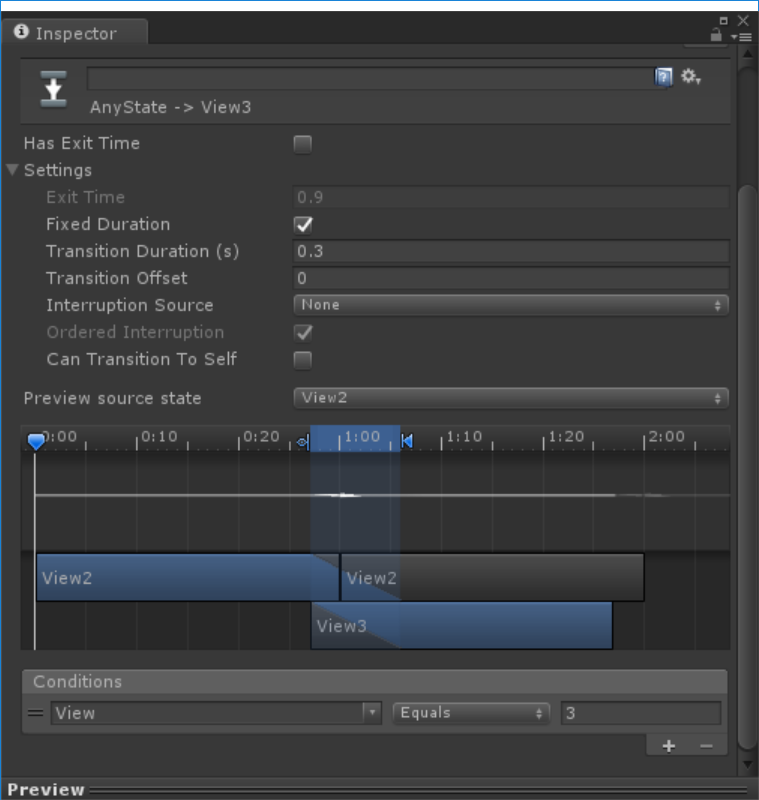
ここでTransitionDuration(s)を0.2~0.5秒くらいにしとくのがポイントです。
後は、遷移条件をコントロールするViewに値を渡してやります。
using System.Collections;
using System.Collections.Generic;
using UnityEngine;

[RequireComponent(typeof(Animator))]
public class ViewControl : MonoBehaviour {
	private Animator _animator;
	private Animator Anim{
		get{
			return _animator??(_animator = GetComponent<Animator>());
		}
	}

	public void SetView(int viewId){
		Anim.SetInteger ("View", viewId);
	}

	void Update(){
		///View3から戻すコントロールをつけ忘れたのでコードから
		if (Input.GetKeyDown (KeyCode.Escape)) {
			SetView (1);
		}
	}
}
各ボタンと、こちらのSetViewを紐づけてやればOKです。
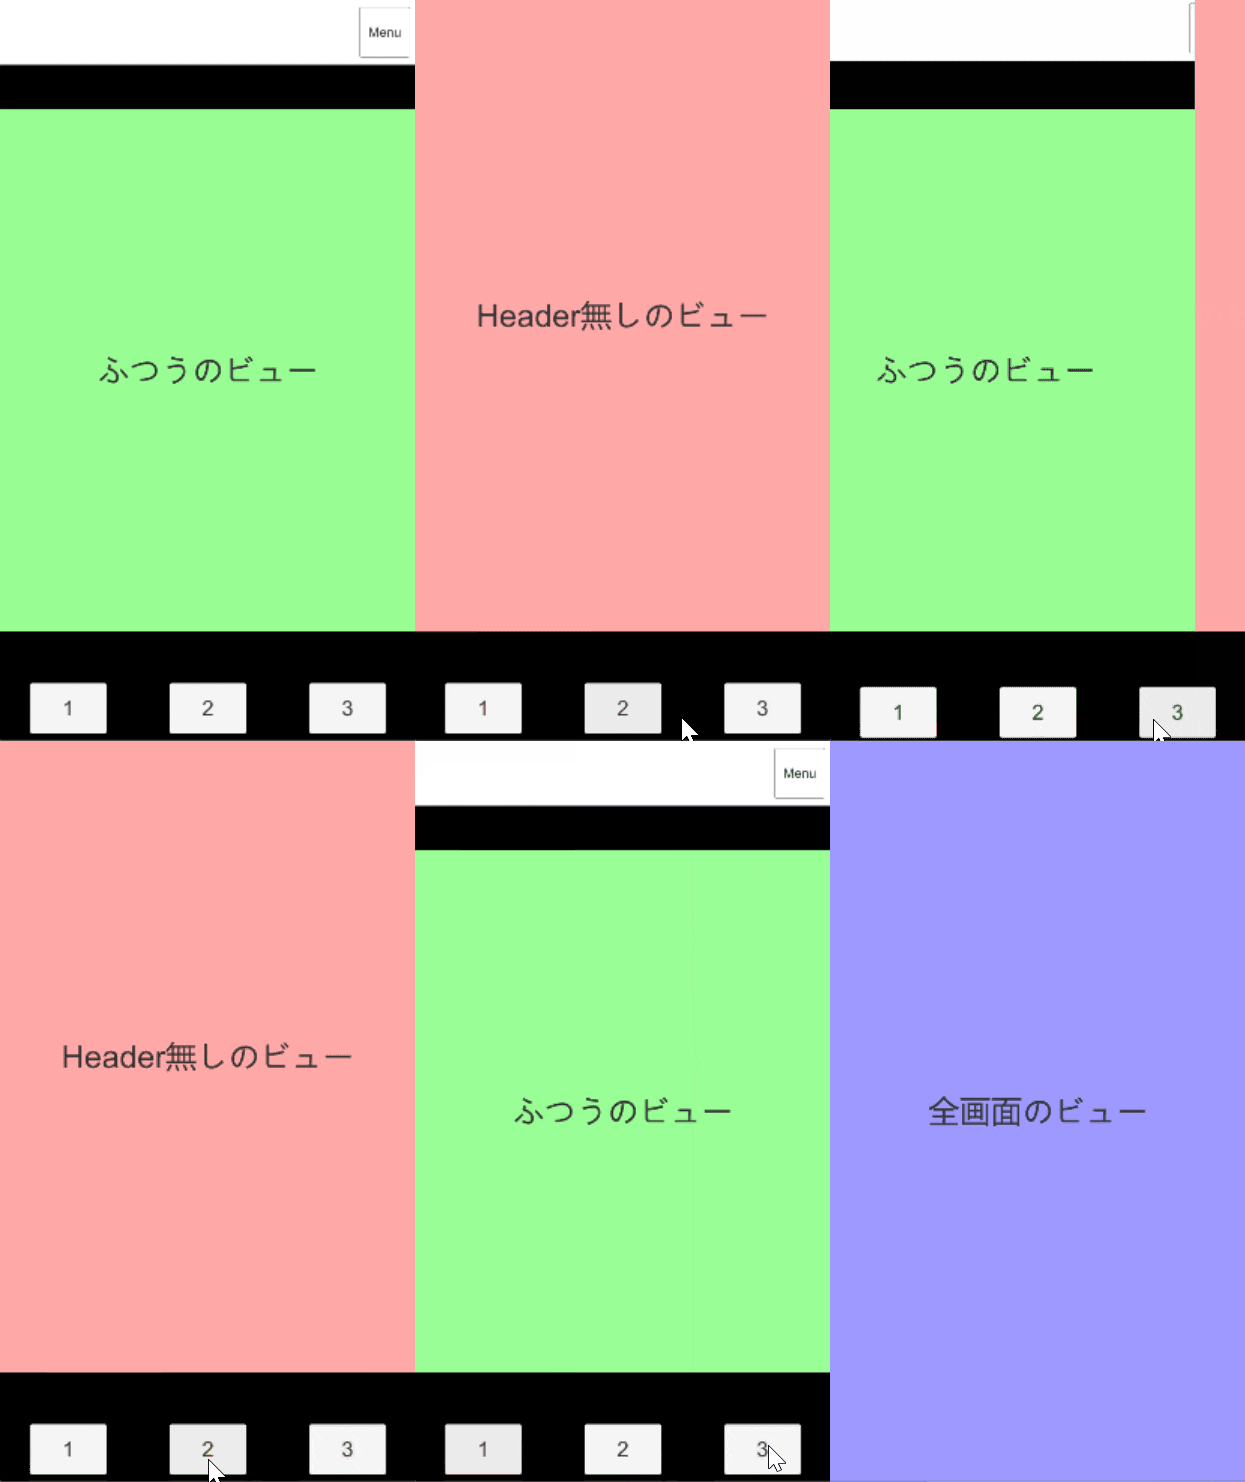
完成図
これは、AnimatorのState間の自動補完を利用して、アニメーションをなんちゃってで作っています。
手抜きではありますが、何もないよりは画面が動いて楽しいのではないでしょうか?
(ちなみにLinearでしか遷移しないのでEaseTypeをいじりたい場合は真面目に作ってください)
こんなスクリプトを書きます
(DoTweenを事前にインポートしています。)
using System.Collections;
using System.Collections.Generic;
using UnityEngine;
using DG.Tweening;

public class WindowScript : MonoBehaviour {
	void Awake(){
		this.transform.localScale = Vector3.zero;
	}


	void OnEnable(){
		this.transform.DOScale (1.0f, 0.3f);
	}

	public void Close(){
		this.transform.DOScale (0.0f, 0.3f)
			.OnComplete ( ()=> this.gameObject.SetActive (false));
	}

}
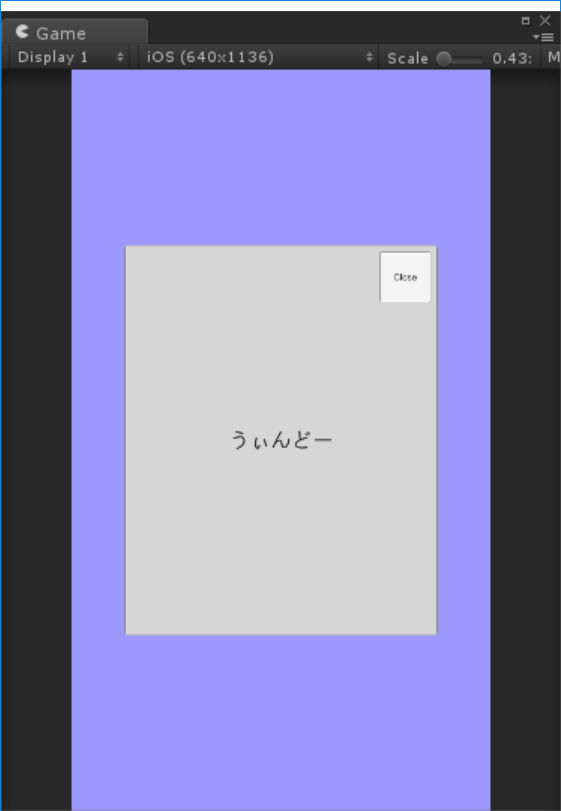
あとは、作成したウィンドウを非アクティブにして、Playボタンを押します。
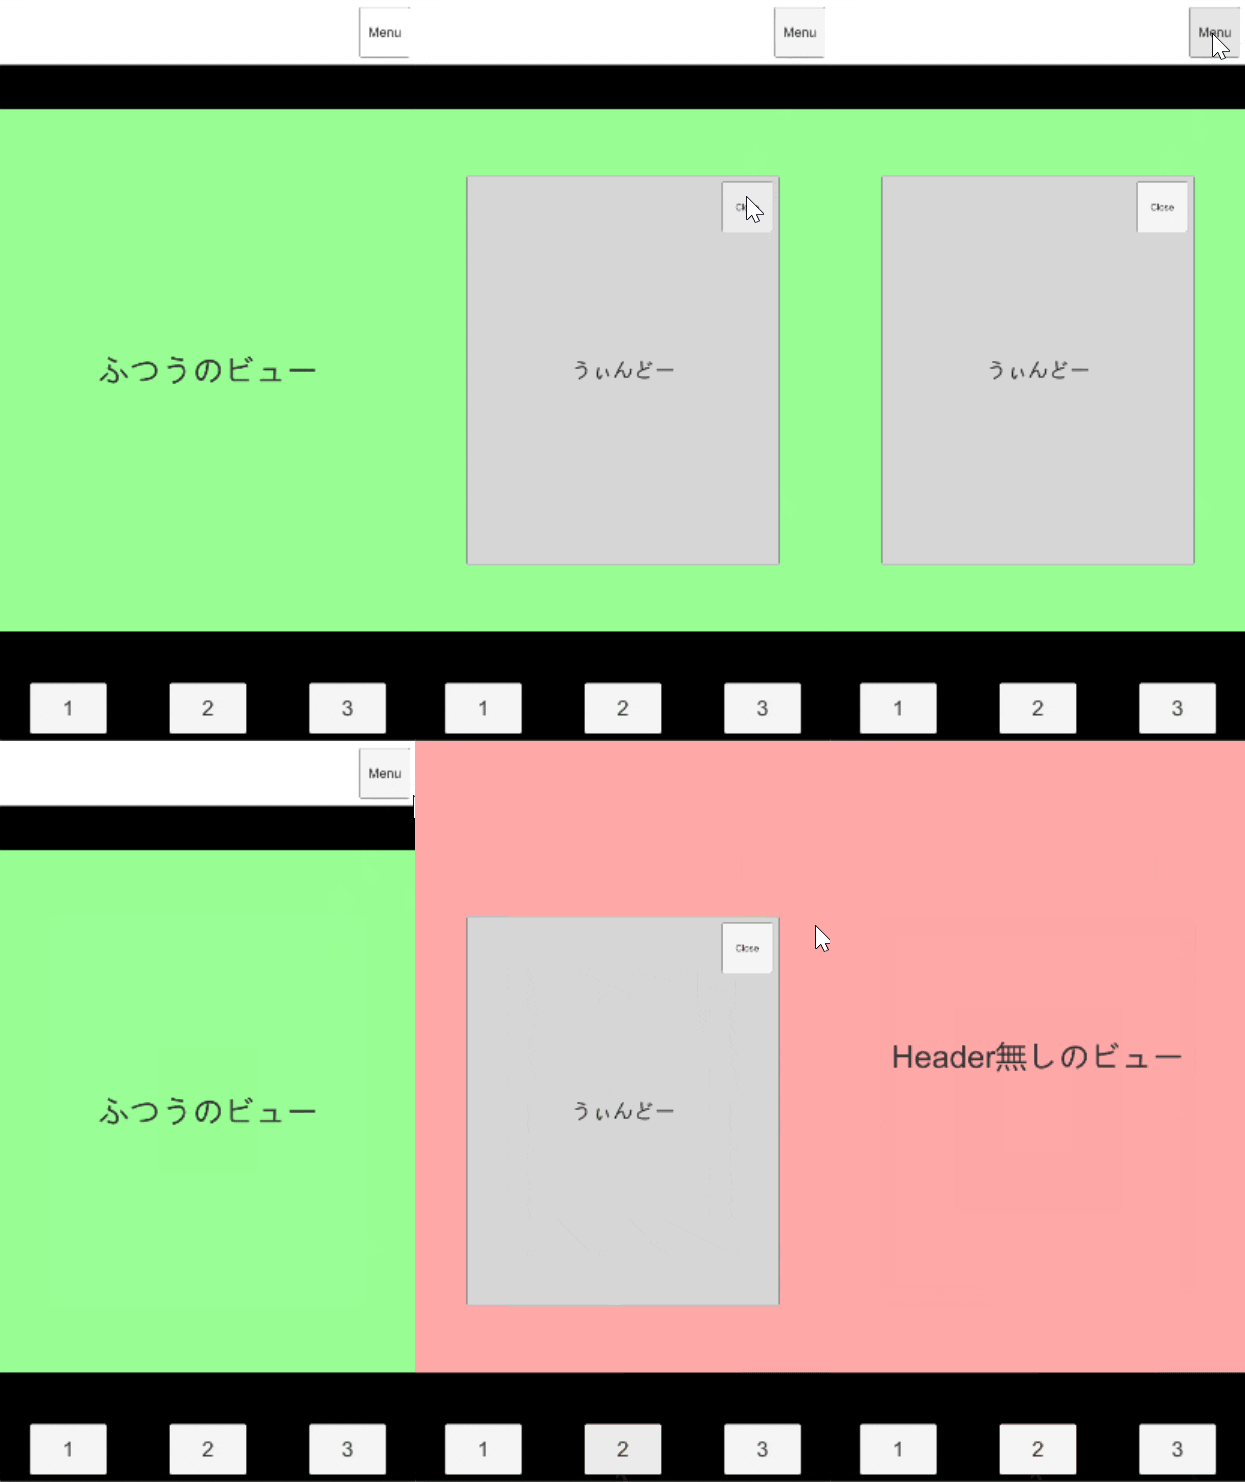
ウィンドウ型ダイアログの完成です。
MonoBehaviourのMessageのOnEnableはオブジェクトがアクティブになった瞬間に呼ばれるので、
ここにイベントを仕込んでおくといろいろと便利です。
(OnDisableは呼ばれたら非Activeになるのでアニメを仕込むのには向ていないです……)
今回もほとんどコードは書いていませんが、皆さんいろいろと試して動きのある画面を作ってみてください。
簡単なアニメーションでもアプリの印象が大分変わります。
明日はKan_Kicuchiさんの「クラスを丸ごと保存するデータ管理方法」です。
