テストを書こう!
riverpod で状態管理を実装したアプリのユニットテストの続きです。今回は簡単なUIテストを実装します。
本記事ではローカル実行を原則とし、CI/CDでのリモート実行に関しては割愛します
Maestroとは?
簡単にUIテストを作成できるモバイル向けのテストフレームワーク、もしくはCLIとして提供されている同名のmaestroコマンドの名前です。Flutter以外にも以下のプラットフォームに対応しています。
- iOS(simulatorのみサポート)
- Android
- Flutter
- ReactNative
後述のFlowと呼ばれるyaml形式のファイルにテストを記述し、mastroコマンドで実行します。
Mastroの導入
公式docに従ってmaestroコマンドを導入します
基本的には以下のコマンドひとつで完結。upgradeする場合も同じです。
curl -Ls "https://get.maestro.mobile.dev" | bash
初回インストール時はパスを通すのも忘れずに
export PATH="$PATH":"$HOME/.maestro/bin"
iOSシミュレーターを使う場合は以下のツールも必要です
brew tap facebook/fb
brew install facebook/fb/idb-companion
テスト対象のアプリを用意
公式docsではCUI操作が紹介されていますが、通常の開発時のようにGUIのRunボタンからビルド&インストールしても問題ありません。ビルドモードがDebugであり、Flowファイルで指定するappIdが合っていればOKです。
以下はCUIの操作例です。
まずAndroid, iOSそれぞれで .apk .app ファイルのビルドが必要です(fvmを使う場合は適宜読み替えてください)。
# Android
flutter build apk --debug
# iOS
flutter build ios --debug --simulator
このとき、UIテスト向けに通常とは異なるフレーバー(mockなど)を指定してビルドする場合もあります。下記は一例ですので各自の開発環境に応じてビルドしてください。
# エントリーポイントの切り替え
flutter build apk --debug -t lib/main_mock.dart
# dart-define-from-fileの使用
flutter build apk --debug --dart-define-from-file=flavor/mock.json
次にビルドしたアプリを端末にインストールして準備完了です。
# Android端末・エミュレータのシリアル名一覧を確認
adb devices
# インストール
adb -s ${デバイスのシリアル名} install build/app/outputs/flutter-apk/app-debug.apk

# iOSシミュレーターのデバイス一覧を確認
xcrun simctl list devices
# インストール
xcrun simctl install ${device} build/ios/iphonesimulator/Runner.app
テストの用意
Maestro では Flow と呼ばれるyaml形式で記述されたテストの定義ファイルを用意します。
使用できるコマンド一覧・詳細は公式リファレンスを参照してください。
appId: ${テスト対象のappId}
----
- launchApp # アプリを起動する
- assertVisible: "text" # 指定した文字列の表示を確認する
- tapOn: "TextFiled-label" # フォーカスを当てる
- eraseText # 現在の入力を削除
- inputText: "input" # TextFiledに入力
- tapOn: "Go!" # 指定した文字列部分をタップする
- waitForAnimationToEnd # アニメーションが終わるまで待機する
- scrollUntilVisible: # 指定した文字列が表示されるまで下方向にスクロールする
    element:
      text: "target"
Flow記述のTips
いくつかハマりポイントがあったので紹介
TextFieldへの入力
最初にTextField.decoration.labelText で指定した文字列を tapOn でタップしてフォーカスを当てておく必要があります。ラベルが不在の場合は後述のSemanticsを利用します。また新しい入力で上書きする場合は eraseTextで現在の値を削除するのも忘れずに。
Semanticsの利用
Textのような目に見える文字列が不在でtapOnのターゲットを上手く指定できない場合は、Semanticsウェイジェットでラベルを指定できます。tapOn: ".*my-label.*"
Semantics(
    label: "my-label",
    child: MyWidget()
)
Androidと日本語入力
マルチバイト文字は上手く入力できません。入力値はascii文字に限定し、テスト端末のシステム言語を英語にするなどしてIMEの入力モードを英語に固定するのが無難です。
テストの実行
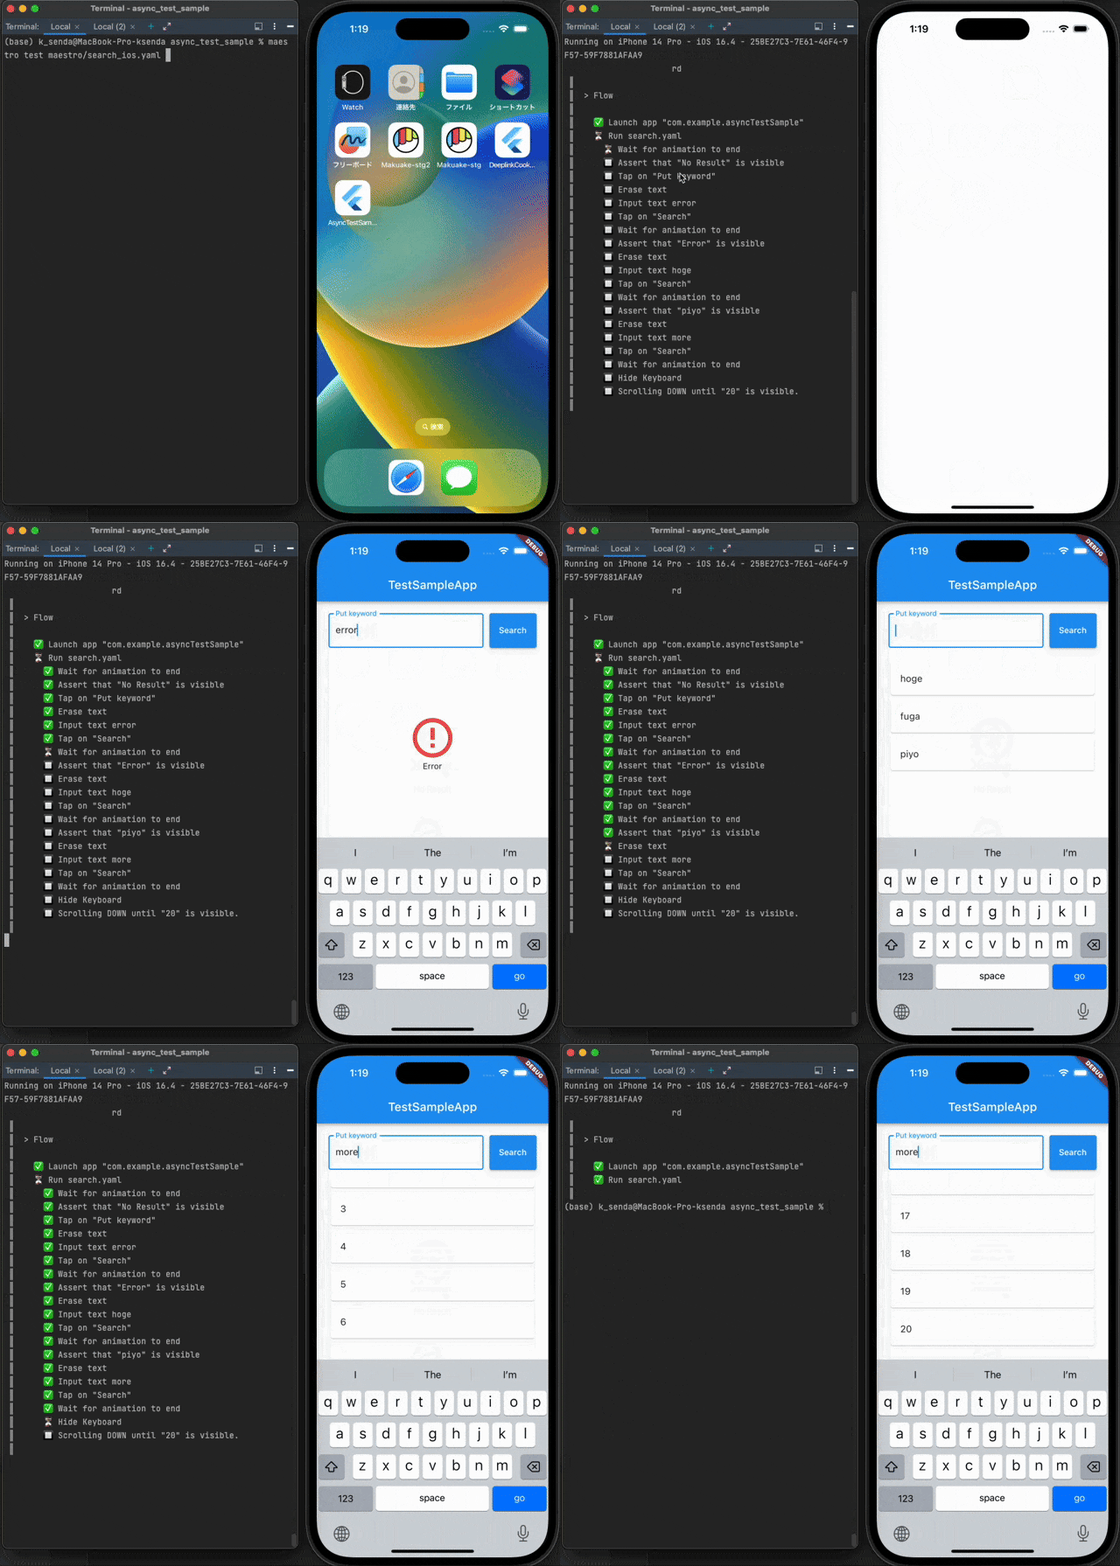
UIテストを実行するエミュレータ or デバッグ接続した実機(iOSは実機不可)を用意した状態で、以下のコマンドを実行します。Terminal上に現在のステップが表示されるので最後まで実行を待てば完了です🎉
maestro test ${path_to_flow.yaml}
添付動画のアプリとFlowファイルはGitHubで公開しています。

