突然ですが、UniversalRPでは今の所 オブジェクトブラーを表現するためのPostProcessがサポートされていません 。

しかしながら、今後のロードマップにUnity2023.2で追加予定としては上がっています。

2023.2のTech Releseは今年の12月予定
↑上記リンクより

という事で、あと1ヵ月ほど待てば、晴れて公式にObjectBlurがサポートされる(予定な)わけですが「1ヵ月待てない!」という人や「1ヵ月後でも、そう簡単にUnityのバージョンを更新できない!」という人も居るかと思われます。
ではそんな人は、どのようにオブジェクトブラーを実装すればいいのでしょうか。
現行のUniversalRPでオブジェクトブラーを行うには?
実は既に先人が知見を共有くださっています。
コチラは、PostProcessingV2のオブジェクトブラーをUniversalRPに移植して持って来る手法のようです。
これでイカすオブジェクトブラーが実装できます。誠に有難いことです。
後は、URP初期に有った、ボートのサンプルゲームでもそれらしい記載が有ったような?

「URPではブラーはカメラブラ―だけだよ」という記述と、モードに「Camera and Objects」が併存しているけど挙動としてはどうだったかな?(未調査)
ただ、本記事では オブジェクトブラーにまで踏み込むつもりはありません のでここから本題に入ります。
オブジェクトブラーってどうやって実装するの?
詳しい手順は先ほどの先人の知恵のリンクなどを見て頂く方が早いのですが、かいつまんで言うと
- 物体の移動量を描画しておきます
- 描画した移動量でブレの画像を作ります
- ブレの画像と描画結果を合成します
という手順を踏みます。
その中での「移動量を書き込んだ画像」がMotionVectorという事です。
で、MotionVectorってどう確認するの?
個人的に「手軽にMotionVectorを確認する事が出来るRendererFeatureが欲しいな」と思ったので、ココからはそれを達成するためのシェーダとスクリプトを記載します。
オブジェクトブラーに入る前準備みたいなものですね。
必要なファイルは下記2点
| ファイル名 | 説明 |
|---|---|
| MotionVectorColor.shader | 描画用のシェーダ |
| MotionVectorColorRendererFeature.cs | RendererFeatureとPassをまとめたコード |
また、本記事は下記の環境の上で記載しています
- Unity 2022.3.7f1
- UniversalRP 14.0.8
MotionVectorColor.shader
コードは下記です
Shader "ScreenPocket/MotionVectorColor"
{
    HLSLINCLUDE
        #pragma exclude_renderers gles
        #pragma multi_compile_local _ _USE_RGBM

        #include "Packages/com.unity.render-pipelines.core/ShaderLibrary/Common.hlsl"
        #include "Packages/com.unity.render-pipelines.universal/ShaderLibrary/Core.hlsl"
        #include "Packages/com.unity.render-pipelines.core/Runtime/Utilities/Blit.hlsl"

        TEXTURE2D(_MotionVectorTexture);
        SAMPLER(sampler_MotionVectorTexture);

        half4 Frag(Varyings input) : SV_Target
        {
            UNITY_SETUP_STEREO_EYE_INDEX_POST_VERTEX(input);

            half3 color = SAMPLE_TEXTURE2D_X(_BlitTexture, sampler_LinearClamp, input.texcoord).xyz;

            //MotionVectorの色を引っ張ってくる
            const float2 motionVector = SAMPLE_TEXTURE2D_X(_MotionVectorTexture, sampler_MotionVectorTexture, input.texcoord).xy;

            //MotionVectorの色で色付け(分かりやすくするために10倍
            color.rg += motionVector*10;

            return half4(color,1);
        }

    ENDHLSL

    SubShader
    {
        Tags { "RenderType" = "Opaque" "RenderPipeline" = "UniversalPipeline"}
        LOD 100
        ZTest Always ZWrite Off Cull Off

        Pass
        {
            Name "MotionVectorColor"
            HLSLPROGRAM
                #pragma vertex Vert
                #pragma fragment Frag
            ENDHLSL
        }
    }
}
たった47行!中身はいたってシンプル。
MotionVectorは「_MotionVectorTexture」というテクスチャ名で渡されるので、そのような名前で。
それを(わかりやすいように10倍した上で)_BlitTextureの色に加算して表示しています。
MotionVectorColorRendererFeature.cs
次にRendererFeatureの本体です。
using UnityEngine;
using UnityEngine.Experimental.Rendering;
using UnityEngine.Rendering;
using UnityEngine.Rendering.Universal;

namespace ScreenPocket
{
    /// <summary>
    /// MotionVectorを色付けして表現するためのRendererFeature
    /// </summary>
    public class MotionVectorColorRendererFeature : ScriptableRendererFeature
    {
        /// <summary>
        /// 表示用パス
        /// </summary>
        public sealed class Pass : ScriptableRenderPass
        {
            private RTHandle _tmp;
            private Material _material;
            private ProfilingSampler _profilingSampler;

            public Pass(RenderPassEvent evt, int renderPassEventOffset)
            {
                renderPassEvent = evt + renderPassEventOffset;
                _profilingSampler = new ProfilingSampler("MotionVectorColor");
            }

            public void Setup(RTHandle tmp)
            {
                _tmp = tmp;
                _material = CoreUtils.CreateEngineMaterial("ScreenPocket/MotionVectorColor");

                //↓コレを呼ぶことで、BeforeRenderingPostProcessingタイミングでMotionVectorが描画されるようになる
                ConfigureInput(ScriptableRenderPassInput.Motion);
            }

            public override void Execute(ScriptableRenderContext context, ref RenderingData renderingData)
            {
                var cameraData = renderingData.cameraData;
                if (cameraData.camera.cameraType != CameraType.Game)
                    return;

                if (_material == null)
                    return;

                var cmd = CommandBufferPool.Get();
                using (new ProfilingScope(cmd, _profilingSampler))
                {
                    var source = renderingData.cameraData.renderer.cameraColorTargetHandle;
                    //一度tmpにコピー
                    Blit(cmd, source, _tmp);
                    //MotioVectorで色付けして書き戻し
                    Blit(cmd, _tmp, source, _material);
                }

                context.ExecuteCommandBuffer(cmd);
                CommandBufferPool.Release(cmd);
            }
        }// end class Pass

        [SerializeField]
        private RenderPassEvent _renderPassEvent = RenderPassEvent.AfterRenderingPostProcessing;
        [SerializeField]
        private int _renderPassEventOffset = 0;

        private Pass _pass;
        private RTHandle _tmp;
        public override void Create()
        {
            _pass = new Pass(_renderPassEvent, _renderPassEventOffset);
        }

        public override void AddRenderPasses(ScriptableRenderer renderer, ref RenderingData renderingData)
        {
            var desc = renderingData.cameraData.cameraTargetDescriptor;

            //tmpをチェック(サイズやフォーマットが変われば作り直し)
            if (_tmp != null )
            {
                if (_tmp.rt != null)
                {
                    if (_tmp.rt.width != desc.width ||
                        _tmp.rt.height != desc.height ||
                        _tmp.rt.format != desc.colorFormat)
                    {
                        _tmp.Release();
                        _tmp = null;
                    }
                }
            }

            //tmp作成
            if (_tmp == null)
            {
                desc.depthBufferBits = 0;
                desc.depthStencilFormat = GraphicsFormat.None;
                var newRenderTexture = new RenderTexture(desc);
                newRenderTexture.name = "Tmp";
                newRenderTexture.Create();
                _tmp = RTHandles.Alloc(newRenderTexture);
            }

            _pass.Setup(_tmp);
            renderer.EnqueuePass(_pass);
        }

        protected override void Dispose(bool disposing)
        {
            if (_tmp != null)
            {
                _tmp.Release();
                _tmp = null;
            }
        }
    }//end class MotionVectorColorRendererFeature
}
117行なので、まぁシンプルか?
コチラもやっている事は
- Tmp用のRenderTextureを追加してRTHandleをゲット
- 「前述のシェーダを用いたマテリアル」を用意
- Tmpに描画領域をコピー
- コピーしたTmpと「前述のシェーダを用いたマテリアル」を組み合わせて、描画領域に書き戻し
を行っています。
重要なポイントとしては、
- ConfigureInput(ScriptableRenderPassInput.Motion); を呼ぶことで、MotionVectorが描画されるようになる
- MotionVectorが描画されるタイミングはRenderPassEvent.BeforeRenderingPostProcessing
- なので、描画したいのであれば、それ以降を指定する必要がある(今回はAfterRenderingPostProcessingとした
という所でしょうか

※↑Frame Debuggerで見ると、MotionVectrorColorのPassを追加する事で、MotionVectorsパスがBeforeRenderingPostProcessタイミングに挿入されていることが見て取れます。
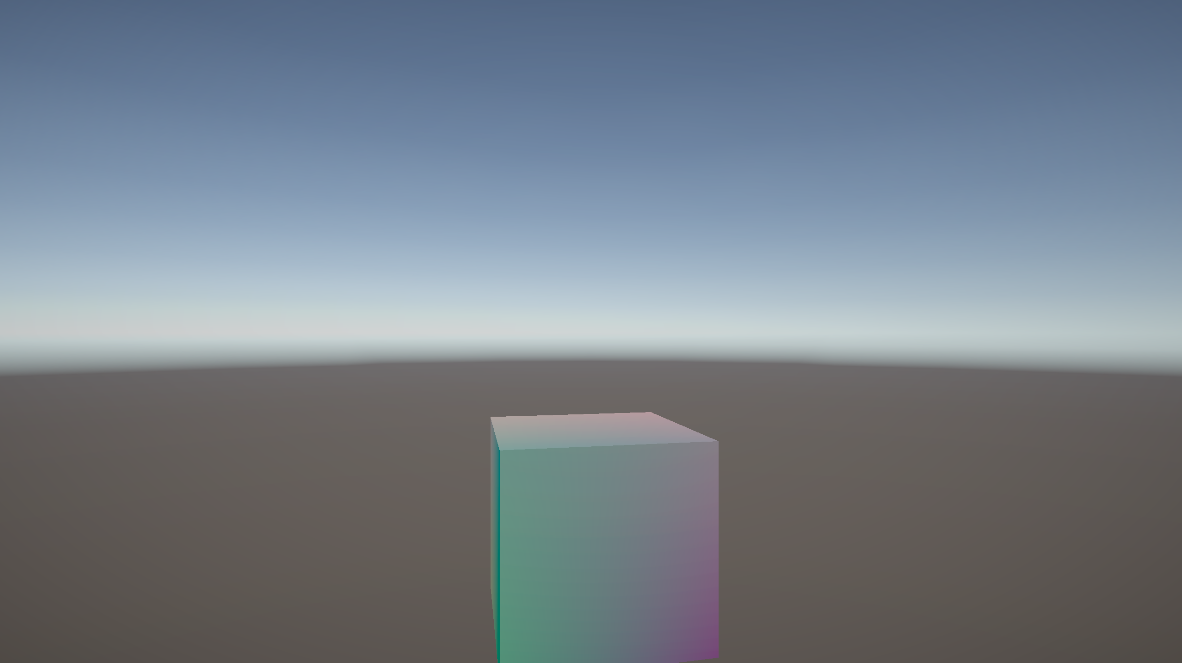
出来上がり
仕上がった画像はコチラ(冒頭に貼った物と同じ)

キューブを高速回転させている最中をキャプチャしました。
10倍にして分かりやすくしたので、緑と赤に色づいていることが確認できるかと思います。
終わりに
という事で、MotionVectorをプレビューする機能の紹介でした。
MotionVectorの確認は可能になったかと思うので、記事中の先人の知恵リンクに有ったオブジェクトブラーの作成方法に進んでいけば実装に向けての理解も進むかと思います。
あるいは、ここからオブジェクトブラー以外の、新たな表現開発にも利用できるかもしれませんね。(自分はそれ目的で今回の記事を書きました)