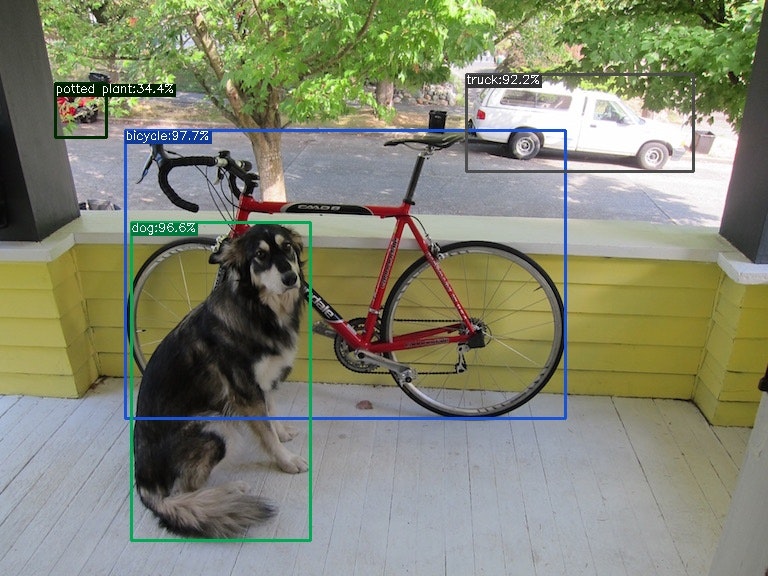
はじめに
YOLOXやっていくー
開発環境
- Windows 10 PC
- Python 3.6
実装
1.YOLOXをクローンする
2.ライブラリのインストール
conda activate py36
pip install -r requirements.txt
pip install cython
pip install "git+https://github.com/philferriere/cocoapi.git#egg=pycocotools&subdirectory=PythonAPI"
3.yolox_x.pthをダウンロード
4.tools/demo.pyの上部に下記を追記し、yoloxフォルダへのパスを追加する
import sys
import os
sys.path.append(os.path.join(os.path.dirname(__file__), '..'))
5.実行
python tools/demo.py image -n yolox-x -c yolox_x.pth --path assets/dog.jpg --conf 0.25 --nms 0.45 --tsize 640 --save_result --device gpu
追記
Webカメラから実行した場合、6fpsほど
YOLOX webcam test#Python #OpenCV #AI #DeepLearning #機械学習 pic.twitter.com/Vmi1u7M6KZ
— がちもとさん@メタバース熊本 (@sotongshi) January 10, 2022
