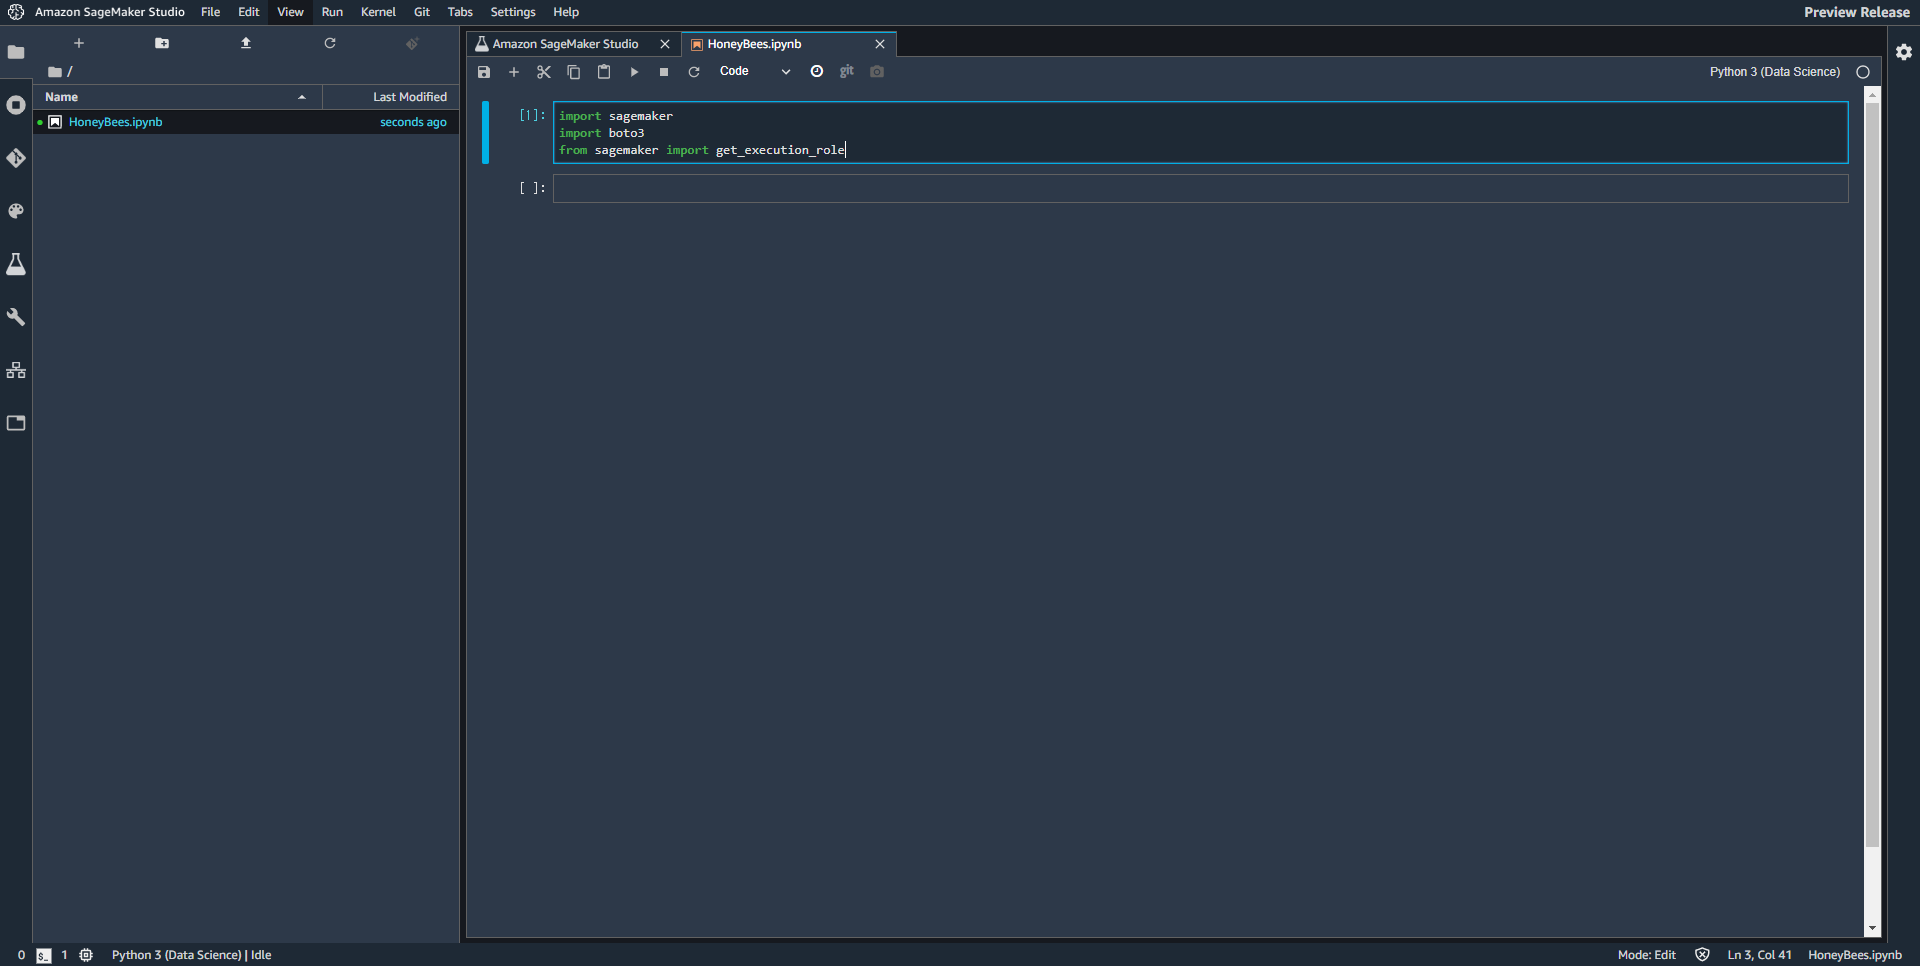
Amazon SageMaker Studio とは?
AWS re:Invent 2019で発表された機械学習のための統合開発環境です。詳しくはこちらでも紹介しています。
早速やってみた
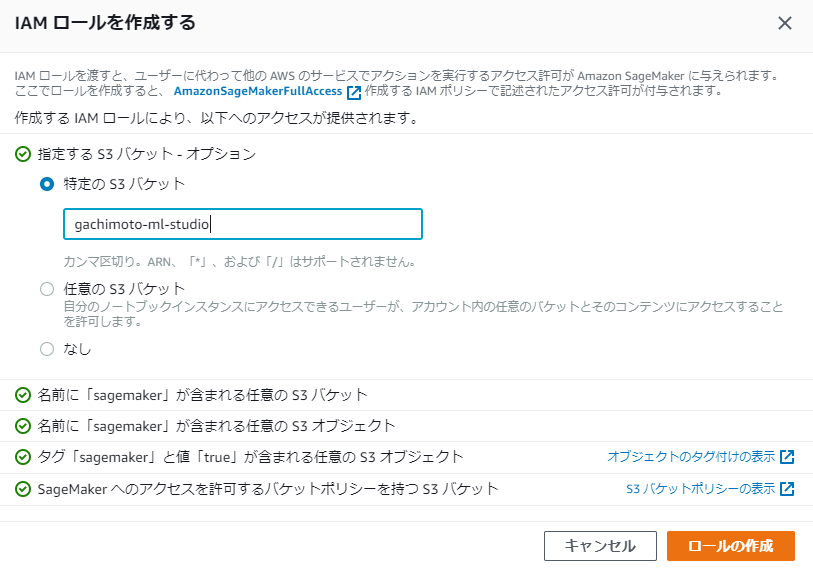
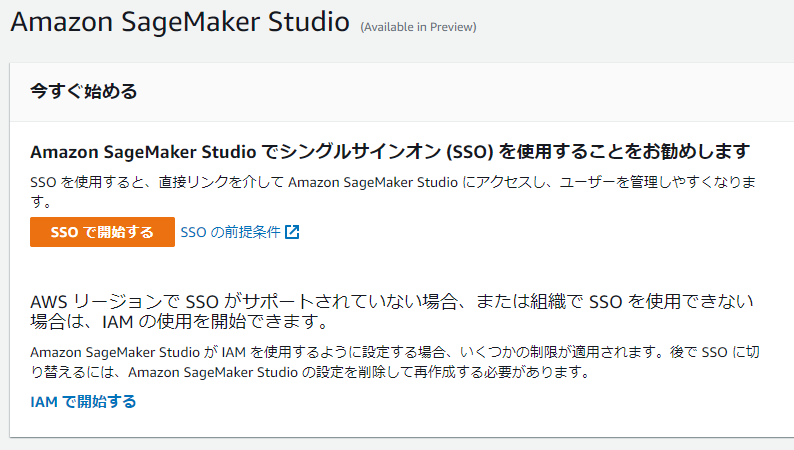
AWSマネジメントコーンソールからSageMakerを開き、SageMaker Studio を起動するをクリックします。SageMaker Studioは米国東部(オハイオ)us-east-2から利用できます。

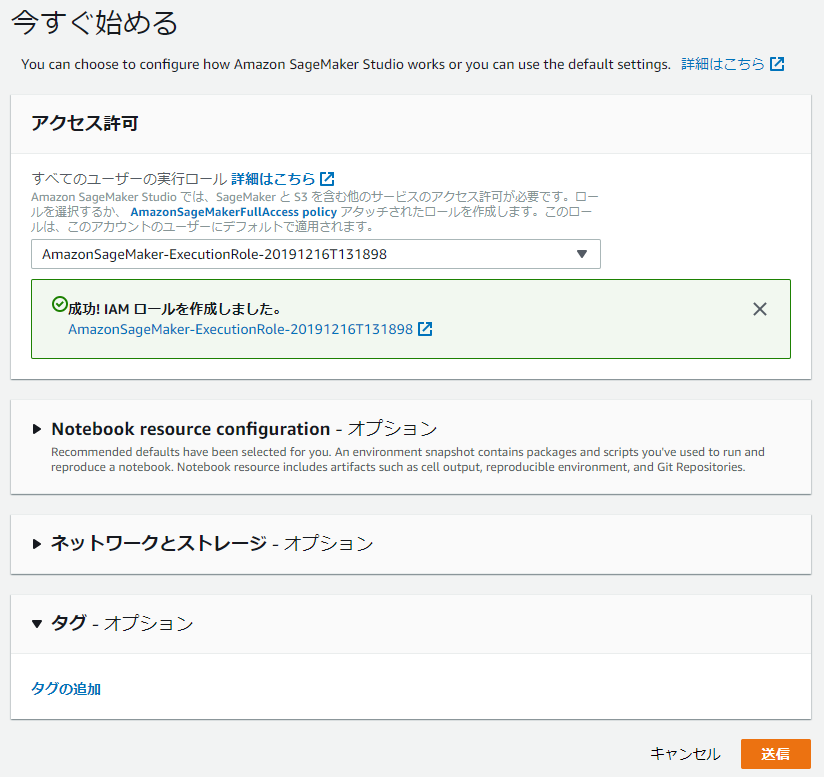
SSOがサポートされていない場合は「IAM で開始する」をクリックし、
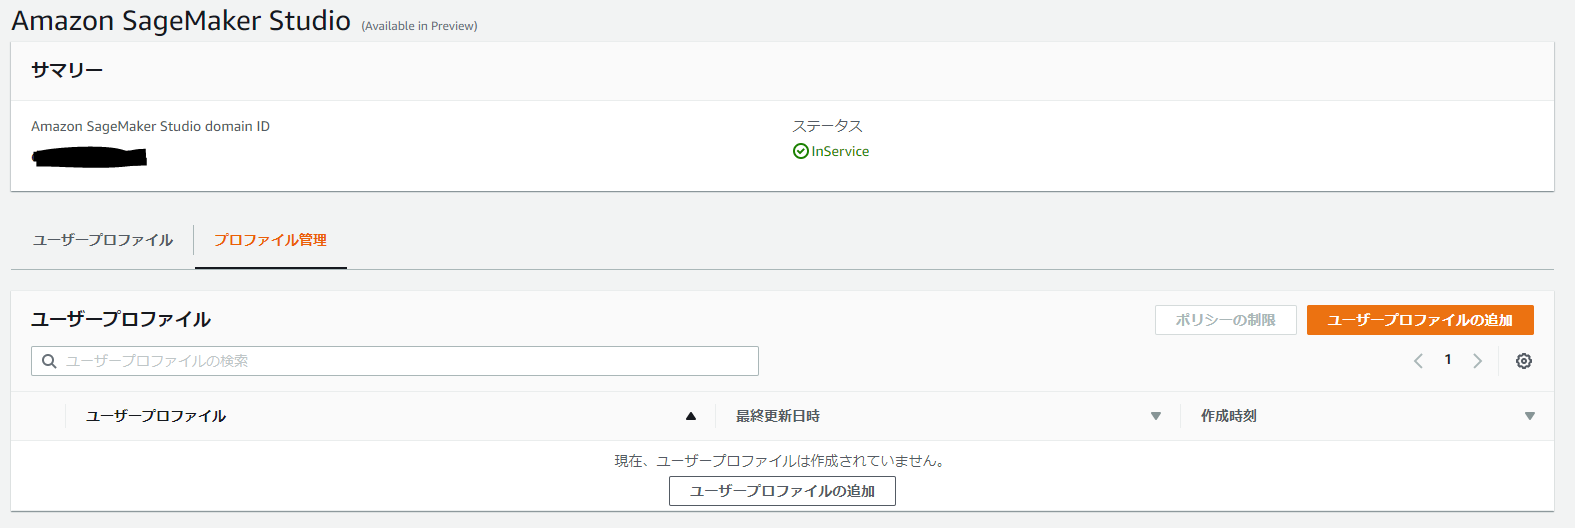
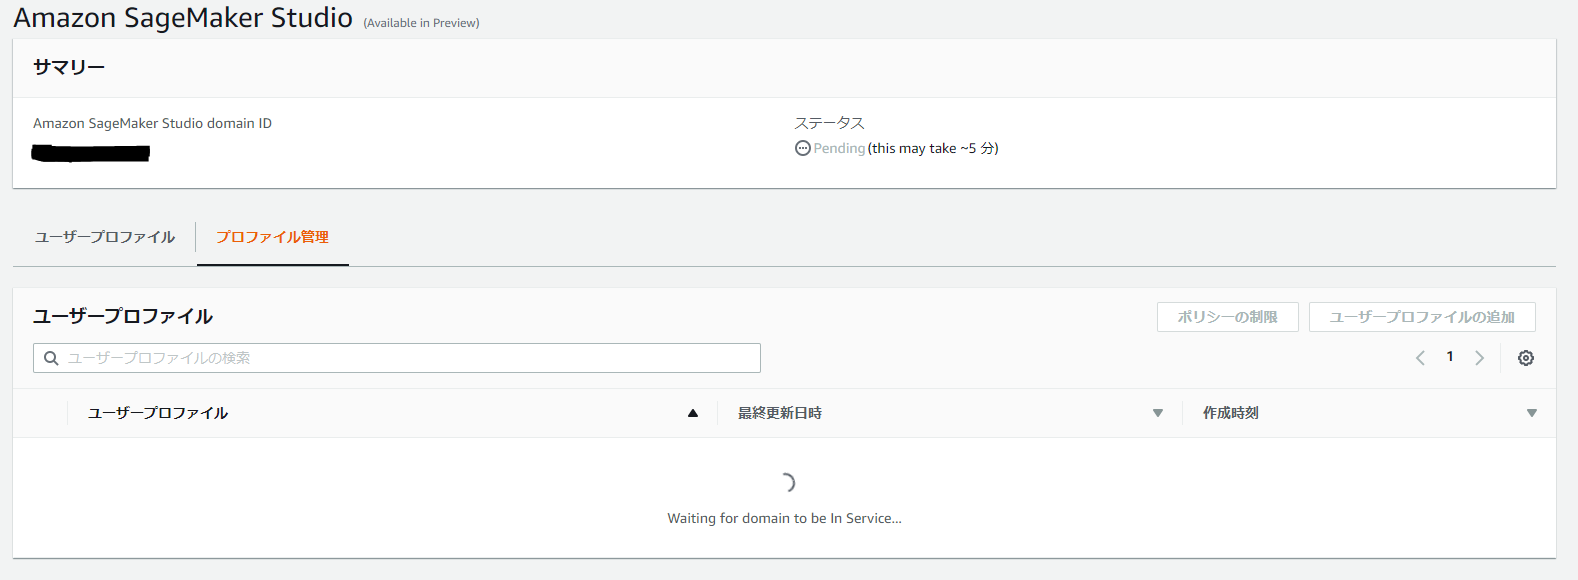
Amazon SageMaker Studio domain ID が作成されるまで待ちます。
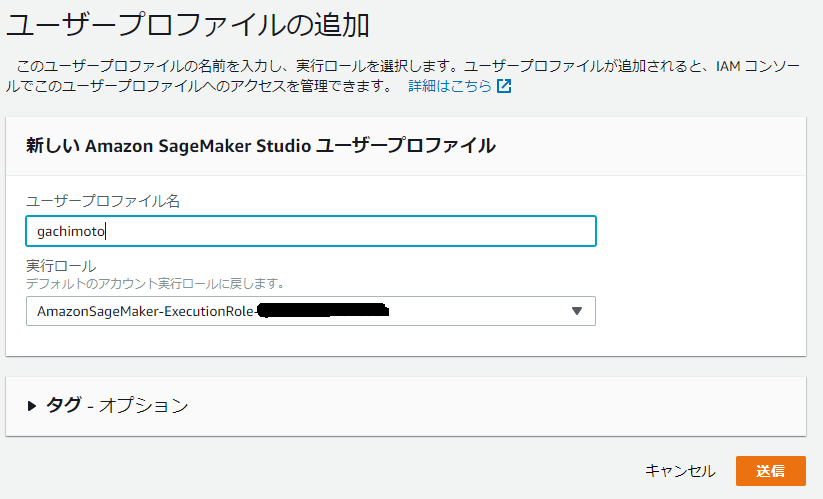
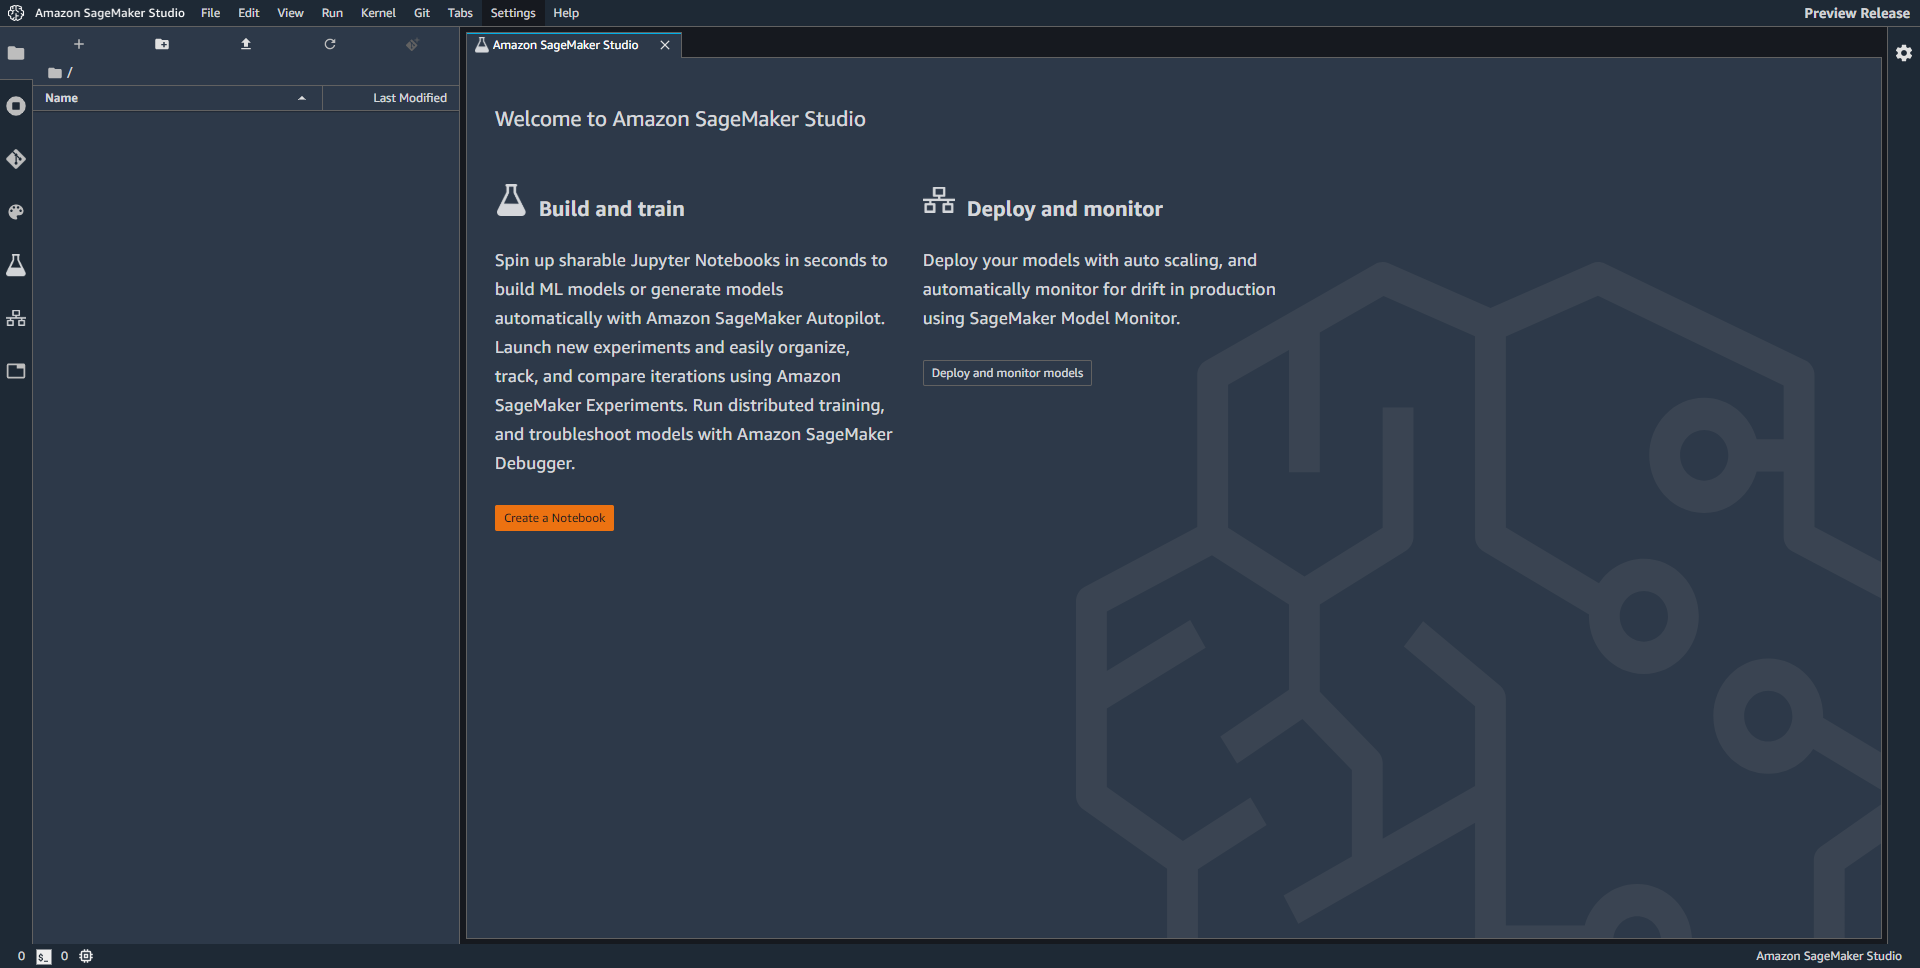
作成したユーザープロファイルを選び、「Amazon SageMaker Studioを開く」をクリックすることで、新しいタブで起動します。

「Create a Notebook」でNotebookを新規作成しましょう。
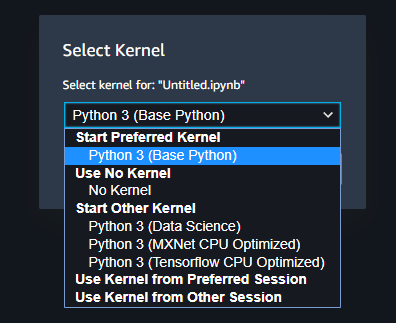
Python 3(Data Science)を選んでください!sagemakerやboto3がインポートできるのはこれだけのようです。
左側のメニューは下記のようになっています。
- ファイルブラウザ
- 起動中のターミナルとカーネル一覧
- Git
- コマンド一覧
- SageMakerの実験一覧
- Notebookのツール
- エンドポイント
- タブ一覧
SageMaker AutoPilot
Amazon SageMaker Studio - Amazon SageMaker AutoPilot (part 1)を参考に試してみました。
1.データセットのダウンロード
%%sh
wget -N https://archive.ics.uci.edu/ml/machine-learning-databases/00222/bank-additional.zip
unzip -o bank-additional.zip
Archive:  bank-additional.zip
   creating: bank-additional/
  inflating: bank-additional/.DS_Store
   creating: __MACOSX/
   creating: __MACOSX/bank-additional/
  inflating: __MACOSX/bank-additional/._.DS_Store
  inflating: bank-additional/.Rhistory
  inflating: bank-additional/bank-additional-full.csv
  inflating: bank-additional/bank-additional-names.txt
  inflating: bank-additional/bank-additional.csv
  inflating: __MACOSX/._bank-additional
--2019-12-16 05:53:18--  https://archive.ics.uci.edu/ml/machine-learning-databases/00222/bank-additional.zip
Resolving archive.ics.uci.edu (archive.ics.uci.edu)... 128.195.10.252
Connecting to archive.ics.uci.edu (archive.ics.uci.edu)|128.195.10.252|:443... connected.
HTTP request sent, awaiting response... 200 OK
Length: 444572 (434K) [application/x-httpd-php]
Saving to: ‘bank-additional.zip’

     0K .......... .......... .......... .......... .......... 11%  419K 1s
    50K .......... .......... .......... .......... .......... 23%  821K 1s
   100K .......... .......... .......... .......... .......... 34% 44.8M 0s
   150K .......... .......... .......... .......... .......... 46%  838K 0s
   200K .......... .......... .......... .......... .......... 57% 50.7M 0s
   250K .......... .......... .......... .......... .......... 69% 71.1M 0s
   300K .......... .......... .......... .......... .......... 80% 70.8M 0s
   350K .......... .......... .......... .......... .......... 92% 81.1M 0s
   400K .......... .......... .......... ....                 100%  580K=0.3s

2019-12-16 05:53:19 (1.40 MB/s) - ‘bank-additional.zip’ saved [444572/444572]
2.可視化
import pandas as pd

data = pd.read_csv('./bank-additional/bank-additional-full.csv', sep=';')
pd.set_option('display.max_columns', 500)     # Make sure we can see all of the columns
pd.set_option('display.max_rows', 50)         # Keep the output on one page
data[:10] # Show the first 10 lines
3.データセットを学習とテストに分けて保存します。
import numpy as np

train_data, test_data, _ = np.split(data.sample(frac=1, random_state=123),
                                                  [int(0.95 * len(data)), int(len(data))])

# Save to CSV files
train_data.to_csv('automl-train.csv', index=False, header=True, sep=',') # Need to keep column names
test_data.to_csv('automl-test.csv', index=False, header=True, sep=',')
%%sh

ls -l *.csv
-rw-r--r-- 1 root root  257339 Dec 16 05:53 automl-test.csv
-rw-r--r-- 1 root root 4889516 Dec 16 05:53 automl-train.csv
4.データセットをS3へアップロードします。
import sagemaker

prefix = 'sagemaker/DEMO-automl-dm/input'
sess   = sagemaker.Session()

uri = sess.upload_data(path="automl-train.csv", key_prefix=prefix)
print(uri)
s3://sagemaker-us-east-2-xxxxxxxxxxxx/sagemaker/DEMO-automl-dm/input/automl-train.csv
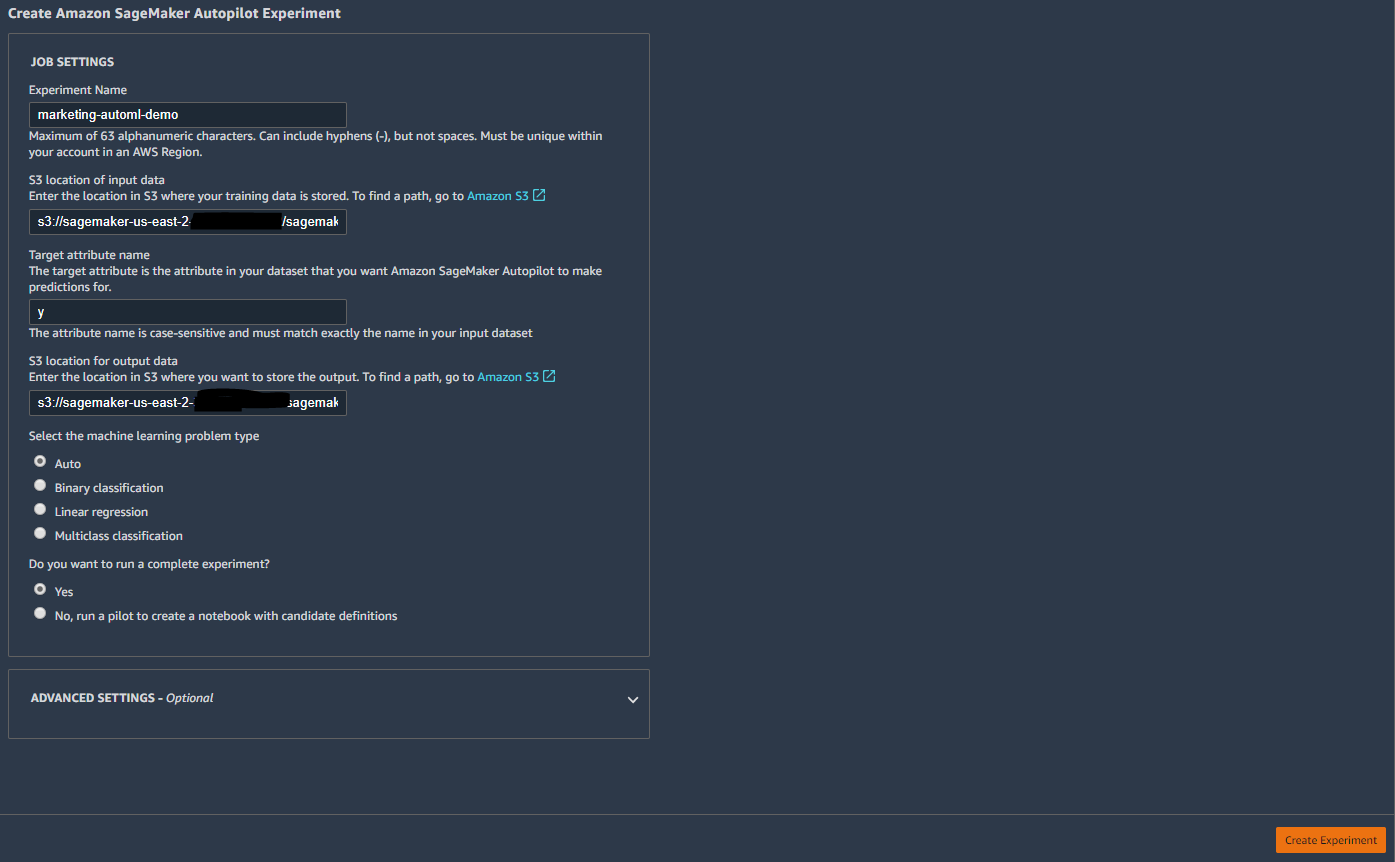
5.アップロードしたデータセットのS3のパスをコピーしておき、Experiment Listタブへ移動します。「Create Experiment」をクリックし、各項目を入力します。
JOB SETTINGS
| Experiment Name | marketing-automl-demo | 任意 |
| S3 location of input data | s3://sagemaker-us-east-2-xxxxxxxxxxxx/sagemaker/DEMO-automl-dm/input/automl-train.csv | アップロードしたデータセットのS3パス |
| Target attribute name | y | 推論対象 |
| S3 location for output data | s3://sagemaker-us-east-2-xxxxxxxxxxxx/sagemaker/DEMO-automl-dm/output/ | 出力先のS3パス |
| Select the machine learning problem type | Auto | Binary ClassificationだがAutoに任せてみる |
| Do you want to run a complete experiment? | Yes |
「Create Experiment」をクリックし作成します。
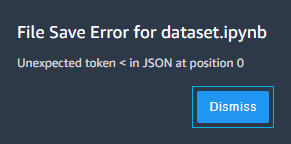
1回目はエラーで作れませんでした。JSONエラーも出るようになりました。。。
まとめ
Amazon SageMaker Studio を導入し、Autopilotを少し動かすところまでやりました。
次回は、Amazon SageMaker Studio - Amazon SageMaker AutoPilot (part 2~4)をやっていきたいと思います!
