はじめに
前回の記事でCreateMLで作成したCoreMLのモデルをONNXに変換しました。今回は、ONNXのモデルをC#のコンソールアプリで推論してみましょう
開発環境
- MacBookPro 2018
- Visual Studio for Mac
導入
1.前回の記事を参考にONNXモデルを用意します
2.Visual Studio for Macをインストールします
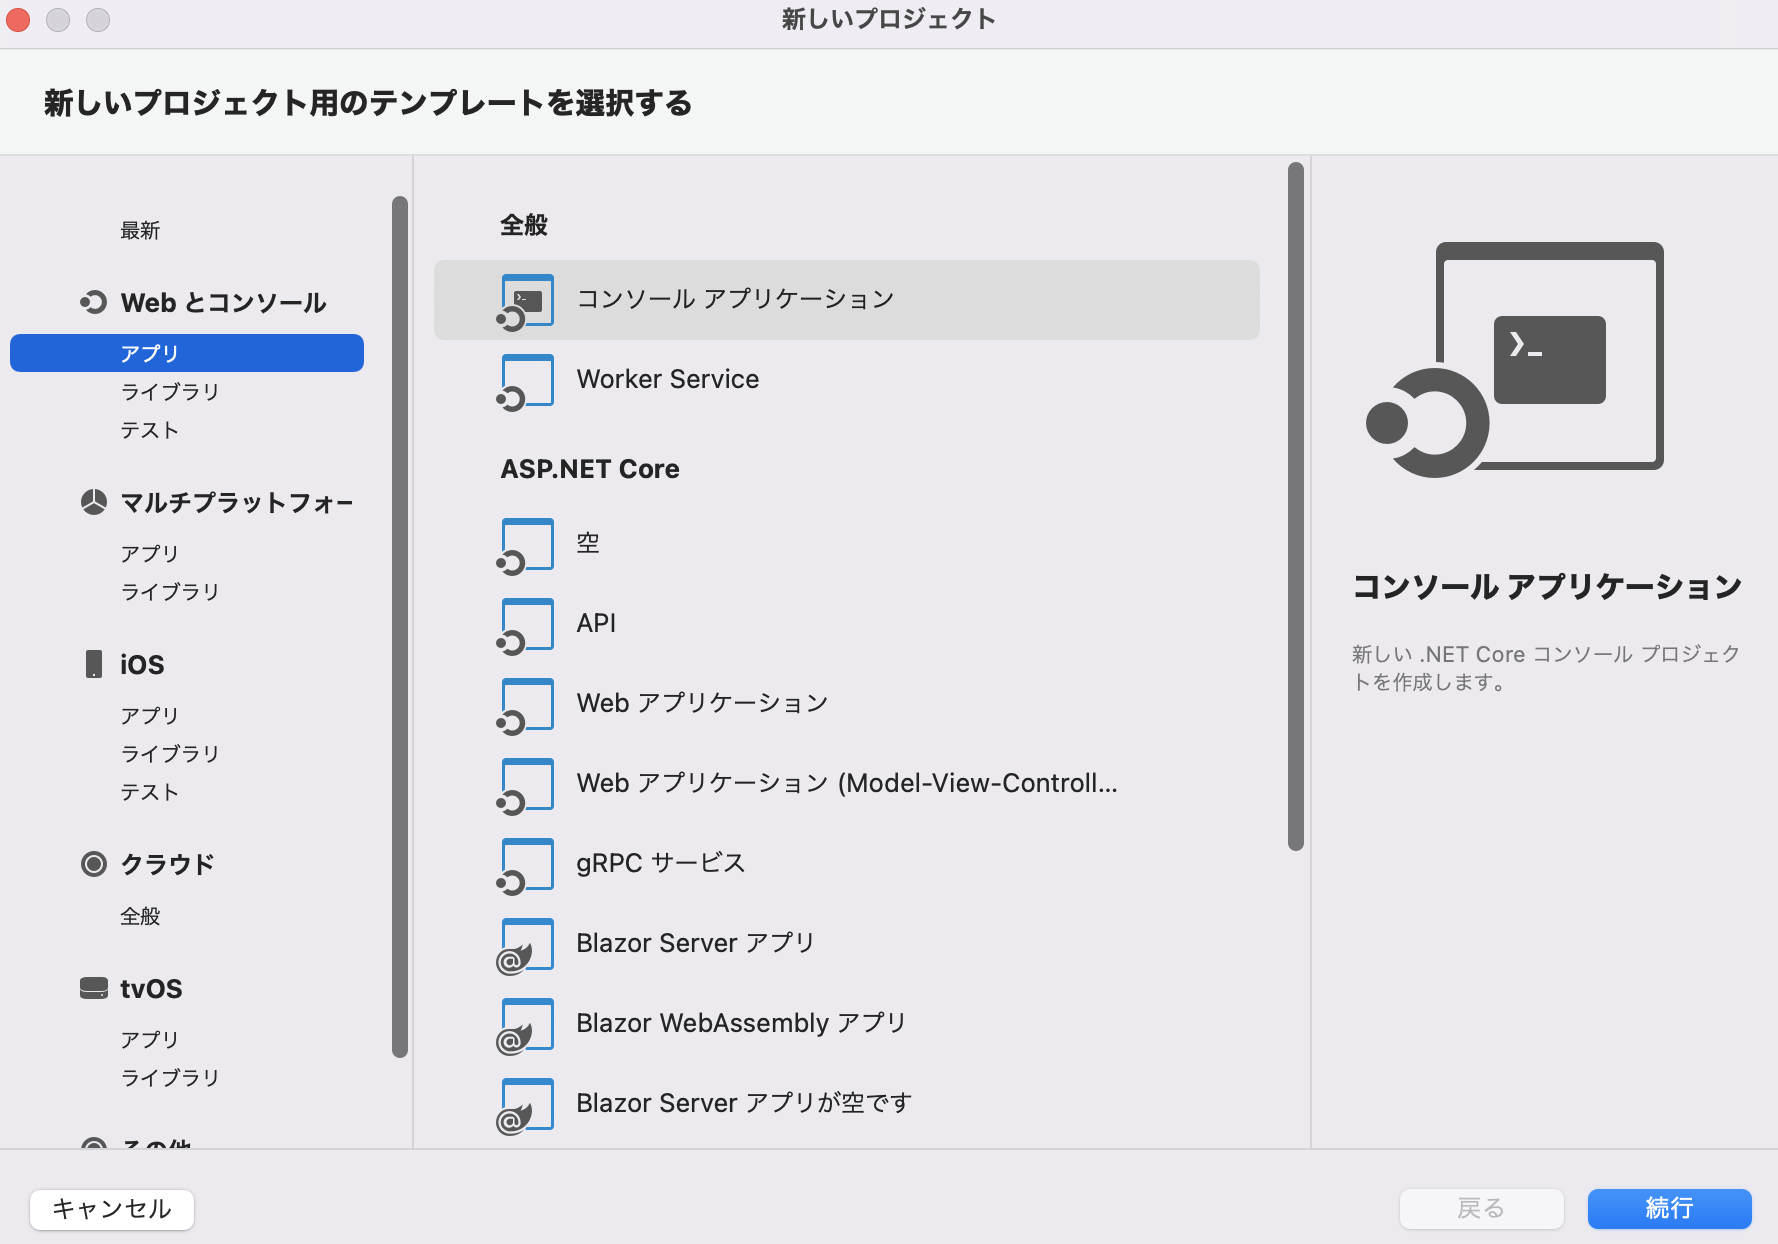
3.コンソールアプリケーションを作成します
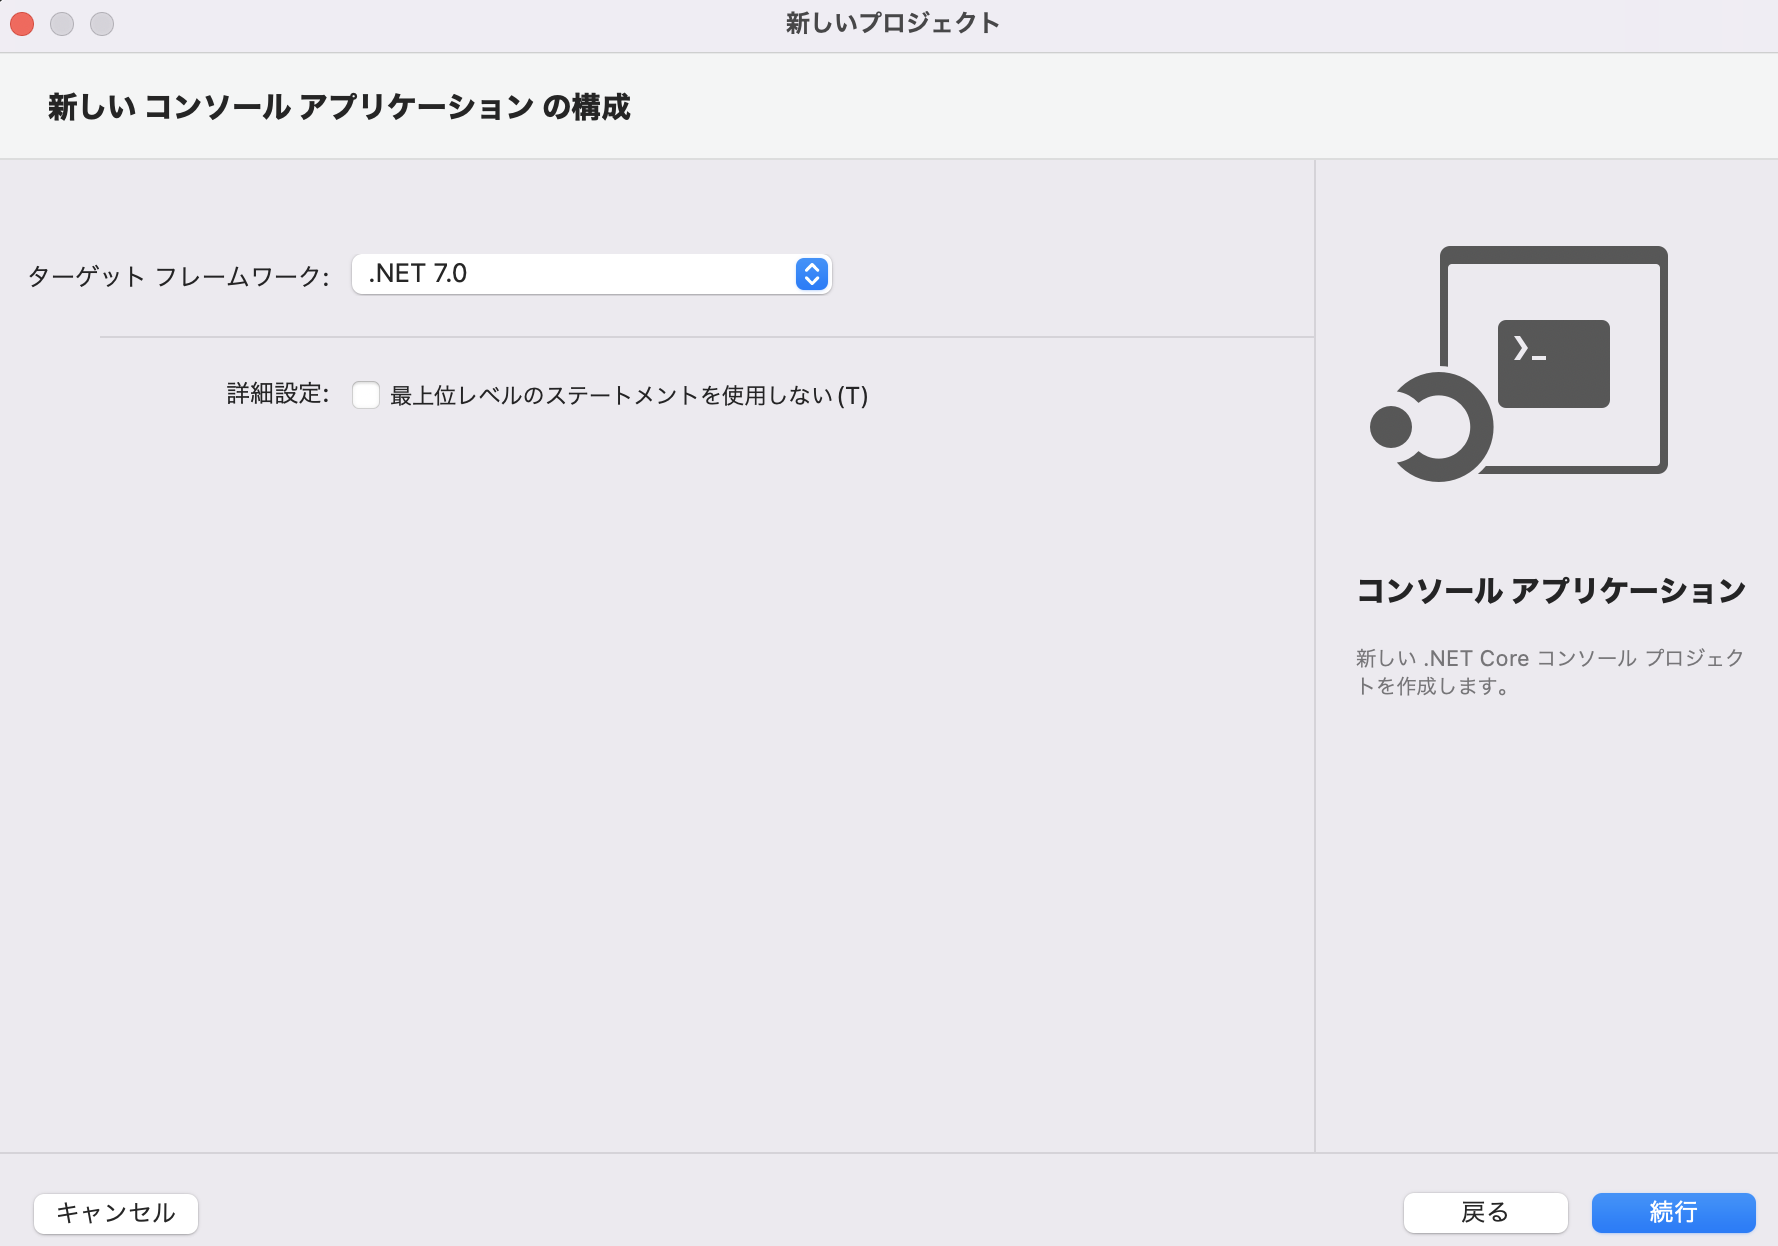
4.ターゲットフレームワークは.NET7.0です
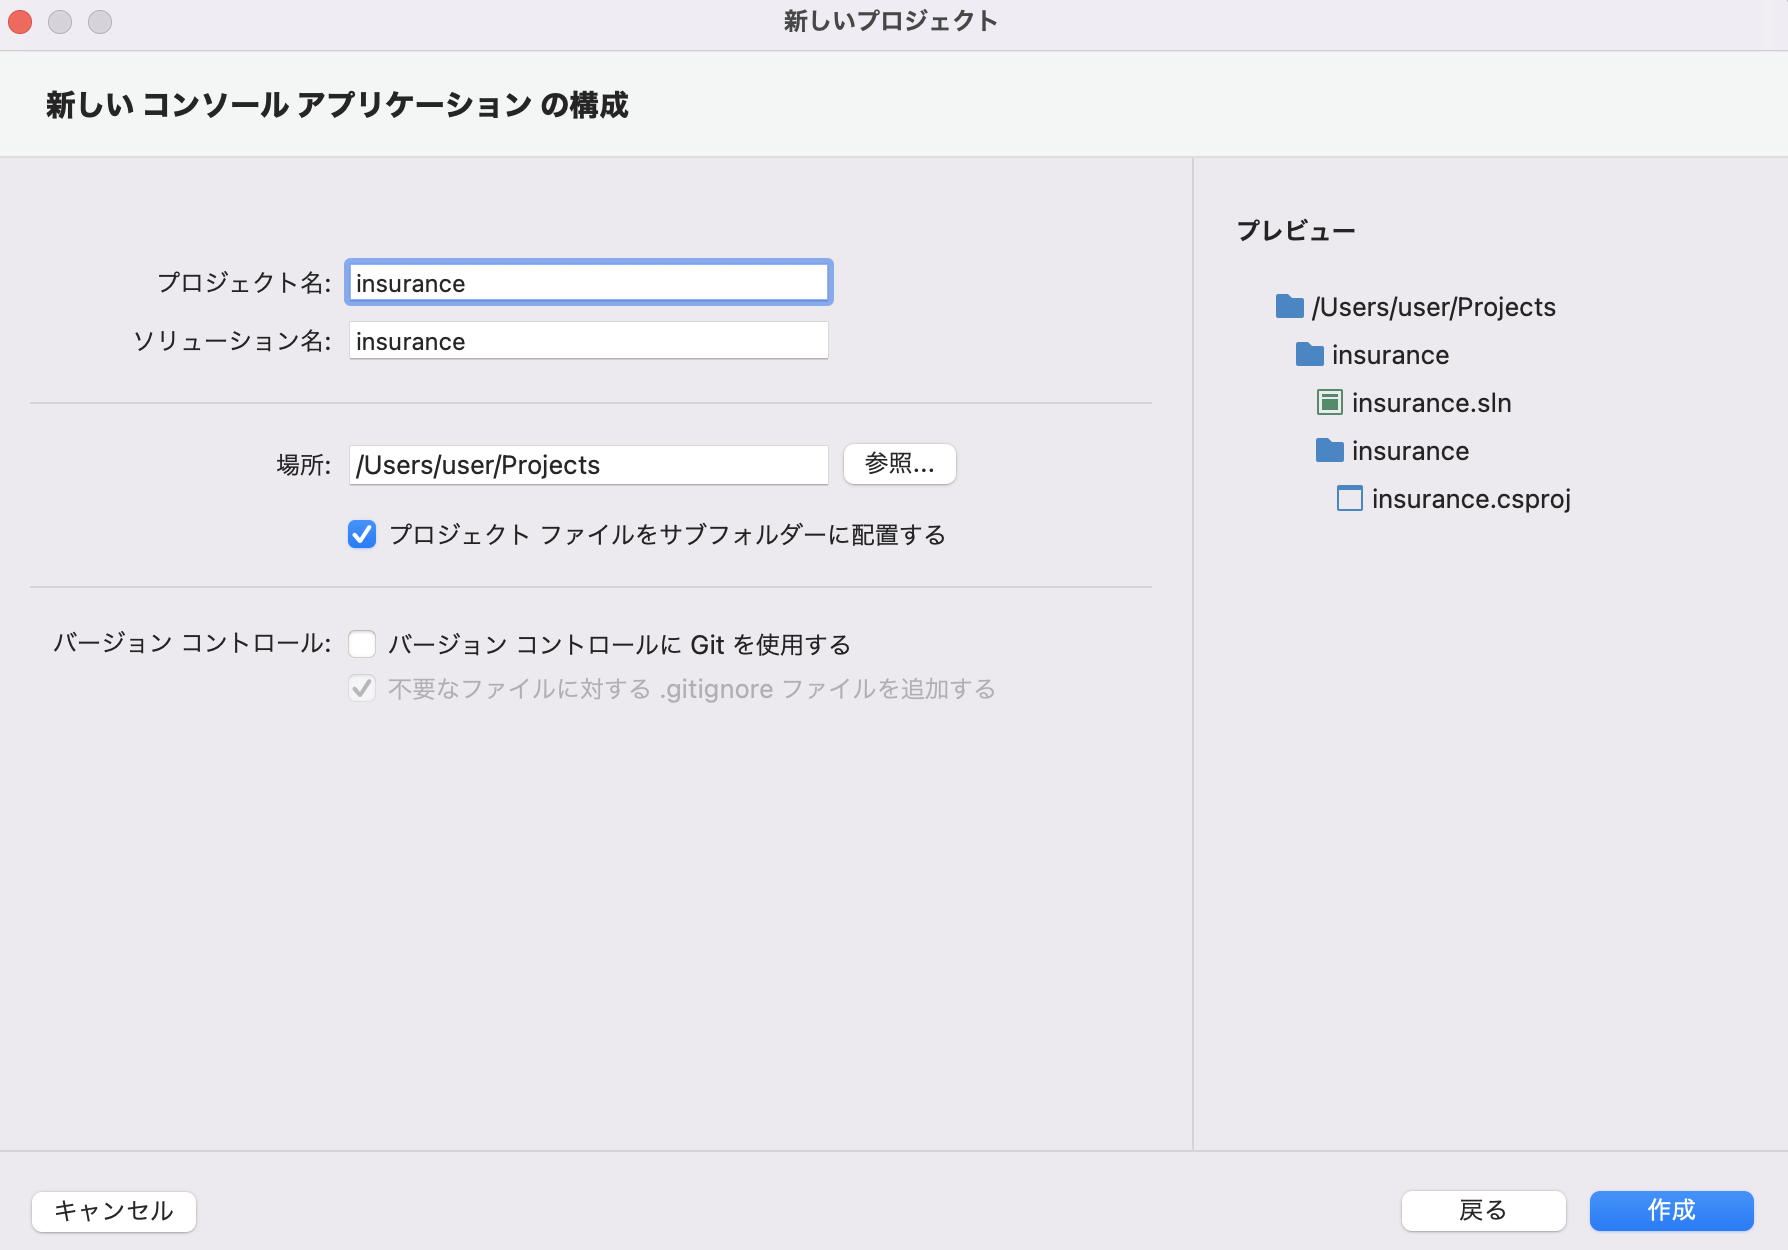
5.プロジェクト名を入力します
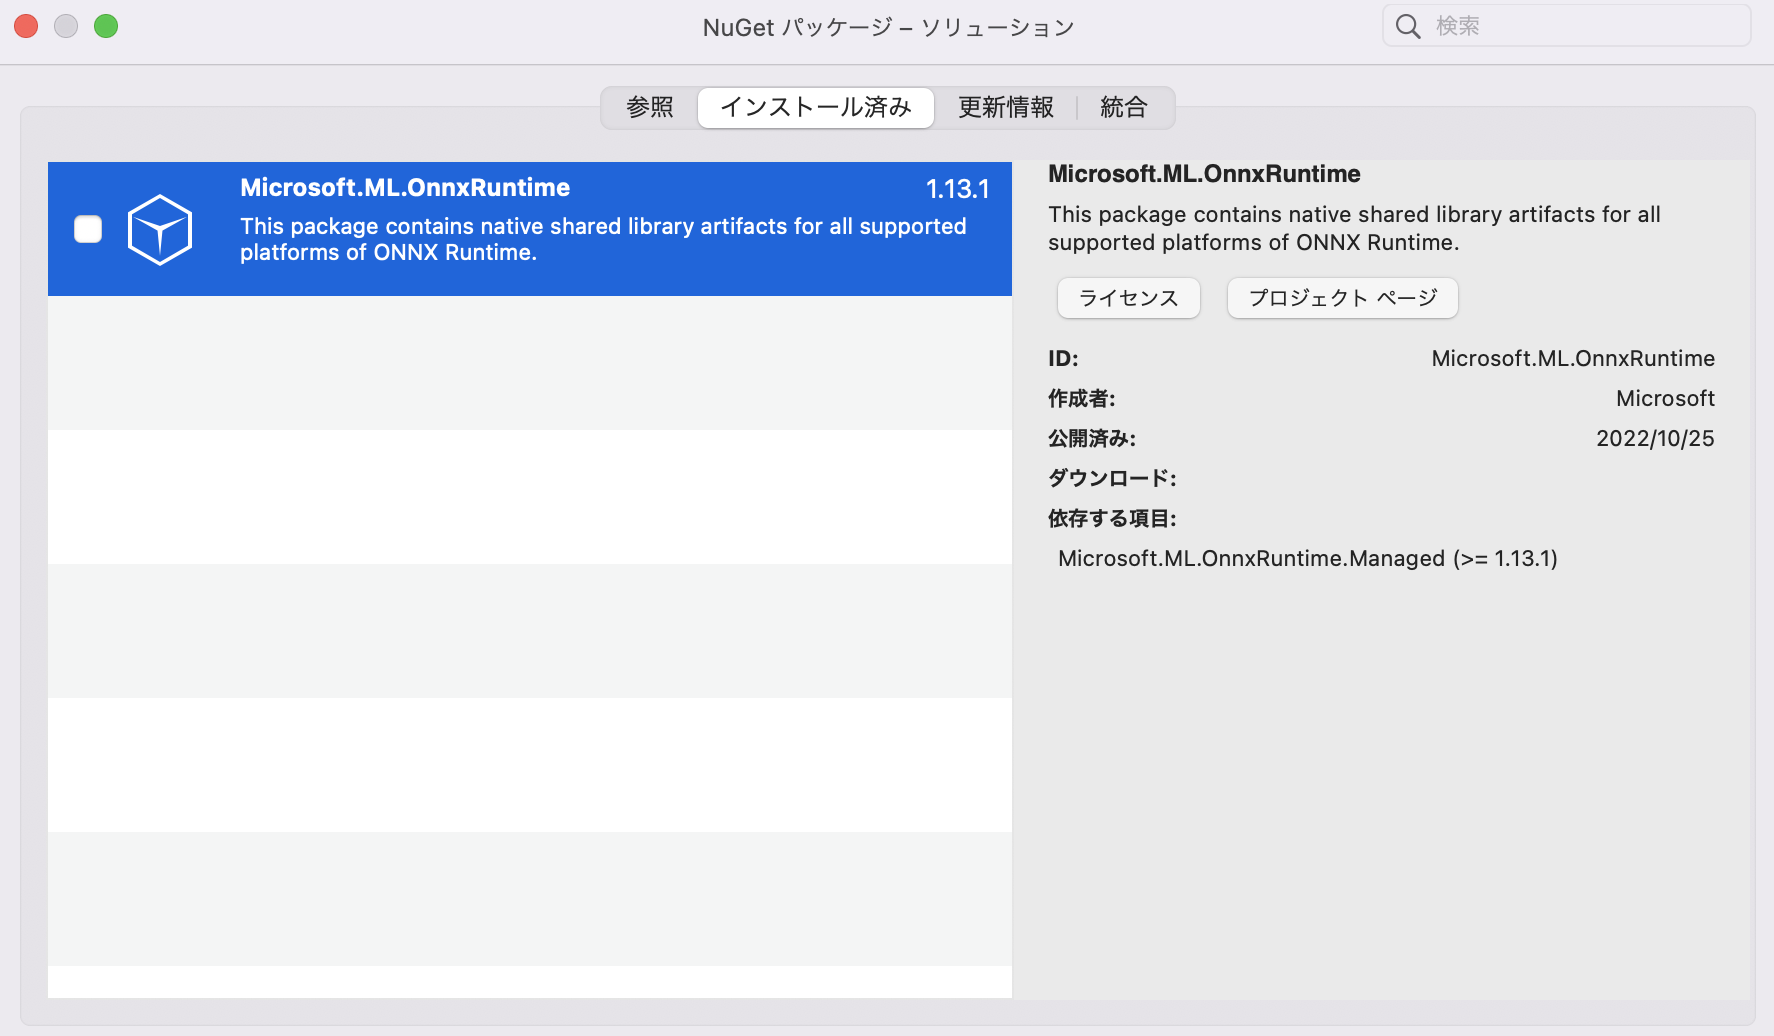
6.ツール->NuGetパッケージの管理からMicrosoft.ML.OnnxRuntimeをインストールします
7.Program.csを編集します
Program.cs
using Microsoft.ML.OnnxRuntime;
using Microsoft.ML.OnnxRuntime.Tensors;

float[] age = new float[1] { 19.0f };
float[] bmi = new float[1] { 27.0f };
float[] children = new float[1] { 1.0f };

Console.WriteLine(Directory.GetCurrentDirectory());
var session = new InferenceSession("../../../insurance.onnx");

Tensor<float> t_age = new DenseTensor<float>(age,session.InputMetadata.First().Value.Dimensions,false);
Tensor<float> t_bmi = new DenseTensor<float>(bmi, session.InputMetadata.First().Value.Dimensions, false);
Tensor<float> t_children = new DenseTensor<float>(children, session.InputMetadata.First().Value.Dimensions, false);

var inputs = new List<NamedOnnxValue>() {
    NamedOnnxValue.CreateFromTensor<float>("age",t_age),
    NamedOnnxValue.CreateFromTensor<float>("bmi",t_bmi),
    NamedOnnxValue.CreateFromTensor<float>("children",t_children)
};

var results = session.Run(inputs);
Console.WriteLine(results.First().AsTensor<float>()[0]);
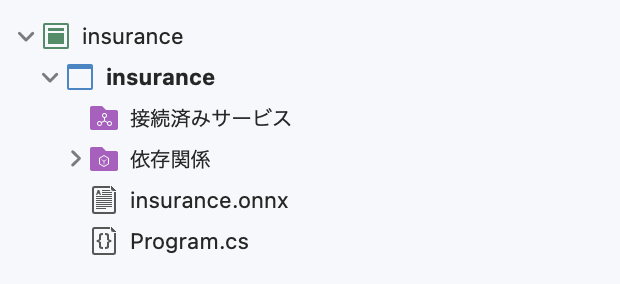
8.insurance.onnxをプロジェクト直下に置きます
9.実行してみましょう
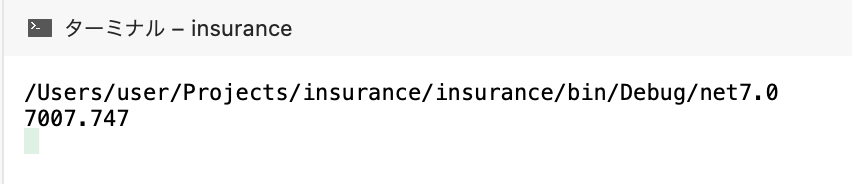
お疲れ様でした。