Raspberry Pi Picoを入手したので、Get Started with MicroPython on Raspberry Pi Picoの学習用書籍で紹介されているThonny(Python IDE for beginners)を使って見ました。
紙媒体書籍(139ページ)は有償ですが、PDFが無料配布されています。
動作環境
- MacBook Pro (M1 2020)
- macOS Big Sur 11.1
- Raspberry Pi Pico
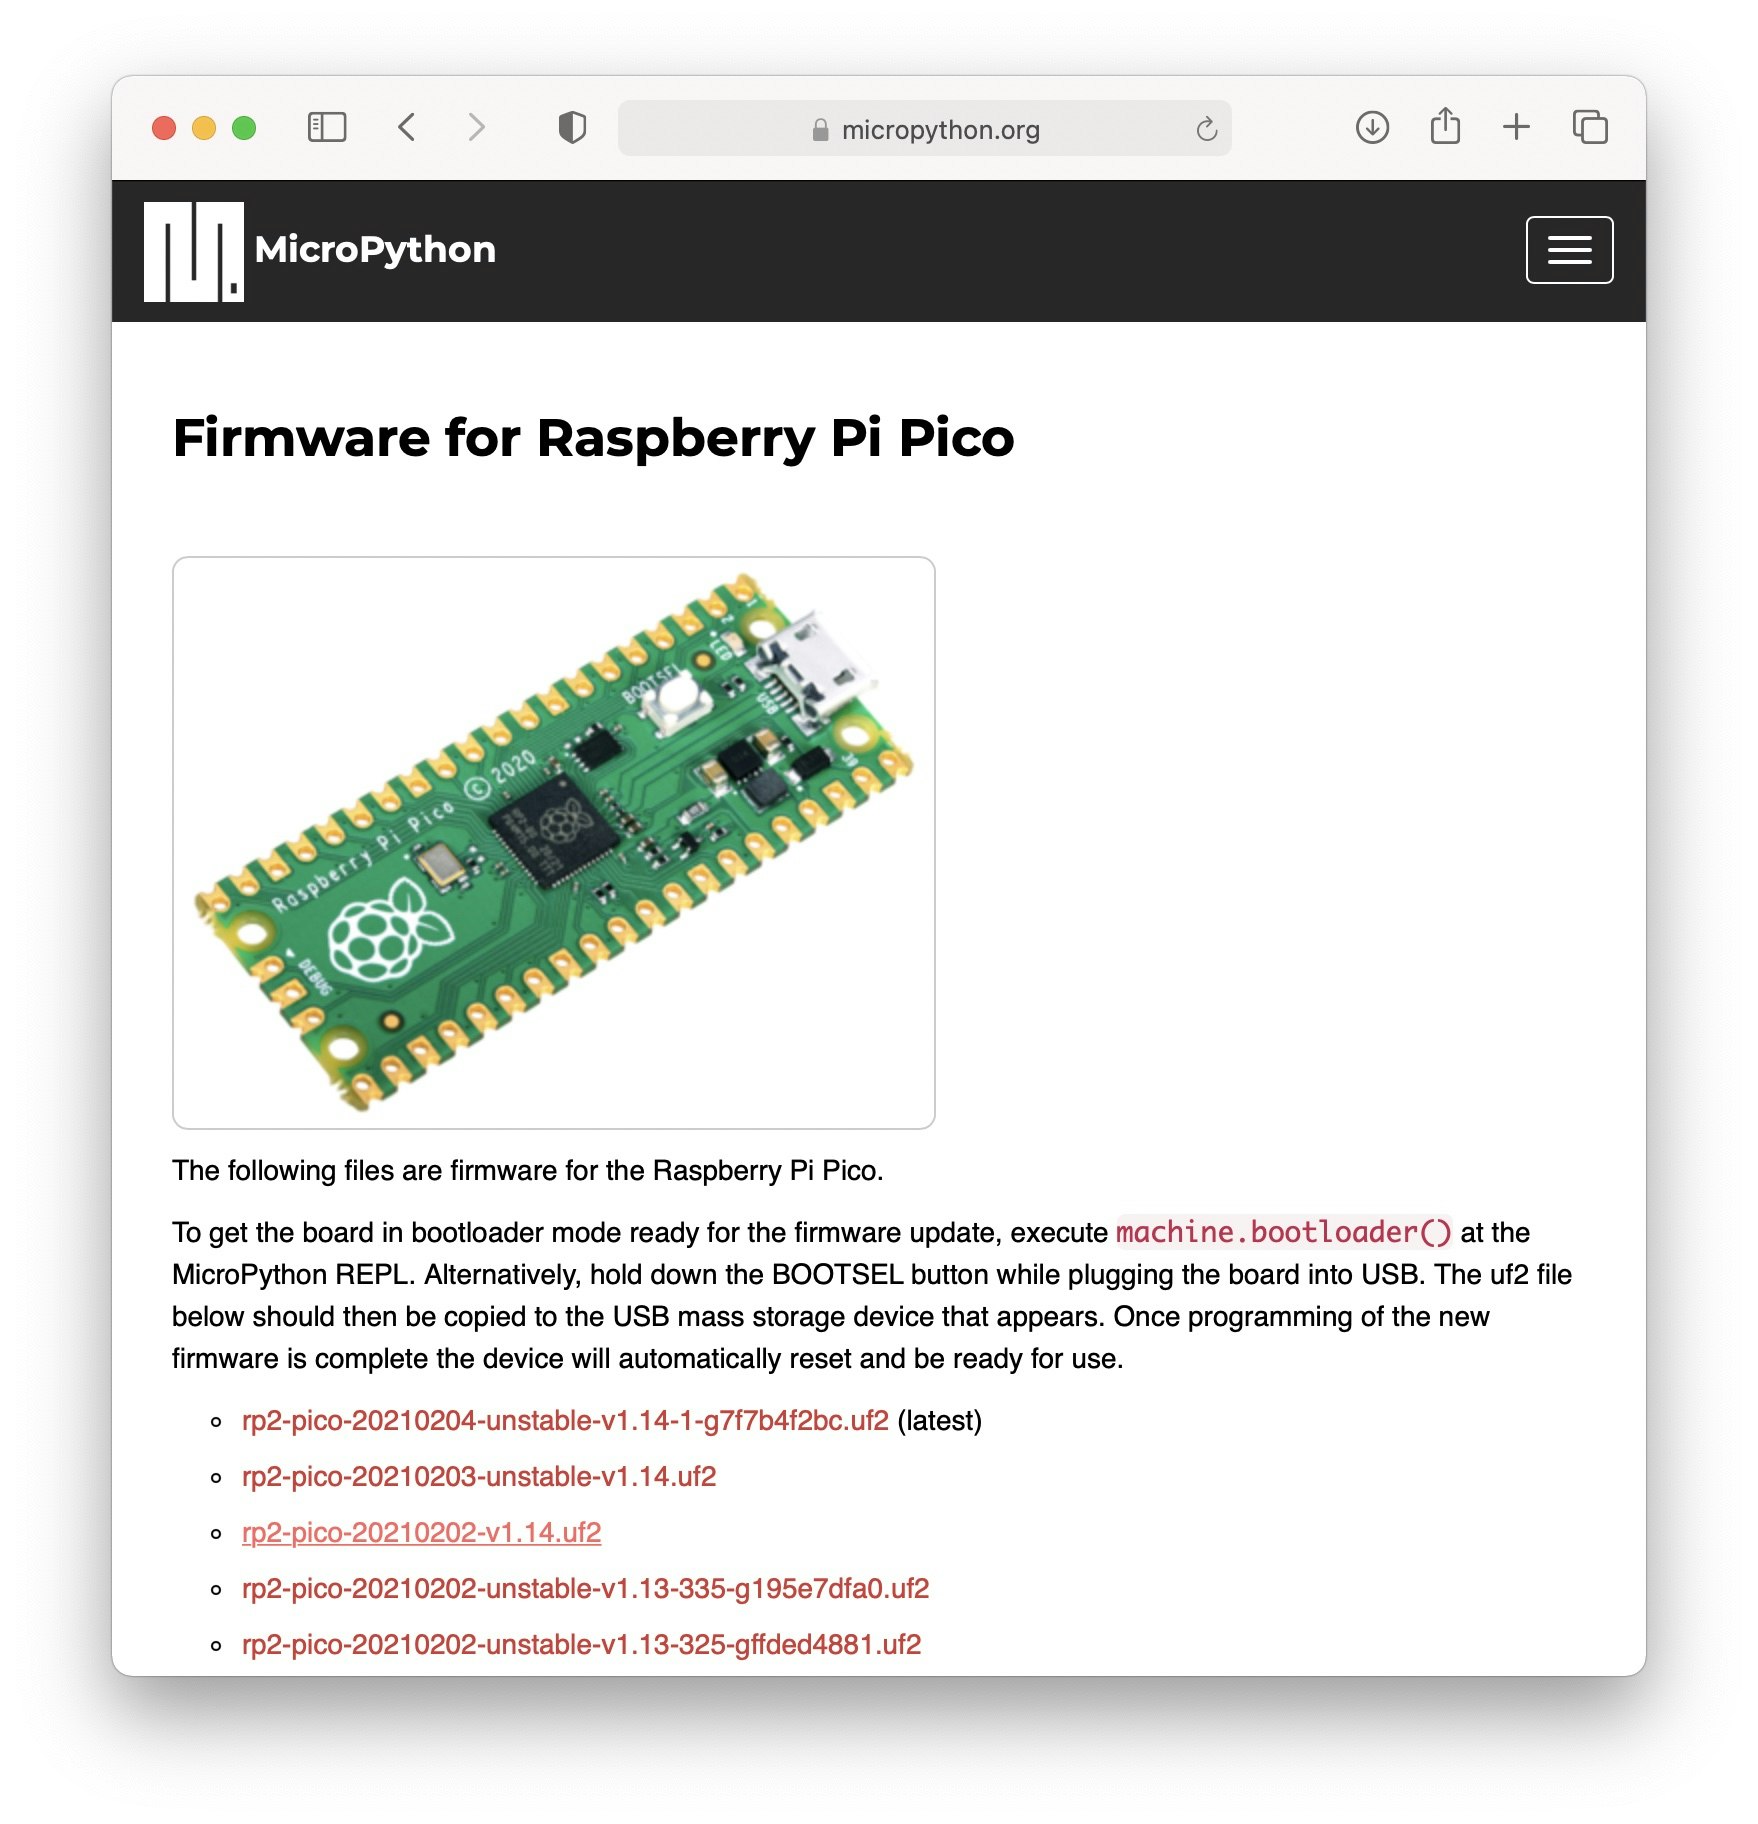
microPythonをダウンロード
microPython[公式ページより、安定版のrp2-pico-20210202-v1.14をダウンロードします。
microPythonをインストール
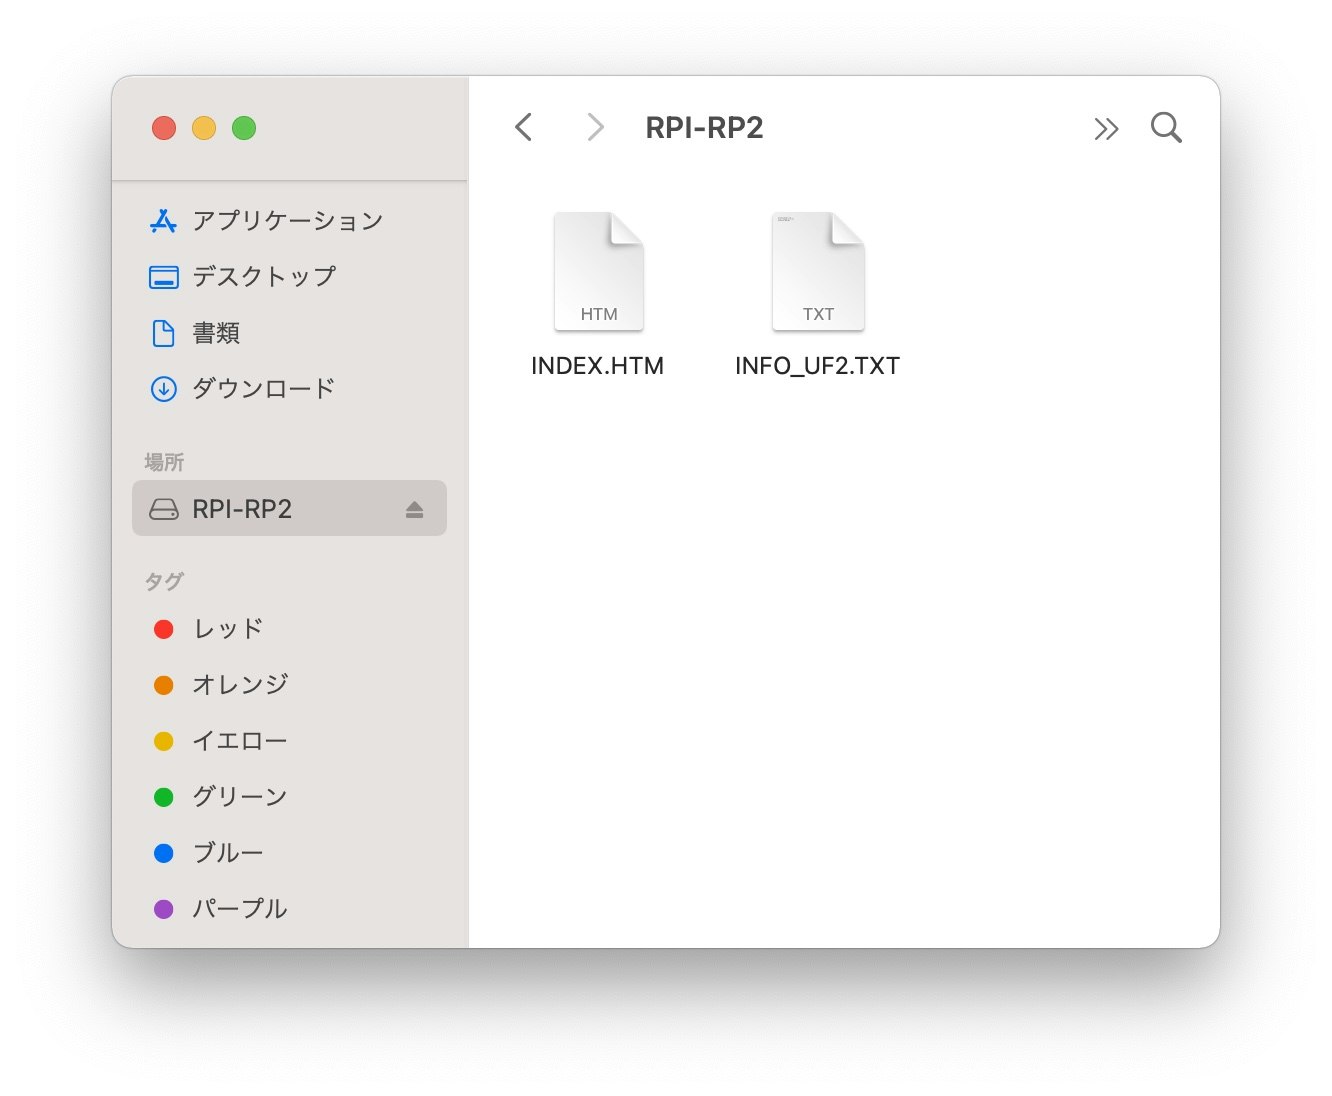
(1)Raspberry Pi Picoの基板上のBOOTSEL(白いボタン)を押したまま、MacへUSB接続します。
(2)MacのFinderにRPI-RP2のドライブとして見えるので、ダウンロードしたUF2ファイルをドラックアンドドロップします。
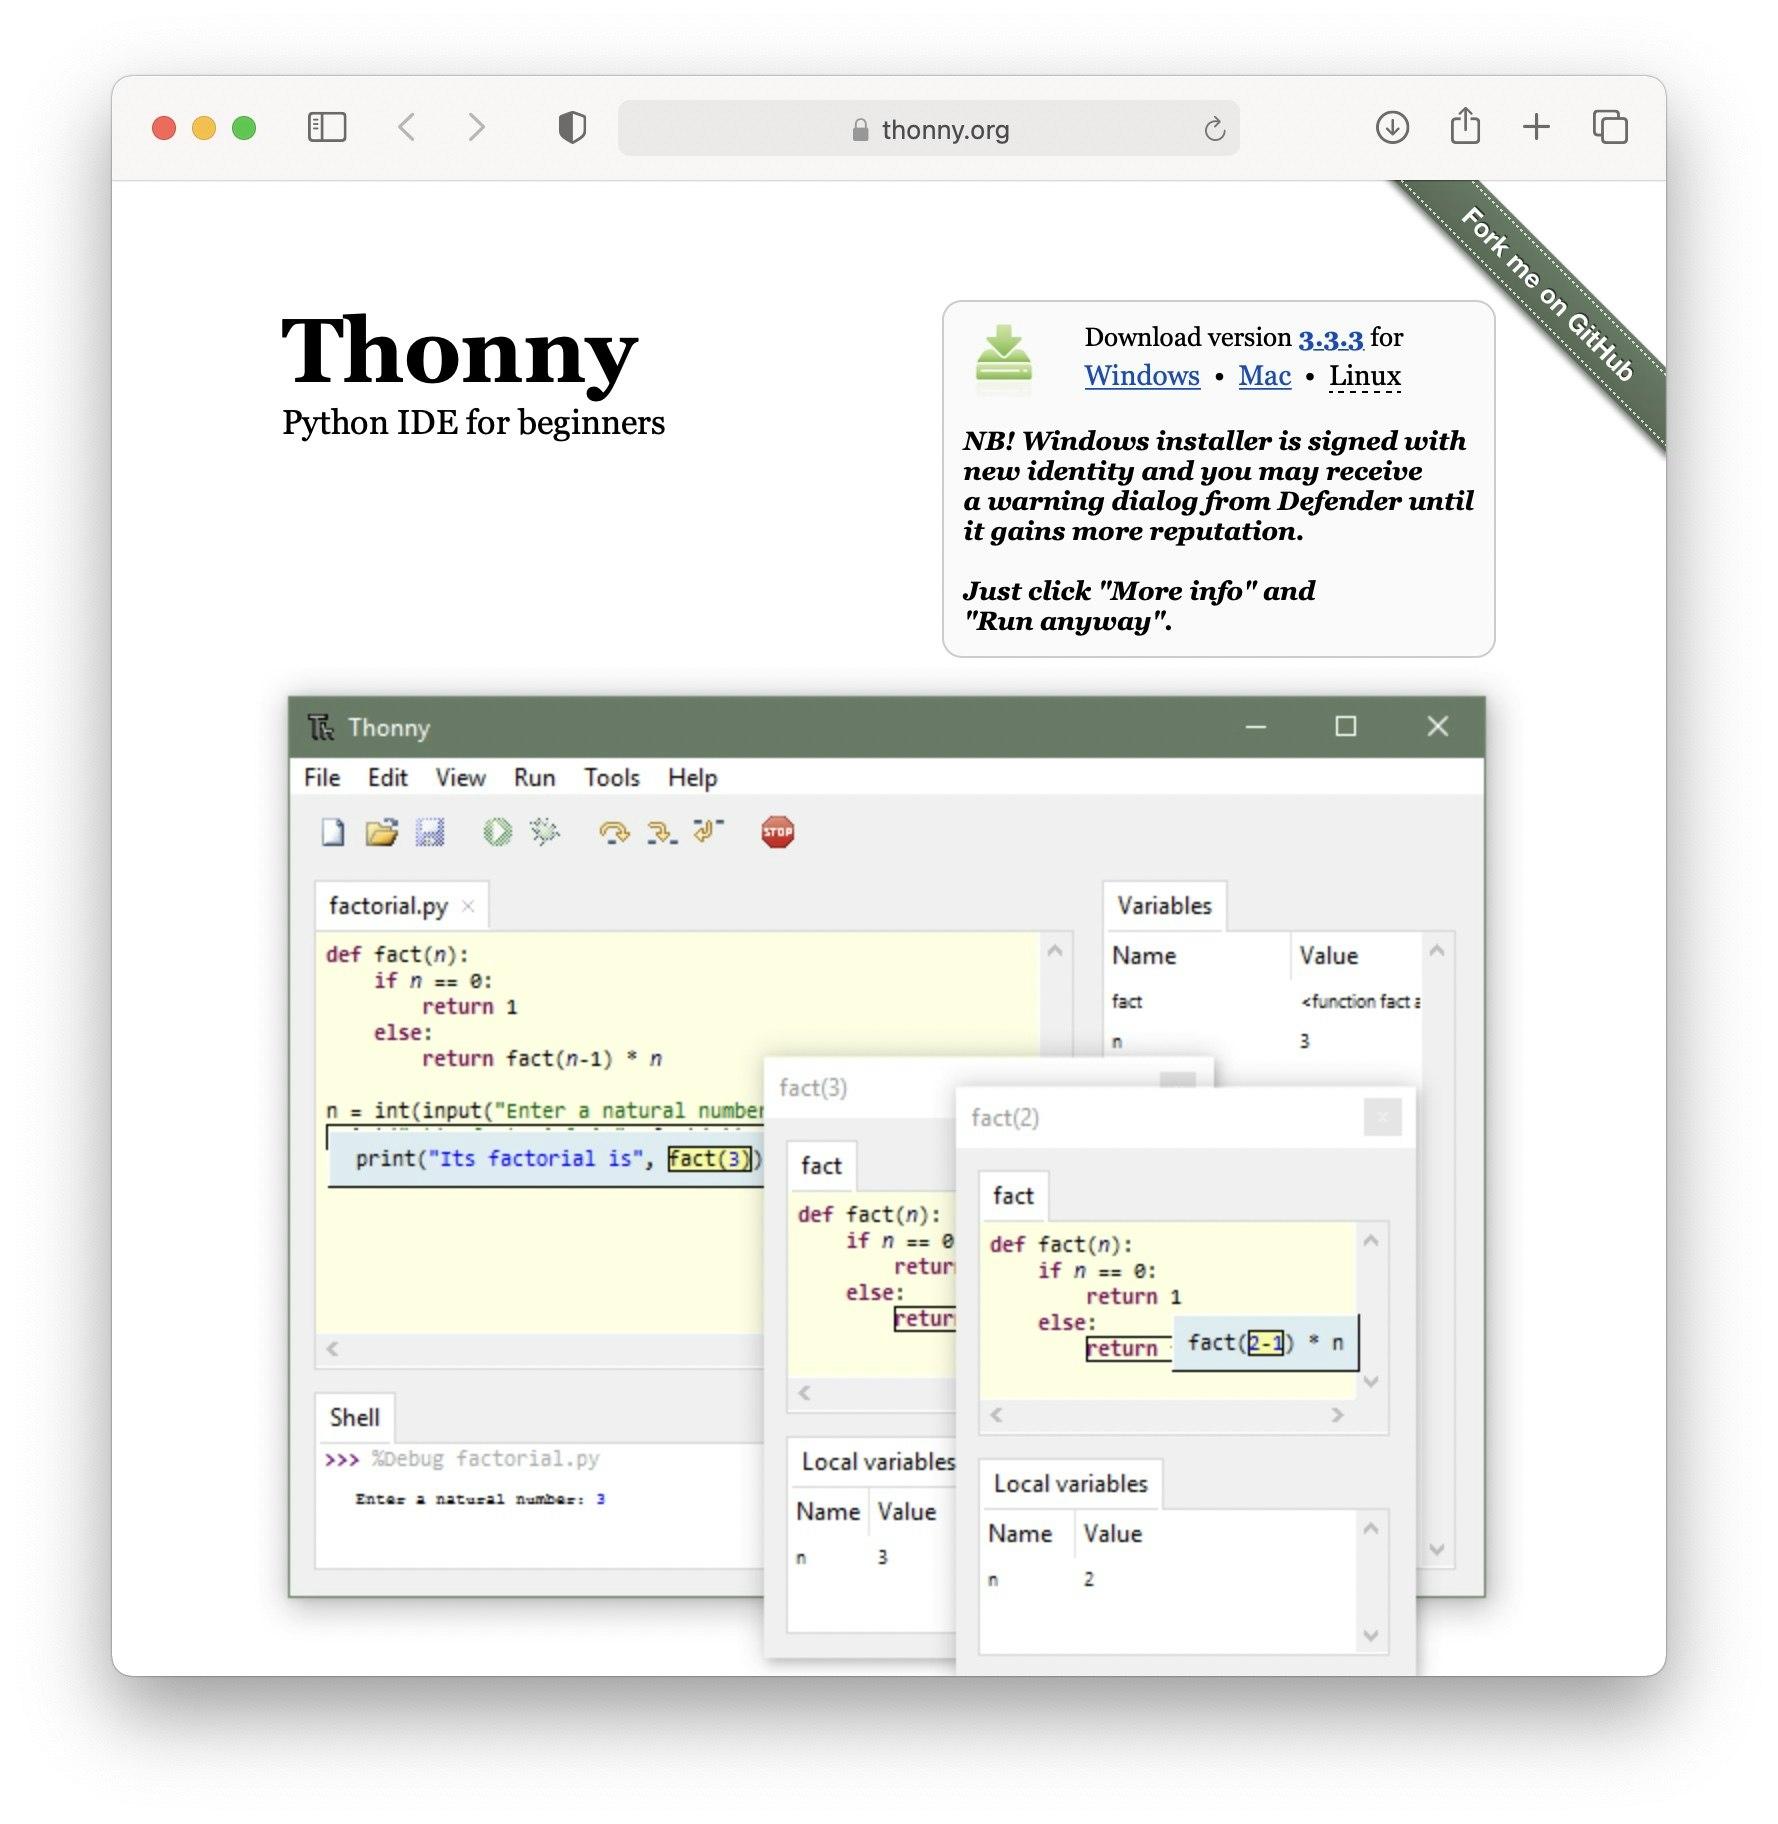
microPythonのIDEツールをダウンロード
Thonny(Python IDE for beginners)をダウンロードして、インストールします。
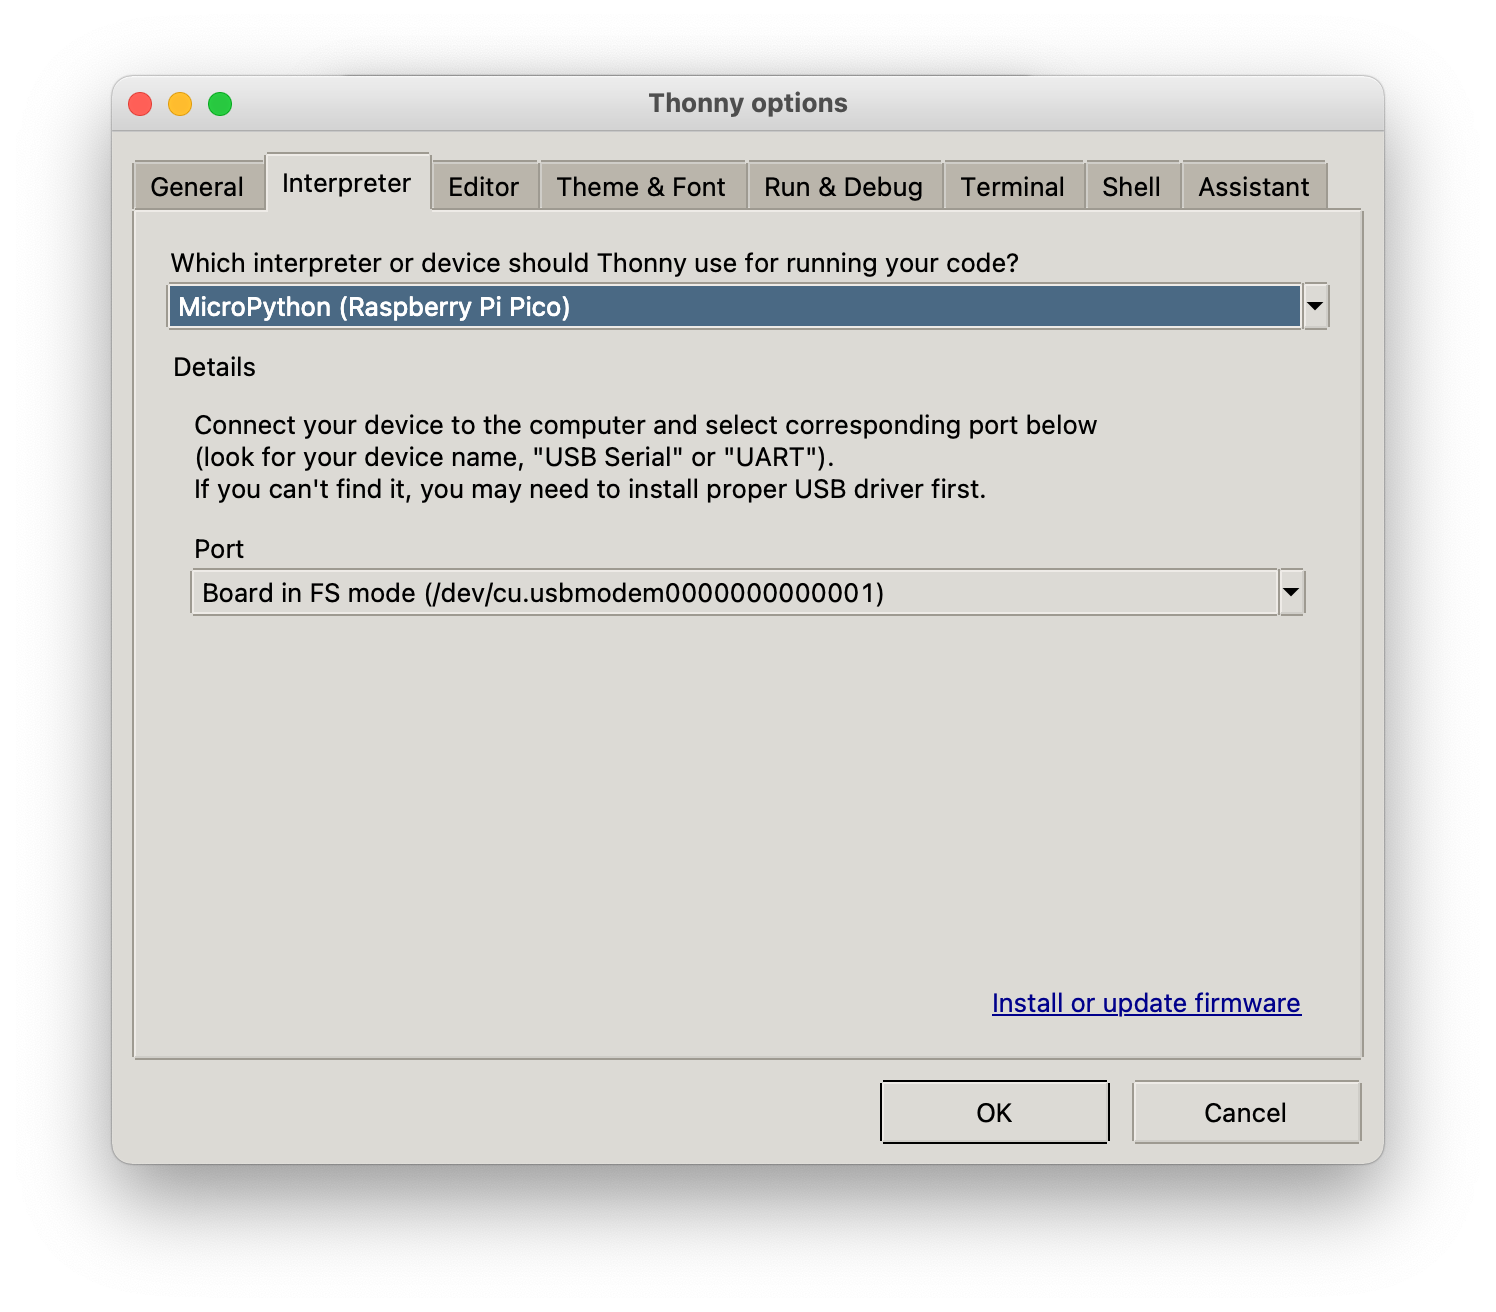
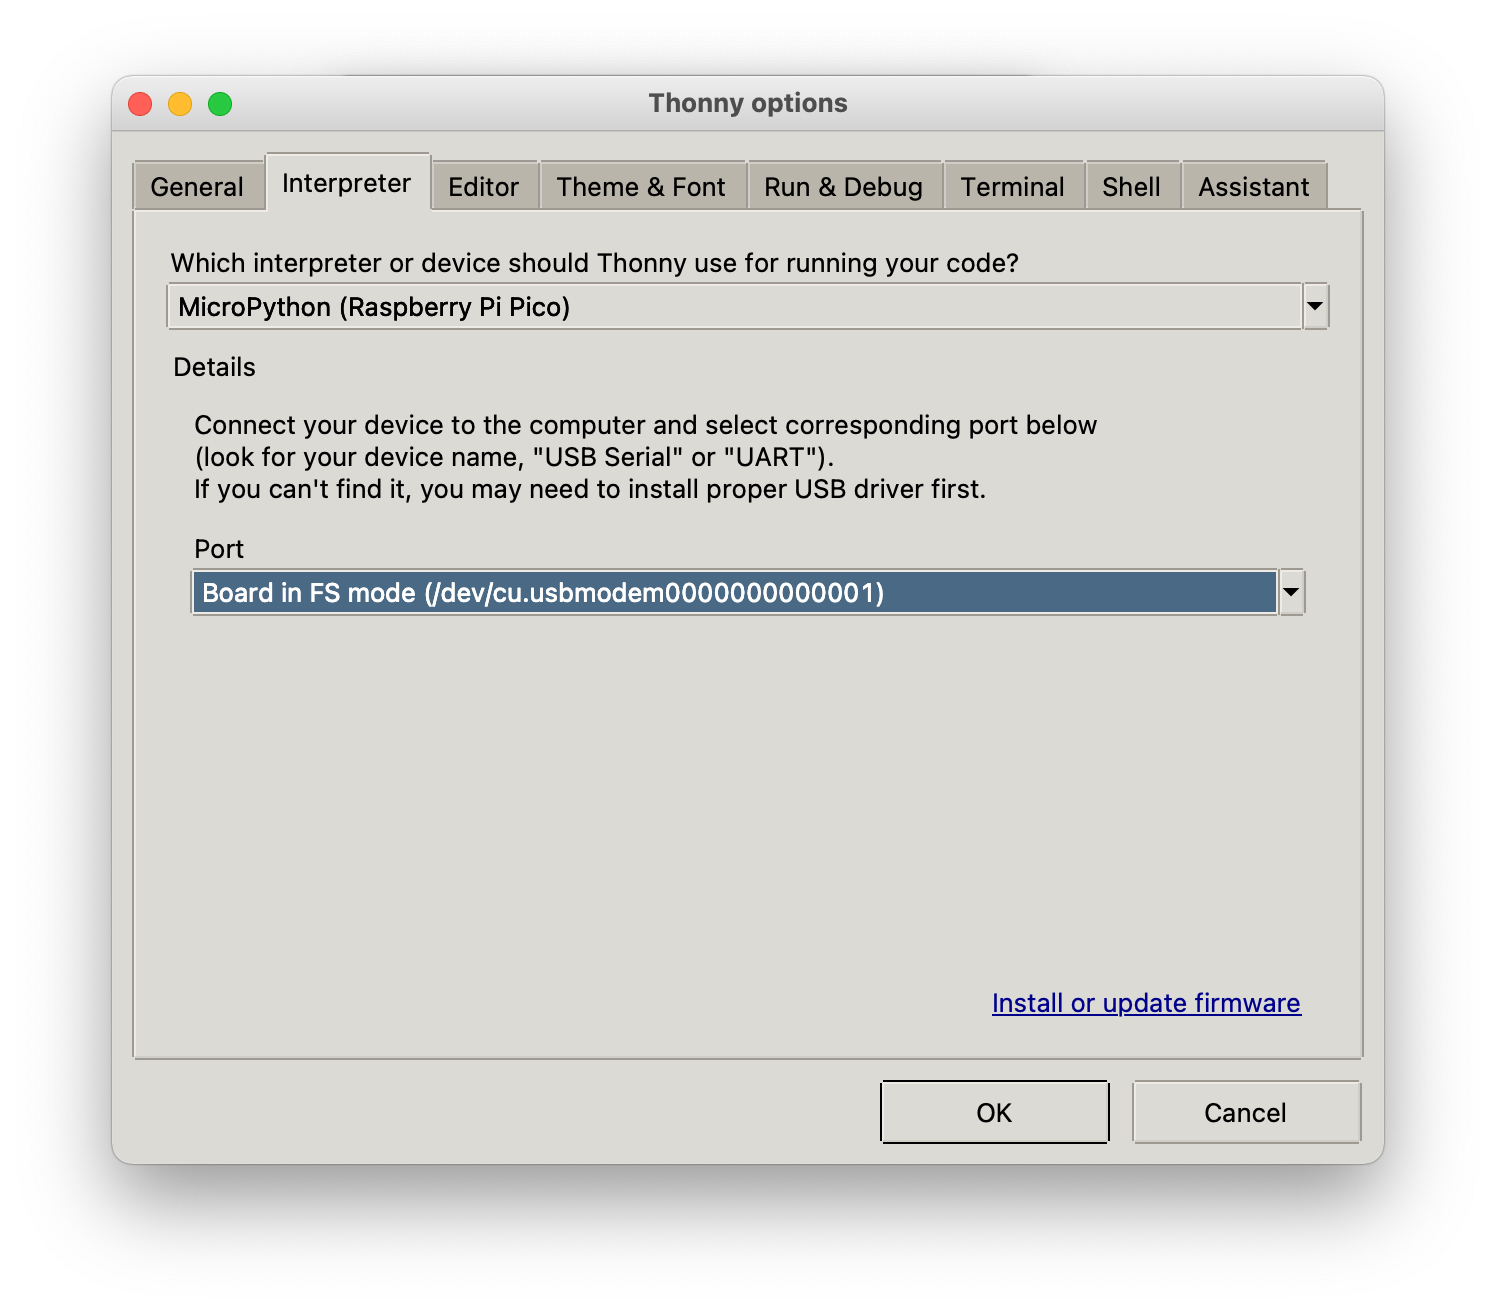
Thonny(Python IDE for beginners)の設定
メニューバーのRunのSelect Interpreterから、デバイスとポートを設定します。
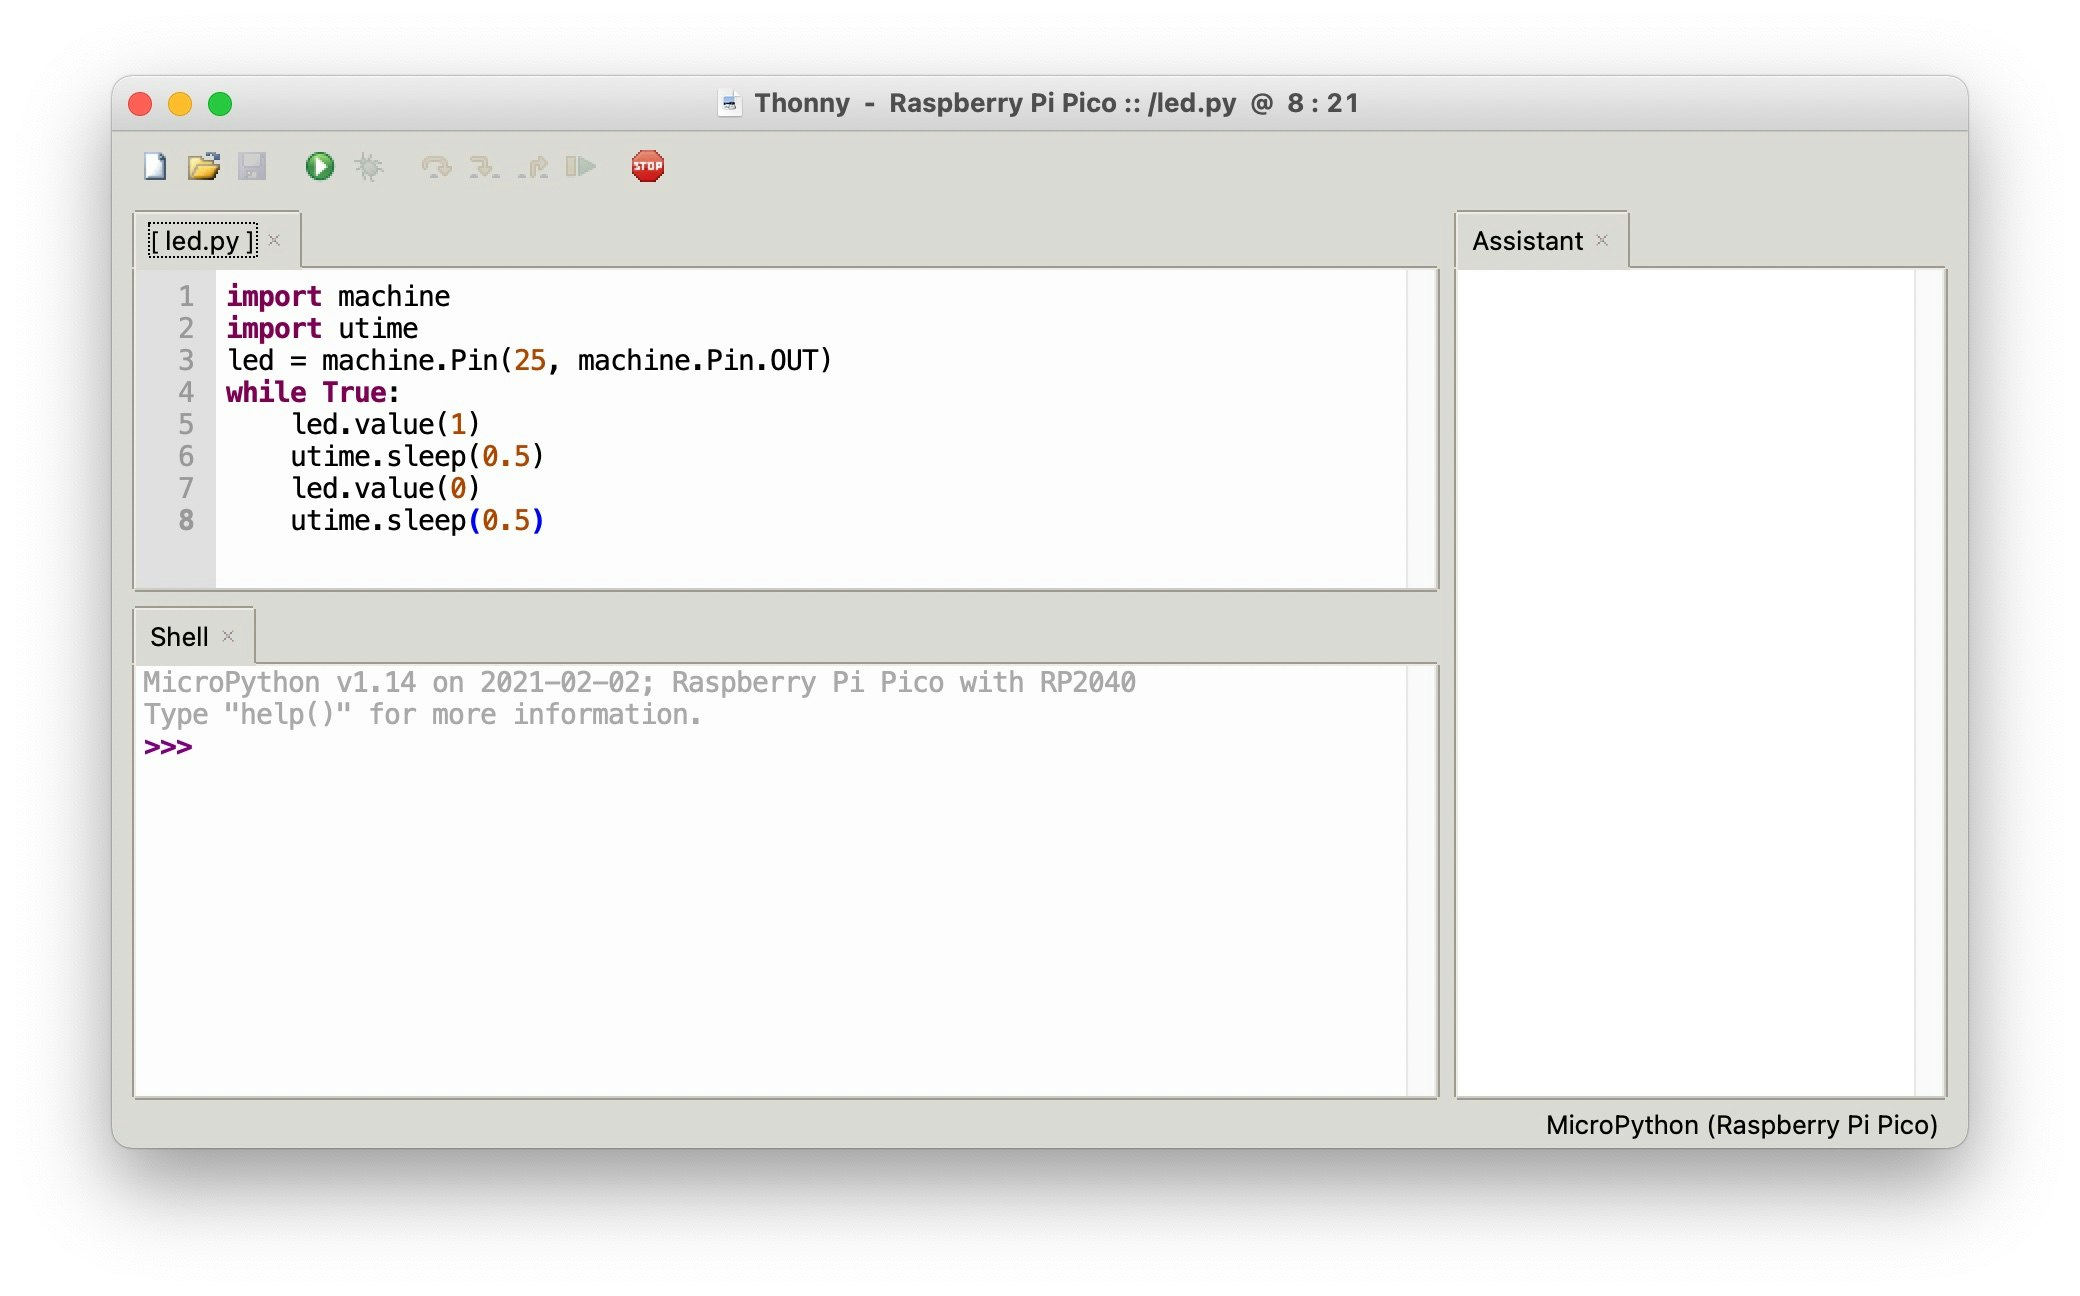
Lチカのソースコード
import machine
import utime
led = machine.Pin(25, machine.Pin.OUT)
while True:
    led.value(1)
    utime.sleep(0.5)
    led.value(0)
    utime.sleep(0.5)
Thonny(Python IDE for beginners)の実行画面
感想
M1 Macに特別なドライバーソフトをインストールすることなく、数分で開発環境を構築できました。
お手軽に試すにはC言語より、MicroPythonの方が良いと思いました。